How to Boot from a USB Stick on MacOS
Perhaps your Mac’s system has run into some problems or isn’t working correctly. Maybe you just want a different flavor of MacOS other than your current version. You may need to boot from a USB stick to fix an issue or reinstall MacOS. Did you know that, since Mavericks came out, you could make a bootable USB stick and boot from it if needed? Well, we’re going to show you how to do just that from MacOS.
Prepare Your USB Stick
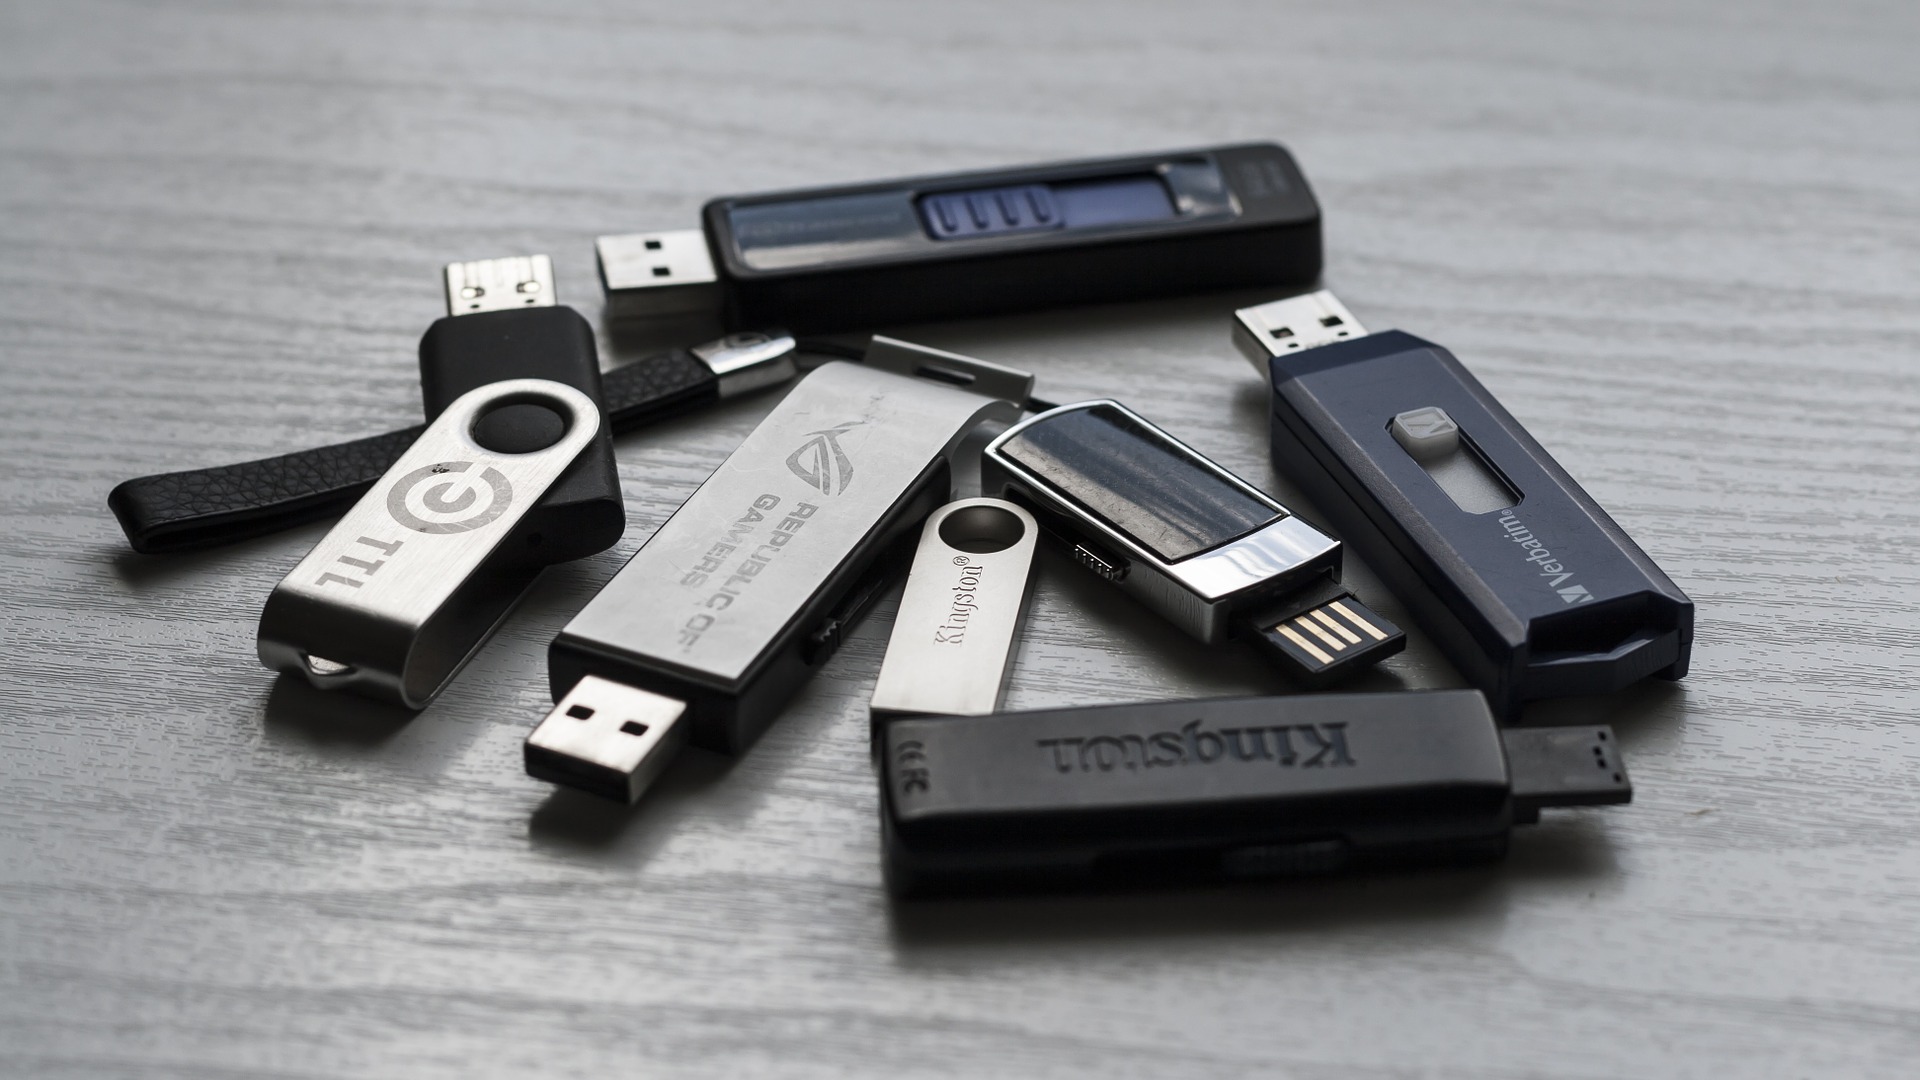
You’ll need to prep the USB stick first, so here’s how you’re going to do it:
Before you do anything with the USB stick, it must be 8GB in size or larger. Make sure you have what you need from it, because you’re going to erase it and make it Mac compatible. You’ll have to prepare it by going to Applications > Utilities > Disk Utility. Once you open Disk Utility, you’ll see your USB drive listed. 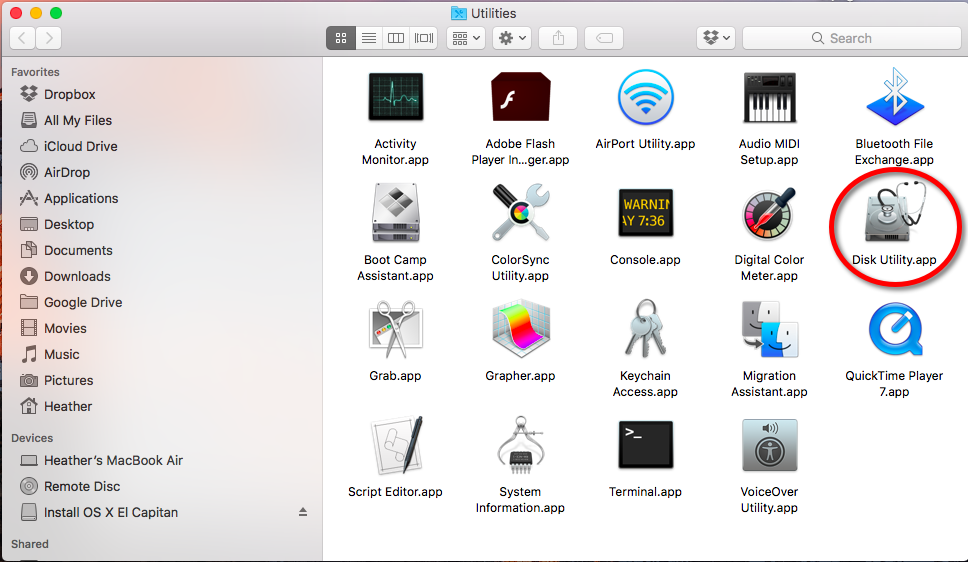
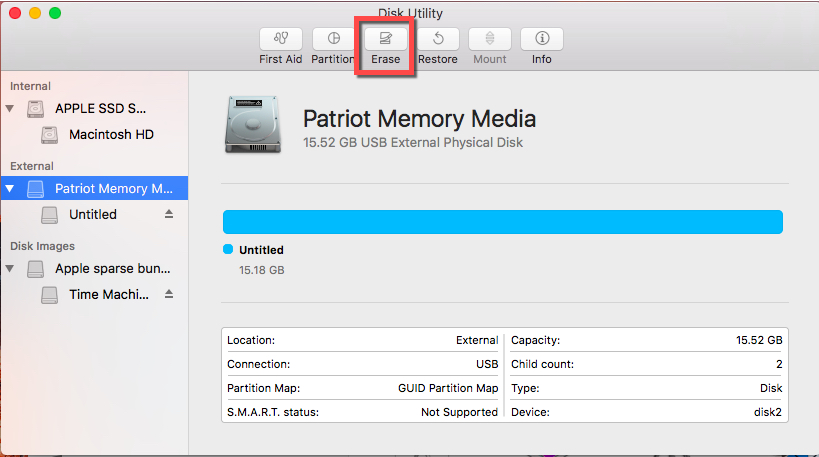
- Click on your USB stick, then select “Erase.”

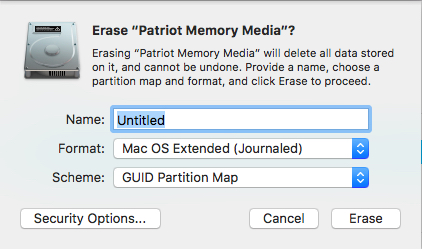
- Leave the USB stick named as “Untitled.” Make the format “Mac OS extended (Journaled)” and use “GUID Partition Map” as your scheme.

- Now, click on the “Erase” button and the Disk Utility will prepare the USB stick for the next steps you’re going to follow.
Disk Utility will let you know when it’s completed the task; once it’s finished, close Disk Utility.
Make a Bootable USB Stick
Next, you’re going to head on over to the Mac App Store on a Mac laptop or computer. If your current OS installation is still functioning, you should be able to get there. Otherwise, call a friend who also owns a Mac and ask nicely to use theirs to make the bootable USB stick.
- In the Mac App Store, download the operating system installer.
- To quit the installer if it tries opening automatically, hit the “ESC” key on your keyboard.
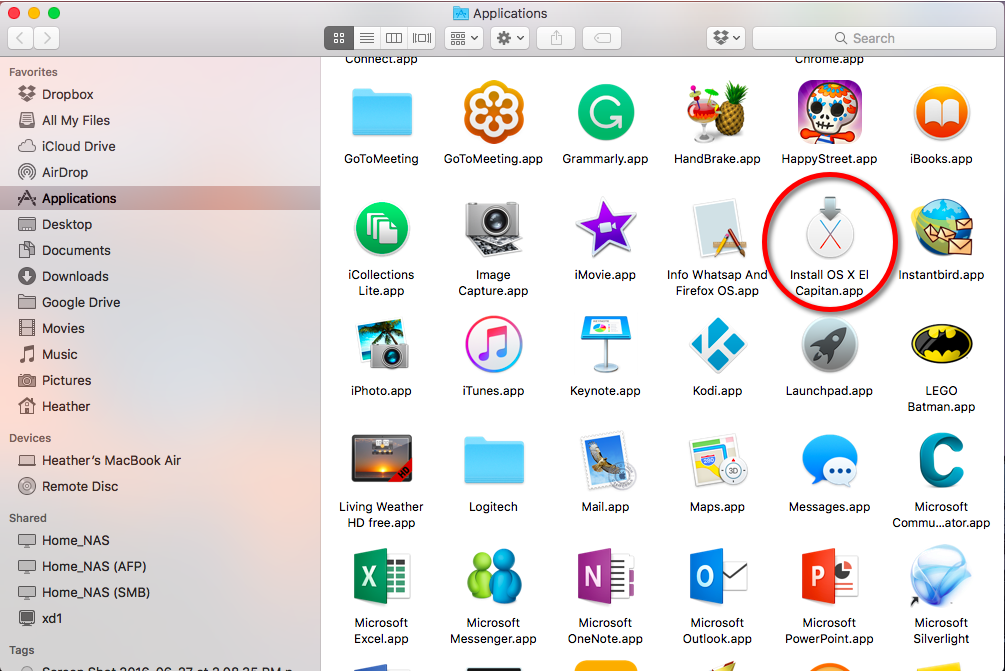
- The installer is in the Applications folder. You can also click on Launchpad and see it listed in there as well.

- Insert a USB stick in one of the available USB ports on your Mac.
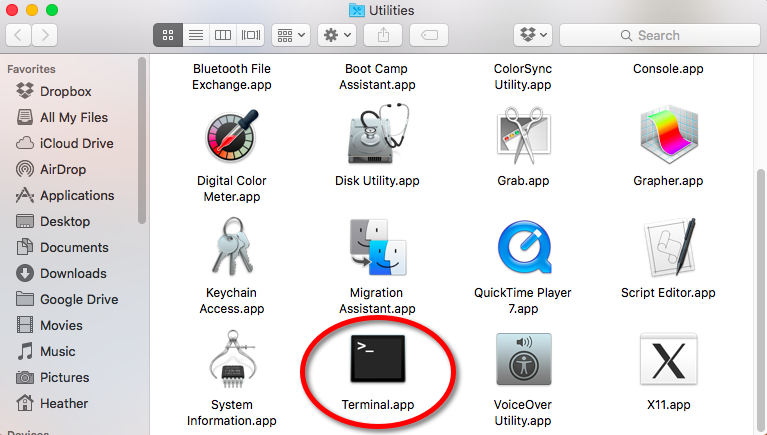
- Next, open the Terminal application from the Utilities Folder.

- Once you’ve opened the Terminal app, you’ll need root access. Type the following command, and then enter your password when prompted:
sudo /Applications/Install\ OS\ X\ El\ Capitan.app/Contents/Resources/createinstallmedia –volume /Volumes/Untitled –applicationpath /Applications/Install\ OS\ X\ El\ Capitan.app –nointeraction
Depending on which version of MacOS you’re creating a USB stick for, the path varies. In this example, we’re using the path to make a bootable USB image of El Capitan, just in case things go awry with the current installation of Sierra. It’s going to take a while to copy the MacOS to your USB stick, so patience is a virtue during this step.
As long as everything has gone according to plan, you should’ve received a message in Terminal: “Copy Complete.” Done. Next, you’ll reboot your computer with the USB stick inserted into an empty port and hold the “Option” key down on your keyboard as your Mac starts, and boot from the USB stick you’ve created. Let us know if it works for you!