


dns_probe_finished_nxdomain Error – All possible fixes

Chrome browser users may sometimes face the “dns_probe_finished_nxdomain” error. It could happen no matter what operating system you’re using. We’ll go over some ways to fix this infamous error.
Here are the Chrome browser error “dns_probe_finished_nxdomian” solutions with the easiest possible fixes at the top of our list.
Restart Your Router
Your Internet provider’s router could be the cause of a DNS-related error. Disconnect your Internet router for at least 3 minutes for everything to refresh itself. Re-connect, let the router restart, and get all its functions up and running again. Then, go back to your Google Chrome browser and see if the error has resolved.
Clear the History in Chrome Browser
Follow these steps:
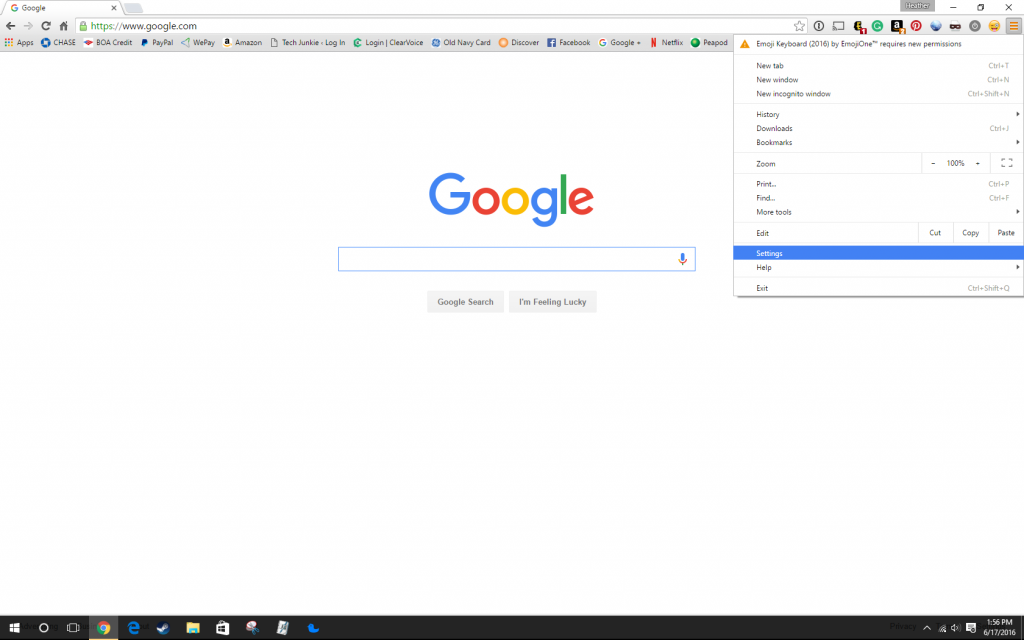
- In the upper right-hand corner of your Chrome browser, click on the three horizontal lines. Scroll down to “Settings” and click on it.

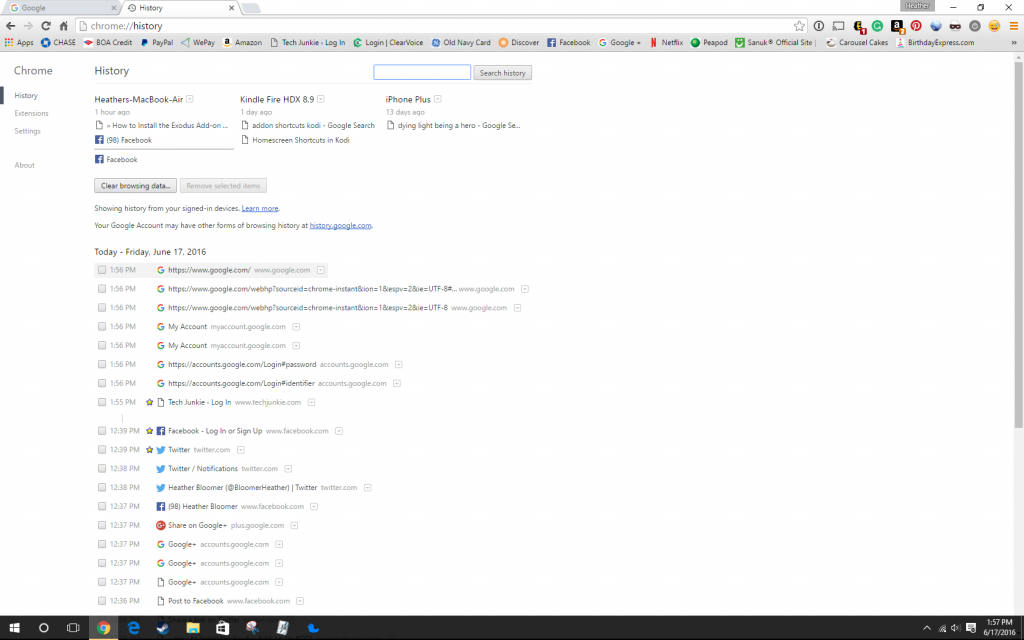
- Next, click on “History” on the left-hand side of your Chrome browser window. Now click on the button that says “Clear browsing data.”
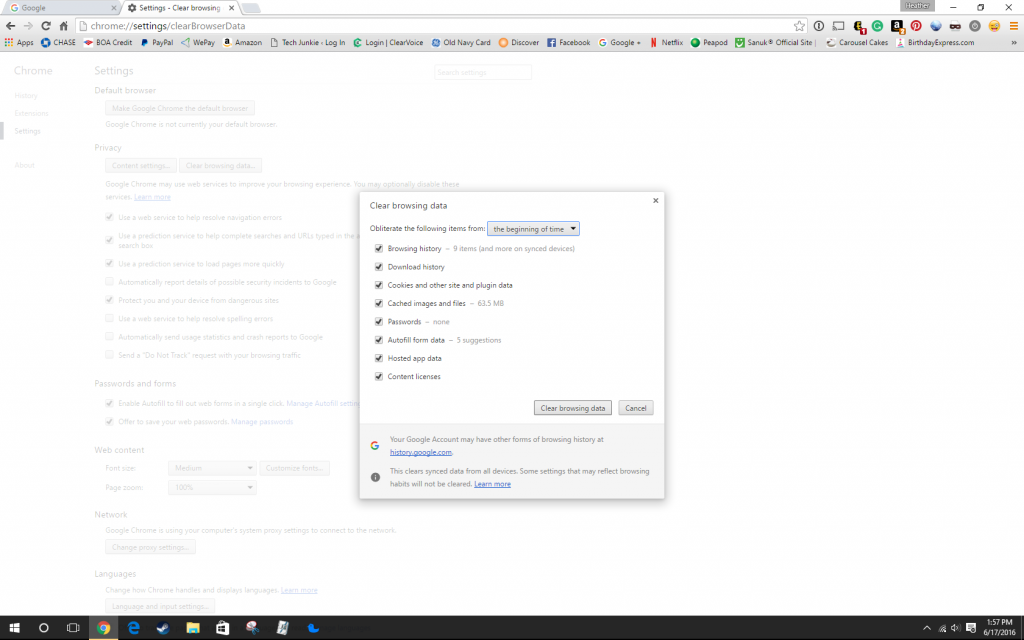
- In the Clear Browsing Data window, check off all the boxes that apply. Now click on the “Clear browsing data” button and this clears the history in your Chrome browser.
Navigate to the website you were trying to access when you received the error message before, and see if that resolves your issue with the “dns_probe_finished_nxdomain” error. If that didn’t work, try our other alternatives. They are slightly more advanced ways of resolving the error.
Flush the DNS Cache
Windows
Now, let’s get to fixing that pesky error in Windows.
- In Windows 10, hold down the “Windows” button and the “R” key on your keyboard.
- The Run window will open on your screen. In the “Open:” text box, type in “cmd.” Click the “OK” button. This now opens the command program for Windows 10.

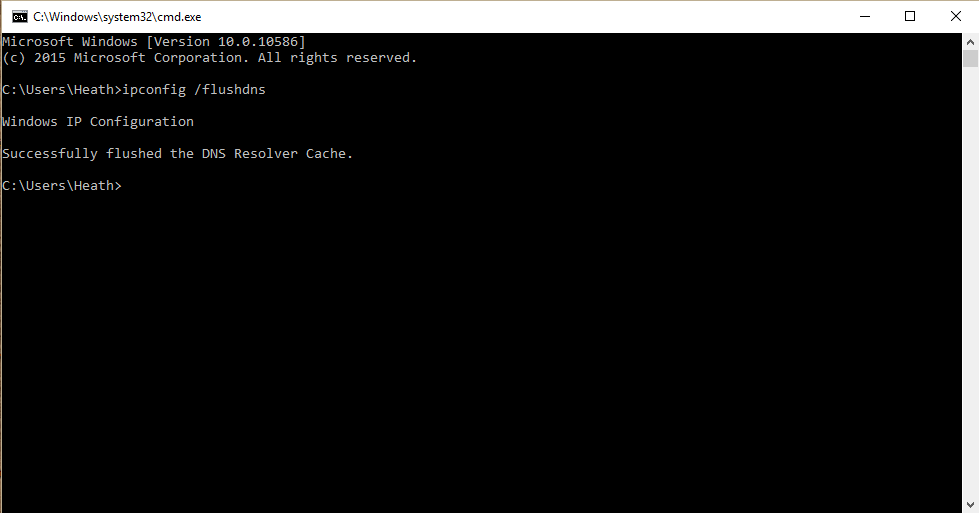
- In the command window, type “ipconfig /flushdns.” Hit the “Enter” key on your keyboard.

- Next, you should see this displayed in the cmd window: “Windows IP configuration successfully flushed the DNS resolver cache.”


Mac
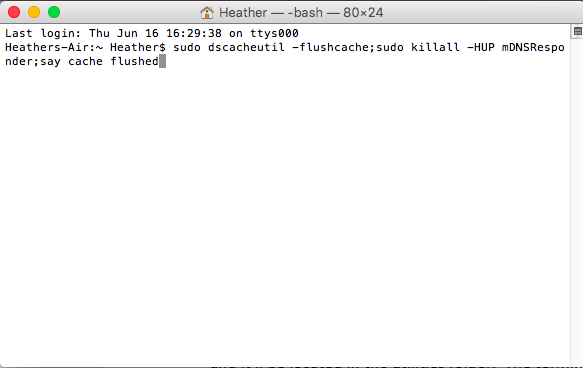
- Open the Terminal application.

- Type the command: “sudo dscacheutil -flushcache;sudo killall -HUP mDNSResponder; say cache flushed.”

Winsock Reset
Winsock can become corrupt—try resetting it. In Windows 8 and 10, it can be done with the following steps:
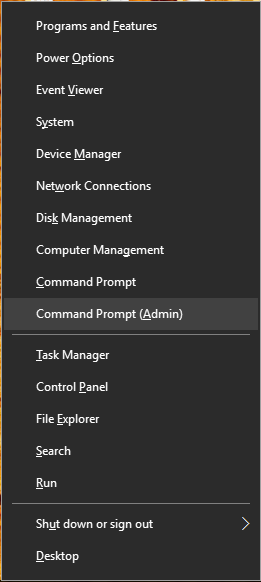
- Press the “Windows” key and the “X” key on your keyboard.
- In the menu that appears on your screen, select “Command Prompt (Admin).”

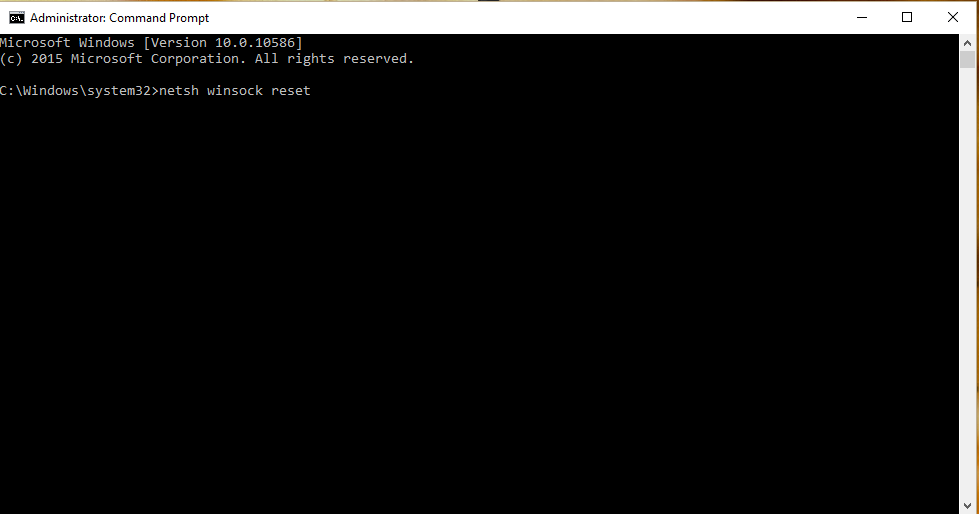
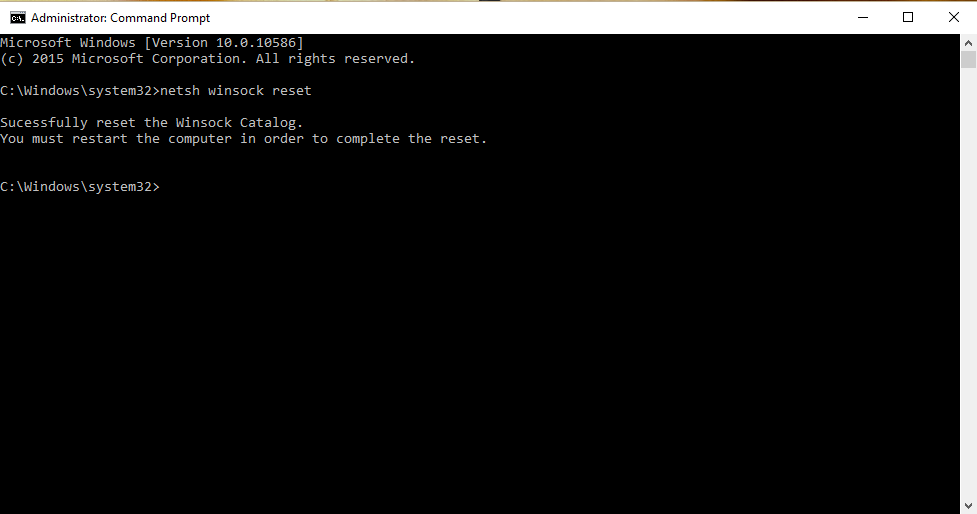
- The command line window will open and you’ll type “netsh winsock reset” and hit the “Enter” key on your keyboard.

- You’re going to see the text, “Successfully reset the Windnsock Catalog. You must restart the computer to complete the reset.”

- Reboot the computer to see if the problem has resolved.
Once you’ve restarted your computer, hopefully the Chrome browser issue has resolved itself.
Change Your DNS Server Settings
Windows
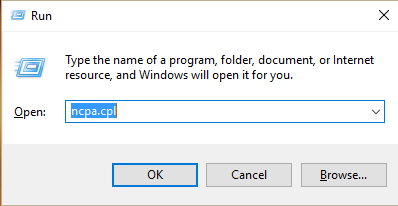
- Again, hold down the “Windows” button and the “R” key on your keyboard. Now we’ll type in “ncpa.cpl” and then click the “OK” button.

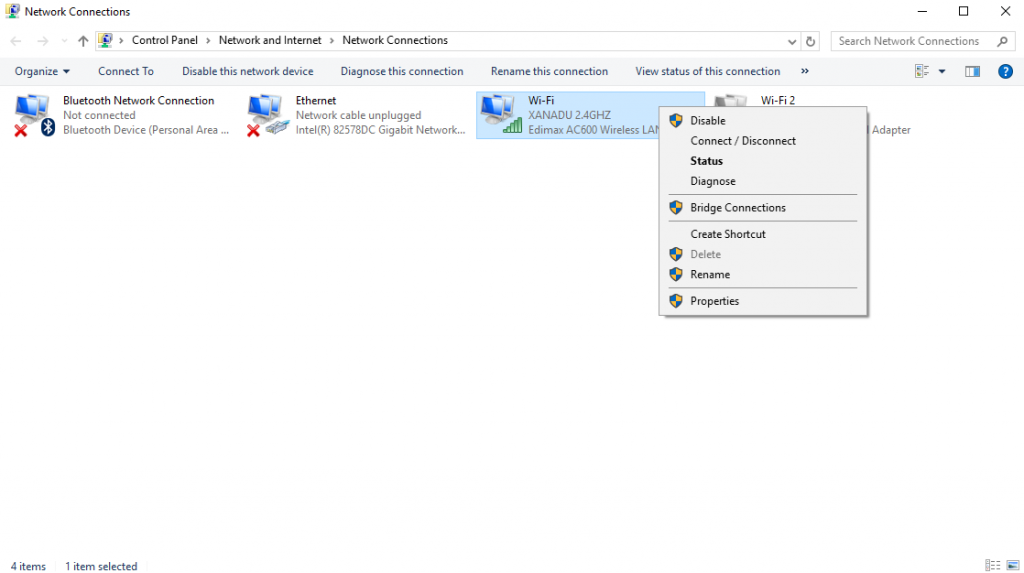
- Now your network connections window will open. Here, we’re going to update the DNS settings.

- Select the network adapter you have connected to the Internet. Right click on it. Now select “Properties” at the bottom.

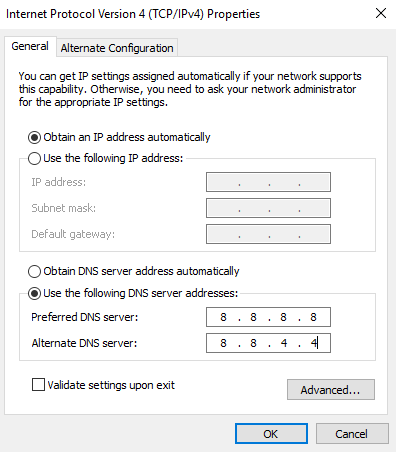
- Next, double-click on “Internet Protocol Version 4 (TCP/IPV4).” This opens Internet protocol version 4 properties.


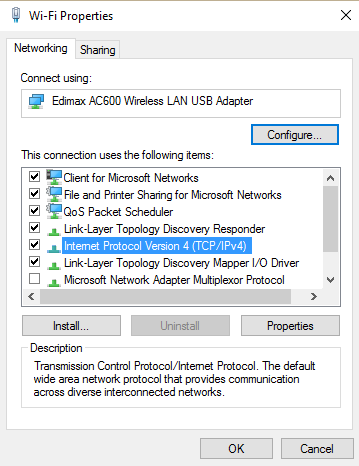
 In the general panel, click on “Use the following DNS server addresses” on the bottom of the open box. Type Preferred DNS server 8.8.8.8 and Alternate DNS server 8.8.4.4. Then, click the “OK” button.
Mac
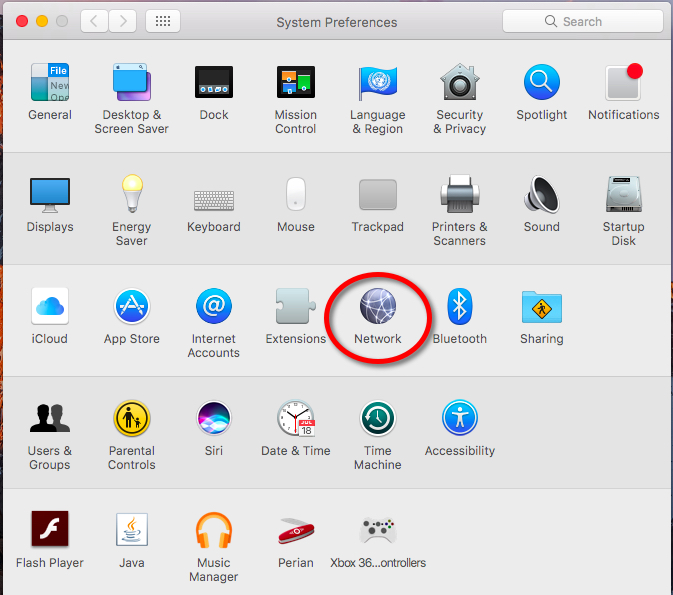
- Go to “System Preferences” and click on “Network.”

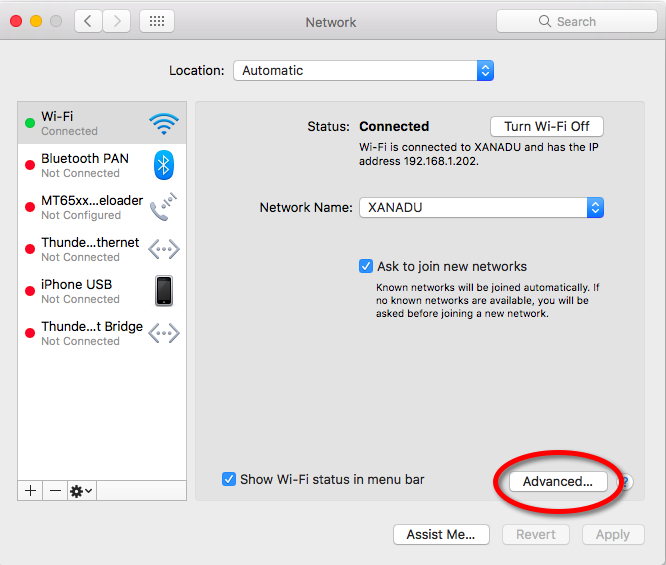
- Next, click on “Advanced” in the lower right-hand corner.

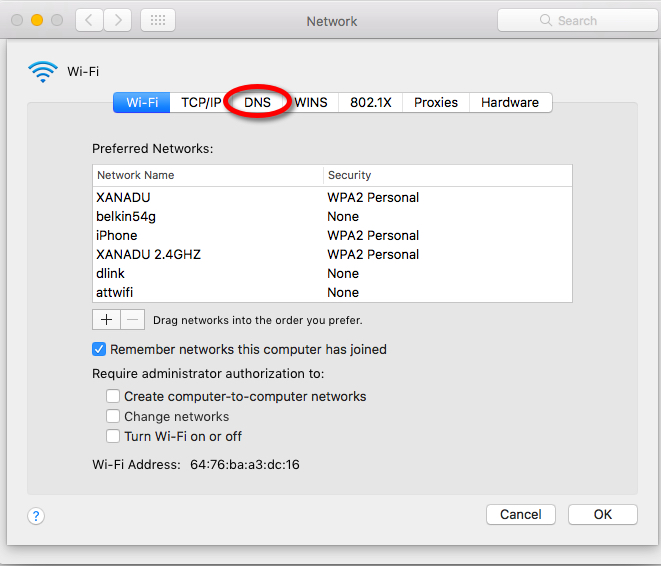
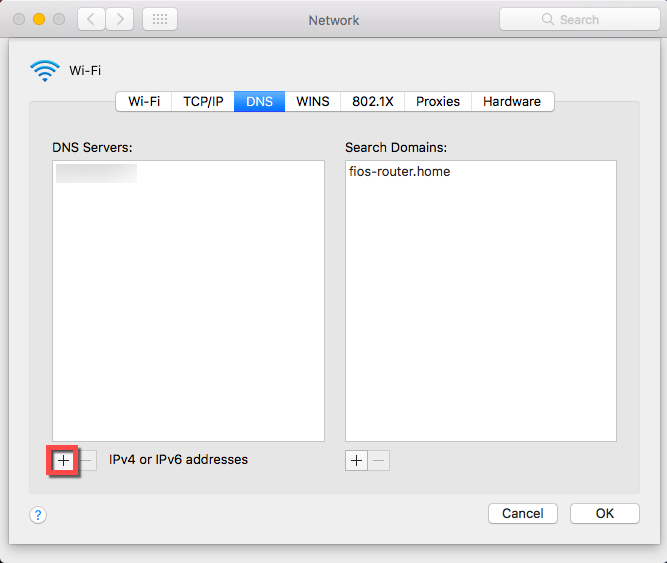
- Then, click on “DNS” in the upper middle bar of choices.

- Click the plus sign to add a new DNS address.

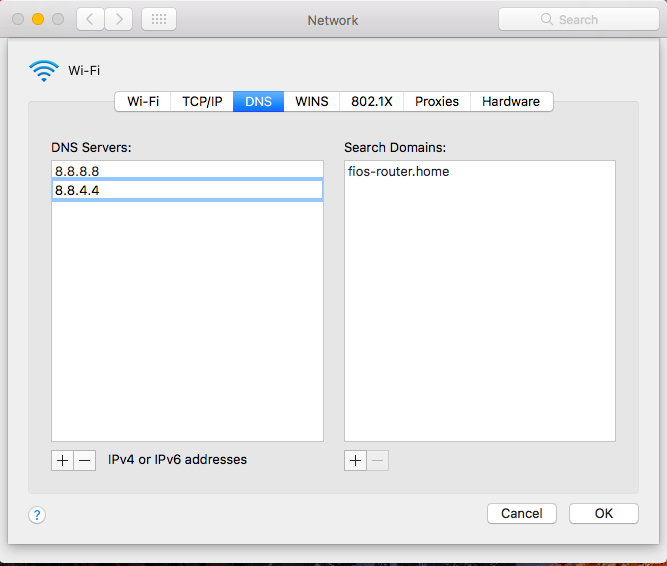
- In the box above where it says IPV4 and IPV6 addresses, enter 8.8.8.8 and 8.8.4.4.
- Then, click the “OK” button to make the changes effective.
We’ve covered all the bases on how you can resolve the “dns_probe_finished_nxdomain” error in Google’s Chrome browser—as far as we know. If you’ve got some fresh input or other ways you know of solving the error, let us know.


