How to Fix Quote Marks in Microsoft Word

MS Word has come a long way from the simple word processing tool it once was. Now it can even automatically change quotation marks into the proper left or right curling quotes whenever appropriate.
Sometimes though, you may not want these smart quotes to be used, or want them but can’t seem to get them. In this article, we’ll show you how to fix the quote marks in Word, along with useful tips to improve your typing efficiency.
What Are Smart Quotes?
Smart Quotes are quotation marks that curl either to the left or the right depending on which part of the sentence they’re located in. Word does this automatically, thus the smart connotation. Old-time typewriters used to have only the straight-quote, because of the limitations of the machine itself.

“So, what’s the problem?” You may ask. “Aren’t left and right quote marks better anyway?”. Well, yes and no. Smart quotes are certainly the proper way to write a quotation mark. But there are some occasions where using smart quotes will actually be inadvisable. Some printers, for example, won’t recognize smart quotes and cause printing errors. Webpage languages like HTML and CSS have specific codes for straight and smart quotes. Therefore, using one over the other may affect what’s displayed on the screen.
Enabling Smart Quotes
To ensure that smart quotes are enabled on your MS Word, you can check the formatting settings:
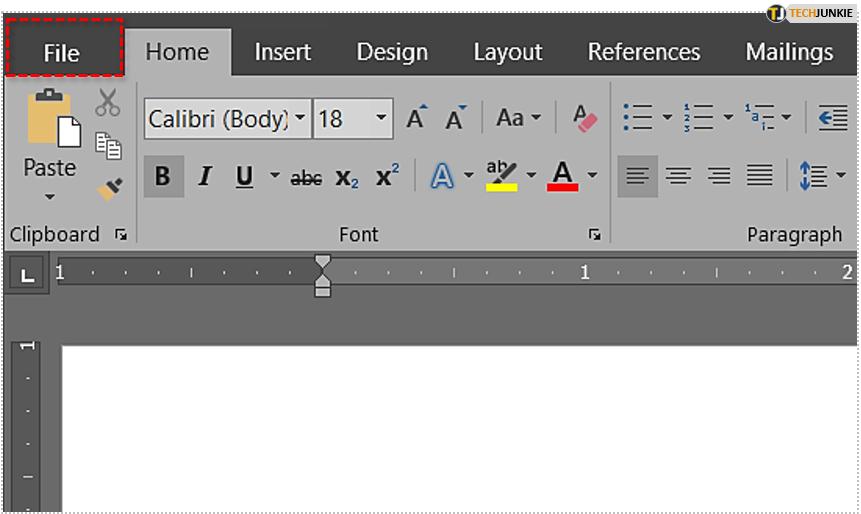
- Click on File in the upper left corner of the toolbar.

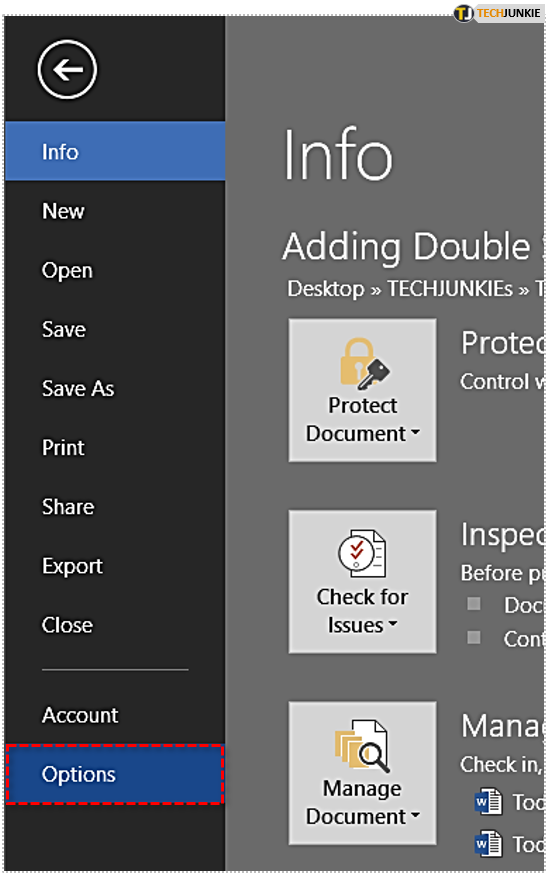
- On the lower left of the menu, choose Options.

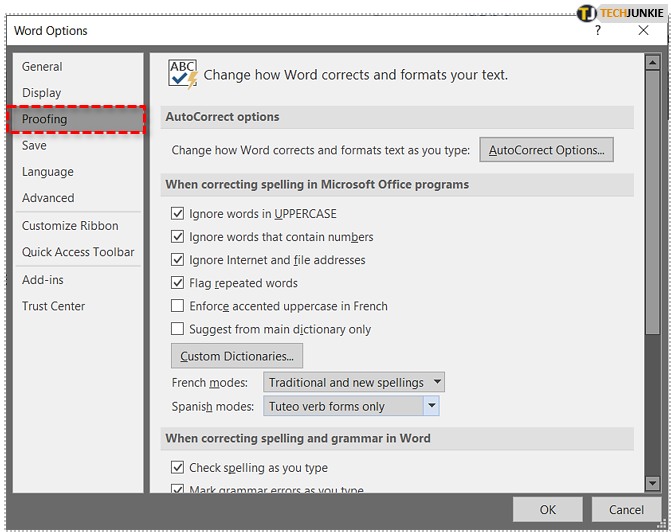
- On the menu on the left choose Proofing.

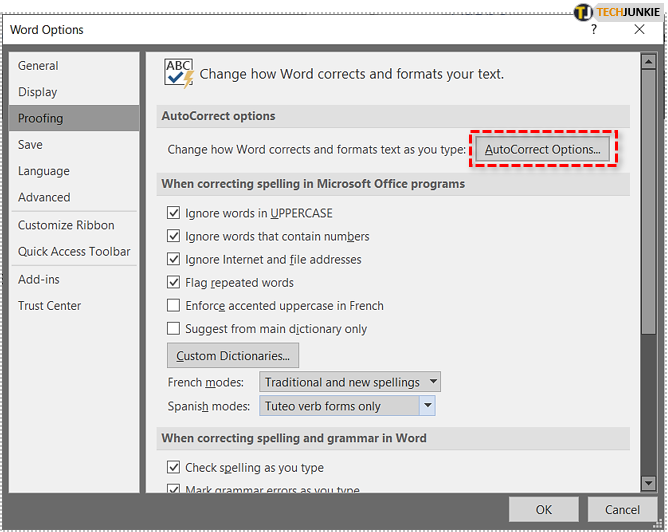
- Under AutoCorrect options menu, click on the AutoCorrect Options button.

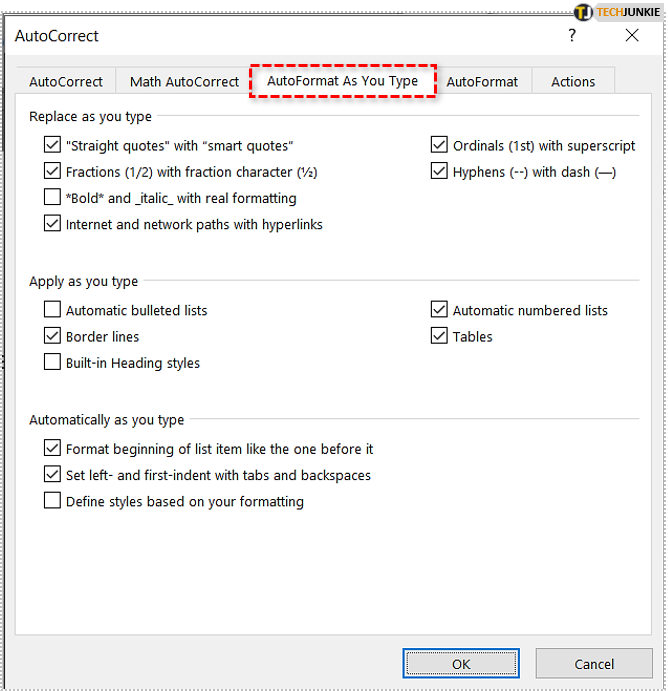
- Click on the AutoFormat As You Type tab.

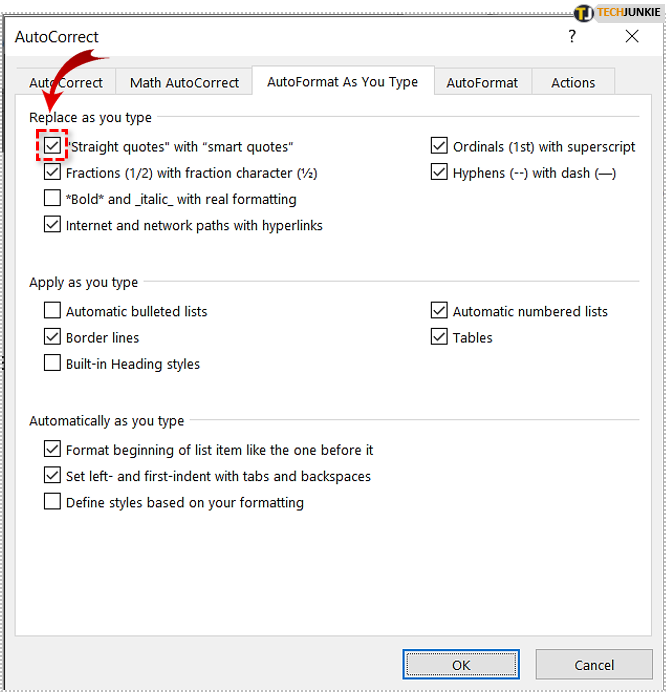
- Under the Replace as you type menu, make sure the “Straight quotes” with “smart quotes” box is ticked.

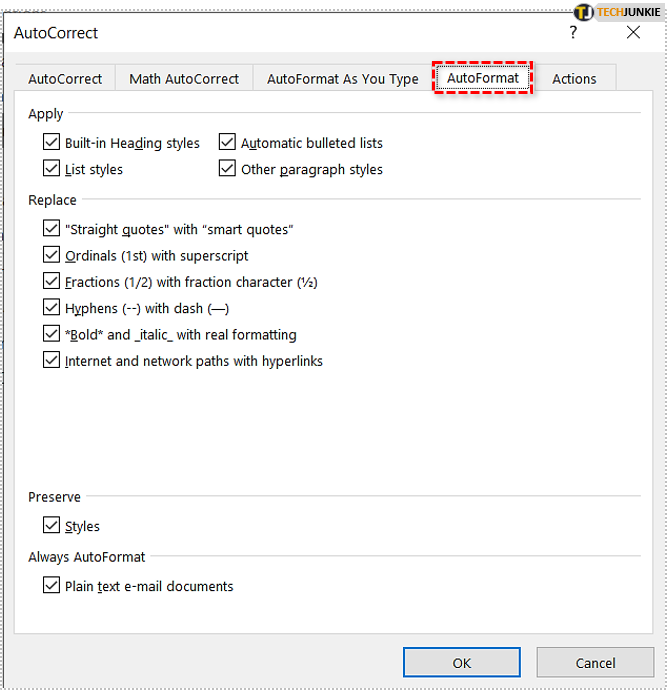
- Click the AutoFormat tab.

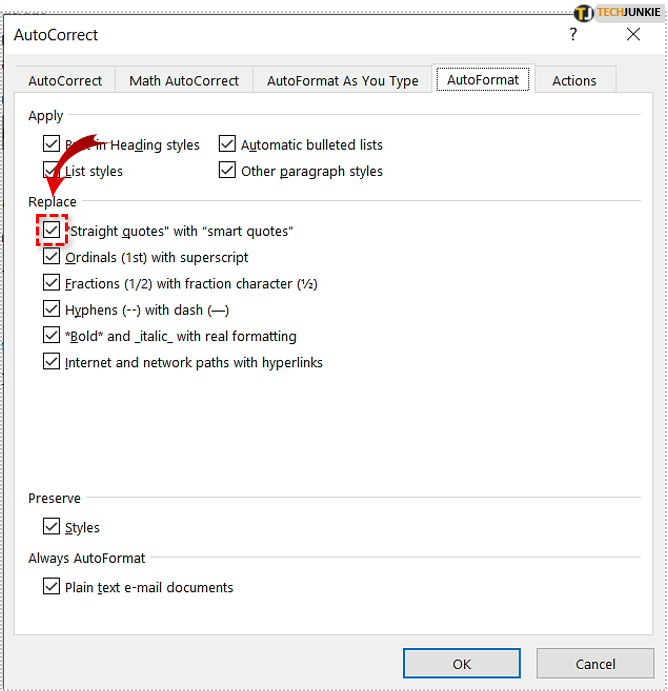
- Under the Replace menu, make sure the “Straight quotes” with “smart quotes” box is ticked.
The Find and Replace Option
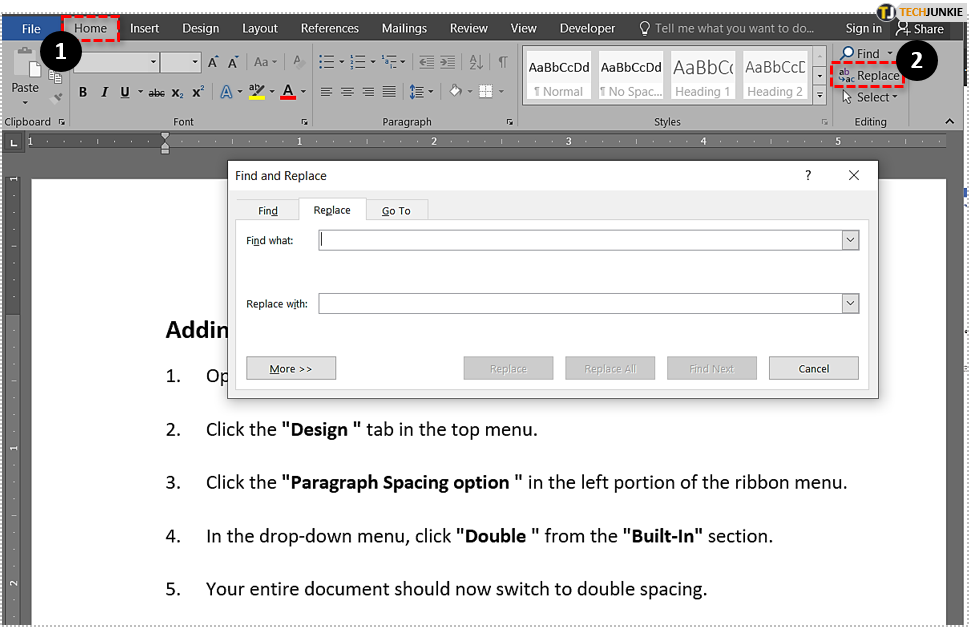
If you want to convert text from a source that doesn’t use smart quotes, you can paste them into MS Word and use the Replace command. Doing this will change all the straight quotes to smart quotes. Here’s how:
- Copy and paste the text file from the source into Word.

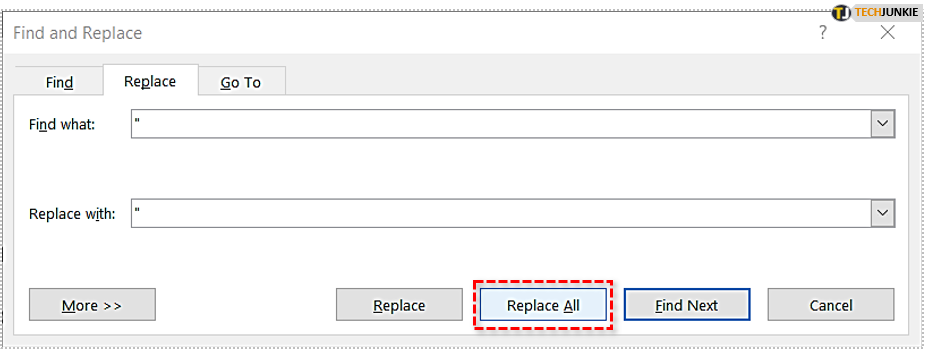
- Under the Home tab in the toolbar, click Replace, or press Ctrl + H.

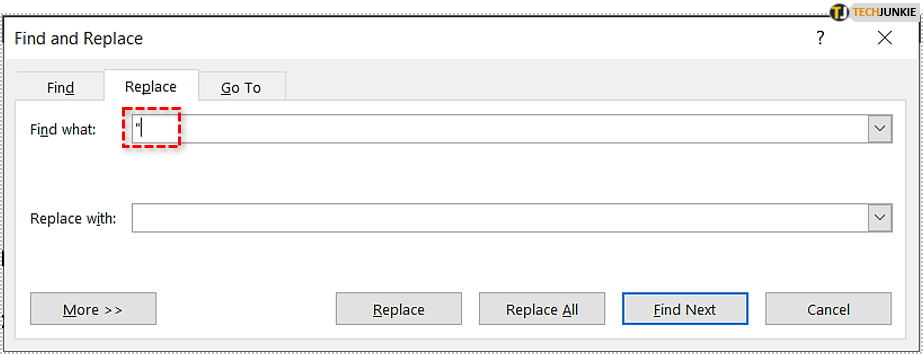
- Under the Replace tab, type “ in Find what.

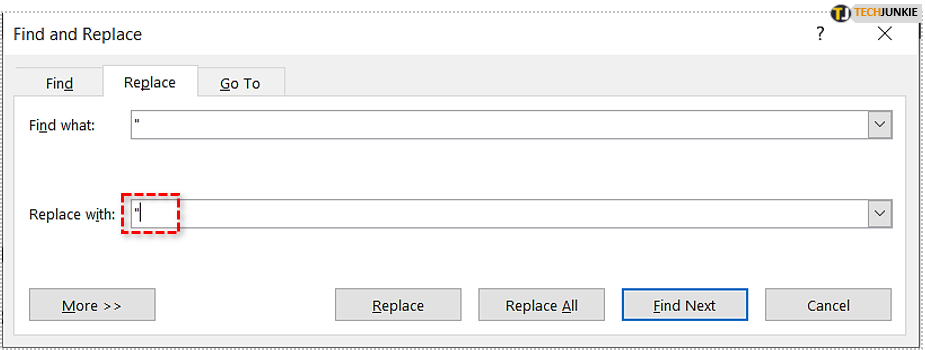
- Type “ in Replace with as well.

- Click Replace All.

The same should apply if you want to change smart quotes to straight quotes. Just refer to the instructions on enabling smart quotes, and untick “Straight quotes” with “smart quotes” in the Replace option of the AutoFormat tab.

Smart Apostrophes
Not surprisingly, apostrophes share similar problems with smart quotes. Both right and left curling apostrophes are used by Word automatically depending on where it’s located. Fortunately, the same rules apply to apostrophes as to smart quotes. Changing the AutoFormat options to enable smart quotes will enable smart apostrophes as well.
Undo, Redo, and Repeat
An interesting thing to take note is that using the keyboard shortcut keys are an easy way of fixing the quote marks in Word. When typing either a quotation mark or an apostrophe, using Undo will turn a smart quote to a straight quote, and using Redo will change it back.
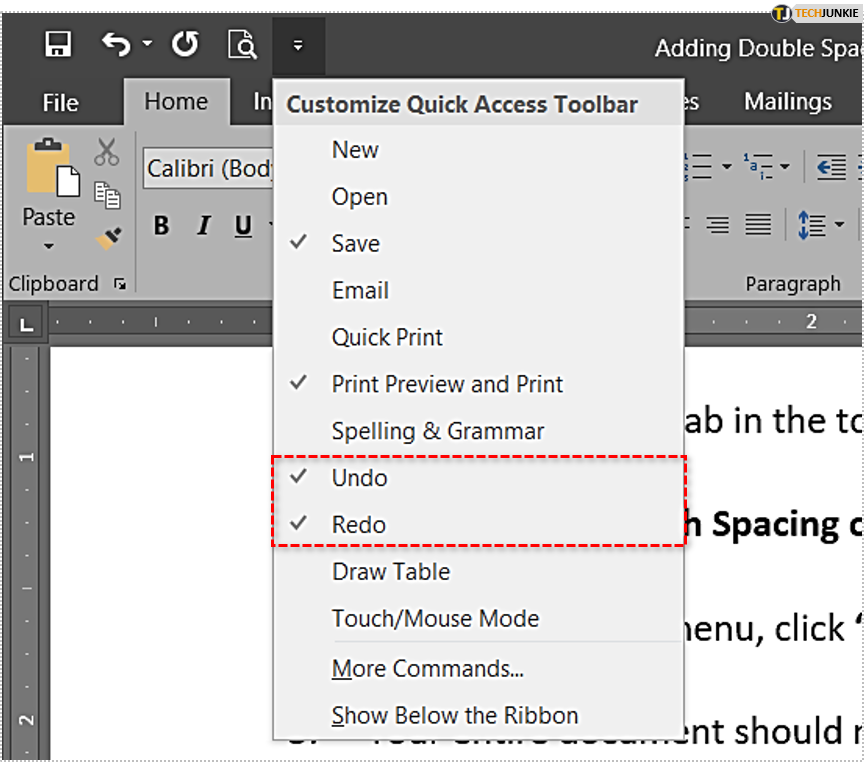
The Undo command is Ctrl + Z, and the Redo command is Ctrl + Y. Alternatively, you can use the mouse and click the Undo and Redo icons on the upper left corner of your Word window. The Undo option is the arrow pointing to the left, the Redo option is the arrow circling on itself.
If you don’t see the icons, enable them on the Quick Access Toolbar by clicking the down arrow and checking the Undo and Redo options.
Interesting Fact: The command for Redo is also the command for Repeat. If the command is used after an Undo, it will change what you undid. If used without an Undo, it will repeat the last action that you performed.
Customizing the Tool Ribbon
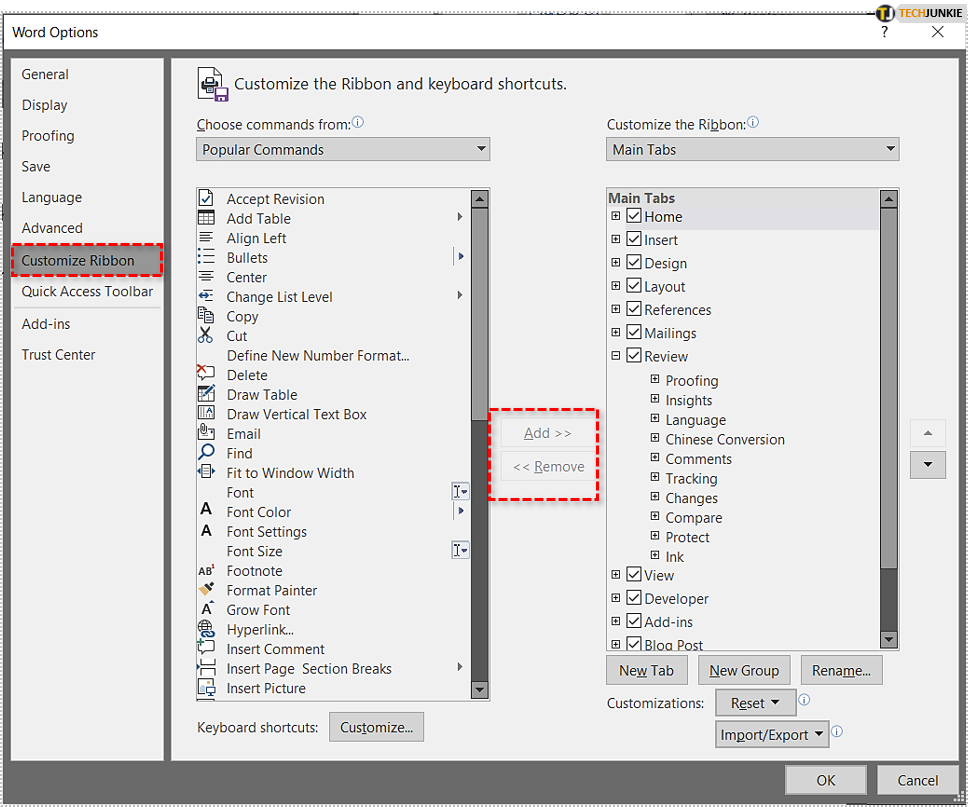
You can also customize the tools in the ribbon located on the top of your screen. This is a great way to ensure that any command you need is just a click away. To do this, right click on any blank portion of the ribbon and choose Customize the Ribbon. This will show you a menu where you can pick and choose which commands will be displayed.
Note that some commands require you to create a new tab to include them. Do this by clicking on the New Tab option on the lower right portion of the window. Pick from the commands on the left and click Add to include them, or pick on the right and click Remove to take them out. Also, it should be mentioned that some commands can’t be removed from the existing ribbon.
A Feature Taken for Granted
MS Word’s autocorrect feature has made us take the smart quote for granted. It’s done without us batting an eye, so we rarely even realize it’s happening. However, it’s important to know how to fix quote marks in Word, if only to be prepared for any eventuality. Hardware or software problems connected to the smart quotes may be rare, but they still do happen. Knowing what to do is always a good thing in an emergency.
Do you know of other handy MS Word tips? Share your advice in the comments section below.