


How To Automatically Generate Invoice Numbers in Excel
Keeping track of your invoice numbers can be very important. All invoice numbers are consecutive so attempting to input them manually has the possibility of human error, providing less than optimal results. It’s not always easy to remember the next number in the sequence especially as the numbers begin to climb. By forgetting the previous number, you could wind up with a bit of overlap on your Excel spreadsheet which may create havoc further down the line.
It’s already difficult enough remembering where you left your keys or to take something out of the freezer for dinner, you don’t need yet enough memory tap. Instead, it may just be best to have Excel automatically generate the invoice numbers for you.
“That would be incredibly helpful. So what do I need to do?”
As far as I know, there are two methods in which you can have the invoice numbers generated automatically in Excel. This article will explain both of them in order to ensure that you can avoid invoice overlap and no longer need to fuss over which number comes next.
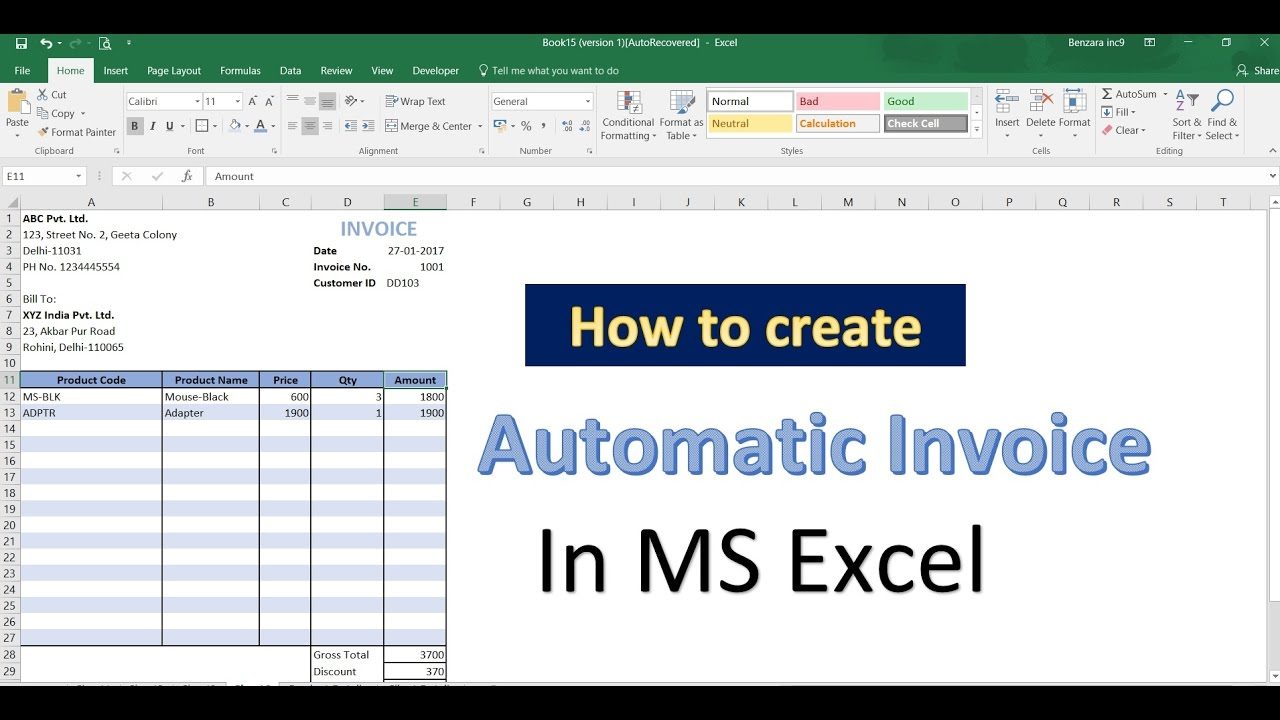
Automatic Invoice Generation For Excel
As mentioned, there are two ways in which to add invoice numbers automatically to an Excel spreadsheet or workbook. The first is by using a formula within VBA (Visual Basic for Applications) in order to generate invoice numbers for a single workbook. The second way is to use Kutools for Excel’s Insert Sequence Numbers feature. This option will allow you to generate invoice numbers across multiple spreadsheets and workbooks.
Method 1: Automatic Invoice Number Generator Using Visual Basic for Applications
To begin:
You can either create a new workbook or open an existing workbook that you’d like to use for automatic invoice number generation.
Locate and highlight a blank cell (left-click it) and enter the first number that will be used to as the beginning number for all of your invoice numbers going forward. You can choose something like 00000 or 10000 as your starting point. For our example, we’ll be using 00000 and it will be placed in cell C3.
Press Alt+F11 to open the Microsoft Visual Basic for Applications dialog box. Expand your current workbook (VBAProject, may show as Book 1 if new) and double-click on ThisWorkbook.
You can type in the following code or simply copy and paste (highlight the code and press Ctrl+C and then left-click the window and press Ctrl+V) the code into the opening window.
VBA: Voice Number Generator
| 1
2 3 |
Private Sub Workbook_Open()
Range(“C3”).Value = Range(“C3”).Value + 1 End Sub |
The “C3” will be the cell in which you entered your beginning invoice number. Make sure to change it within the code before pasting it into the window.
The following formulas below will enable you to verify your invoice numbers. They can be a bit difficult to remember offhand but you can always save them as an Autotext entry if you need to use them again later at any time.
| No. | Formula | Invoice Numbers |
| 1 | =”CompanyName”&TEXT(TODAY(),”yymmdd”)&C3 | CompanyName14120910000 |
| 2 | =”CompanyName”&TEXT(TODAY(),”0″)& C3 | CompanyName4198210000 |
| 3 | =”CompanyName”&TEXT(NOW(),”MMDDHHMMSS”)& C3 | CompanyName120909581910000 |
| 4 | =”CompanyName”&TEXT(NOW(),”0″)& C3 | CompanyName4198210000 |
| 5 | =”CompanyName”&RANDBETWEEN(100000,999999)& C3 | CompanyName44868510000 |
Remember that the C3 in the formula is the cell in which you’ve placed the beginning invoice number. The “CompanyName” is reserved for the text you want to be displayed in your invoice numbers. Change it to whatever suits you.
You’ll want to place the formula into a cell for the automatic invoice generation. This is not the same cell you have the beginning invoice number in but the specified cell for the results. Once the formula has been edited to fit your needs, you can copy and paste it into the cell and press enter to receive the invoice number.
Once you are finished, make sure to Save the current workbook. To do so, click File and then Save (or Save As if filing new or under a different name). Enter the name of the workbook and make sure the Save As Type box is set to Excel Macro-Enabled Workbook (*.xlsm). Choose where it will be saved and then just hit the Save button.
Each an every time you open up the Invoice Number Generator workbook, the invoice number will be one number greater than the last time. Just be sure to save the workbook prior to closing it out every time or the work will be lost.
Method 2: Add Invoice Number Using Kutools For Excel
Those of you who need a way to generate invoice numbers for multiple workbooks will find those needs met in the use of Kutools. The first method covered is designed for only one spreadsheet or workbook and have the unfortunate possibility of overlap when you forget to save. Kutools for Excel provides a fix for both of these issues and more.
To begin:
Just like before, highlight and select the cell for your invoice number. You’ll then need to click on Kutools, followed by Insert, and finally Insert Sequence Number.
When the Insert Sequence Number dialog box appears, click the New button. This will bring up a Sequence Number editing window:
- Enter a name into the Sequence name box in order to title your new invoice number sequence.
- In the Increment box, put a 1.
- Type in the name of your company or other text you’ll want to see at the beginning of your invoice number results, into the Prefix (optional) box.
- The beginning number for all of your future invoice numbers can be typed into the Start Number box. The number can be anything you’d like but it would be best to keep it simple. 00000 or 10000 would suffice. If you’d rather keep the numbers small, you can just use a single digit like 0 or 1 instead.
- You can specify the number of digits your invoice numbers will have by entering a number into the No. of digits box. You can’t go wrong with 5 or 6.
- Finalize the process by clicking on the Add button.
While the newly created Sequence remains selected, click Fill Range and then hit the Close button to exit. Now, regardless of which workbook you use the Insert Sequence Number feature in, an invoice number will be automatically generated with each number greater than the last.


One thought on “How To Automatically Generate Invoice Numbers in Excel”