


How To Use Kodi with Synology

Using a NAS device as file storage is a good option, but where it really shines is the role of a media server. It is fairly easy to install and connect, and it can be accessed by multiple devices.
However, if you decide to go with one of the more affordable brands, like Synology, you will also need to install media managing software on your streaming device.
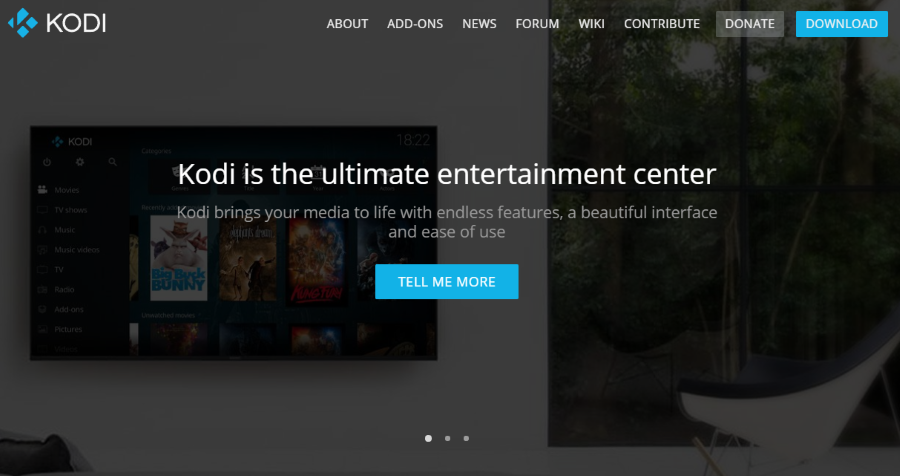
There are multiple options out there, with Kodi, Plex, and UPnP being the most popular. Among them, Kodi is the most powerful solution, as it can play virtually any file format. Here’s how to connect Synology NAS to Kodi.
Connection Process
Connecting Kodi and Synology NAS is a fairly simple process. It comprises three stages and shouldn’t take you more than 15 to 20 minutes to complete. For the purposes of this guide, it will be assumed that both Synology NAS and Kodi are already installed and running properly.
The first section of the tutorial will cover the activation of the NFS (Network File System) on your Synology NAS. The second section will deal with the creation of the NFS rule on your Synology NAS which will be used to connect with Kodi. Finally, the third section will guide you through the Kodi setup. Without further ado, let’s connect Synology NAS to Kodi.
Activate NFS on Your Synology NAS
In this section, you’ll learn how to activate NFS on your Synology NAS. Here’s how it works:
- Open your NAS control panel.
- Click the “File Services” option in the “File Sharing” tab.
- Next, check the “Enable NFS” box under the “NFS Service” tab.
- Confirm your choice by clicking the “Apply” button.

Create the NFS Rule in Your Synology NAS
After you’ve enabled NFS on your Synology NAS, you will also need to create a new NFS rule. To do that, follow these steps:
- Enter your Synology NAS “Control Panel”.
- Select the “Shared Folder” tab from the menu on the left.
- Select the folder in which your media files are stored.
- Then, click the “Edit” button.
- Click the “Permissions” tab.
- Check the “Read/Write” box for “admin”.
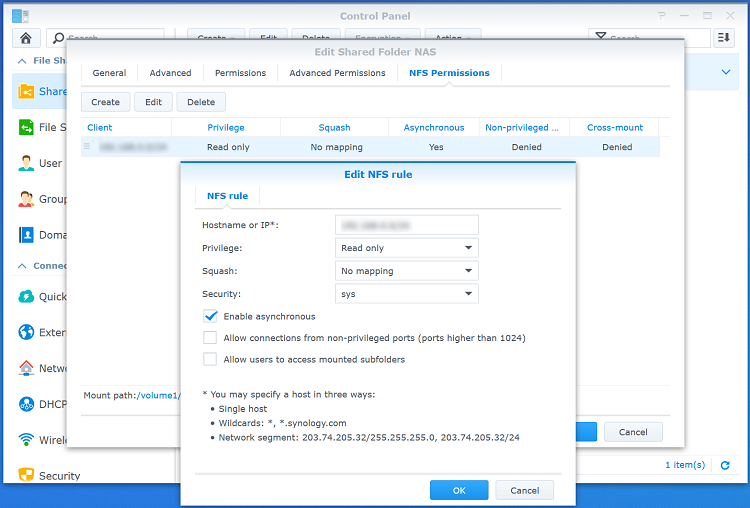
- Next, enter the following setting in the “NFS Permissions” tab: “Hostname or IP” should be set to “*”, “Privilege” should be set to “Read/Write”. In the “Squash” section, pick “Map all users to admin”, while the “Security” should be set to “sys”. Also, make sure to check “Enable asynchronous”, “Allow connections from non-privileged ports”, and “Allow users to access mounted subfolders” boxes.
- Click “OK”
- Click “OK” once more to confirm the rule creation.
Add a Video Source in Your Kodi
With your Synology set up and ready, it is time to add a new video source in your Kodi. Here’s how it’s done on Kodi 16 and 17:
- Launch Kodi on your streaming device.
- Next, select “Files” from Kodi’s main menu.
- Here, you should select the “Add Videos” tab from the menu on the left side of the screen.
- After that, click the “Browse” button.
- Select NFS (Network File System) from the list.
- Once the folder opens, your Synology NAS will be shown as an IP address. Select it.
- Next, you should select your NAS’s “Shared Folder”.
- After that, select the folder that you want to add. Click “OK”.
- Make sure that the selected folder’s path is correct and that it’s displayed properly. Click the “OK” button.
- Next, Kodi will prompt you to give a name to the new media source. Type the name in the text box and click “OK”.
- After that, Kodi will ask you what type of media files the selected folder contains. The options include “Music Videos”, “TV Shows”, “Movies”, and “None”. Select the one that suits the folder content and click “OK”. This info will make it easier for Kodi to search for movie/TV show subtitles, album covers, and other data. Kodi’s default resource for movie data is the Movie Database. You can leave it as it is or you can change it to your preferred resource.
- Finally, Kodi will ask you to refresh the information for all items in the selected path. Click “Yes”. Kodi will go through your folders and add the files contained within selected folder(s) into its database. Have in mind that the process might take some time.
- When the process ends, you should be able to see your newly added source in Kodi’s database.
- If you enable “Update library on startup” option, Kodi will automatically update its database every time it’s launched.
Final Thoughts
NAS devices make great media servers for home use. They are easy to connect to the streaming device of your choice and used to watch your favorite movies, TV shows, and music videos. With the instructions presented in this article, you should be able to easily connect Synology NAS to Kodi.


6 thoughts on “How To Use Kodi with Synology”
Some files play ok, then go back to them another time and they start playing then start buffering or lose sound… not sure if it’s the SHIELD it’s running on and don’t think it’s my Synology as system reports all is well…