Apple makes it really simple to sign up for a new subscription and will even make sure they handle the billing for you. Unfortunately, it’s much easier to set up a new subscription than it is to cancel one.

Many of the apps we use today for entertainment, news, sports, and games require a continuous payment each month. Regardless of convenience, these subscription charges can add up over time.
If you need to check which subscriptions you have through Apple, or you’d like to cancel some, this article is for you!
Check App Store Subscriptions on the Mac
Checking your subscriptions on a Mac or Macbook is easy. As long as you are signed into the same iCloud account on your computer where the subscriptions are billed, you can use this method.
To check for subscriptions on a macOS device, do this:
- Click on the Apple icon in the upper right-hand corner of your Mac. Then, click on ‘System Preferences.’

- Double-click on the Apple ID icon in the upper right-hand corner.

- Click on ‘Payment & Shipping’ on the left-hand side.

- Click ‘Manage’ next to Subscriptions.
- Review the subscriptions that appear.


If you’re using an older version of macOS, you’ll need to follow these steps:
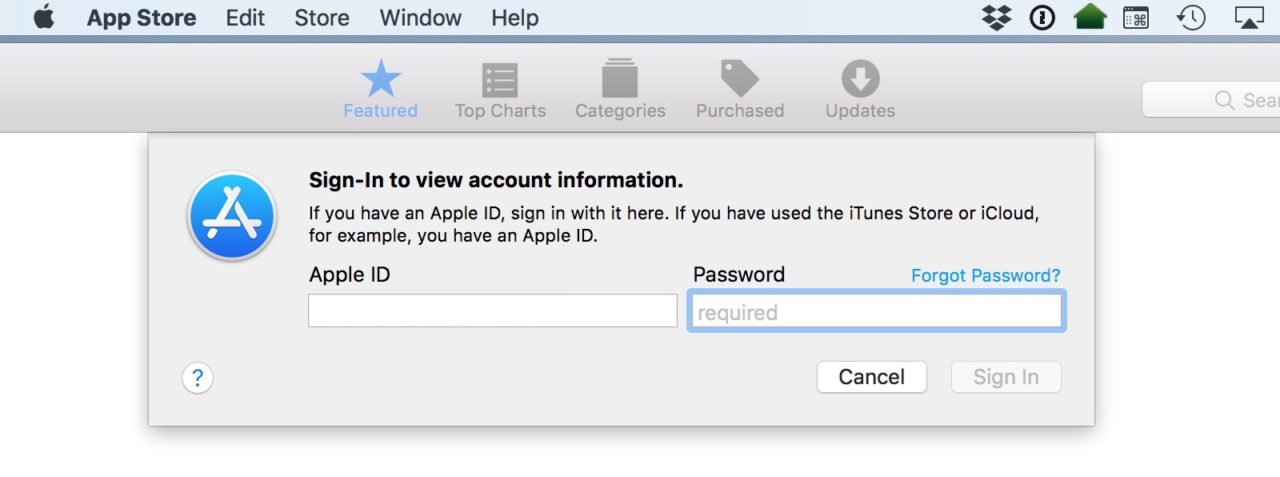
Open the App Store and click on ‘View My Account.’

Sign into your Apple ID using your Apple Password.
Click ‘Manage’ and review the list.

Click ‘Edit’ next to the subscription you’d like to cancel.

Click ‘Cancel Subscription’ and confirm.

Most subscription services will let you continue to enjoy its premium content until your next billing date. This is information you can see from the subscription page as well.
Check App Store Subscriptions via iTunes
If you don’t have a Mac, or don’t want to use the App Store, another way to access your Apple ID subscription information is via iTunes in both macOS and Windows. The process is similar: launch iTunes and select Account > View My Account from the toolbar (or menu bar in macOS).

Verify your Apple ID password and then, from the Account Information screen, look in the Settings section for the Subscription entry. Click Manage and you’ll see the same list of Active and Expired subscriptions described above.
Check App Store Subscriptions via iOS

Finally, if you don’t have a Mac or a Windows PC, or if you don’t want to use iTunes, you can check and manage your Apple subscriptions via your iOS device.
- Just grab your iPhone or iPad, and tap on your name at the top.
- Tap on ‘Subscriptions.’
- Review the Subscriptions in the list.
- Tap on the one you’d like to cancel and tap on ‘Cancel Membership.’
Here, just like with the previous methods described above, you’ll see a list of your Active and Expired subscriptions. Tap on any one to see the details, price, and cancellation or renewal information.
The iCloud Storage Exception
The steps above let you manage most of your subscriptions, including both those sold directly by Apple and third-party app developers. But one important subscription that’s missing is iCloud storage.
To check that from your Mac, launch System Preferences and select iCloud.

Within the iCloud preferences, you’ll see a multicolored bar at the bottom showing how much iCloud storage you have and how it’s being used by category. Click Manage to see the iCloud storage details.

From the window that appears, click Change Storage Plan.

Here you’ll see which plan you’re currently subscribed to and the capacity and pricing details of any storage upgrades. To downgrade your storage (which includes canceling by reverting to the 5GB “free” plan), click the Downgrade Options button in the lower left.

When considering an iCloud storage downgrade, however, keep in mind how much storage you’re using. Apple will mark any plans that have insufficient capacity for your current usage level with a warning icon.
That doesn’t mean that you can’t downgrade, but just make sure you backup all of your excess iCloud data to a non-iCloud source first. If you do exceed your iCloud storage limit, your devices will no longer be backed up and new content (photos, videos, etc.) will no longer upload.
Related Posts
 How to Manage Your Amazon Prime Video Channel Subscriptions
 How To View Your Purchase History for Apple Apps & Subscriptions
 How To Find Free OnlyFans Subscriptions
 How to Change the iTunes Backup Location
 How To Fix ‘The file iTunes Library.itl cannot be read’
 How To Convert iTunes Songs to MP3 Format
 How to View Your Facebook Profile as Someone Else Would View It
 How to Change the iTunes Backup Location in
 How to Add a Ringtone to iPhone Without iTunes
Disclaimer: Some pages on this site may include an affiliate link. This does not effect our editorial in any way.


