How to Use Chroma Key in KineMaster

As one of the most popular editing tools, KineMaster is used by many video editors and also those who want to create video content for themselves. Creating video content these days often involves using a green screen to spice up your videos or as a valuable tool.
Filming your content with a green screen behind you isn’t enough—you also need to edit your green screen in an app like KineMaster. The effect you need is called chroma key, allowing you to cancel out your green screen and replace it with anything you need behind you. Here’s how to use chroma key in KineMaster.
Activating the Green Screen
Although the chroma key feature isn’t complex, there is a learning curve involved. Be warned that the whole approach might look difficult the first couple of times.
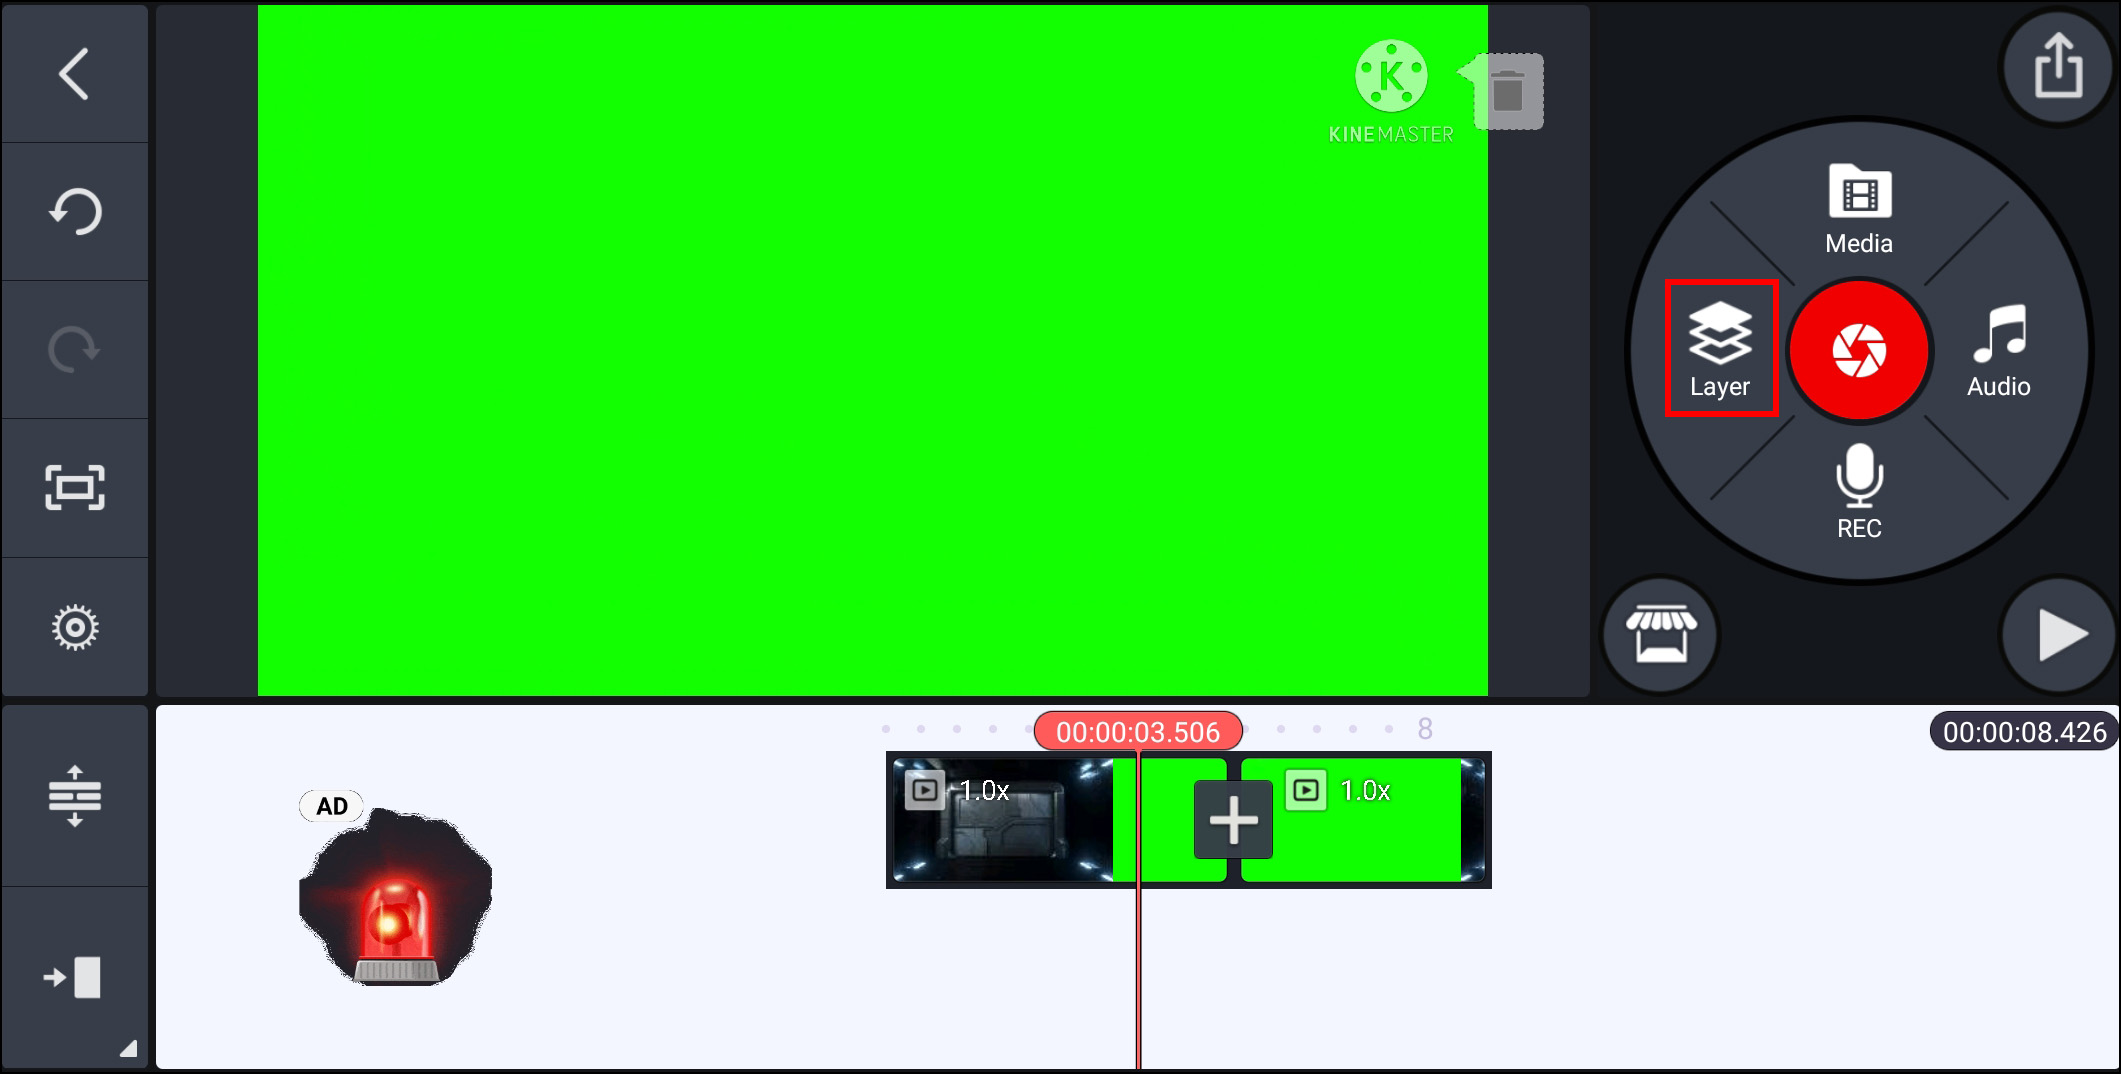
There is one thing that you should know before you start. The chroma effect tool cannot be activated in the top layer. To use it, you’re going to have to add a background layer.
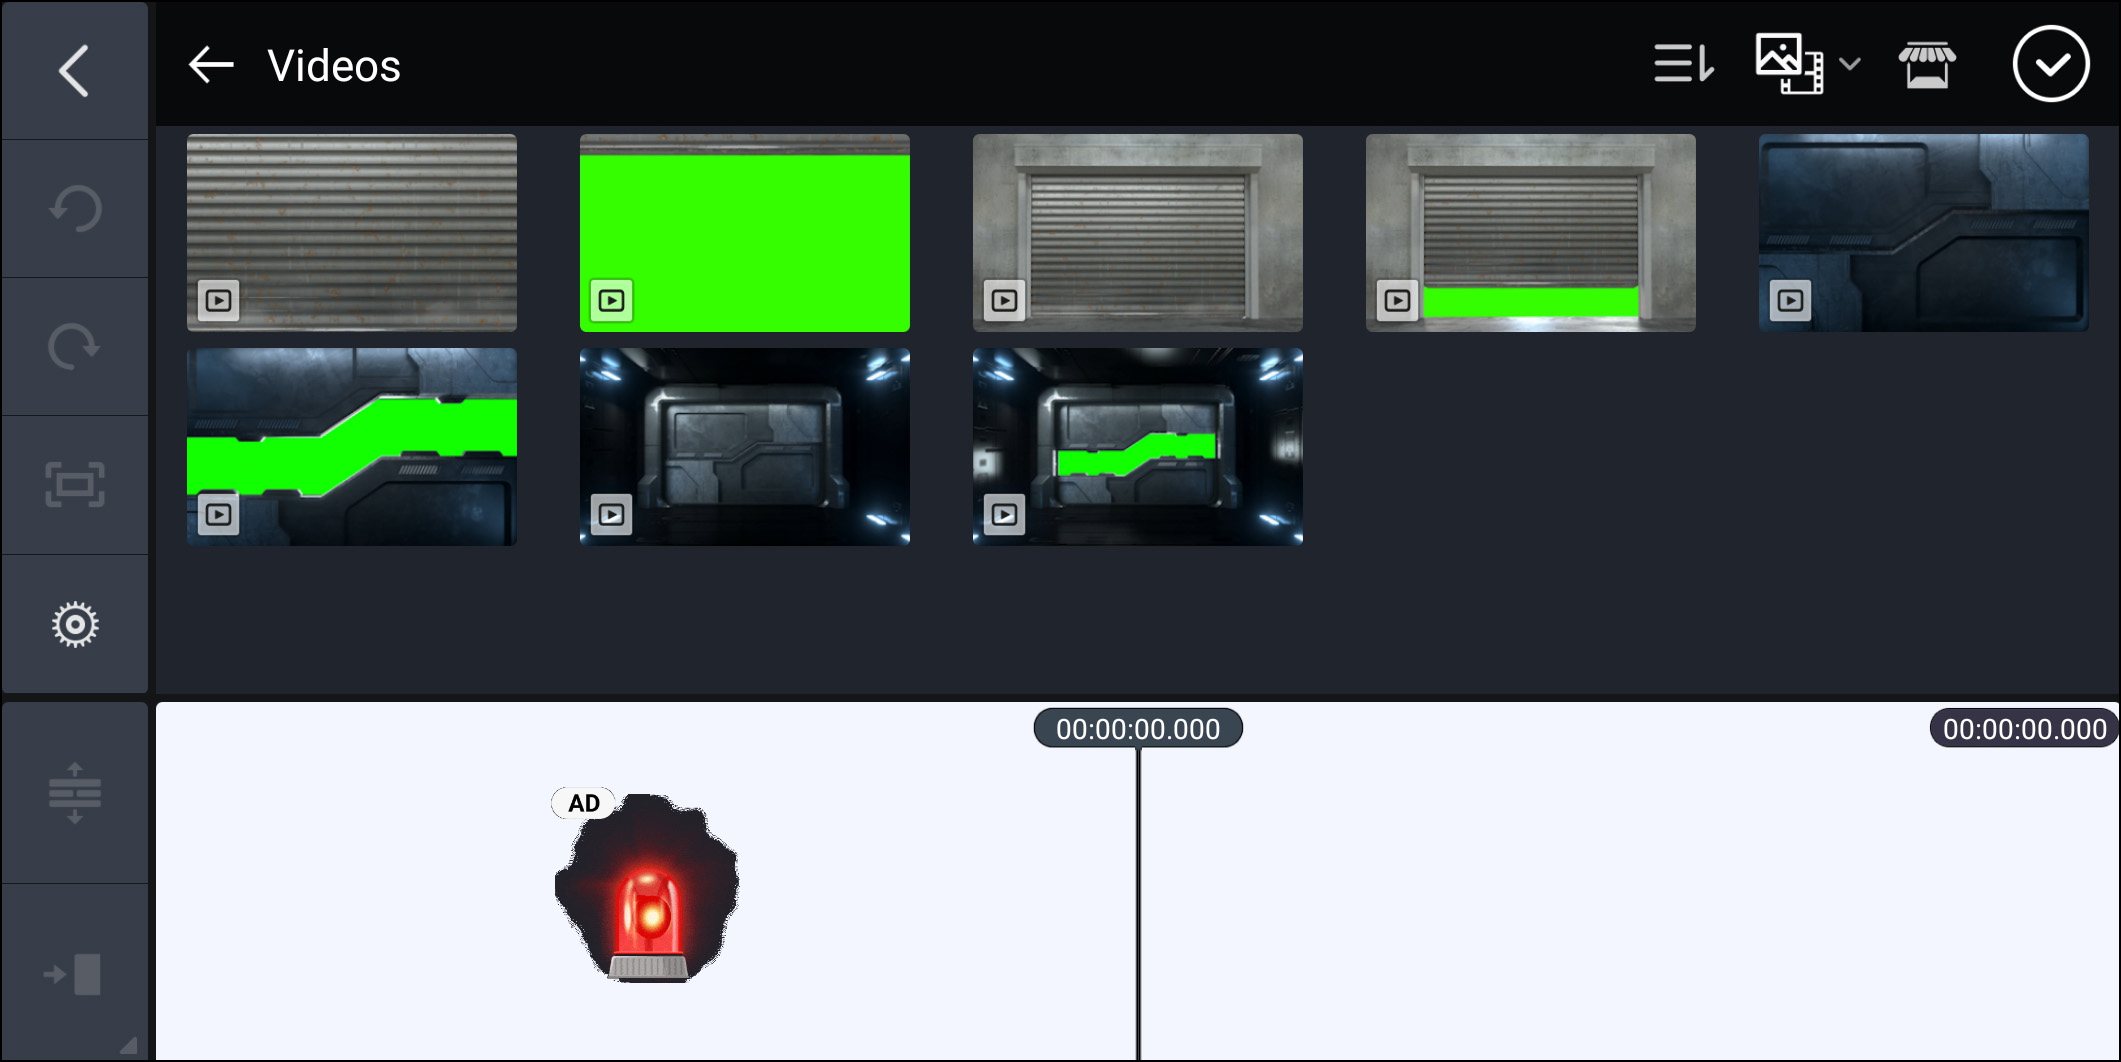
- Assemble your green screen clips

- Add the desired clips underneath the background layer

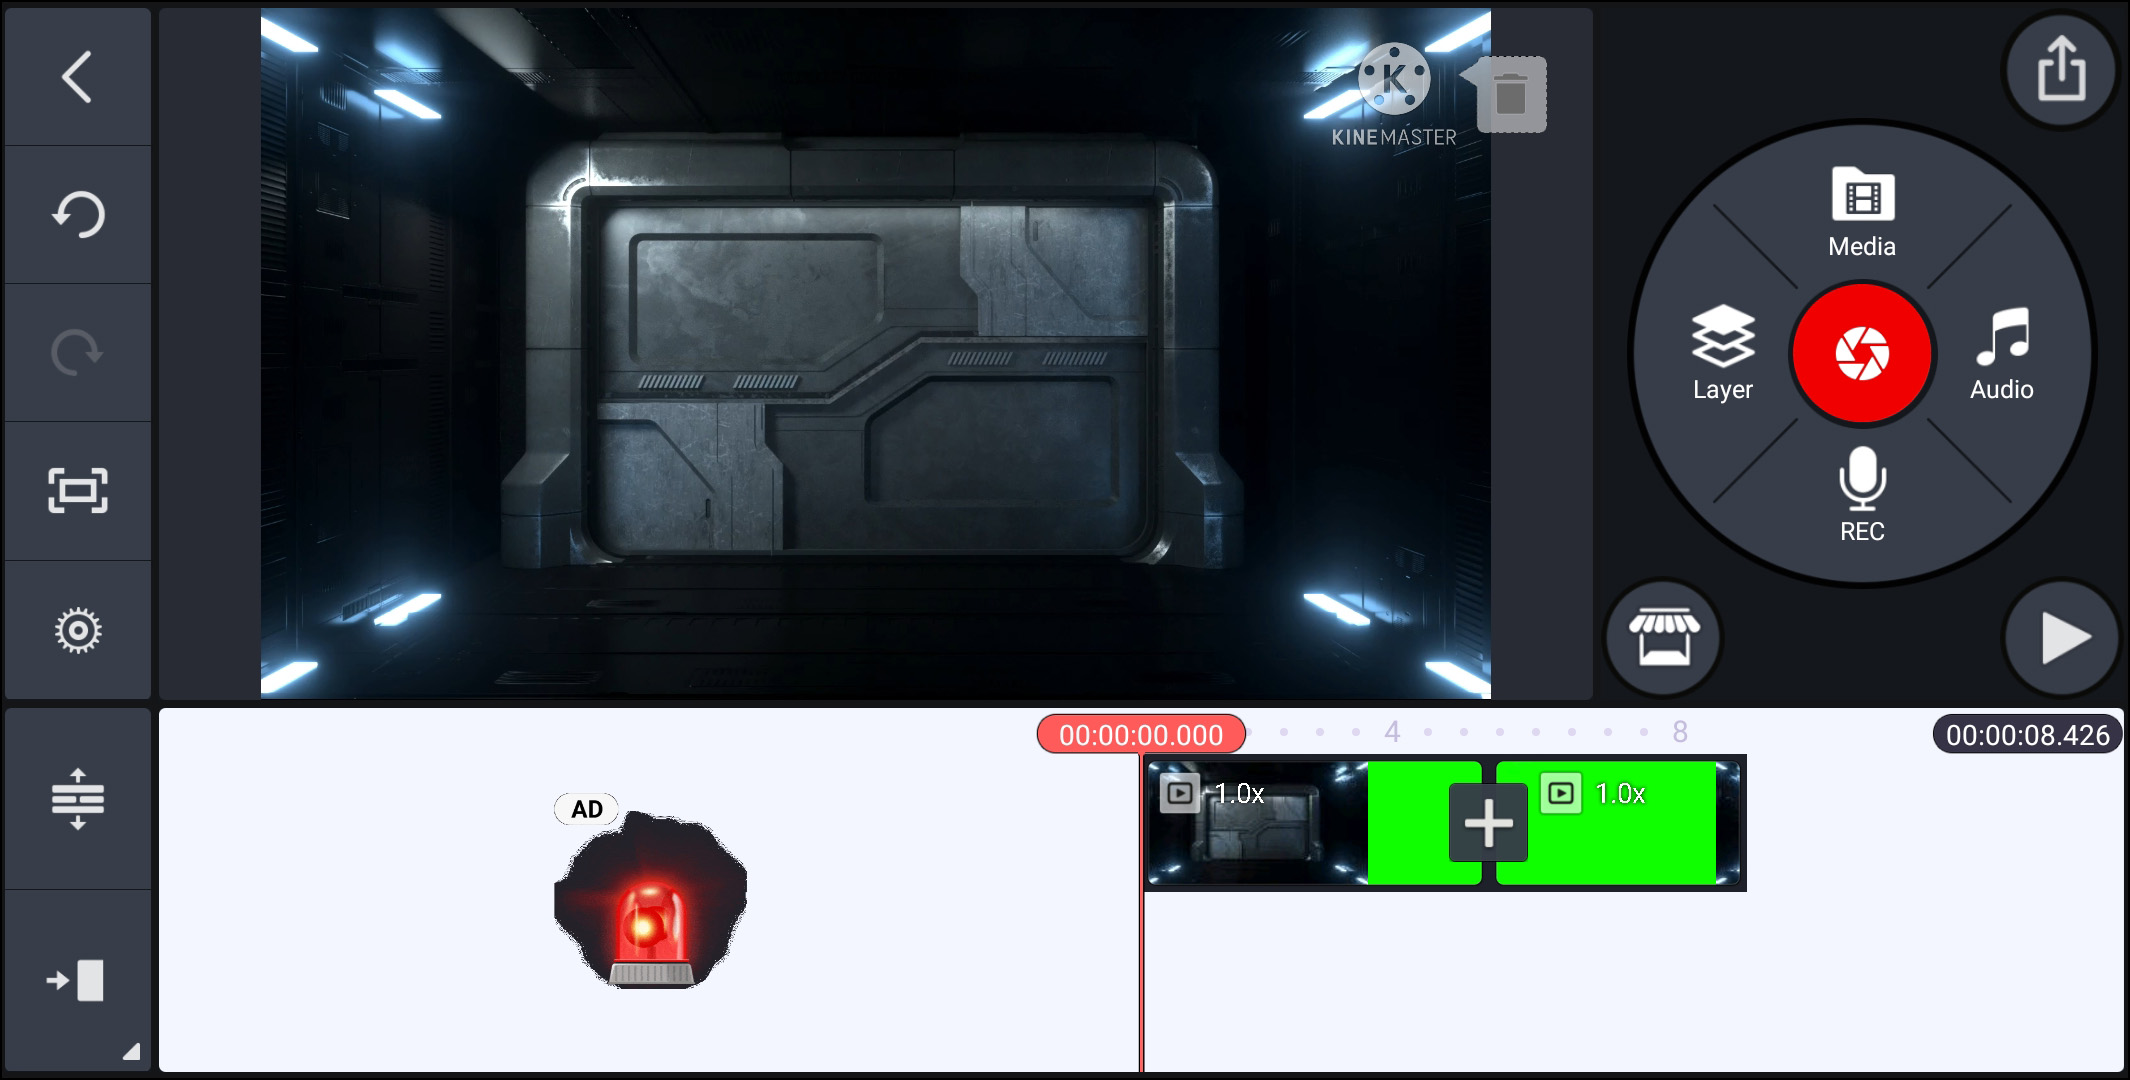
- Select the clips by clicking them

- Navigate to the right-hand menu and turn the chroma key feature on

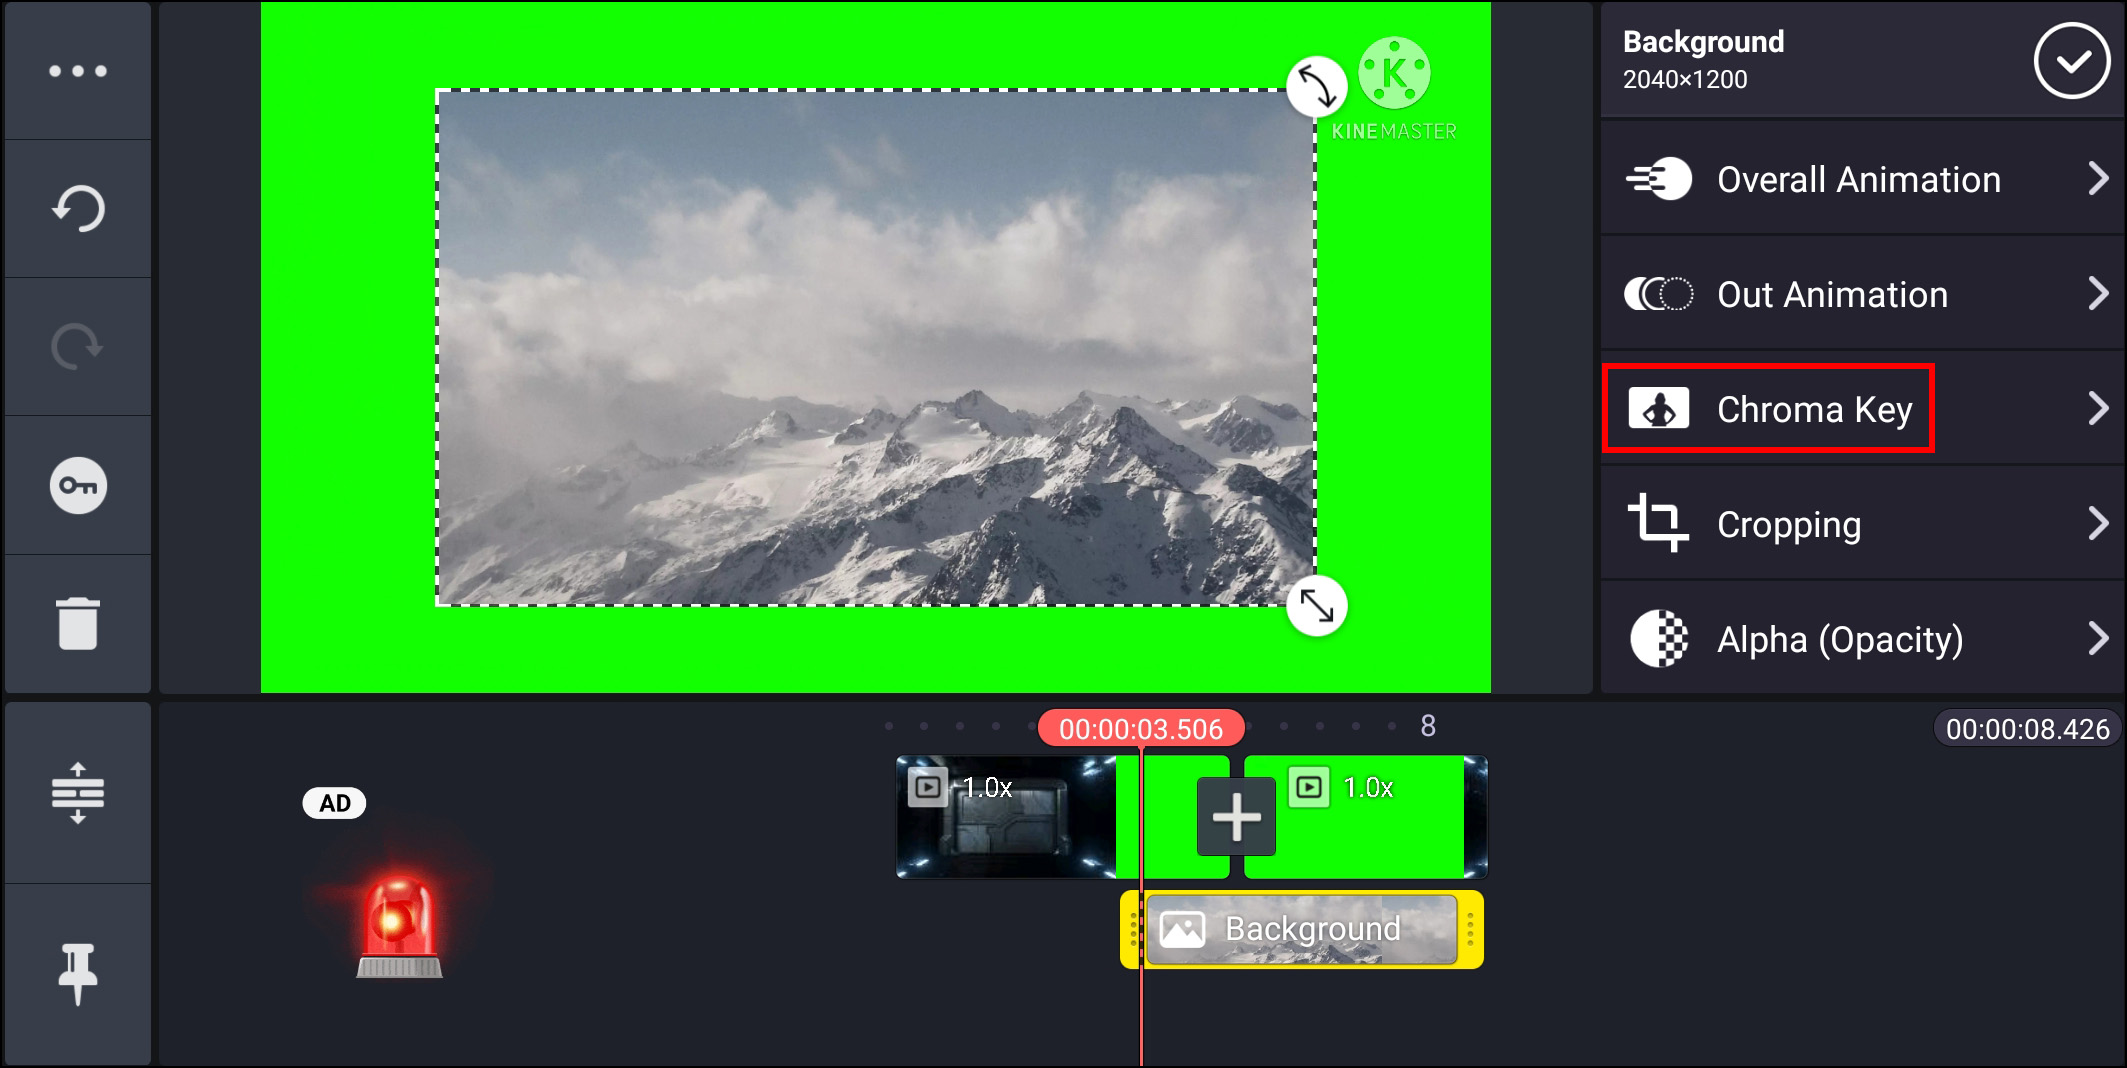
Don’t forget that now is the time to adjust any settings to your preference. Experiment with tones, customize the darkness/brightness of the green. Tweak seemingly irrelevant settings even. It’s time to get creative.

Preventing the Ghost Face Effect
As a KineMaster user, perhaps you’ve noticed the “ghost face” effect, where the person in the video is shown as a double image. This is the result of merging multiple clips together. If the clips happen to overlap, the ghost face effect might occur.
The whole thing could even be funny the first couple of times and you might get a kick out of it then. But sooner or later, you’ll be getting frustrated with this.
And the best way to fix it is by creating a bigger gap between different clips. Don’t go overboard as this, too, will be noticeable in the final clip. Experiment, rearrange, and replay the videos until you’ve achieved the perfect result. But creating a longer gap between clips isn’t the absolute solution.
The ideal solution is very straightforward. It’s as simple as creating a brand-new project for use with your green screen clips only. Edit the clips, add the transitions, and make sure that they’re in perfect shape and by themselves. In this way, not only do you get to fix the ghost face effect issue before it even occurs, but you also get to exercise more creativity in making your clips. Play around with channel cut, split mirror, and other transition effects that will make your videos more unique.
Once you’re done tweaking the separate green screen video project, export the file to your device. Then, add it to the final project. In this project, make sure that the background layer is the top layer. From there, place the exported file right below the top layer. You’ll note that neither the ghost effect nor the disappearing images will show up.
Try a Different Editor
Yes, we know that this isn’t what you’d call ideal. But, if you’ve been struggling with KineMaster, perhaps it’s time you tried an alternative.
We’re not saying that you should drop KineMaster altogether, but there are others that will at least make working with green screen clips easier. Filmora Go, for example, might not be as powerful and feature-rich as KineMaster, but it makes working with green screen clips somewhat easier, at least for the beginner.
You can also use Filmora Go for polishing your video skills and learning the ropes. After that, you can move on to a more complex app, such as KineMaster, without a whole lot of hassle.
Is Chroma Key the Same Thing as Green Screen?
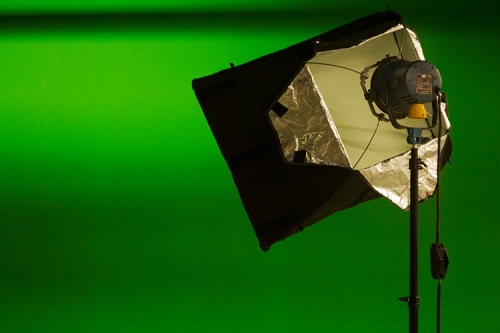
Well, the green screen is the literal green background that allows the video editor to add other footage, pictures, and special effects. In theory, this screen doesn’t have to be green as long as it’s monochromatic. The color green, however, is used because it’s the furthest away from human skin tones.
Chroma key is actually a technique that comprises layering/composting two images based on the color hues. The chroma key technique goes hand in hand with green screens.
Another key term to keep in mind here is “keying,” the process of removing the green screen background from a video in post-production. When the background is keyed, it becomes completely transparent. Then, the video editor fills out the transparent area with other videos, pictures, and/or special effects.
Chroma Key Basics in KineMaster
KineMaster is a powerful app fully capable of providing you with the green screen effect on your videos. However, as a beginner, you might find the whole process a bit confusing. Don’t worry and just keep at it. Alternatively, try using another app until you master the basics of chroma key.
We hope that this tutorial has made it easier for you to use the chroma key feature in KineMaster. If you’re struggling with anything else chroma key or KineMaster related, feel free to let us know in the comments below and fire away with any questions you may have.