How To Lock Cells in Google Sheets

Sure, Microsoft Excel is an excellent space for anyone to store information. It’s got a legacy and is built into the Microsoft office, compatible with all sorts of different software. However, many forget that Google has its own online alternative called Google Sheets.
Sheets supports up to 20k rows and can be used by a ton of different users at once. It’s ideal for analysis, posting assignments, models, and more. Pretty much anything Microsoft Excel can do, Google Sheets can do online with other people and with some streamlined features from the Google Suite.
However, while collaboration is usually a good thing, it has its downsides as well. For example, you may be working hard on a specific space in your shared Google Sheets document, and someone accidentally comes in and messes with some information. Generally, it isn’t on purpose, but the possibility for this to happen is very real. How does one prevent this?
Locking Data Cells
To stop data screw-ups, a high ranking member can secure the data cells. To do so is pretty simple as well.
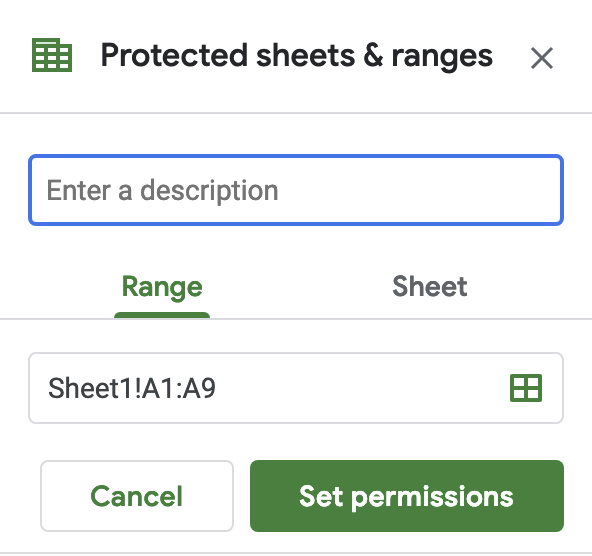
Start by opening the cell sheet everyone is working on. Then, go to the taskbar and select “Data” and go to “Name and protect range.” From there, you can name the selected range of cells. You don’t want to make this too long, as you have to enter it in later. Once happy with the naming, click on the “Protect” checkbox and hit “Done.” If you’d like, later on, you can highlight multiple cell ranges to protect.
Afterward, you’ll see a box that lets you choose the different user permissions for those with access to the document. From here, you can select which members can edit the range of protected cells if any at all. If they don’t have permission, trying to edit them will give the user an error message. Also, any protected cells will have a checkered box on the main page.

Fortunately, if that background is annoying to some of the users, you can change it by going to the “View” tab and unchecking the box for “Protected Ranges.” While this doesn’t get rid of the lock, it helps users read the information easier.
Now, whenever you use Google Sheets, especially when using the platform with collaborators, remember the cell lock feature. In fact, it’s even useful during solo work – locking will prevent you from accidentally altering any of your own cells and getting rid of your hard work.
Editing Locked Cells
While locked cells are necessary, there are times when you’d want to go back and change the information. For times like this, you can set “show warning when editing this range” as an option. That way, when someone tries to edit it, they are given that extra pop-up to prevent accidental alterations. Higher-level collaborators can still get involved with the work, while lower-level ones can go in and change information if they absolutely need.
Spreadsheets are great ways to protect information. However, you need to be careful with said data to keep your work in place. With this guide, you can be sure your data is safe when collaborating with others.


