How to Mirror iPhone to MacBook


Mirroring is a great way to display content from your phone to a large screen. Depending on the situation, that could be a huge TV, a wall projector, or even your laptop. Thanks to the mirroring feature, you can share your content with other people, without them huddling around your phone’s small screen.
Of course, mirroring is also available on Apple devices. Regardless of the connection method you want to use, you can mirror any of your iOS devices to other Apple products. If you’re wondering how to mirror your iPhone’s screen to your MacBook, this article explains everything in great detail.
Mirroring Your iPhone to a MacBook
When you want to mirror the content from an iPhone to a MacBook, there are two ways to do this. Depending on the connection you want to use, you can either use a Lightning cable or the iOS AirDrop feature.
If you want to go with the cable option, you’ll have to use the QuickTime app in order to send video from an iPhone to a MacBook. If you want to go wireless, then you’ll have to use one of the third-party applications that use AirDrop for mirroring.
Mirroring with QuickTime
If you want to mirror your iPhone’s screen to your MacBook, you don’t need to buy any additional software or external devices. Thanks to the built-in mirroring feature, Apple’s native QuickTime app is more than capable of completing this task.
- Using a Lightning cable, connect your iPhone to your MacBook.
- Now start the QuickTime app on your MacBook.
- When the app opens, click the “File” tab from the main menu at the top of the screen.
- Click the “New Movie Recording” option.
- When the “Movie Recording” window pops-up, click the arrow pointing down. It’s the one right next to the main “Record” button in the middle bottom of the screen.
- The device list will appear, so select your iPhone. It might happen that you don’t see your iPhone in the list. If so, simply disconnect, then reconnect it.
- Now you should see your iPhone’s screen appearing on your MacBook.
Please note that this procedure won’t start the recording feature. If you’d like to record a mirroring session, simply click the record button and that’s it.
Mirroring with Third-Party Apps
As outlined in the previous section, mirroring over QuickTime requires a physical connection between your iPhone and MacBook. Since we’re living in a wireless age, some people might find this a bit inconvenient.
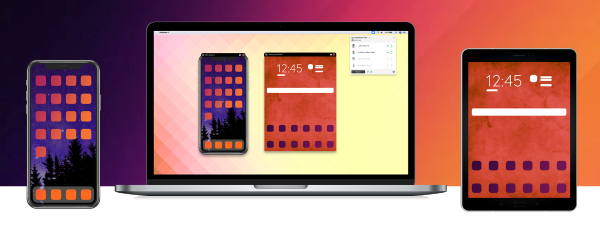
That’s where third-party apps come in, allowing you to enjoy the convenience of a wireless transfer. One of the most popular such apps is Reflector 3. Although there are other apps you can try as well, this guide will focus on Reflector 3 to provide a detailed explanation of the process.
- Open a web browser on your MacBook.
- Go to Reflector 3 web page and download the app.
- Once the download is complete, install the app to your MacBook.
- Make sure that both your iPhone and MacBook are on the same Wi-Fi network.
- Now open some content on your iPhone that supports AirPlay. For example, you can stream your favorite TV show from Netflix.
- Tap the AirPlay icon. It looks like a computer screen with a triangle beneath it.
- AirPlay will now offer you to choose a device you want to send the content to. Tap the name of your MacBook.
- A pop-up screen will appear on your iPhone asking you to enter the AirPlay Code.
- The code should now show up on your MacBook’s screen.
- Type that code into the pop-up screen on your iPhone.
- Finally, Reflector 3 should display the AirPlay content you’re running on your iPhone.
Please note that Reflector 3 can only mirror content from an iPhone that supports the AirPlay feature. That means you won’t be able to mirror every single thing you do on your iPhone. Fortunately, AirPlay covers most of the scenarios you might need mirroring for.
Although Reflector 3 isn’t a free application, you can use their one-week trial to test it out. If you don’t find it worth your while, you can certainly check out other apps to find the perfect match.
Other Mirroring Apps
Besides Reflector 3, you can try AirServer and Mirroring 360 apps for example. Feature-wise, both are on the similar level with Reflector 3. They can establish the mirroring connection between almost all types of devices. Besides Apple’s iOS and Mac OS, you can use it with Android, Windows, Chrome OS, and Linux.
Naturally, both AirServer and Mirroring 360 offer trial periods. AirServer even goes as far as to let you access their full app for thirty days, completely free of charge. Try them all out, choose your favorite, and enjoy your iPhone content on a larger screen.
iPhone on a Mac
Now that you know how to establish the mirroring connection between your iPhone and your MacBook, it’s time to choose the content. Whether it’s for a business presentation or watching the videos you recently made, this is a great way to share content with others.
Have you managed to mirror your iPhone to your MacBook? What’s your preferred way of doing so? Please share your thoughts in the comments section below.