How to Pixelate Images with Paint.NET
Some image-editing software packages include a Pixelate option that pixelates a picture. The effect blurs images by generating pixelation. You can apply this effect to your photos with the freeware Paint.NET, which is compatible with Windows 7, 8 and 10.
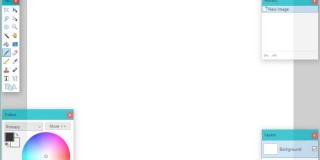
First, open an image to edit in Paint.NET by pressing Ctrl + O. Then you should click Effects > Distort and Pixelate to open the window shown in the snapshot below. That’s the Pixelate window you can apply the effect with.
![]()
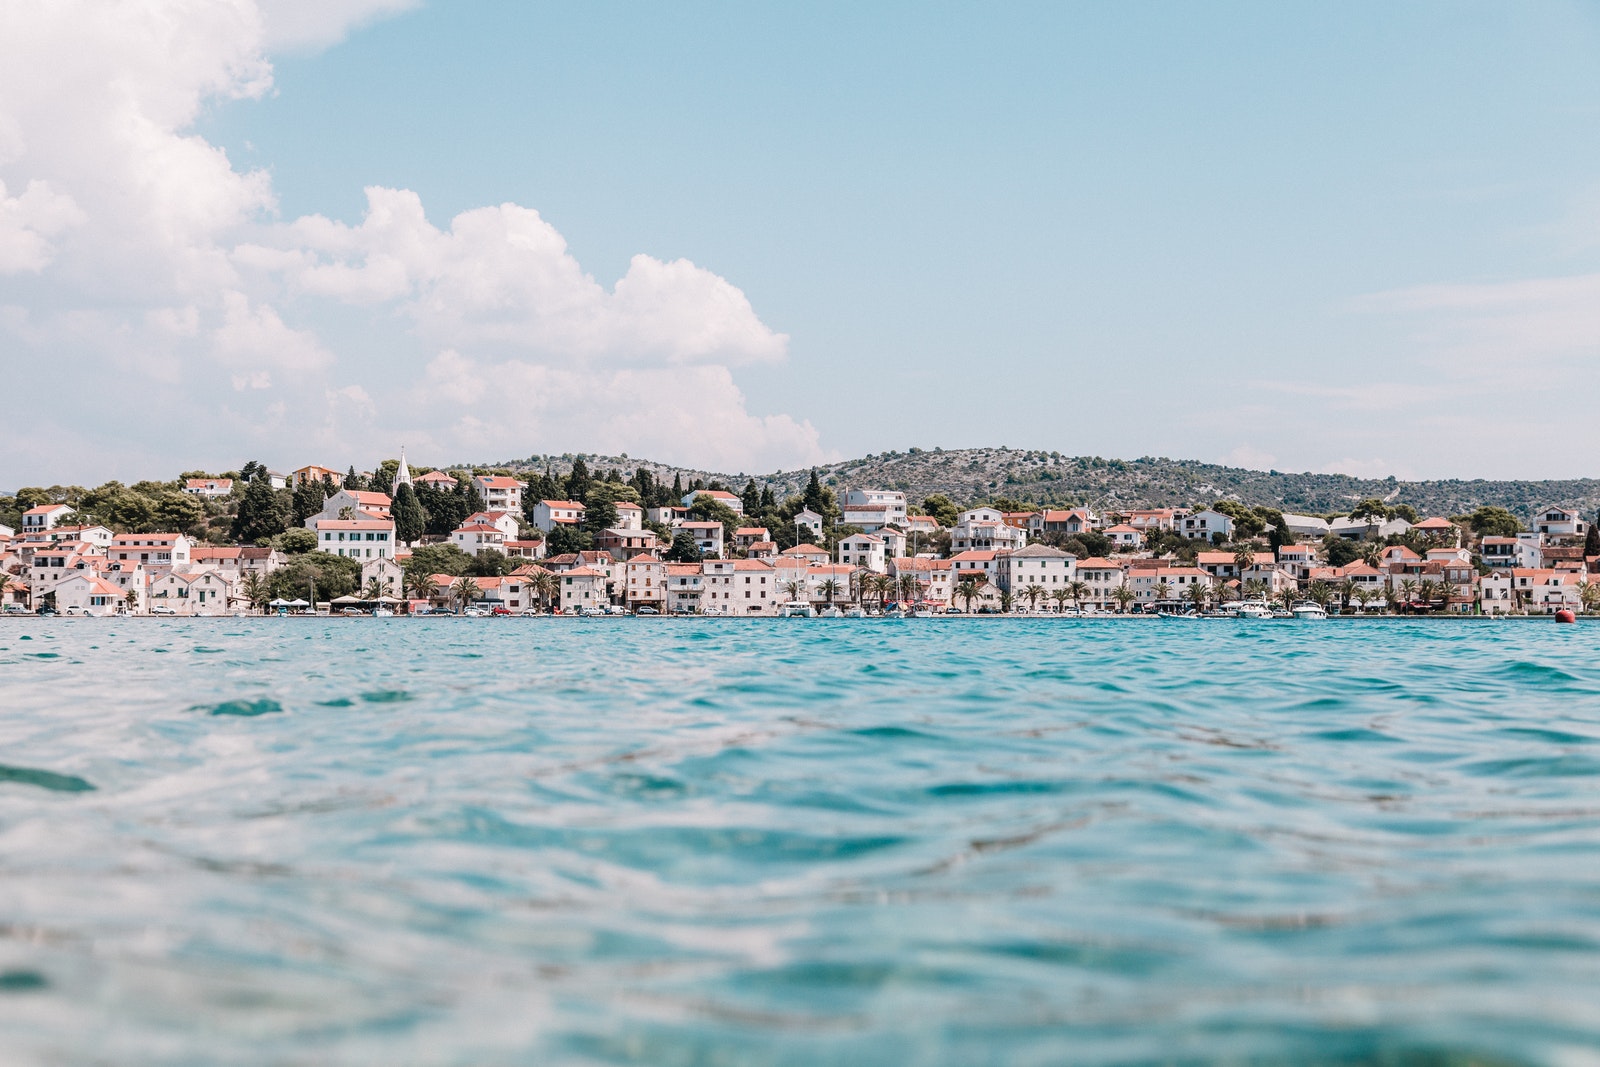
This window has just one bar to apply the effect with. Drag the Cell size bar further right to enhance the pixelate effect and click OK. Then you’ll have output comparable to that shown directly below.
![]()
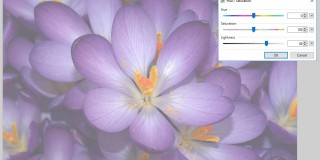
The default Pixelate option might seem a little limited. However, you can add a better one to Paint.NET with a plug-in pack. Open this forum page and click Download there to save the Zip. Open the plug-in’s folder in File Explorer, and click Extract all to decompress it. Extract it to Paint.NET’s Effects folder. Run Paint.NET and click Effects > Blurs > Pixelate+ to open the window directly below.
![]()
This window includes a Cell width and Cell height bar you can drag to apply the pixelation effect. Deselect the Keep square check box so that you can drag each bar separately. In addition, you can also choose alternative sampling methods with the radio button options.
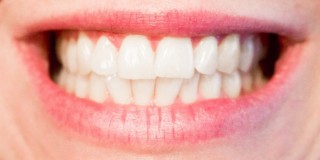
To apply the editing to a more specific area of the picture, click Tools and Rectangle Select (or Lasso Select). Drag the rectangle around a part of the image to add the effect to. Then open the Pixelate+ window to apply the effect to the selected image area as shown below.
![]()
So that’s how you can add the pixel effect to images. It can come in handy for blurring out, or censoring, some parts of a picture.