How To Remove JPG Artifacts in Photoshop

Photoshop is an incredibly powerful photo editing software, but even so, it has its limits. You will notice that it has a built-in option to Reduce Noise in images, but it does not have the option to straight-up remove it.
It is impossible to take an image that has noise – such as color noise, luminance noise, or jpeg artifacts – and make it pitch-perfect. However, Photoshop does a pretty good job of covering the tracks made by noise. While doing so, the image details you want to keep will remain intact.
This article will teach you about JPG artifacts and how to remove them in Photoshop. This isn’t hard to do if you stick to the instructions.
What Are JPG Artifacts?
JPG is an image format that prioritizes file size reduction, but unfortunately, this comes at the cost of quality reduction. JPG relies on lossy compression, which is the opposite of loss-less compression. Lossy means that some of the image quality gets lost in the process of compression, due to the loss of information.
Every time you save a JPG image, the quality keeps dropping. A JPG artifact is the unwanted leftover of compression, which looks like distortion in the image or a kind of a blur. These are the consequences of file size reduction.
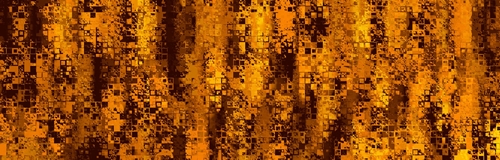
How can you recognize JPG artifacts? You will notice them in the clear part of an image, such as clear water or sky, where you will notice discoloration, blurriness, loss of focus or sharpness, image splitting, etc. These artifacts affect the overall beauty of your images, and not in a good way.
Luckily, Photoshop has tools to remove JPG artifacts and other pesky image noise from your images.
Guide for Removing JPG Artifacts in Photoshop
Photoshop’s Reduce Noise menu allows you to preserve the image quality in many ways, including the removal of JPG artifacts. Since that is the main goal here, let’s talk about it first and later we can get back to other ways of image noise reduction.
Whether you are taking JPG shots with your digital camera or you are just saving images as JPG in PS or other programs, you will likely notice some JPG artifacts. These will make your image look blurry or even pixelated.
These artifacts can range from barely visible to poking your eyes out, depending on the amount of compression, i.e. how many times you saved the image as JPG.
Follow these steps to remove JPG artifacts in PS:
- Open Photoshop.

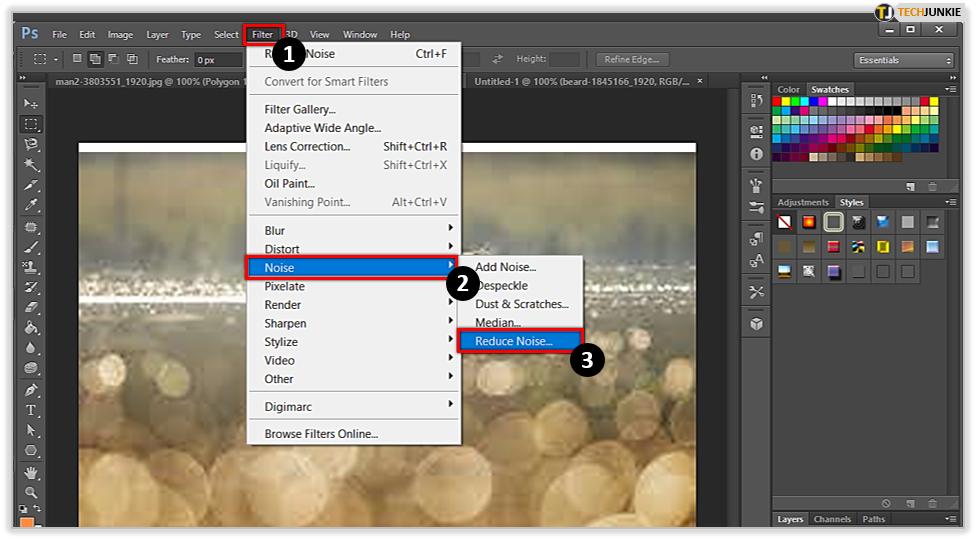
- Click on the Filter menu, then select Noise and finally select Reduce Noise.

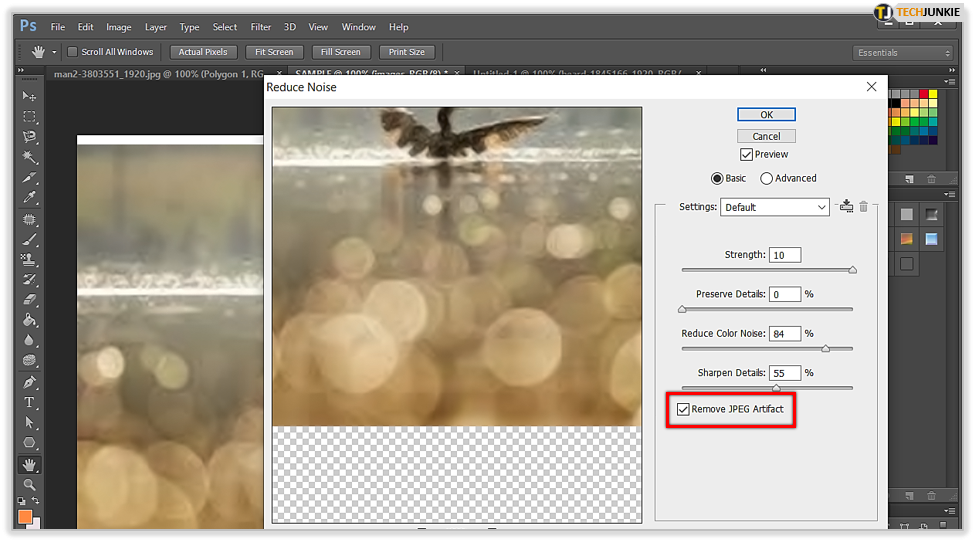
- At the bottom of this dialog box, you will see Remove JPEG Artifact. Tick the box next to it.

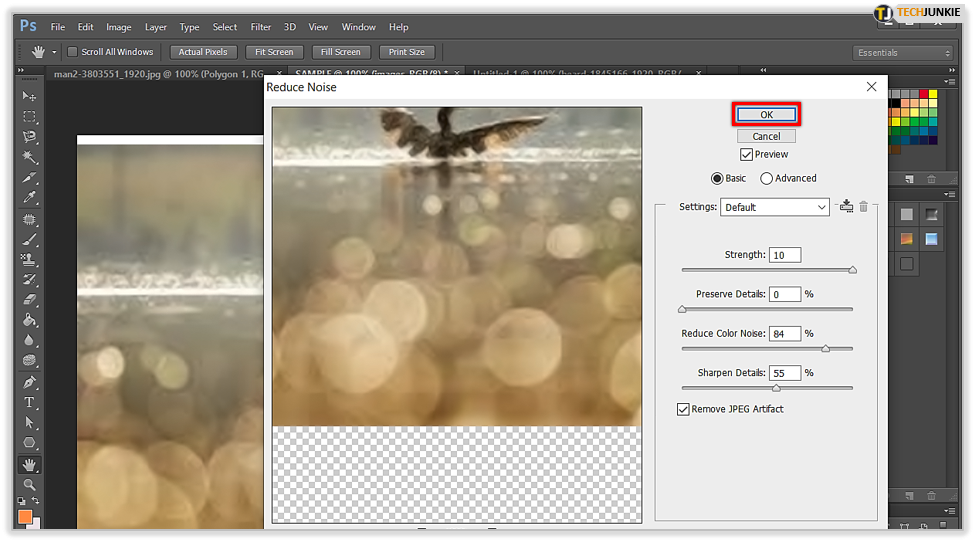
- Click OK to confirm.

Check your image for quality loss after you enable this option. It will be a trade between losing details of your image and reducing noise, which will happen with other options as well. It is up to you to decide how much loss of detail you are willing to tolerate.
Additional Options for Reducing Noise in PS
Besides removing JPG artifacts, there are many other ways you can sharpen an image in PS. Next to the Reduce Noise dialog box, you will see a preview of your image. When tinkering with the options in this box, look at the preview area to track the changes you make.
You can zoom in or out of the image to take a better look. Next to each option for noise reduction, there will be a slider and a percentage. These percentages indicate how much effect a particular option will have on the image.
Start with reducing the color noise. Set the slider to 0 and slowly increase it to see what it does in the preview area. You will have to determine when is the right time to stop reducing color noise, it really depends on the image itself.
To remove luminescence noise, you will need to use both the Strength and Preserve Details sliders. Start with the Strength slider. Again, set it 0% and slide it until you find a perfect fit. Do the same with Preserve Details.
Remember to keep track of the changes in the preview area until you find a good match.

Digging Up JPG Artifacts
Like with any other kind of artifact, you’ll need to put in time and work to expose JPG artifacts. In Photoshop, it’s easy to remove noise, but be careful not to remove too many image details. You want your image to stay close to the original after the necessary changes.
Image editing is a subjective process, and after some practice, you will master these options in Photoshop, as you did others. Find your own style and with practice, and you will see your images improve. Good luck and happy editing!