


How To Take a Screenshot with the Mouse Cursor

The screenshots you take on the computer don’t usually include the mouse cursor. However, having the cursor in the screenshot can come in handy if you need to point to a specific section of the screen that you wish to capture.
There are several apps and a few methods you can utilize to get the screenshots with the mouse cursor included. These methods are quite different for Windows and Mac users, but you can use most of the apps on either operating system.
Screenshots with the Mouse Cursor on Windows
As previously mentioned, there are a bunch of apps to take a screenshot with the mouse cursor included on your Windows machine. However, there is only one way to grab a screenshot with a built-in Windows tools. Other than that, you would have to resort to third-party applications.
Steps Recorder
Steps Recorder is a free built-in tool that is not primarily designed for taking screenshots. However, there is a simple hack you can use to get a screenshot with the cursor by using this tool. Here is what you need to do:
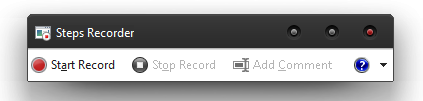
1. Launch the Steps Recorder
When you open the Steps Recorder app, click on the record button and take the steps that you want to screenshot. Once you are done with the desired steps, click on the Stop Record button.
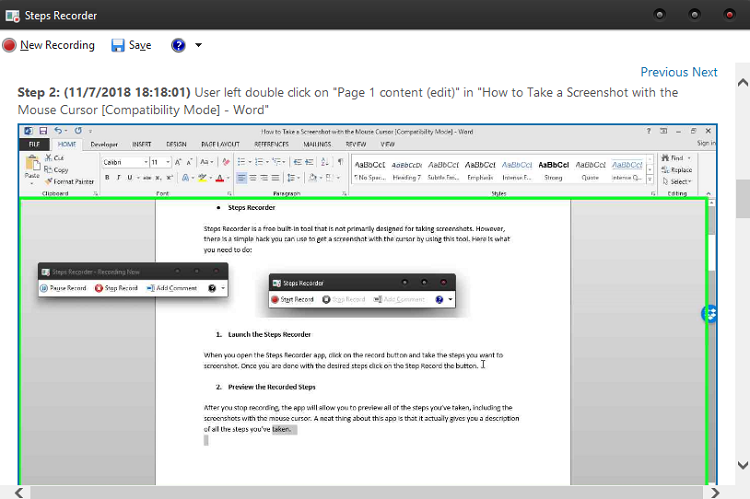
2. Preview Recorded Steps
After you stop recording, the app will allow you to preview all of the steps you’ve taken, including the screenshots with the mouse cursor. A neat thing about this app is that it actually gives you a description of all the steps you’ve taken.
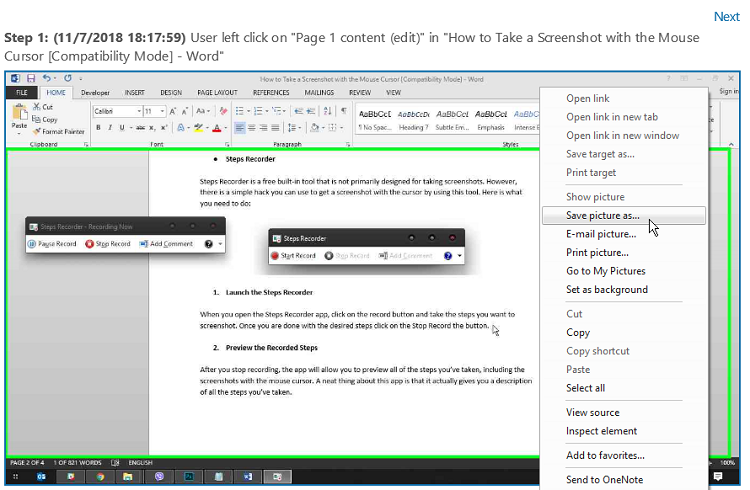
3. Save the Desired Screenshot
When you find the screenshot that you need, you can right-click on it and select “Save picture as”. Then you need to choose the image destination and you will have a screenshot with the cursor included.


Third-Party Applications
There are quite a few third-party applications that let you capture a screenshot with the cursor included. On top of that, these apps offer an enhanced versatility that is hard to match when compared with the built-in Windows software. Let’s take a look at two of the most popular apps that allow you to have a screenshot with the mouse cursor.
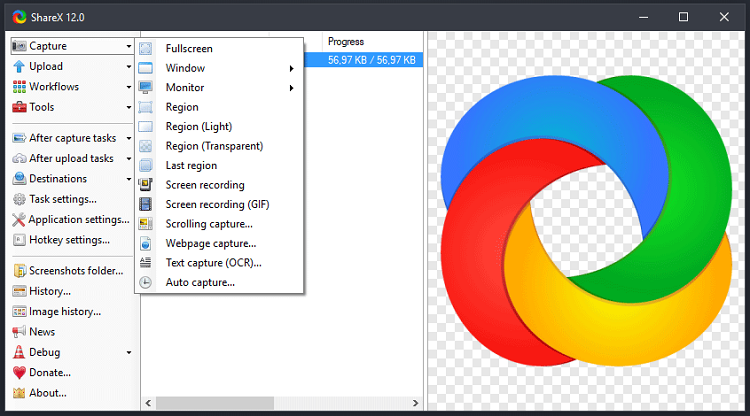
1. Share X
Share X is one of the most popular free tools for capturing great screenshots on your PC. The tool is simple to use and provides all the versatility that you need for professional-looking screenshots.
All you need to do is to download and install the app. After you set a hotkey for capturing screenshots with Share X, all the screenshots you take will include the cursor. In addition, the app comes with a bunch of other tools that allow you to create different kinds of screenshots.
2. Free Online Screenshot
If you don’t want to install software on your computer, Free Online Screenshot is a tool that allows you to capture screenshots from within your browser. In addition, if you really like this particular app, you can also download it to your desktop computer or your Android device.
To capture a screenshot, you need to click on Take Screenshot on the home page, allow Java to run on your device, and do some additional configuration. Namely, you should click on Options and select “Include cursor in capture”. After this, you need to click on the camera icon to start capturing.
Drag your mouse over the area that you want to screenshot and save it to the desired destination on your PC. Besides the screenshots with the mouse cursor, this app allows you to add special effects, lines, and text to the images. On top of that, there is an option to instantly share the shots on social media and upload them to cloud storage.
Screenshots with the Mouse Cursor on Mac
Some would argue that capturing screenshots with the mouse cursor is infinitely easier on a Mac since you can do it natively. In addition, there are only two quick steps that you need to take to ensure that the cursor is visible in each of the screenshots.
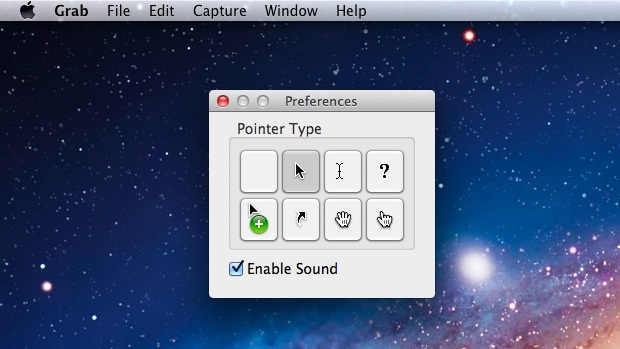
1. Launch Grab
Once you launch the Grab tool, go to its preferences (cmd + , ) and choose the Pointer Type you like.
2. Take a Screenshot
After you select a pointer you like, utilize the Capture menu to get the shot that includes the cursor. It is worth noting that the standard screenshot hotkeys don’t include the cursor, so you need to use Grab.
The Final Shot
Screenshots that include the cursor are quite easy to obtain regardless of the operating system you are using. Also, you shouldn’t hesitate to give some of the third-party apps a try, even if you are a Mac user. These apps come with some premium features that may take your screenshots to the next level.


