How To Show Gmail Notifications On A Desktop
Gmail is one of the most popular e-mail services on the market. Because of this, it is used as a primary email provider for most businesses and individuals who would like to be taken seriously.
Some users even create multiple email addresses within Google’s domain thanks to how powerful it is and all of the features it offers. Plus, creating a Gmail account means you have an account for all of the other different Google services such as YouTube, Google Docs, Google Drive, and more.
However, it can be a bit annoying to have to log into Gmail all the time whenever you want to access your emails. Some users look for ways around this, such as desktop clients or other forms of access. In this guide, we’re going to show you one such way – desktop notifications.
How To Enable Gmail Notifications On Desktop
What’s useful about Gmail notifications on desktop is that they can tell you when someone is contacting you even if you don’t have a browser window open. Maybe you’re just hanging out on your desktop and browsing through photos, waiting to hear back on that job application. Instead of anxiously checking your email every few seconds, you’re trying to pass the time by doing something else. Suddenly, a desktop notification pops up! You get an e-mail saying you have the job, and you didn’t have to sit and refresh a page while waiting for it. That’s how great these popups can be.
When signing up for Gmail, desktop notifications or “alerts” are automatically turned off. However, you can turn them on in Gmail settings, alongside Gmail chat settings as well.
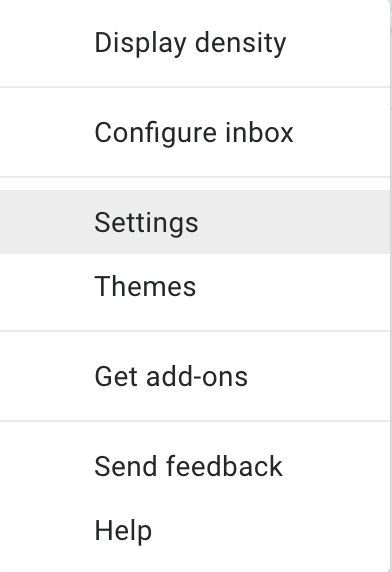
To start, log-into your preferred Gmail account via your desktop browser. Then, navigate to the main page that shows all of your emails. From here, go to the settings “Gear” image on the top right and scroll down through the “General” tab. Find the “Desktop Notifications” segment. It will read in parenthesis: (allows Gmail to display popup notifications on your desktop when new email messages arrive.)
From there, you have three options:


- New mail notifications on – Notify me when any new message arrives in my inbox or primary tab.
- Important mail notifications on – Notify me only when an important message arrives in my inbox.
- Mail notifications off.
Your Gmail inbox settings will default to the third option. That said, you can tinker with the top two to see which one you prefer. Some users receive hundreds of emails a week, and may not want every single one to disturb them with a notification. Those users may want to select “Important Mail Notifications On.” If you don’t mind being notified of everything, “New Mail Notifications On” would be the better option.

Once your settings are selected, don’t forget to hit the “Save Changes” button. Also, keep in mind that Google Chrome and Windows 10 have notification settings that may override your Gmail pop-up ones. To prevent this, ensure that Google Chrome allows notifications in the settings tab. For Windows 10, be sure that the “Quiet Hours” feature is off. Or even manipulate those settings to have Gmail notifications pop up even during Quiet Hours.
A Suite of Key Features
Aside from desktop notifications, Gmail provides all sorts of features to make your business and personal life a little easier.
Scrolling through the options list, you have features like smart reply, send and archive, conversation view, nudges, and more. Sometimes you may have forgotten to respond to an email or two. In this case, the platform will notify you of this and nudge you to send one.
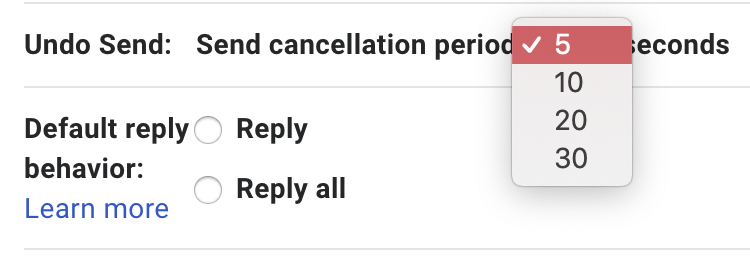
You can also change between different default text styles, predictive text responses, and more. Fortunately for those who participate in a ton of grouped threads, you can also choose to auto “reply-all” instead of manually having to select that all the time. That said, you make sure you’re correctly replying to the necessary participants in this case.
Gmail also offers an advantageous feature called “Undo Send.” With this active, you can choose a period of either 5, 10, 20, or 30 seconds to take back an email after hitting send. It’s nothing drastic, but this is a nice addition as it allows you to pull back a message in case you’ve found some significant errors or something else of the sort.
Either way, now you know a little bit more about Gmail. Hopefully, this and the other guides on the site can increase your knowledge even more, and ensure that you get the best out of all of your platform usage. See you on the internet!