
Home Social Media Snapchat The Best Snapchat Saver Apps [September 2020]
TechJunkie Expert Recommendations
![The Best Snapchat Saver Apps [September 2020]](https://www.techjunkie.com/wp-content/uploads/2016/12/facebook-1602262_1280-1280x720.jpg)

Snapchat is the immensely popular disposable social network. Temporary shares on Snapchat allow you to send a photo or a video to a friend, and within ten seconds, it’s gone forever. Even public posts, called “Stories,” are only available for twenty-four hours. Once they’re gone, they’re gone—no one can have access to your content any longer. Not even you, unless you have the foresight to save your snaps to your own “memories” option.
Of course, you can save the snaps others send you. Whether you’re on iOS or Android, your phone always has the option to record a screenshot. It’s incredibly useful, though Snapchat’s obviously thought ahead. Whether you screenshot a conversation thread, a photo or video, or someone’s story, with Snapchat notifying them to your recording. And while they can’t exactly stop you from saving the snap, you can be sure as hell they know you have a copy of their photo.
So how do you get around this limitation? Well, it’s not easy. Both iOS and Android are filled with applications that promise to allow users to bypass these notifications and keep your actions secret. The problem: plenty of them have in-app purchases, advertisements, feature unfixed bugs and issues with crashes, and worst of all, can even occasionally cause your Snapchat account to be locked down for a limited time. This makes “Snapchat Saver” apps a difficult proposition, as Snapchat continues to crackdown on applications that bypass restrictions and break their terms of service. The best way to capture snaps sent to you is to perform a system screenshot on your phone—a method we’ll cover in detail below—but short of that? Well, we have a few recommendations, so keep reading for more information.
Start by logging into Snapchat if you haven’t already. Once you’ve received a snap you want to save to your device, prepare to perform the screenshot function on your device. Typically, most Android devices use the Volume Down & Power, though if your phone has a physical home key (like Samsung’s flagship devices up to the Galaxy S7 and S7 edge), you’ll want to tap Power & Home. Keep in mind you only have a certain amount of time—typically up to ten seconds—to screenshot the snap displayed on your screen, though some users set their snaps to loop until the snap has been closed.
On iOS, the screenshot key combo also depends on your device, with any device with a home button using the power and home button combo, and any device without a home button using volume up and power instead.
When you open the snap, performing a screenshot will cause the display to flash for a moment. The snap itself won’t close until you’ve closed it (or until time has run out on the snap), so don’t worry about missing the content. If you missed your screenshot, or you need to view the snap again, just replay the snap by pressing and holding your finger on the chat display. The snap will be refreshed, and you can view it again. Do note that this can only be used once per snap, so if you’re hoping to re-view the snap over and over again, you’ll have to screenshot the app. Also, if you replay the snap, the user who send you the app will receive a separate notification alerting them to the replay. And of course, remember if you view a snap and leave the chat page, you won’t be able to replay that snap—it’s gone forever.

While it may seem a bit odd, we actually recommend sticking with typical screenshots on Snapchat. The app’s been around long enough for most users to adapt to the idea of screenshotting snaps. The etiquette between users of the social service has become solid enough for most users to recognize when screenshotting should and shouldn’t be accepted, and with the alerts sent between devices enough of a deterrent to stop users from screenshotting snaps they know the other users won’t appreciate.
Still, if you’re looking for a secret method for grabbing those shots—or even for saving videos in full length with sound—we have some app recommendations for you. This is by no means a complete list of app recommendations, but we think you’ll find most of these apps worthy of taking over your screenshot duties—all while keeping your screen-capturing activities under wraps.
Compatible With
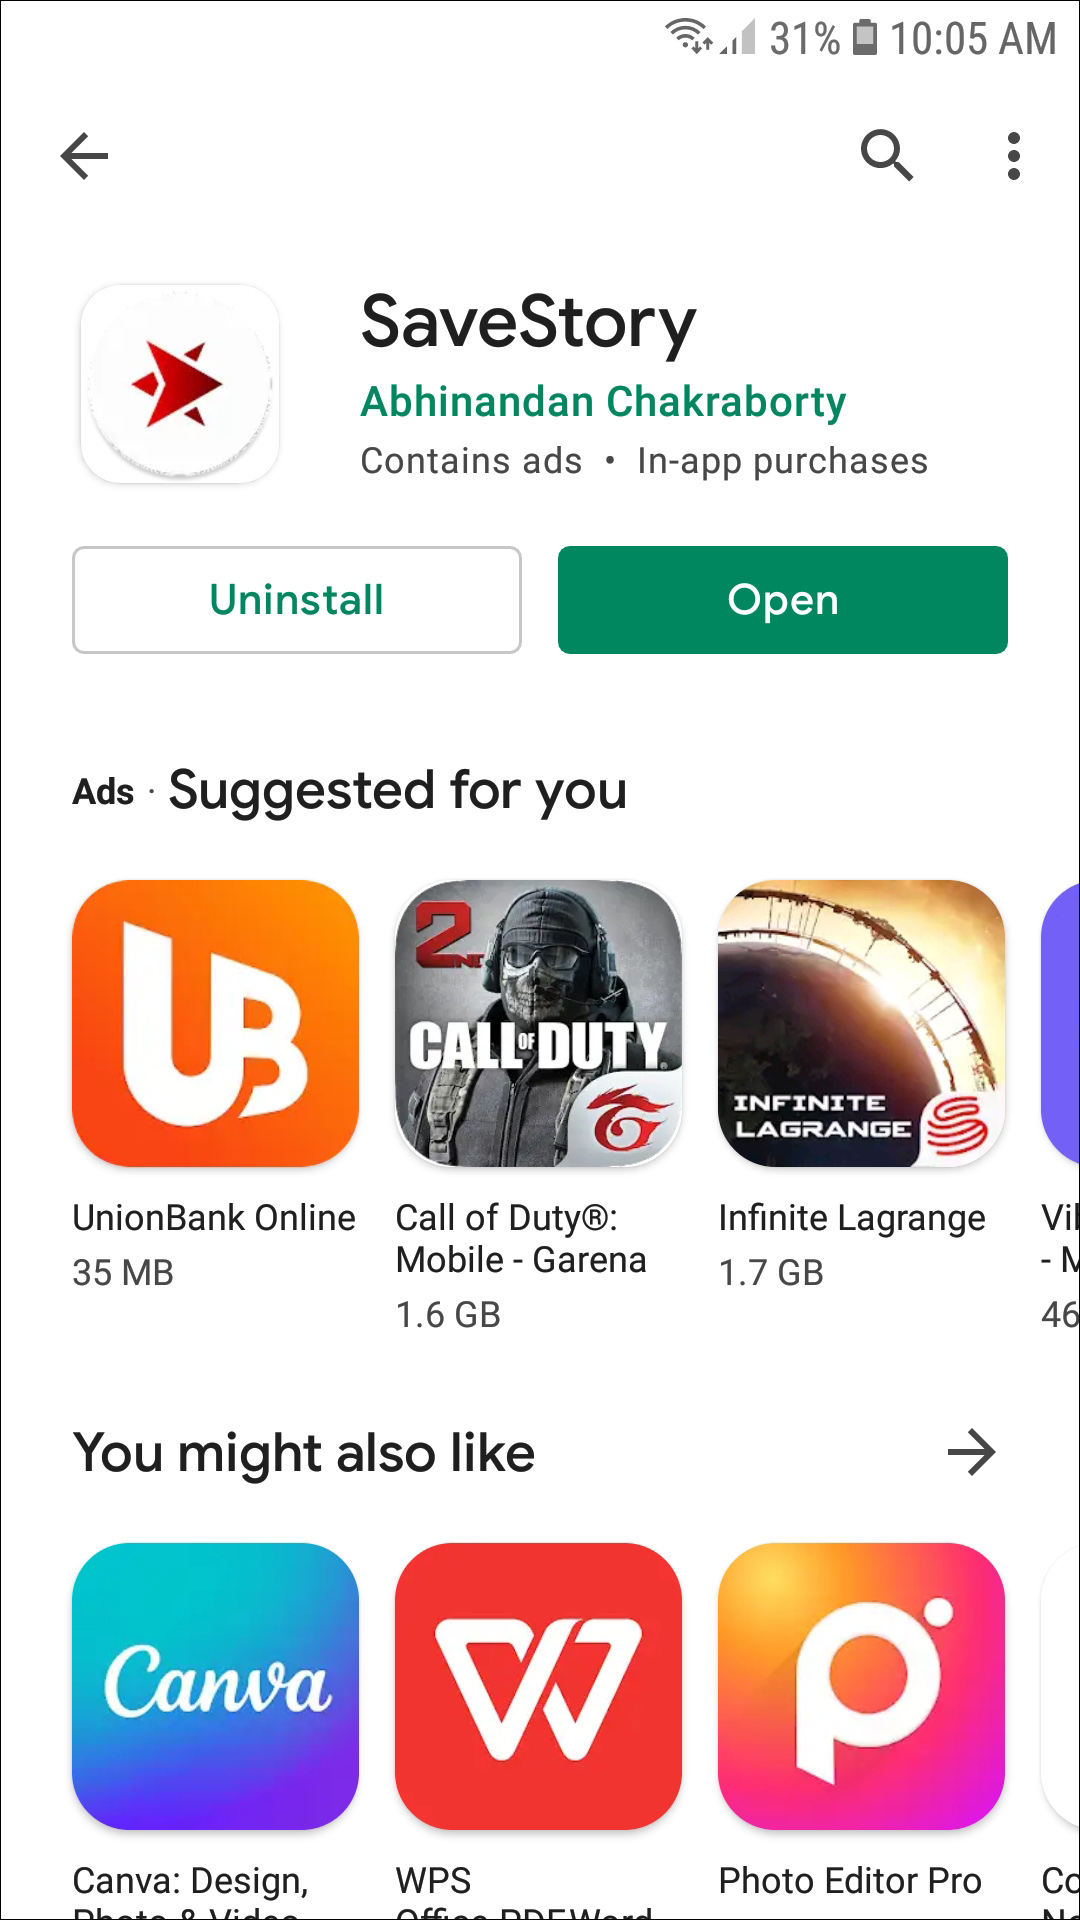
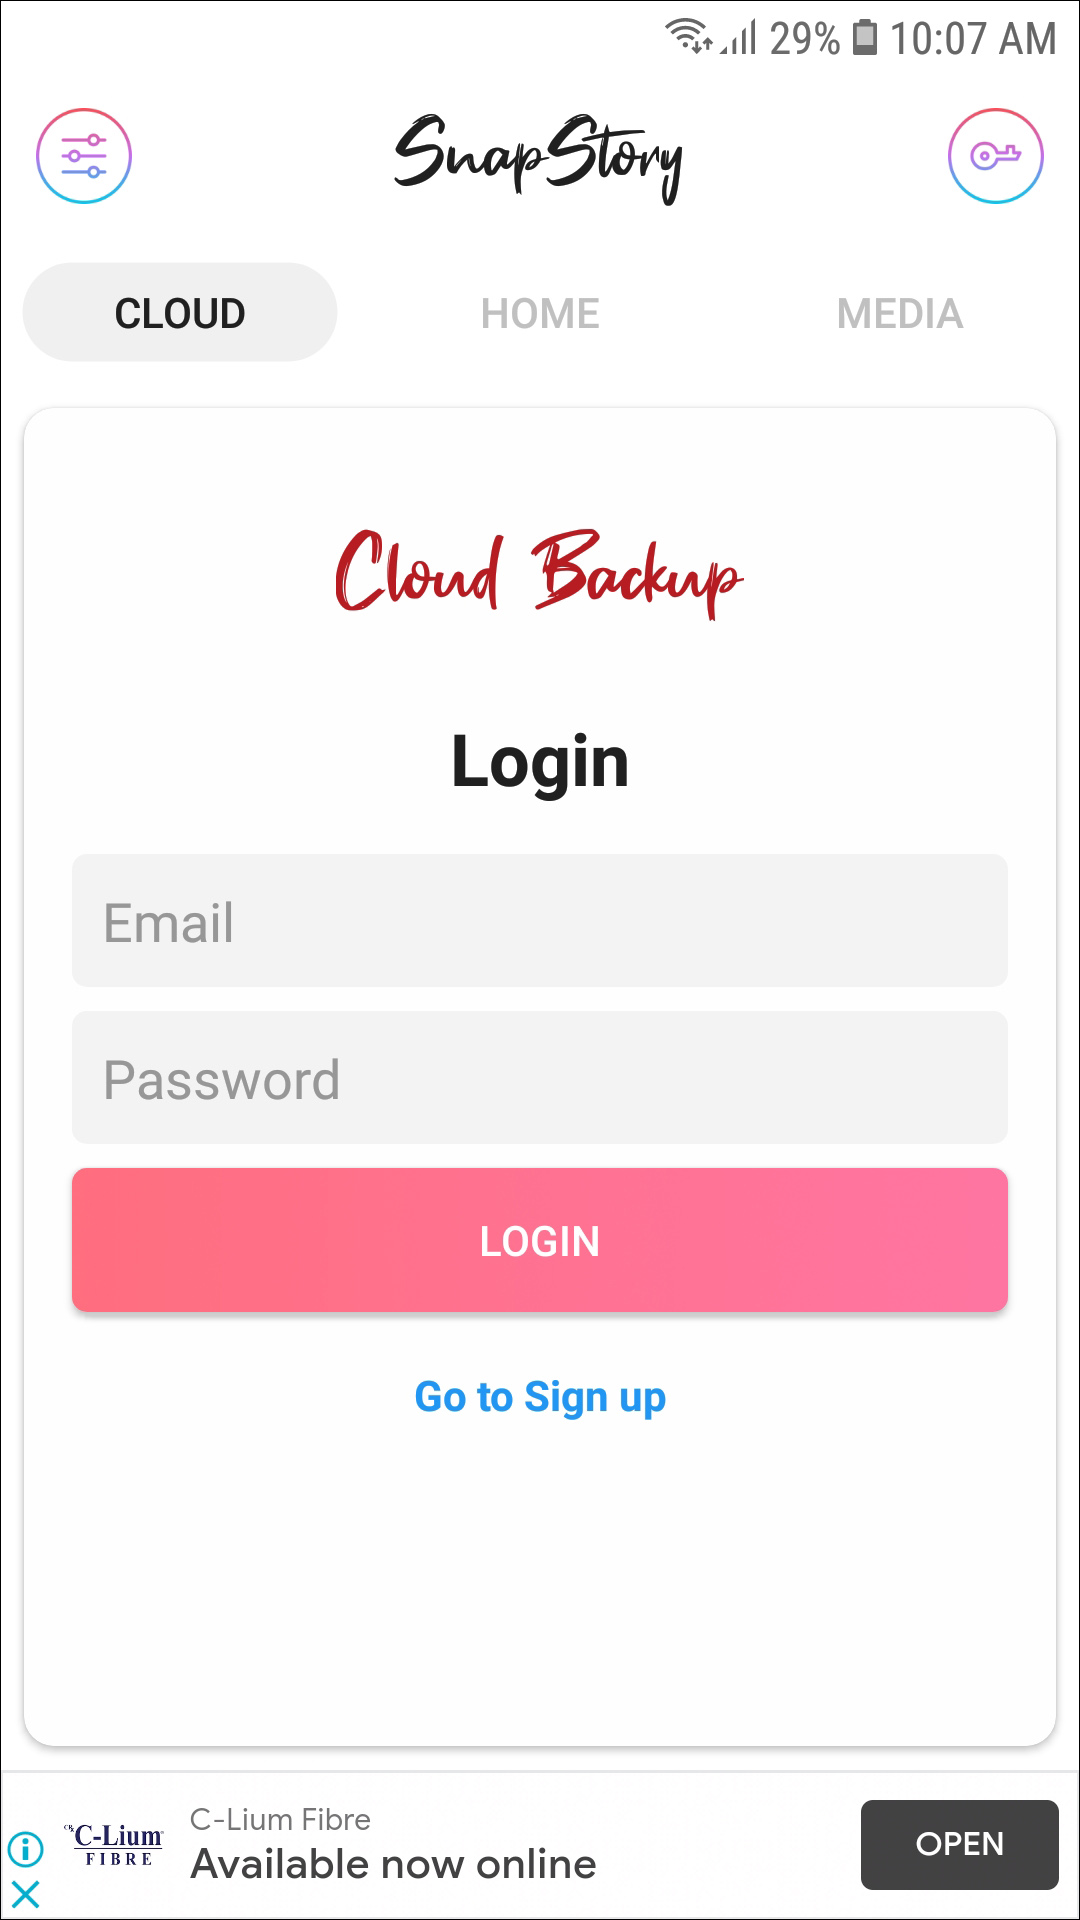
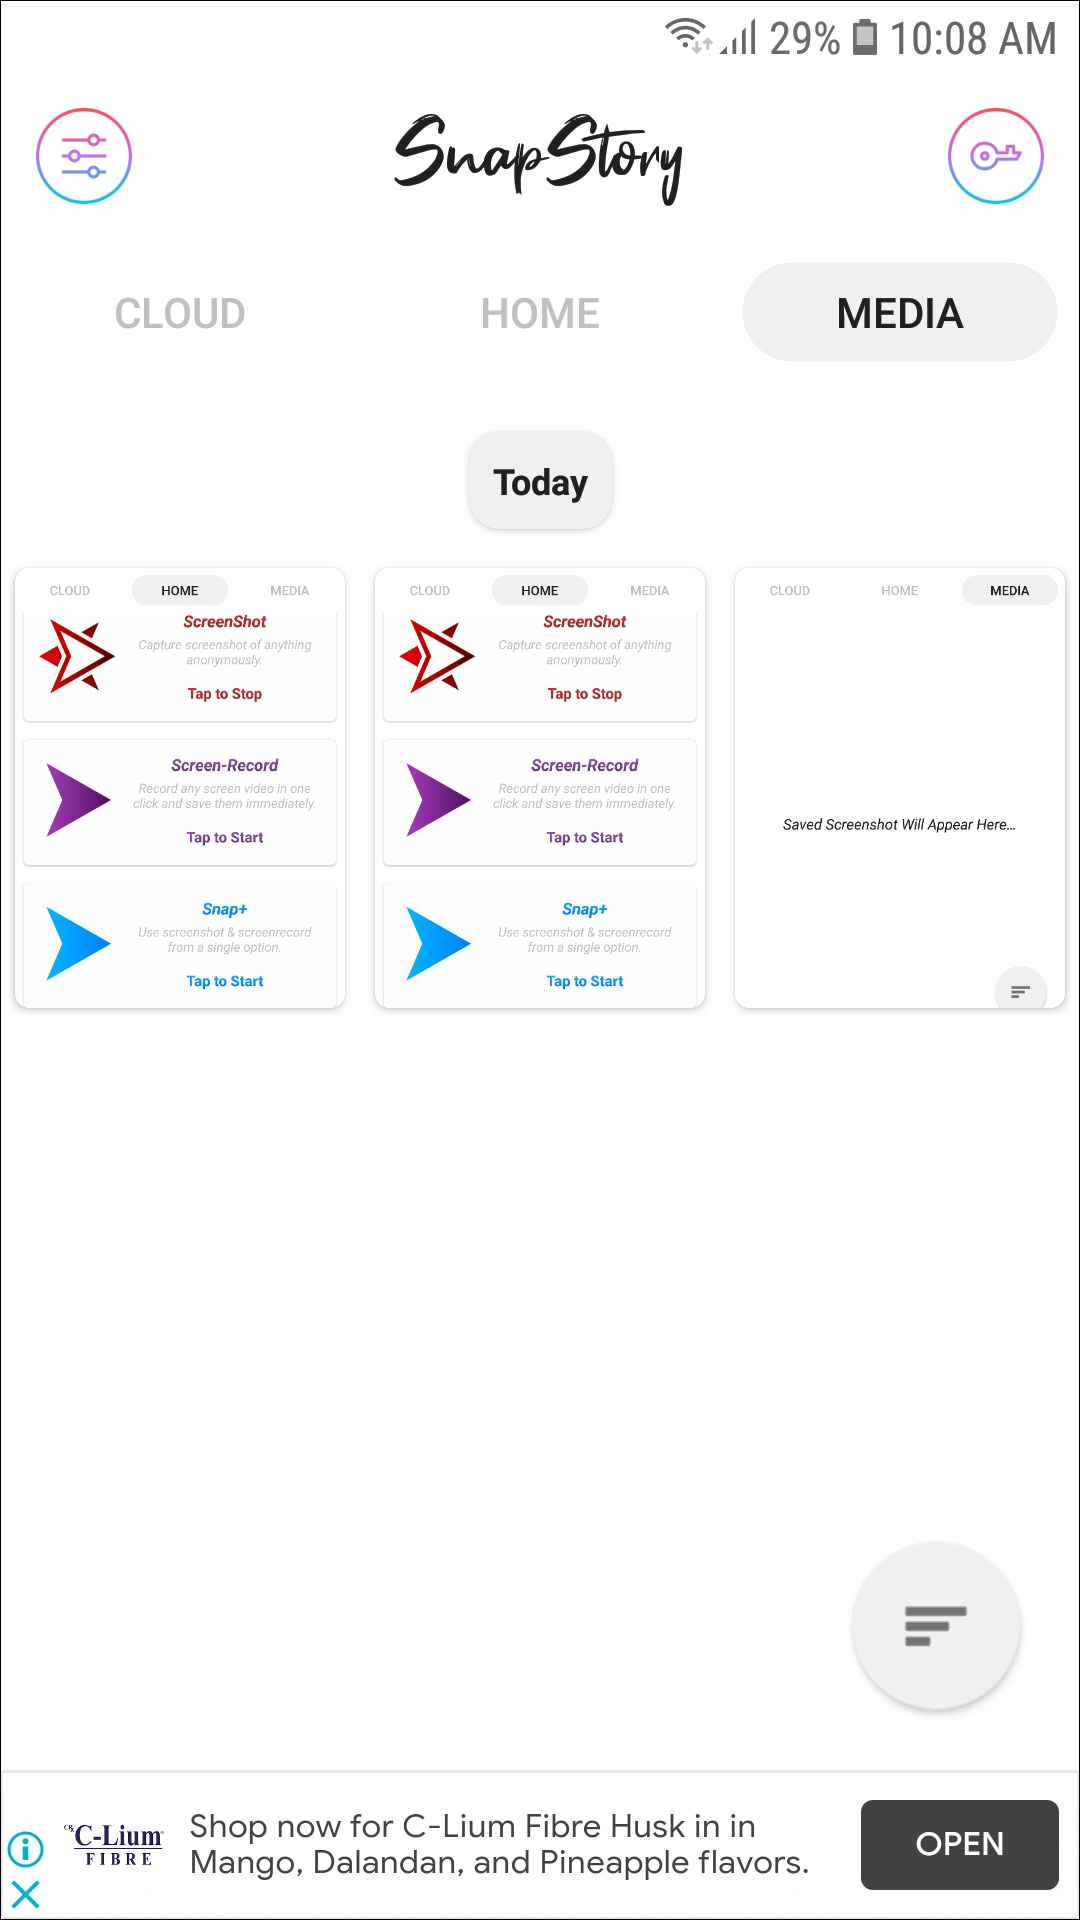
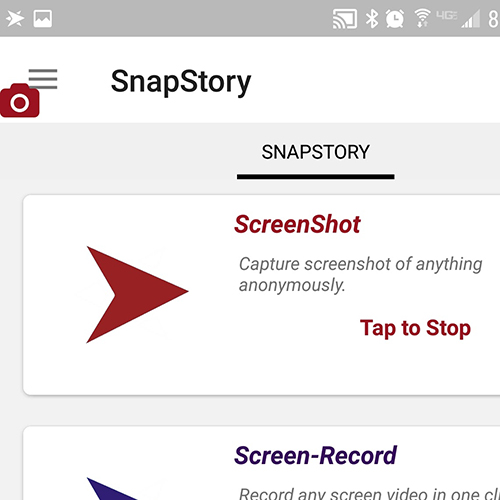
SnapStory is an interesting app, because it seems to have no restrictions as far as capturing screenshots and saving stories from Snapchat. Even with older third-party apps like Casper (an older app that no longer exists in development), you were required to login to your Snapchat account—often leading to soft or hard bans from using Snapchat entirely. SnapStory is different. It doesn’t require a login, supports anonymous screenshots and video recordings, works on non-rooted devices, and promises not to lead to bans or account lockings. And unlike apps with similar promised features, this one delivers, if the user reviews are anything to go by. The app sits at a 4.4 rating on Google Play, with competing apps typically featuring an average of around three stars. So, does SnapStory hold up to its promises?
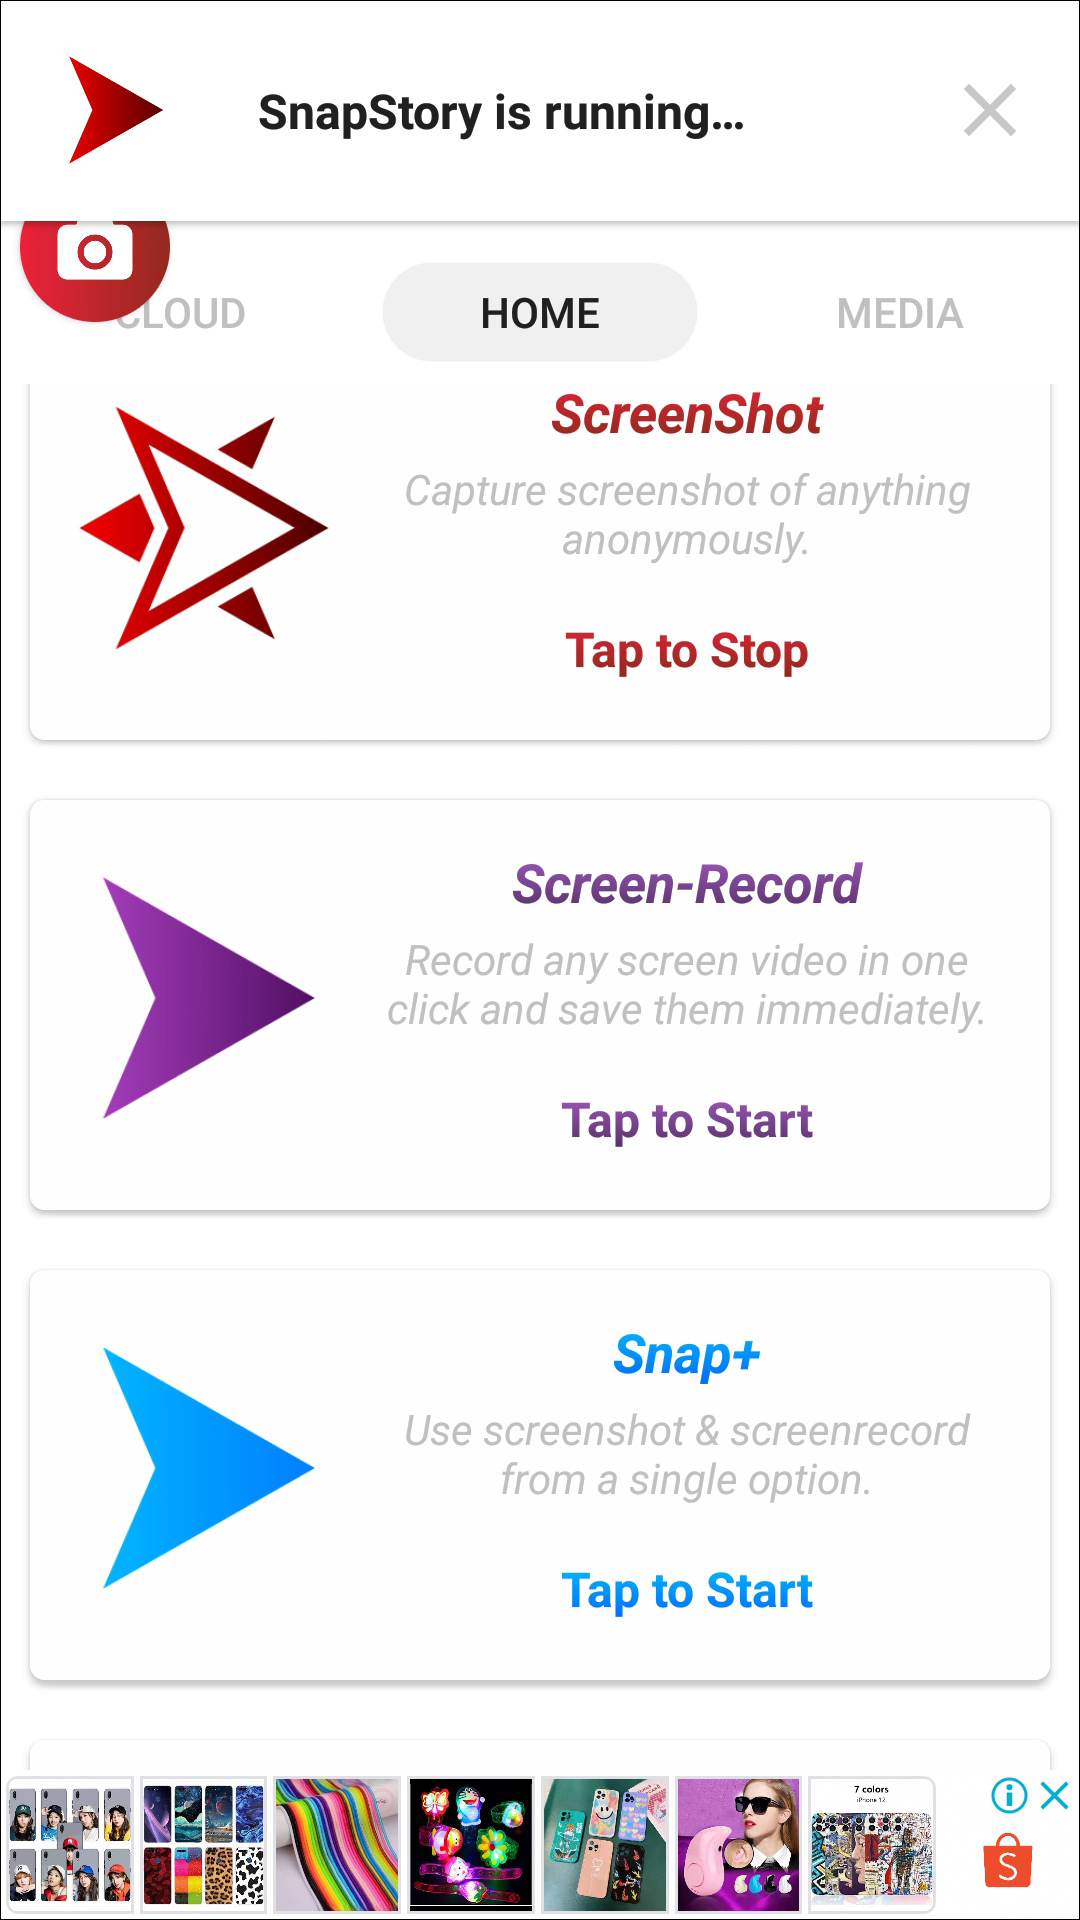
Well, yes and no. While SnapStory isn’t a terrible app, it also isn’t without it’s fair share of flaws. The app begins by offering tutorials on how the app works. Looking at screenshot functionality for example, SnapStory essentially begins by recording everything you do on your display, along with a shortcut for saving a particular image to your SnapStory library of photos (notably, the app does not save its photos to your device’s gallery; you’ll have to share them manually to your phone). The app instructs you to tap the screenshot button multiple times when taking a photo of your snaps in case the screenshot doesn’t function properly, but in our testing, screenshotting snaps worked without problem. We screenshotted a snap and a chat area, and both times, an alert was not sent to the other person.
SnapStory’s video recording is far more similar to things we’ve seen from comparable screen recording applications, though the app did force close once on us while recording. The app can record audio through the microphone, making for a solid-if-middling-quality workaround for recording video snaps. While it’s nice to see this functionality built-in, you’re better off using a dedicated video recording application downloadable on the Play Store—they typically have a better grasp on recording software. And while it might go without saying, but the app can be used with any other application on your device. While SnapStory is built to work with Snapchat specifically, there’s no reason you couldn’t use the app to easily capture other displays on your phone.
And while we were overly impressed with the functionality in SnapStory, there was one major issue: the ads are near unbearable. An ad played nearly every time we activated screenshots or video recording, and we had to wait through a long period to head back into the app. Ads can be removed for $2.99, but we found that a bit steep for an app that could potentially lose functionality within Snapchat at any moment. Still, the app was one of the best Snap-specific capture apps we found on the Play Store, so if that’s your cup of tea, we say go for it. It’s a solid offering on Android, and you won’t be disappointed.
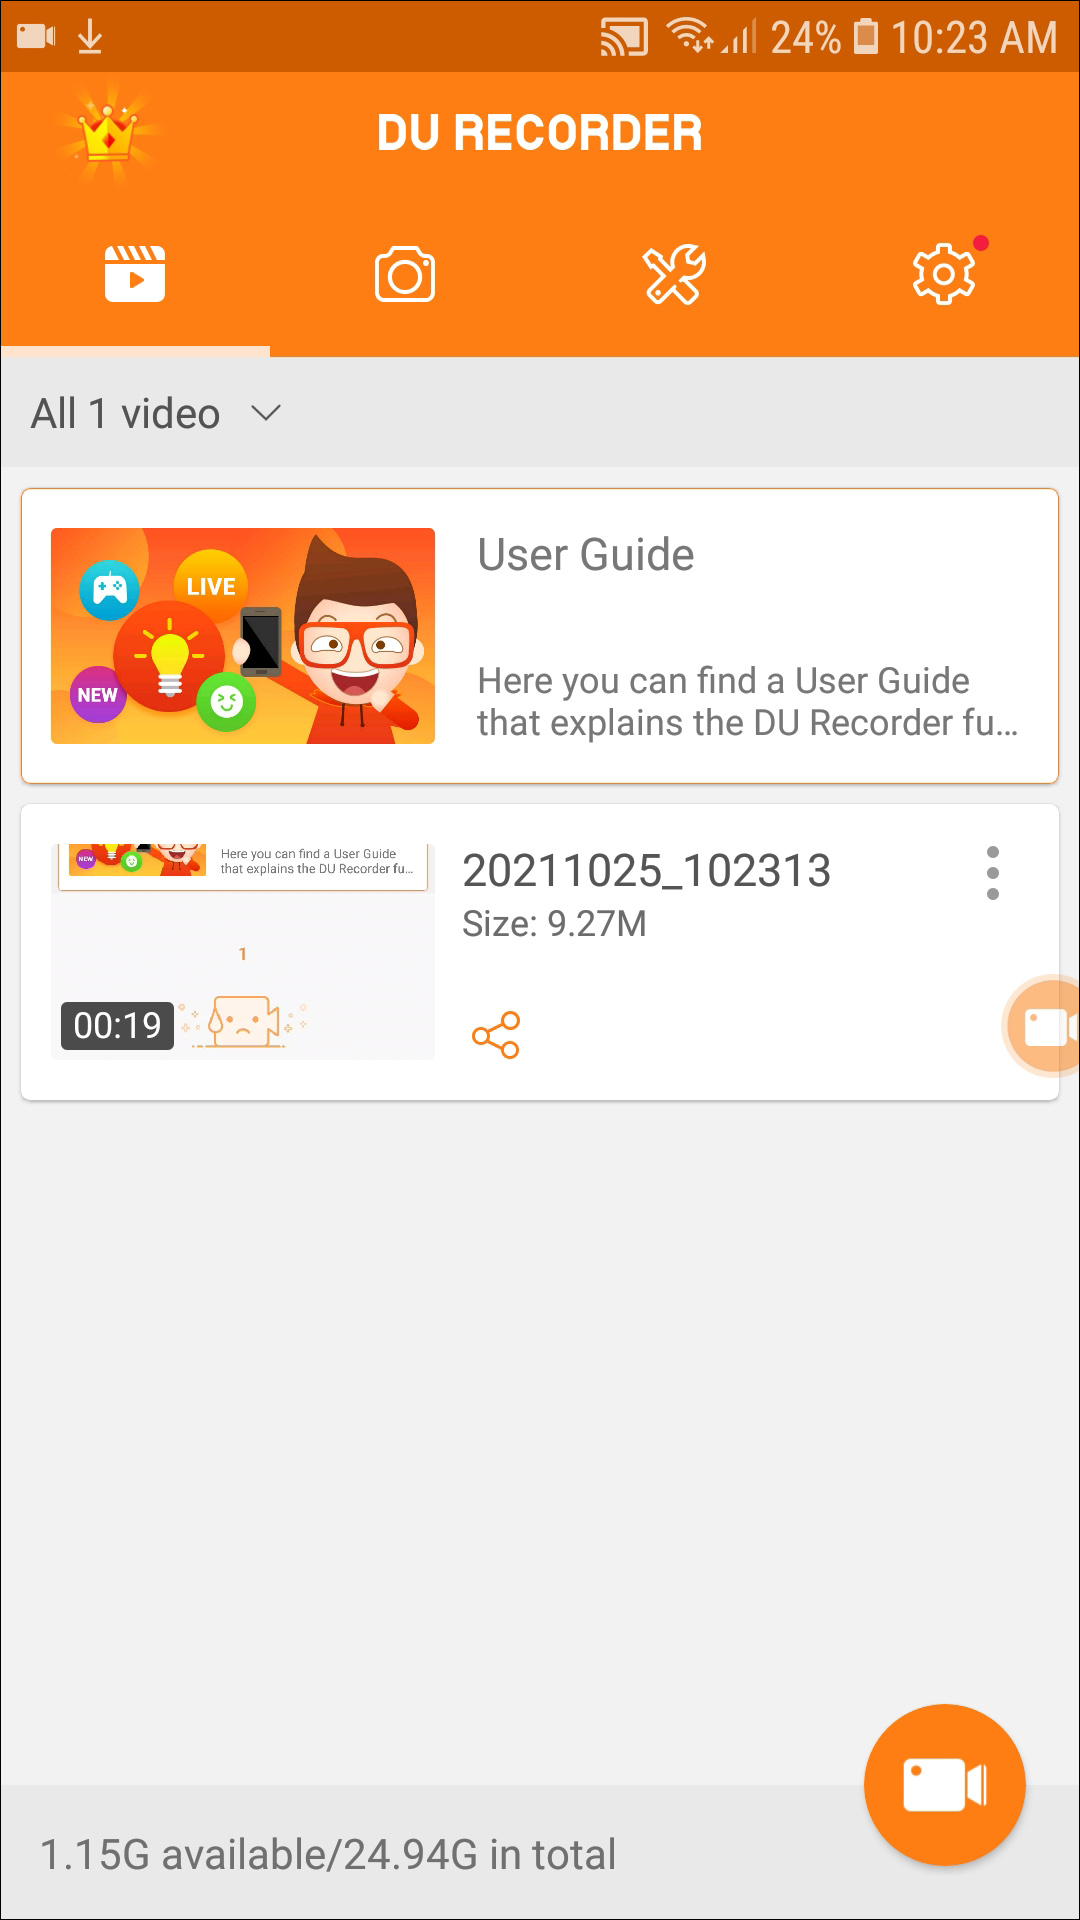
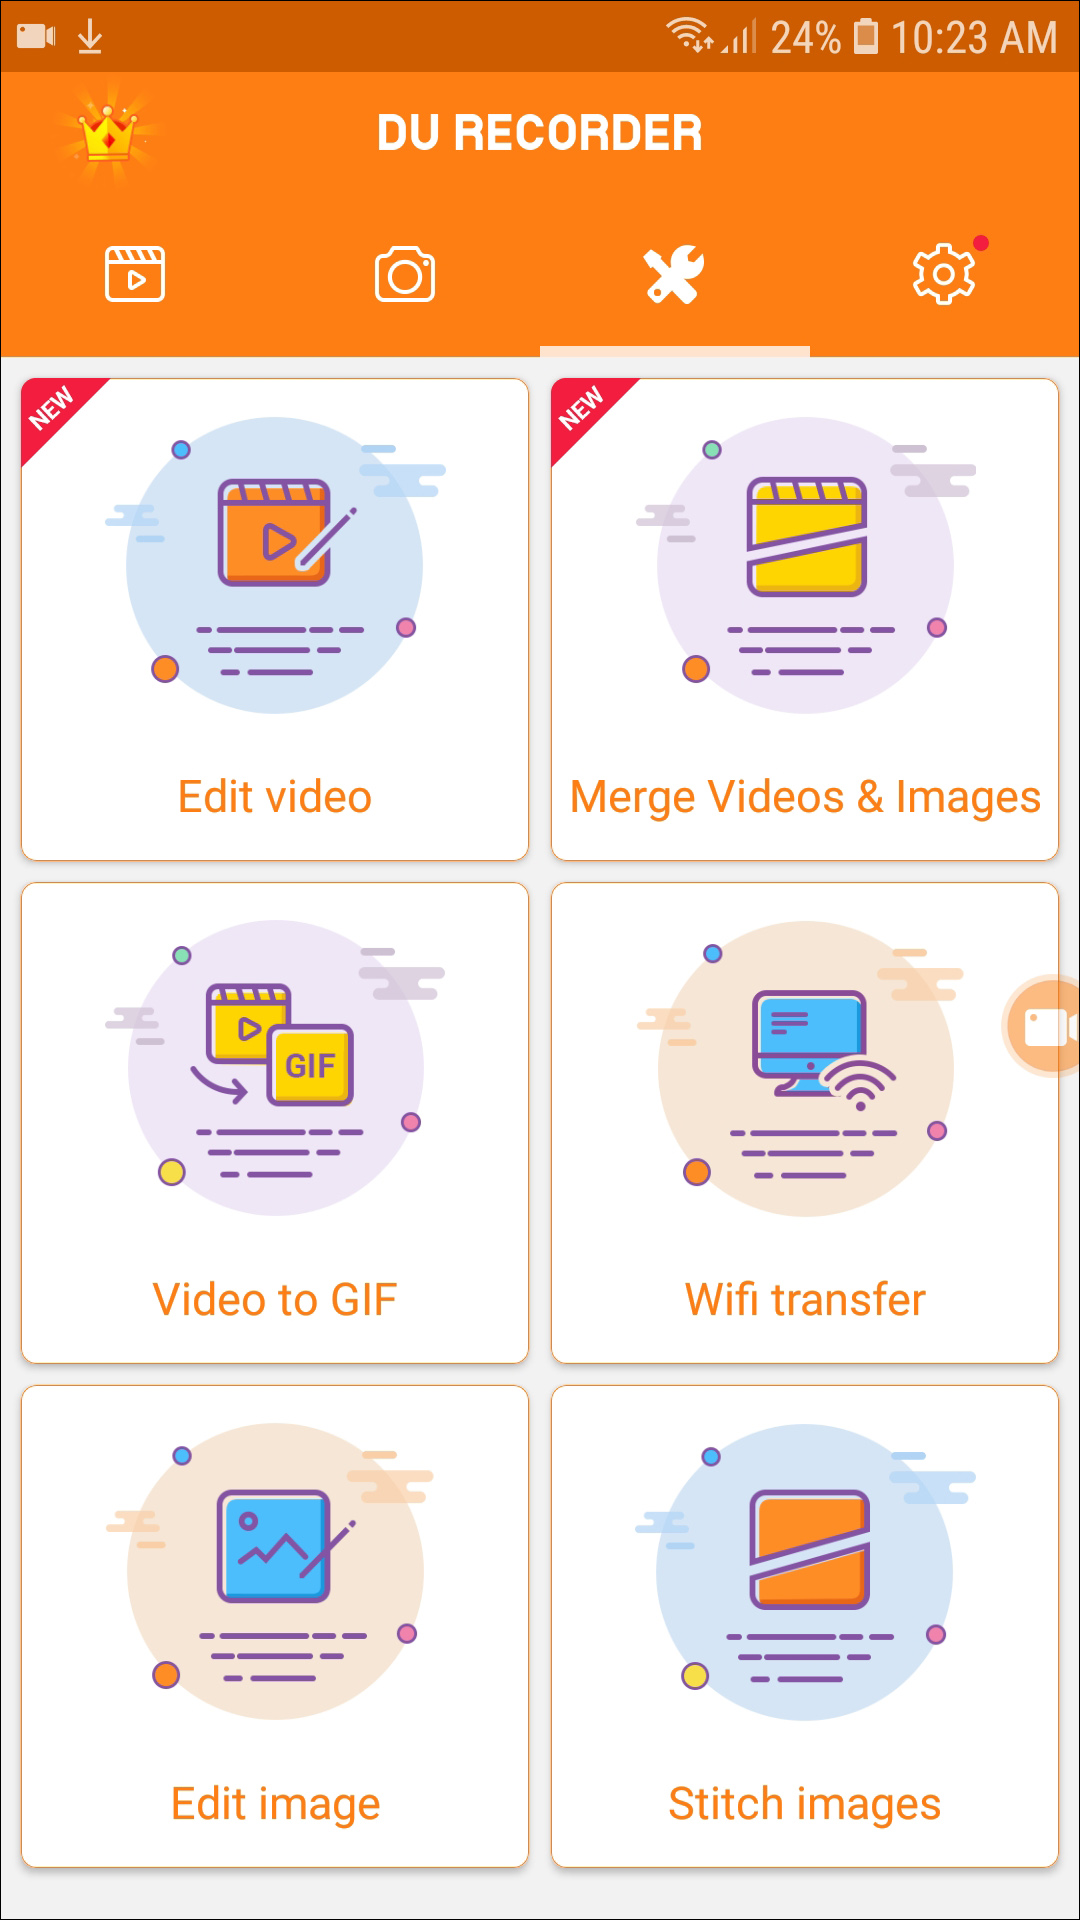
DU Recorder is one of our favorite screen recording apps on Android, and it’s easy to see why: it’s jam-packed with features, including a built-in video editor, frame rate settings, front-facing camera support, and the ability to merge videos together automatically. Best of all, it tops alternate screen recorder apps like AZ Recorder or Mobizen Recorder by offering an entirely free app, without ads and without in-app purchases. This makes it a step above what we’ve seen from other apps, and makes it a prime candidate for recording and capturing snaps without triggering the “screenshot” notification on the sender’s device.
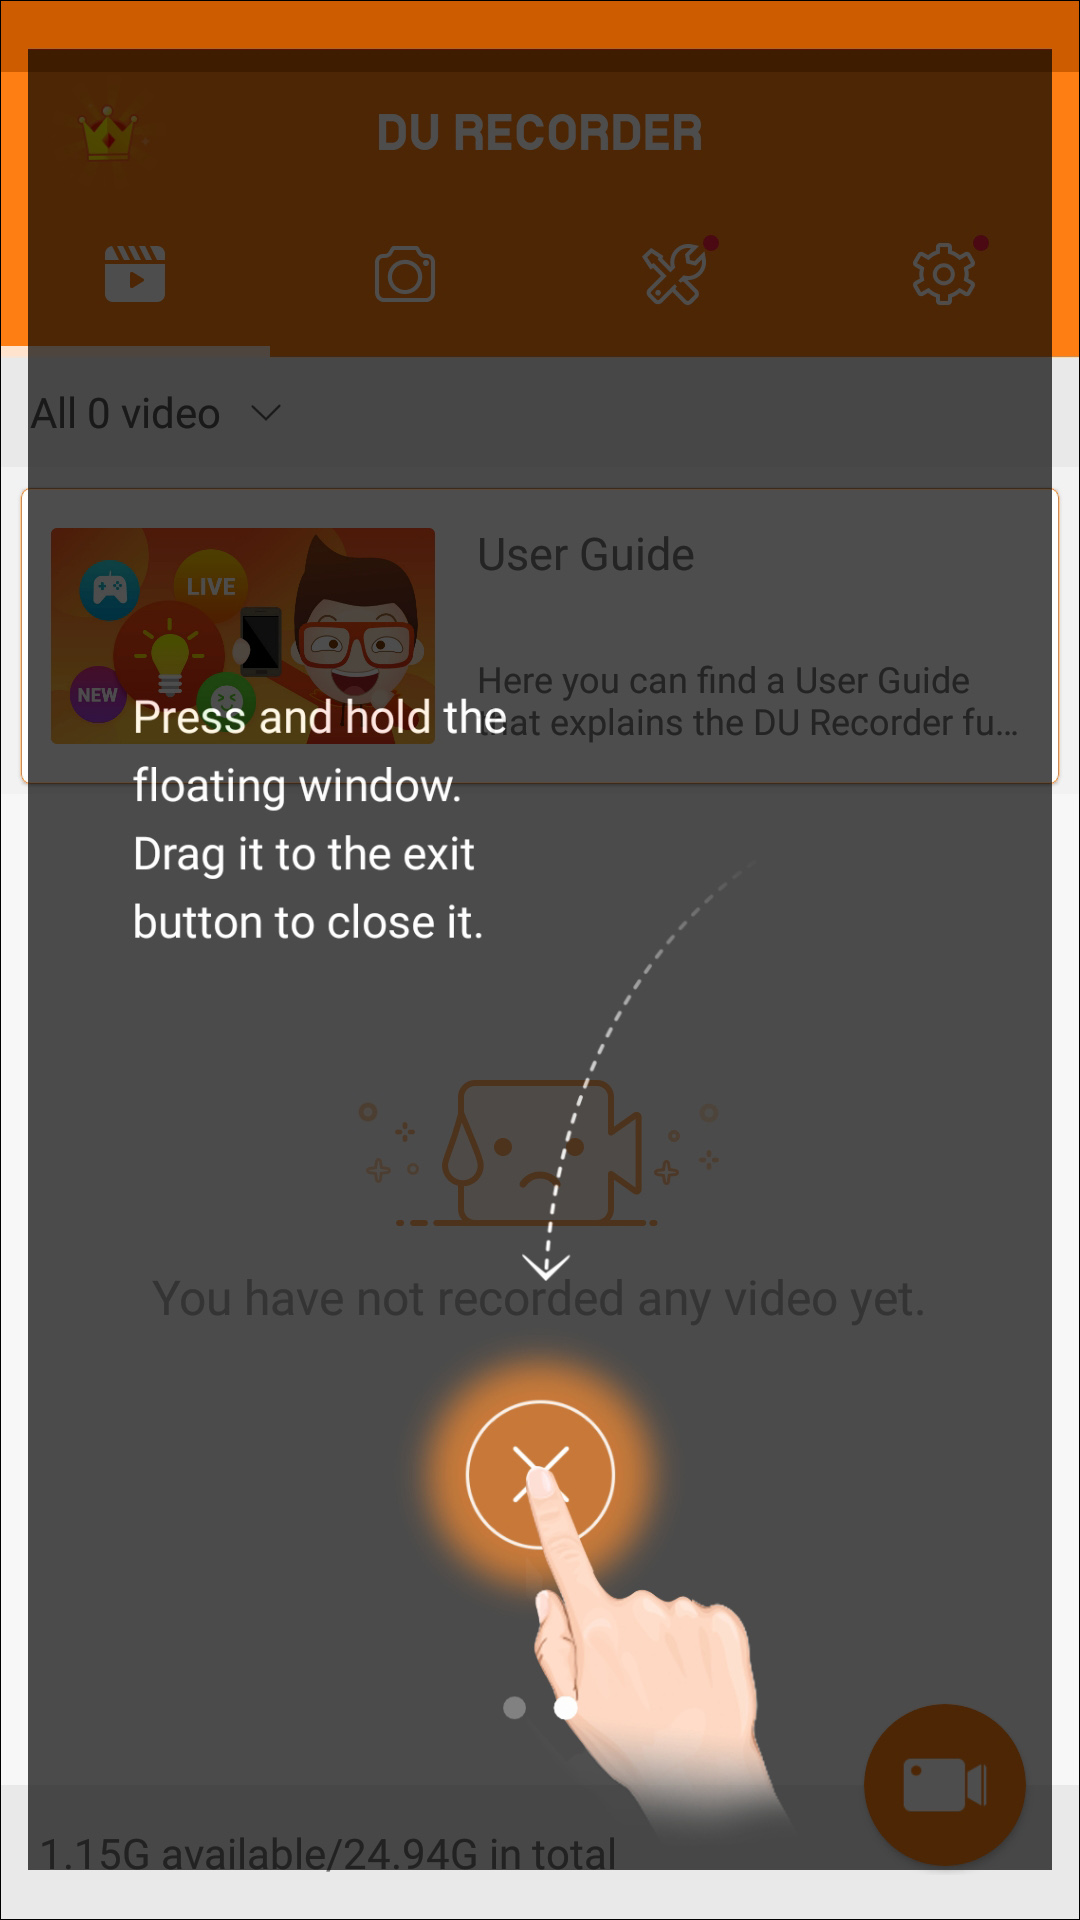
Like many recording apps, Du Recorder has a ton of included tools. Upon installing and running the app will give you an easy to use action ring around the side of your phone, so you can trigger a recording at any time. Once a recording is active, you can use your phone or tablet as normal, opening apps, playing games, and yes—viewing and watching snaps. As you record your screen, you can use your apps as you always have, without risking any form of notification or warning from that device. Once you’ve captured the thing snap you wanted, you can disable screen recording, and what you’ve captured will be sent to your device’s memory.

Now here’s the cool part of DU Recorder: because the app has a built-in video editor, you can change, edit, and stitch your video captures together. You can also grab the full-on screen captures for use on your phone, saving them as you would any other photo within your device. We tested several different snaps when recording with DU Recorder, and it made it easy to save both photos and videos to our account without being detected—and made it easy to save friends’ stories and videos without having to turn to a dedicated app. Overall, DU Recorder was our favorite way to grab snaps from Snapchat without getting caught. It featured the ease of use we’ve seen from apps like SnapStory, but without the bugginess and invasive ads, and without the insecurity and risk of capture. It’s a perfect middle ground for when you need to capture a snap without anyone being the wiser.
We should, of course, mention that on iOS, your iPhone has a built-in screen recorder available in the settings. However, using this on Snapchat will be treated like a screenshot, with the recorded person being alerted to the capture.
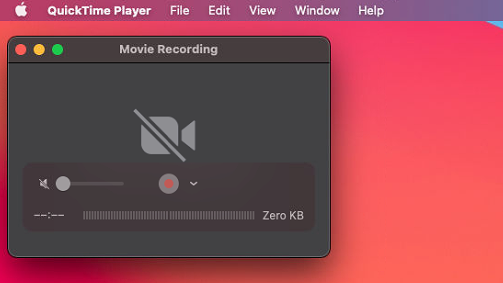
While screen-recording on iOS is completely possible, making sure that you’re untraced in your capture requires some additional steps: namely, a computer, a Lightning cable for connecting your phone, and a computer running MacOS. Yeah, this is a bit of a tall order, and it’s not really an easy solution for recording your display, but regardless, screen recording through QuickTime is an option. Let’s take a look at just how this can be accomplished.
Start by connecting your iPhone to your Mac using your Lightning cable. Then, open QuickTime Player on your computer, either from your apps folder or by using Launchpad to select the app. When QuickTime has loaded, hit ‘File’ in the menu bar and click “New Movie Recording.” A recording menu will load on your display, using the webcam on your Mac as its default video source. From here, click the arrow next to the record button, which will produce a drop-down menu for selecting the source for your recording. You should then select your iPhone, as well as your iPhone’s microphone for the sound recording options. Once you’ve entered your new video and audio sources for your QuickTime recording, it’s time to take a screen recording of your phone.

Now, click the record button. From here, you should be able to use your phone as you normally would—which includes opening and viewing snaps. Once you’ve viewed your snaps (as we outlined earlier in the article), you can stop your recording within QuickTime by tapping the stop button on your Mac. And of course, QuickTime will allow you to trim your video within the app. Hit the edit button on the menu bar above the app and select ‘Trim.’ Drag the playhead using the yellow handles to select the part of the video you want to keep, while leaving the other parts of the video out of your selection. Once you’ve made your selection, click the trim button to save your cut.
Recording via QuickTime isn’t perfect. For one, you need a Mac to go along with your iPhone to take advantage of it, and plenty of iOS users prefer and own Windows PCs. It’s also a bit of hassle to record, primarily if you have to record a snap while on the go, away from your iMac or MacBook. And QuickTime recordings can be a bit choppy, leaving an imperfect recording of a video. Still, it’s one of the easiest ways to record a snap without being noticed, primarily since the functionality is built into QuickTime and iOS.
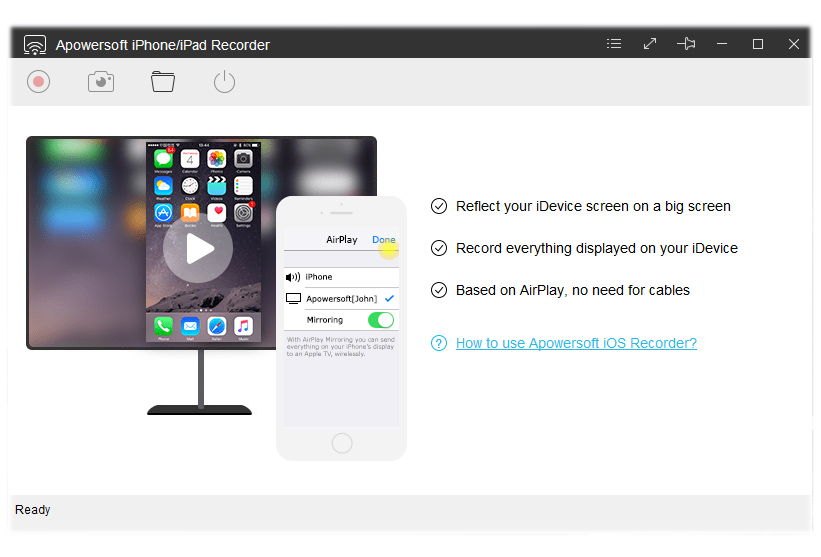
If the QuickTime method is a bit too cumbersome for you, with wires and required MacOS-based computers, you might want to check out Apowersoft’s iPhone/iPad Recorder. It too, isn’t perfect, requiring a computer to take advantage of recording on iOS. If you aren’t willing or able to use the built-in iOS screen recorder, using Apowersoft’s software is one of our best recommended methods here. It’s not without its own flaws, but it’s simpler of a setup than QuickTime on MacOS. Let’s take a look.
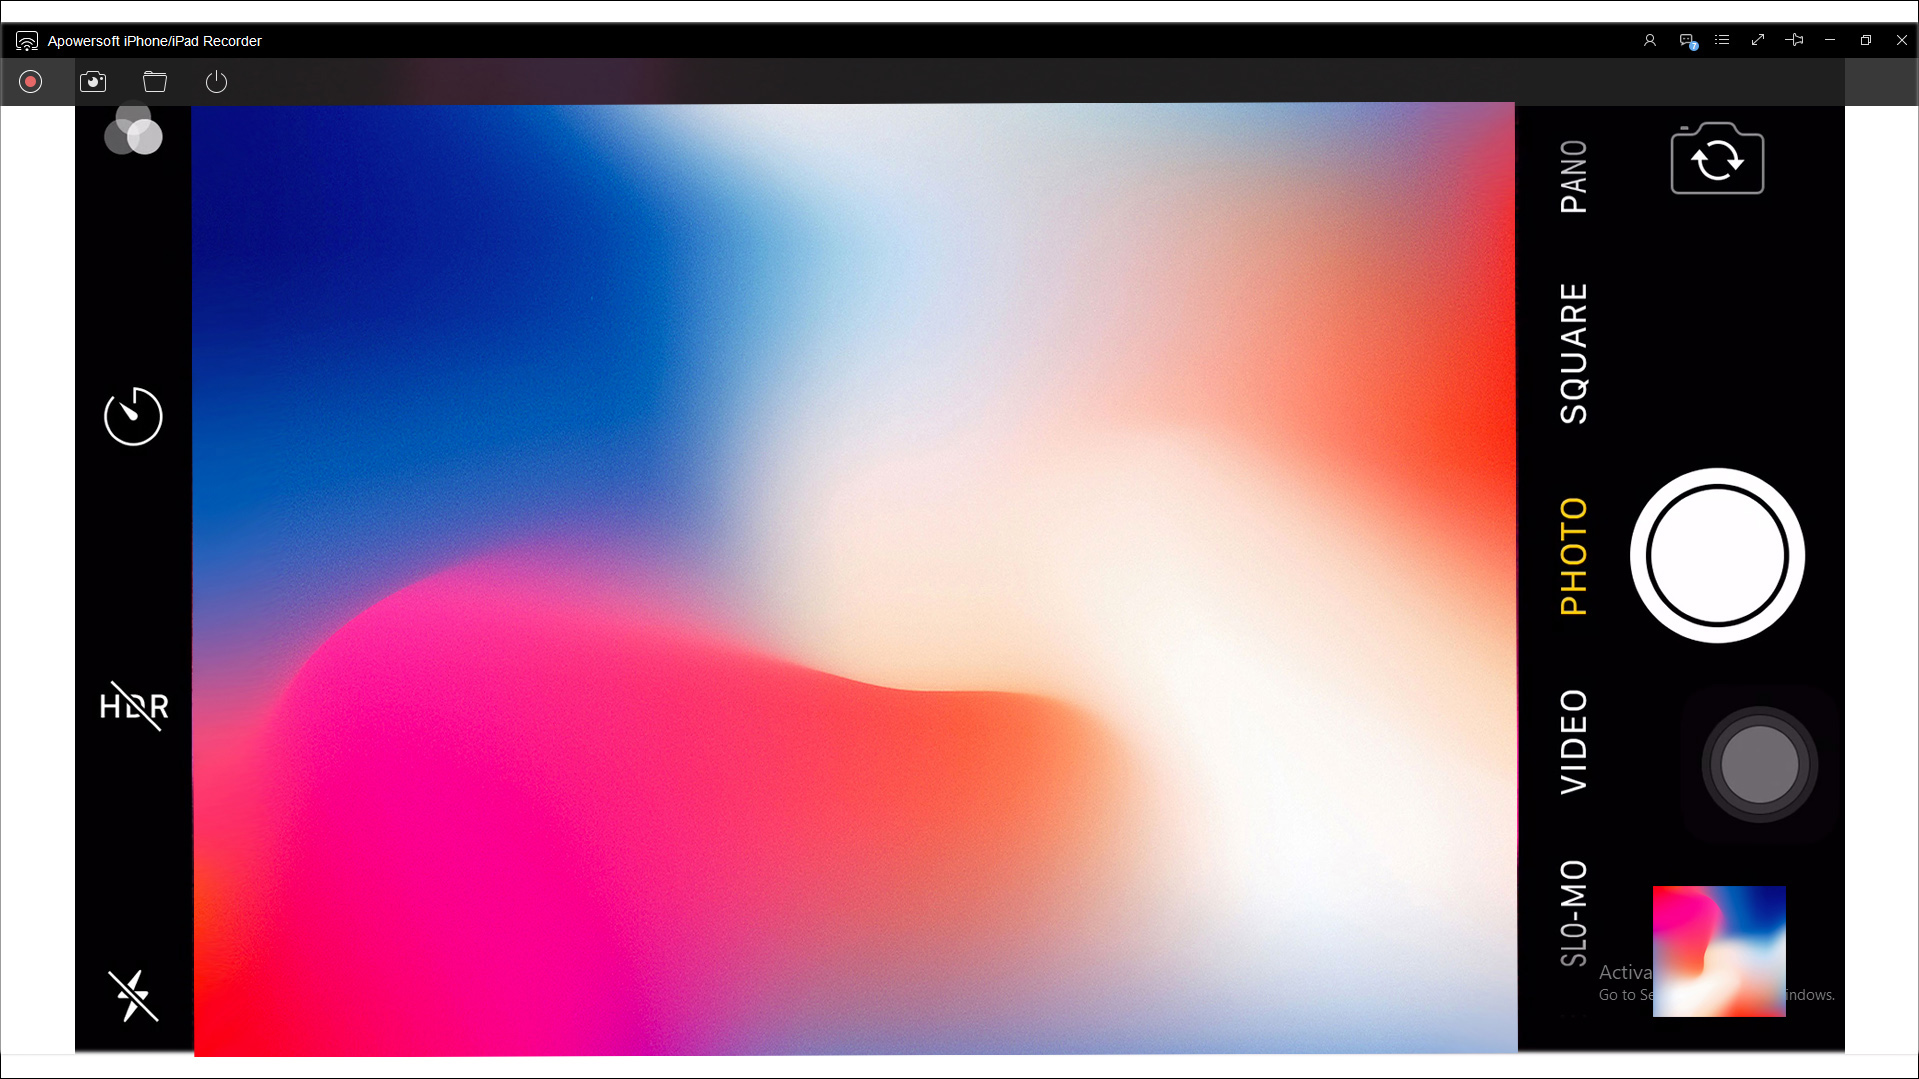
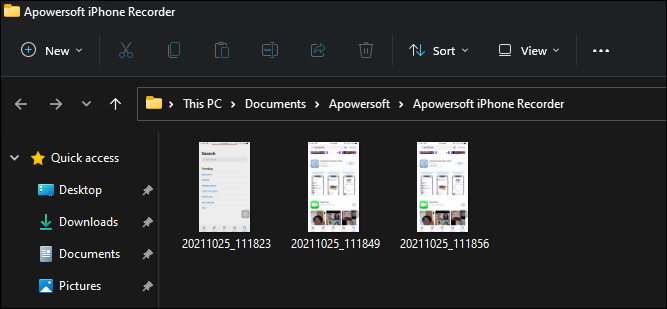
Apowersoft’s solution is actually not an iOS app, but an app designed for either MacOS or Windows, just as we saw with QuickTime above. Once you’ve installed their iPhone Recording software on your computer, grab your device and ensure it’s on the same network as your laptop or desktop computer. After ensuring your two devices share a network, it’s time to put AirPlay to work. Swipe up on your device’s screen and tap the AirPlay button from your quick settings menu. Find your computer’s name in your AirPlay options and tap the name to sync the two devices together. Your device should display on your Windows or Mac computer.
With your device mirrored on your computer screen, use the Apowersoft app to begin recording your screen. It’s as easy as tapping the red circle icon in the top-left corner, which will allow for your screen to begin recording right to your PC. In our testing, this actually prompted a smoother and better recording than using QuickTime, so long as your network is fast and stable-enough to handle broadcasting over wireless internet. Once you’ve recorded the snap you wanted to save secretly, tap the recording icon again to stop. Your recording will pop up in a brand-new window on your desktop. You can then save or delete the video as you see fit.
Obviously, there are some upsides and downsides to recording with Apowersoft over QuickTime. The quality is a bit better, with less skips and stutters in the recording, and we always prefer wireless recording where we can. But otherwise, it typically seems to be about equal to QuickTime in recording. Transferring files over to your phone can be a bit obnoxious, and you have to find a separate app to edit and change how the recording starts and ends. But it’s worth a download, if only to try. With standard screen recording coming in iOS 11, recording snaps on the iPhone is about to get a whole lot easier. But until then, Apowersoft’s method is nearly perfect, so long as you have a computer nearby.
Compatible With
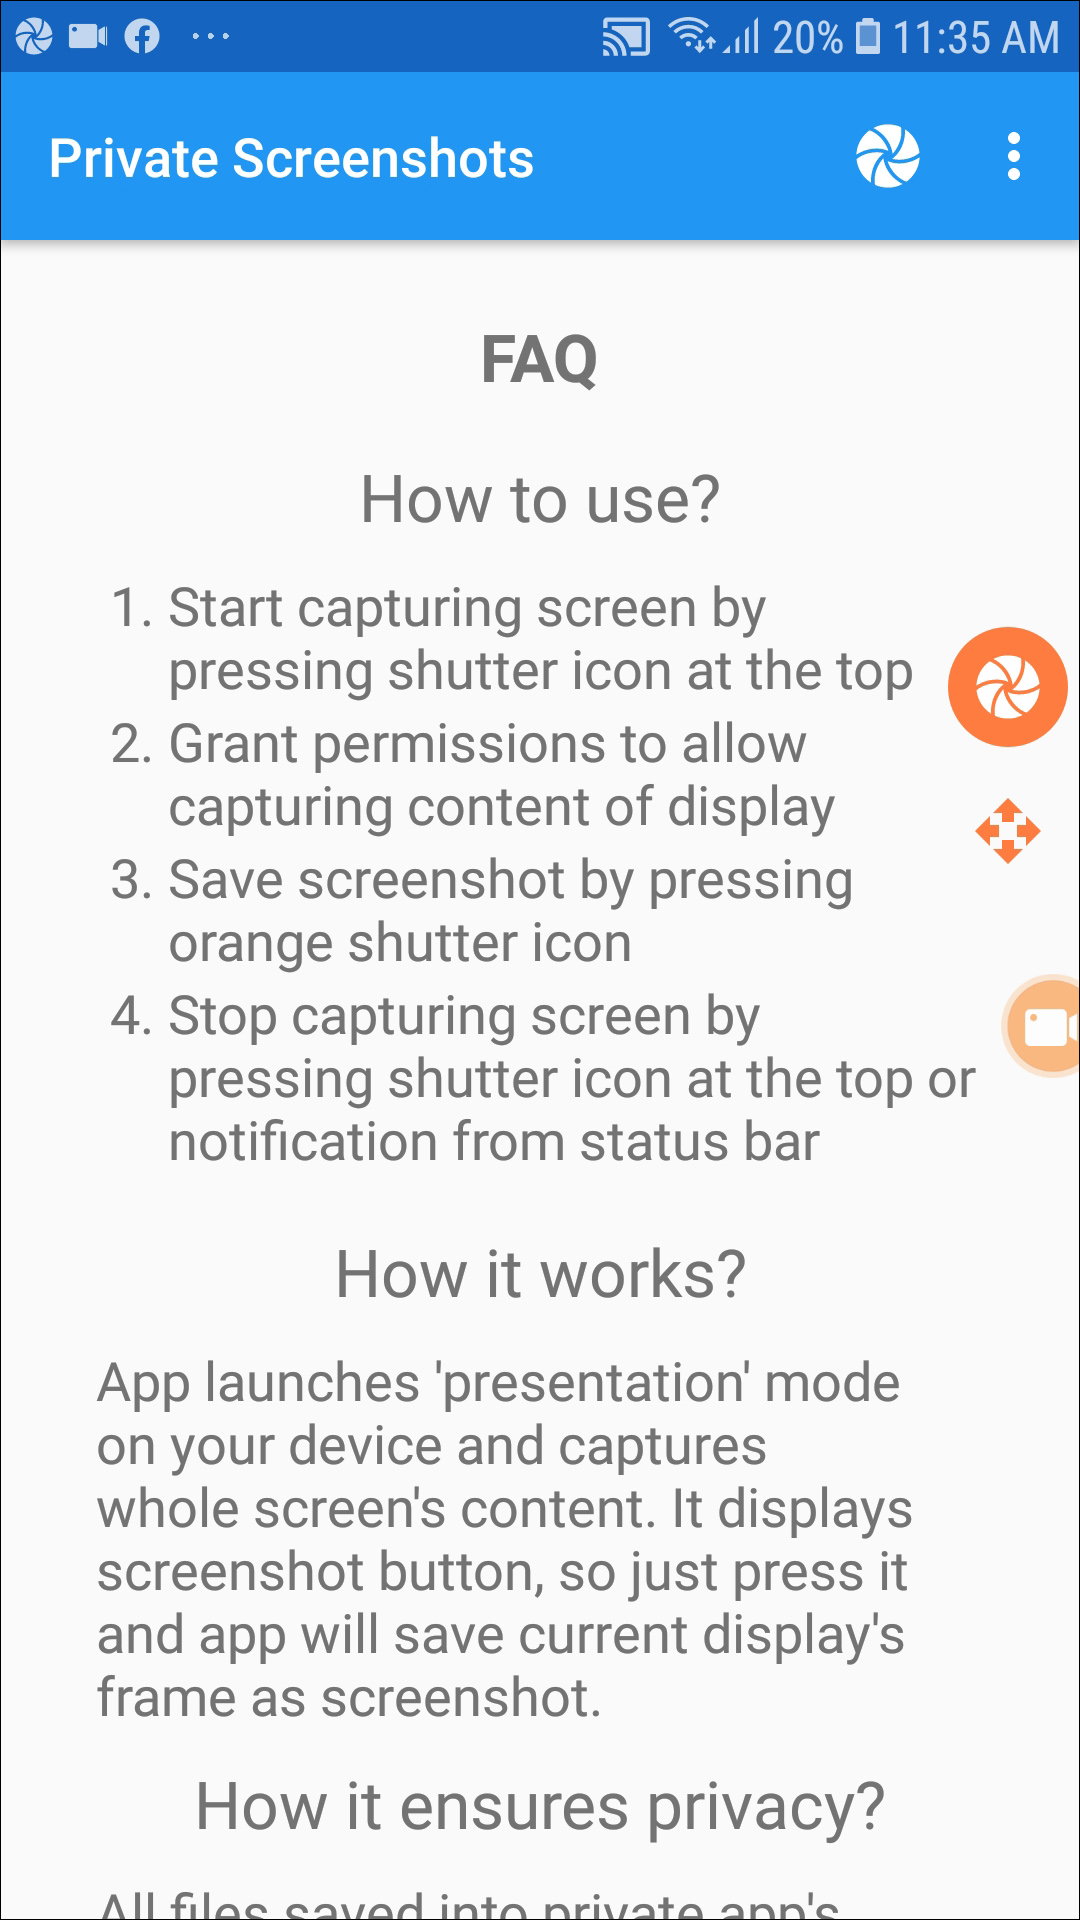
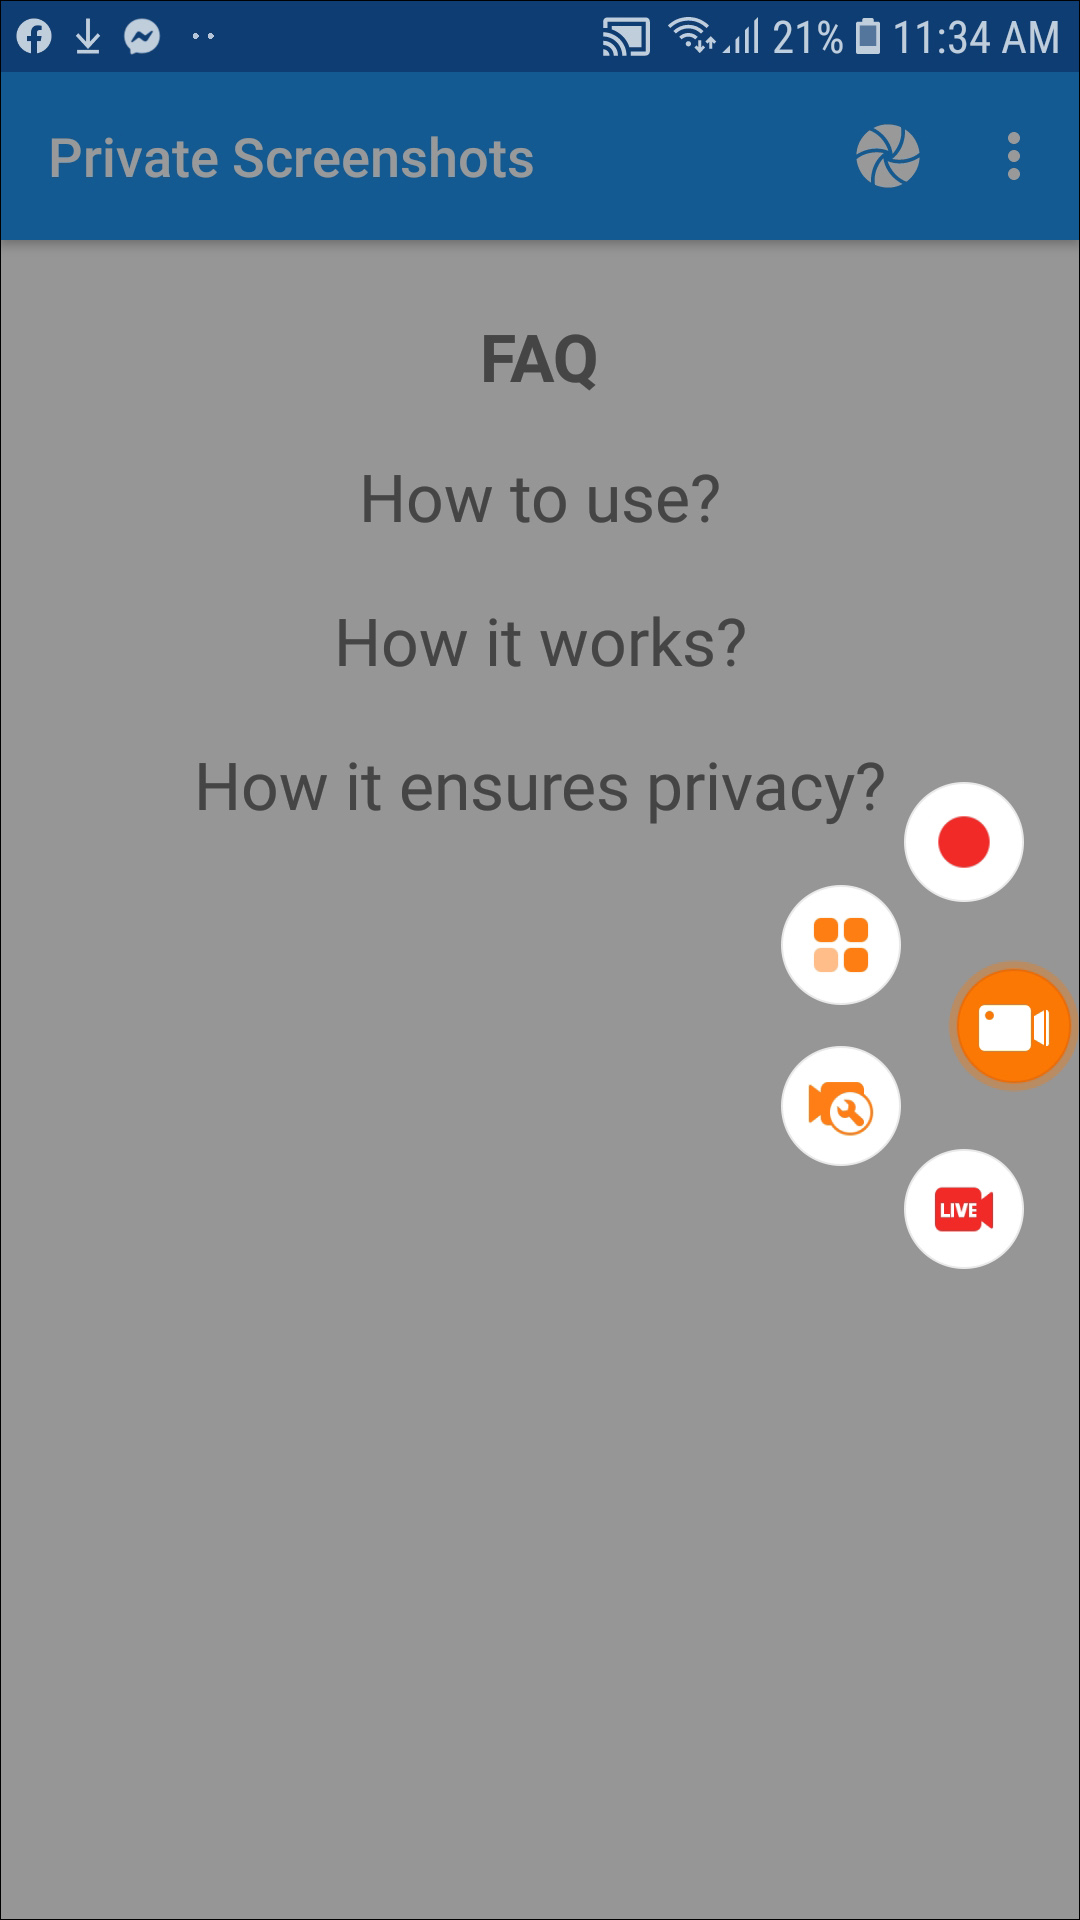
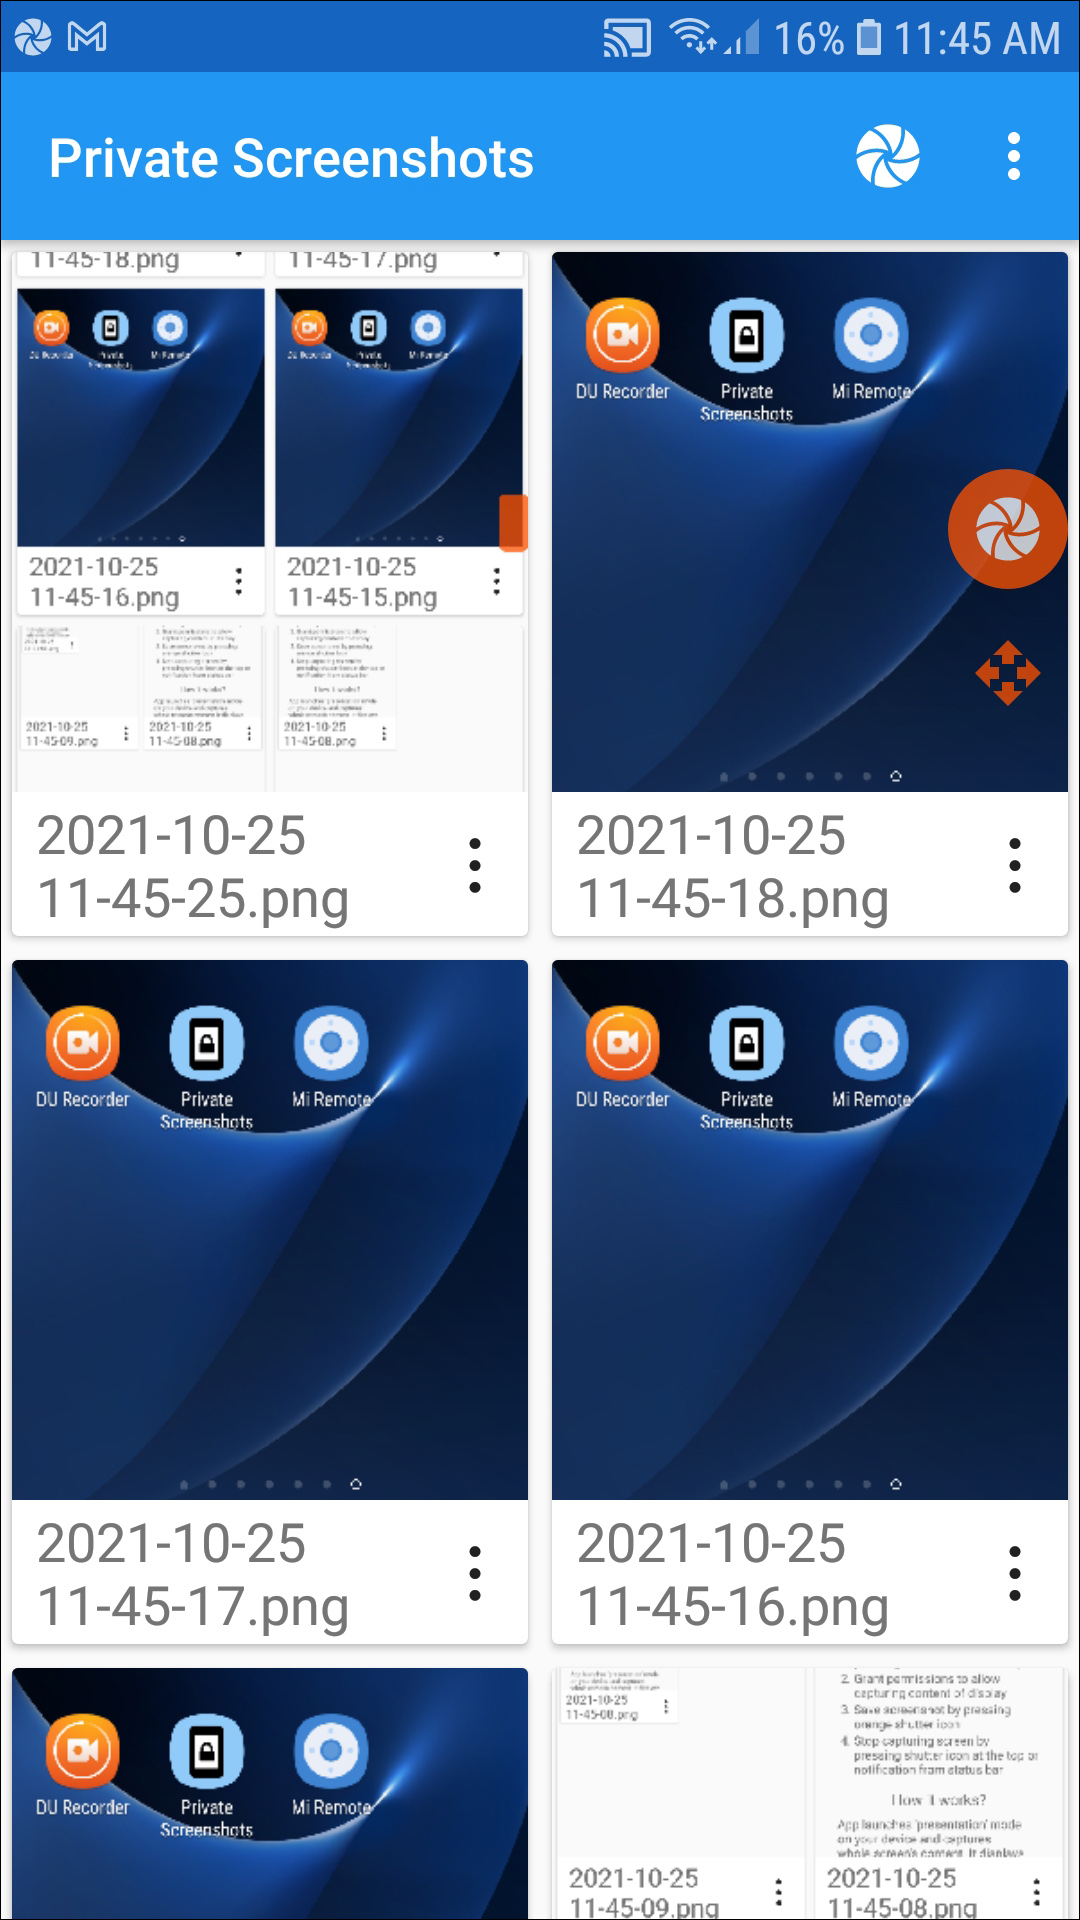
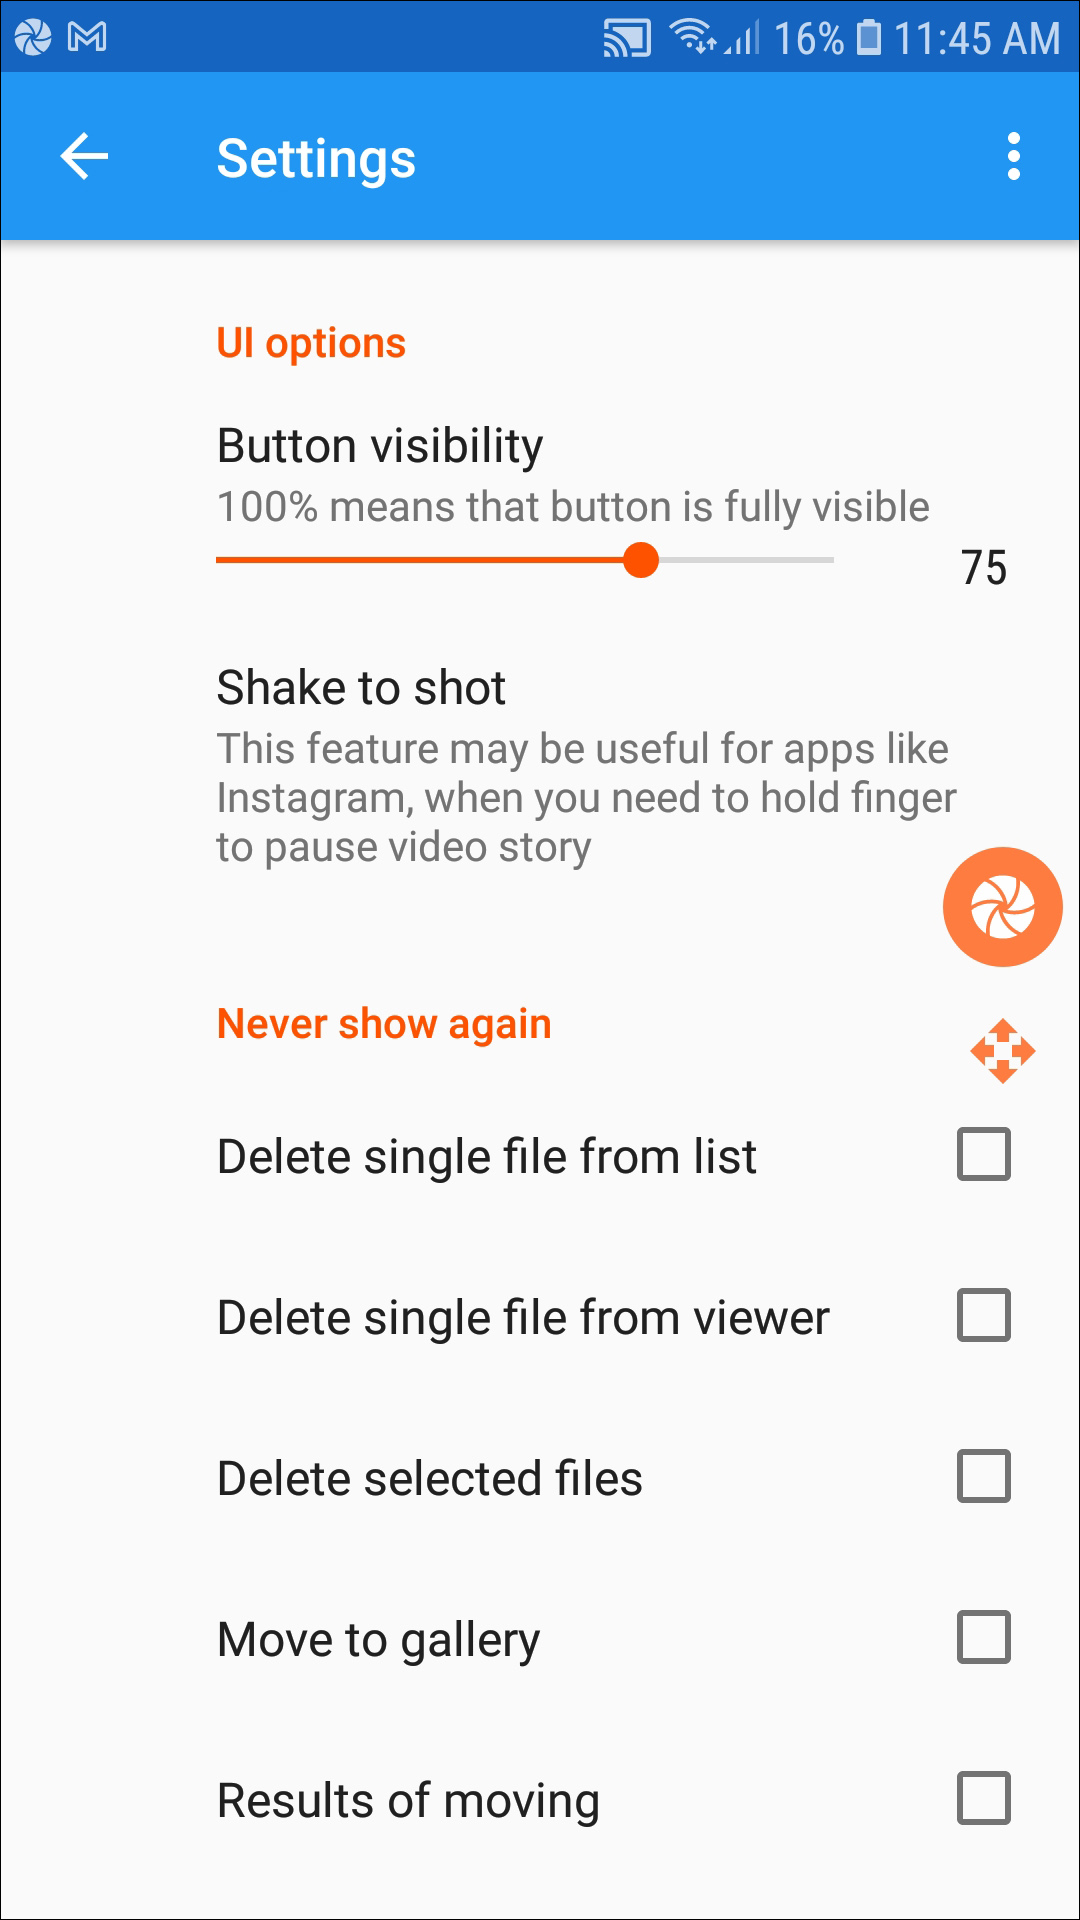
If you can’t get SaveStory to work for you on Android, Private Screenshots might be worth a look. Though the app has some fairly annoying advertisements while in use, it’s a great way to quickly snap a photo of the story or snap you’re looking to capture without having to worry about alerting the other user. The app does require Android 7 or higher to correctly use shortcuts, but otherwise, it works on most versions of Android at the moment. Likewise, all photos are saved into a hidden directory, and sends no notification to your phone that you’ve captured a new photo. You just tap the button that appears on screen in order to save the image, and you’re set.
You will need to grant the app permission in order to use it in “presentation” mode, but once you do, you’ll just need to hit the screenshot button that appears on your phone. The app is reliable, cleanly designed, and worked as a great alternative to SaveStory.


Copyright @2024 TechJunkie
Copyright @2024 TechJunkie
If you don’t see an app that should be here, let us know what it is


