How to Remove Glare from Snapseed
It happens to everyone – just when you thought you have captured a perfect image, you notice a glare or a lens flare covering a portion of it. Instead of ruing your missed opportunities, you can use Snapseed’s wide range of image-altering tools to try and make the glare disappear.
Thanks to a built-in feature called healing tool, you can make these details disappear. Of course, you are going to need a bit of patience, too. Let’s go through this method and make all these unwanted elements go away.
Remove Glare Using Healing Tool
Snapseed has a healing tool which allows you to remove an unwanted part of the picture without cutting it out. Instead, the algorithm will blend the selected part with the rest of the environment so no one will notice anything else was there before.
This tool will clear blemishes, stains, ink, acne, spots, and any unwanted details. It works on a similar principle to Photoshop’s ‘Content Aware’ fill tool, where the software draws the pattern and color scheme and fills a certain area with it. The tool is not intended for larger surfaces, but removing glare and lens flare should be relatively easy.
Step 1: Preparing the Picture
Before you start editing, you should know a few things about the healing tool. It removes the selected elements and covers them with surrounding details. This sometimes works out magically, but other times it can completely ruin the picture.
This tool won’t work to its full potential with images that have a lot of small details, colors, or objects. It also works much worse on lower-quality images. To prepare your image, follow these steps:
- Open Snapseed.
- Tap on the empty background to open the photo library.
- Select the picture that you want to edit.

- Pick a filter if you like. However, it’s always best to leave the image in its original form and shape before you use the healing tool. You can add the filter afterward.

Step 2: Editing the Picture
Once you load and prepare the picture, it’s time to use the healing tool.
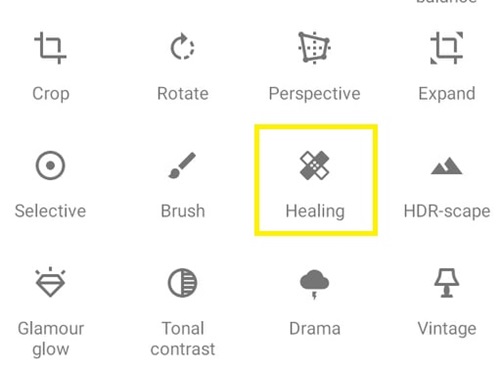
- Tap the ‘Tools’ tab on the bottom of the screen.
- Find the healing tool icon that looks like two band-aids forming an ‘X’ shape.
 When the tool activates, you will be taken back to the picture. This is where the sensitive part comes in. Anything that you touch on the image will automatically initiate the healing tool, so try to be careful.
 - Drag the image using two fingers to zoom it to the maximum. The higher the zoom, the bigger the chance that the selected area will seamlessly blend with the rest of the scene.
- Once you have zoomed in, use the small image map on the bottom-left of the screen to navigate through the image. If you try to tap anywhere on the screen to move around, it will just activate the healing tool.

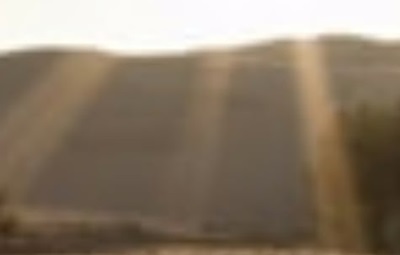
- Find the area of the image that has glare.

- Gently tap on the glare once. It should be replaced by a non-glaring piece of background.

- Repeat the process for each glaring area. Also, it will take a few taps in the same area to achieve a perfect blend.
- If you make a mistake or you go overboard with the tool, you can just tap the ‘Undo’ button as many times as you like and try again.

 When the tool activates, you will be taken back to the picture. This is where the sensitive part comes in. Anything that you touch on the image will automatically initiate the healing tool, so try to be careful.
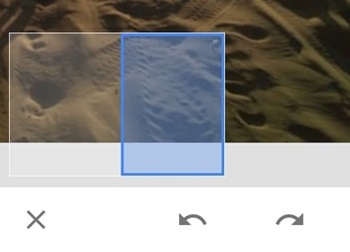
Keep doing this until you’ve removed all the unwanted details from your image.
Step 3: Finishing Touches
When you remove the unwanted glare using the healing tool, you can finally add filters and finishing touches to the image.
- Tap the ‘Styles’ tab on the bottom of the screen.
- Choose the appropriate filter.
- Select the ‘Tools’ tab again.
- Experiment with other image editing features. You can always tap the ‘Undo’ button if you don’t like it.

- Tap the ‘Export’ tab at the bottom of the page.
- Choose whether you’d like to save your image to a storage drive or share it with the public.
Other Ways to Remove Glare
Apart from the healing tool, there are certain other features that may help you remove the glare, but they aren’t as effective.
For example, you can use the ‘Selective’ tool to choose the glared area and then reduce the brightness to make it invisible. However, this may interfere with the overall tone of the picture.
You may also try to play with the ‘Curves’ tool and fade the brightness away.
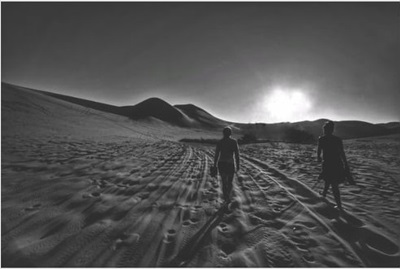
Glare Isn’t Always Bad
Even though now you know that there’s an option to remove glare using Snapseed, you may sometimes decide not to use it. In some situations, the lens flare and glare add a certain touch to an image that may otherwise seem completely ordinary.
If the glare doesn’t interfere with the overall vibe of the image, it’s best to leave it. Too much tinkering can sometimes make an image worse rather than better.
How often do you remove glare from your images? Are there any other Snapseed methods to remove glare which we haven’t covered? Leave a comment below and share your tips with the rest of the community.