How to Turn Your Image into a Vector Image

If you need to make a logo for your company or sports team, your best bet is to convert the image into a vector. Vectors use equations instead of pixels and can easily be resized without losing quality. That way, your logo will look just as sharp on a mug and the side of a bus. Here are the best online and desktop options for converting images into vectors.
Online Solutions
1. Autotracer
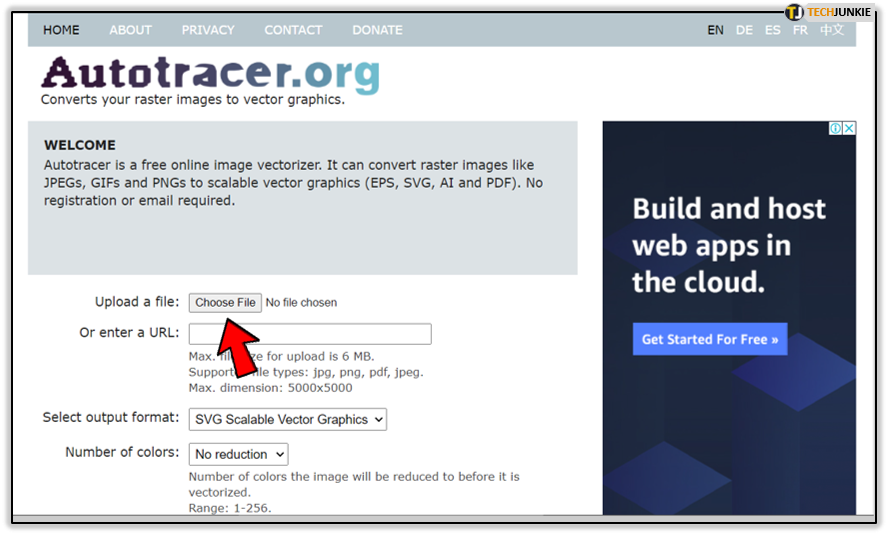
Autotracer is a popular online vectorizer. It is free and doesn’t require registration. It works with jpg, png, jpeg, and pdf files. The maximum file size is 6MB or 5000×5000 pixels. Here’s how to vectorize an image with Autotracer.
- Launch your browser and go to the Autotracer
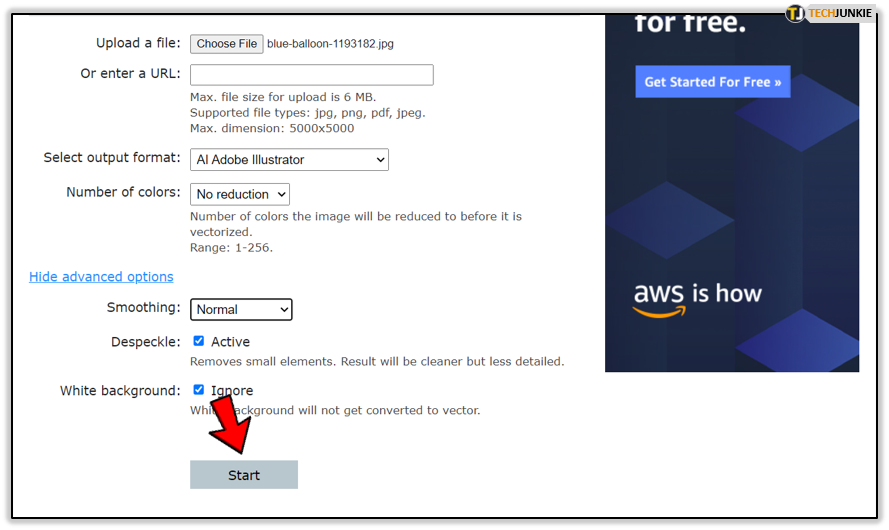
- Click the “Choose File” button and browse your computer for the image. Alternatively, you can enter the URL of an online image.

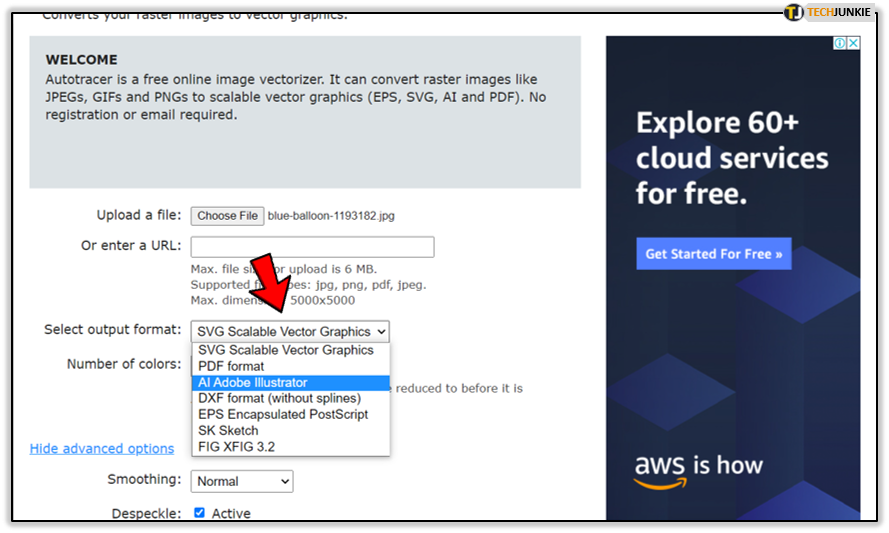
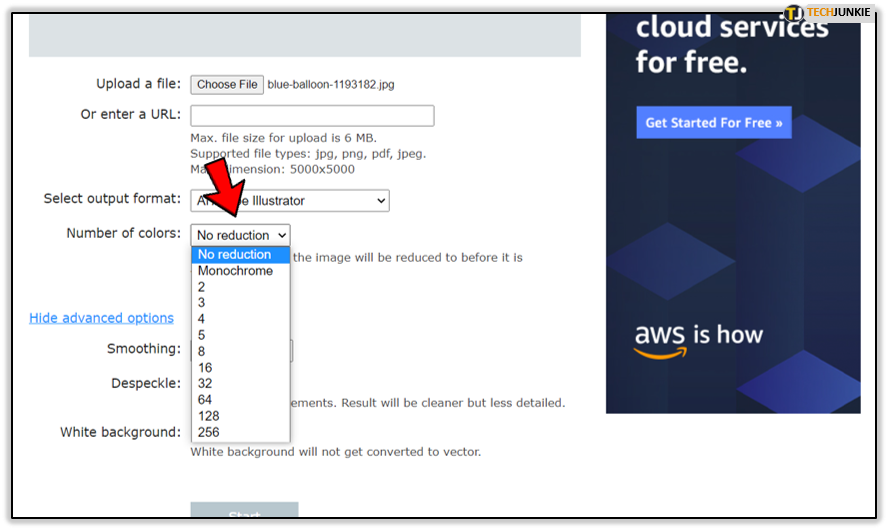
- Choose the output format. SVG, PDF, AI, DXF, EPS, SK, and FIG XFIG 3.2 formats are available.

- Pick the number of colors. It can range from 1 to 256.

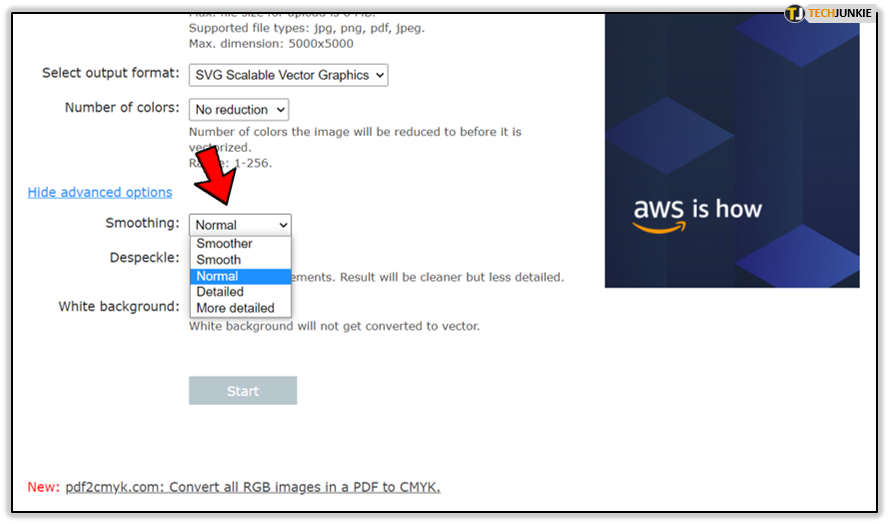
- In the Advanced Options section, you can choose the level of smoothing.

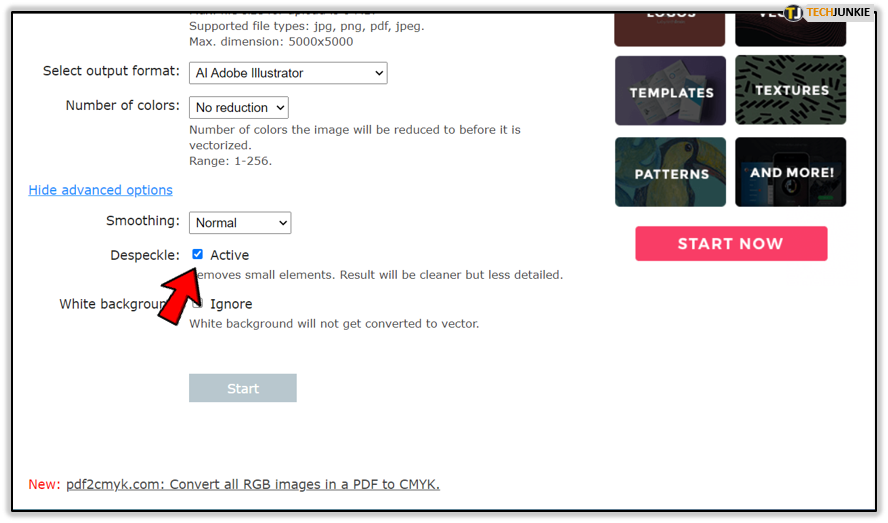
- Check the “Despeckle” box if you want to get rid of small elements.

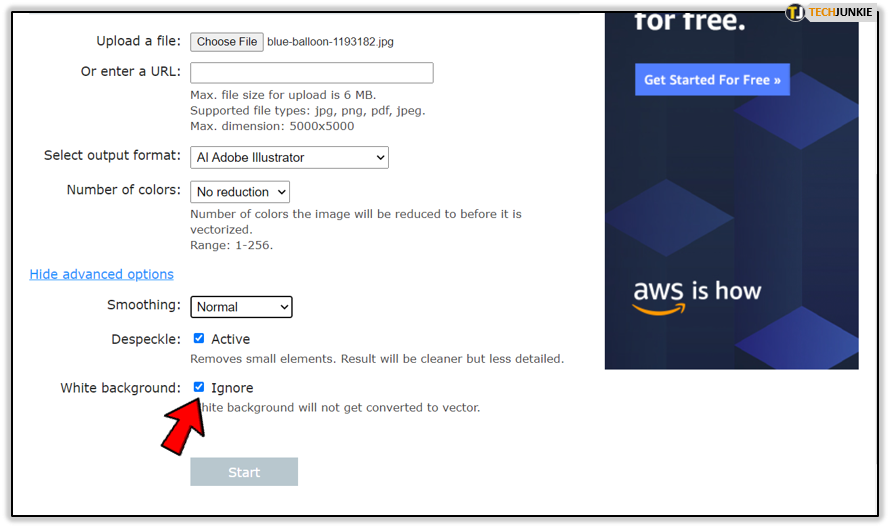
- You can also choose not to convert white background by checking the “Ignore” box.

- Click “Start”.

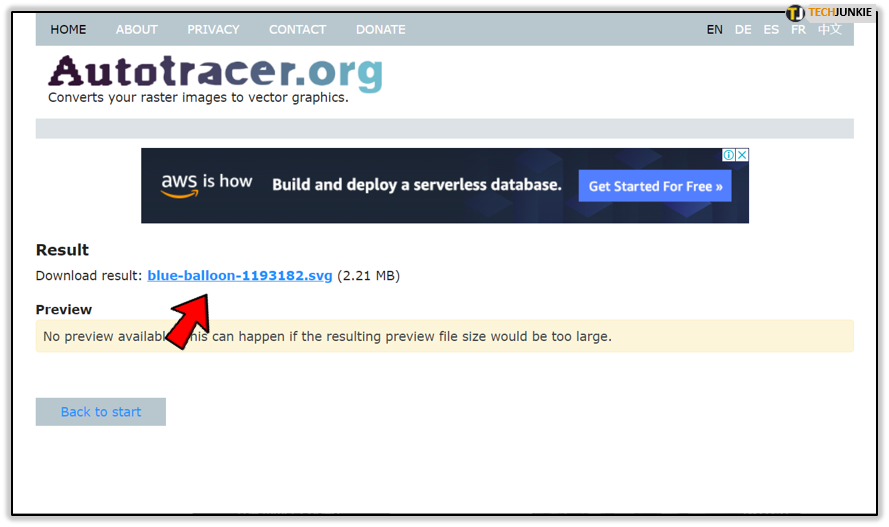
- Wait for Autotracer to finish conversion. If the output file is too big, you won’t see the preview. Click the link to download your vector image.

2. Vector Magic
Vector Magic is another popular online option for turning image files into vectors. As opposed to the super simple Autotracer, Vector Magic lets you edit the result after the conversion. Here’s how the conversion works on Vector Magic:
- Launch the browser and go to the Vector Magic
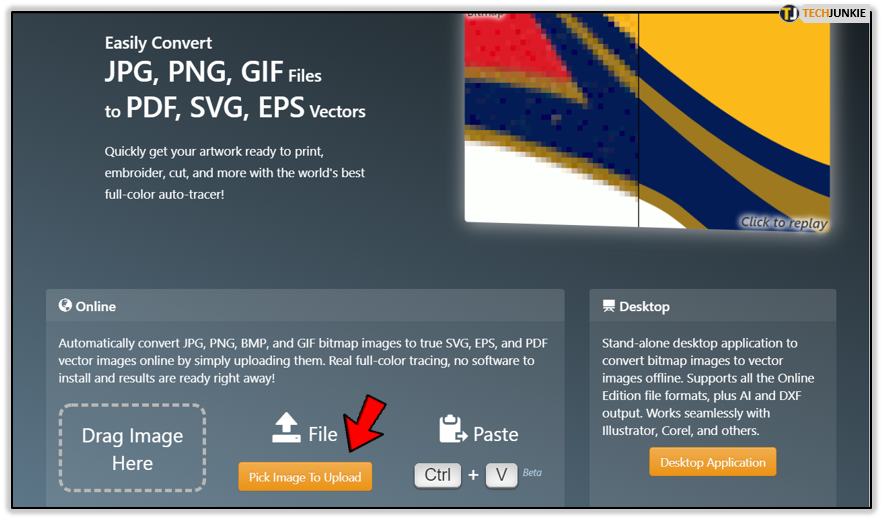
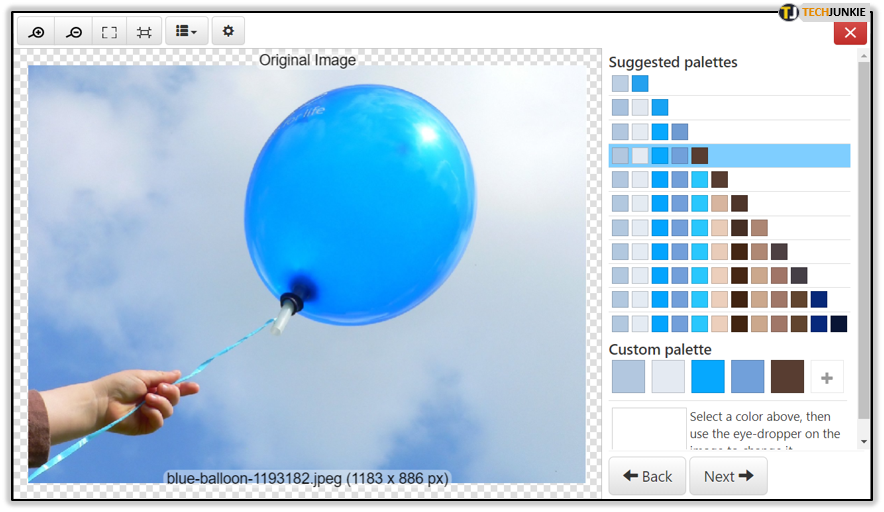
- Click the “Pick Image to Upload” button and browse for the image you want to convert. Alternatively, you can select the file on your hard drive and drag it to the field labeled “Drag Image Here”.

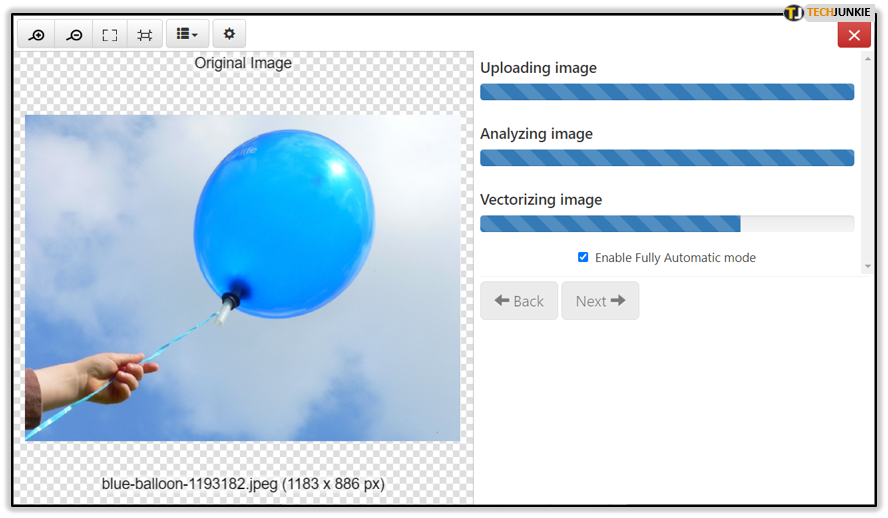
- Once you add the image, the site will upload, analyze, and convert it automatically.

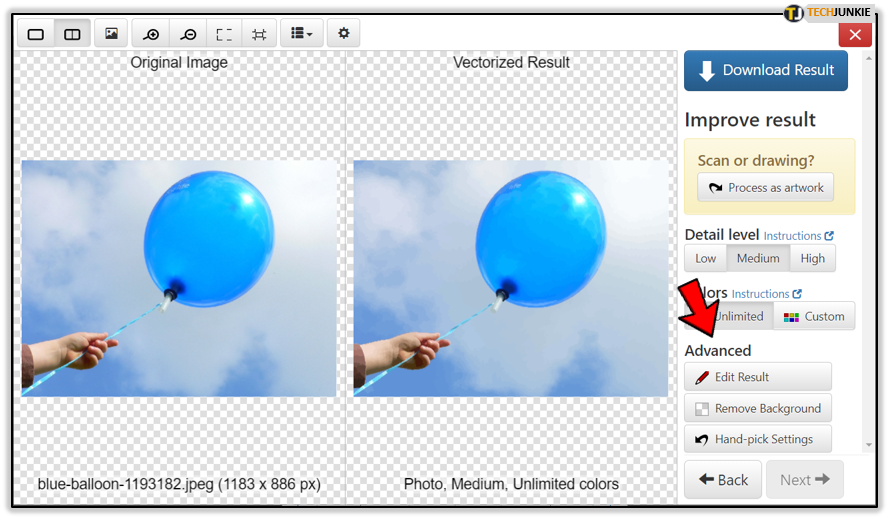
- Set the detail level and number of colors.

- Optionally, edit the result in the “Advanced” section of the menu.

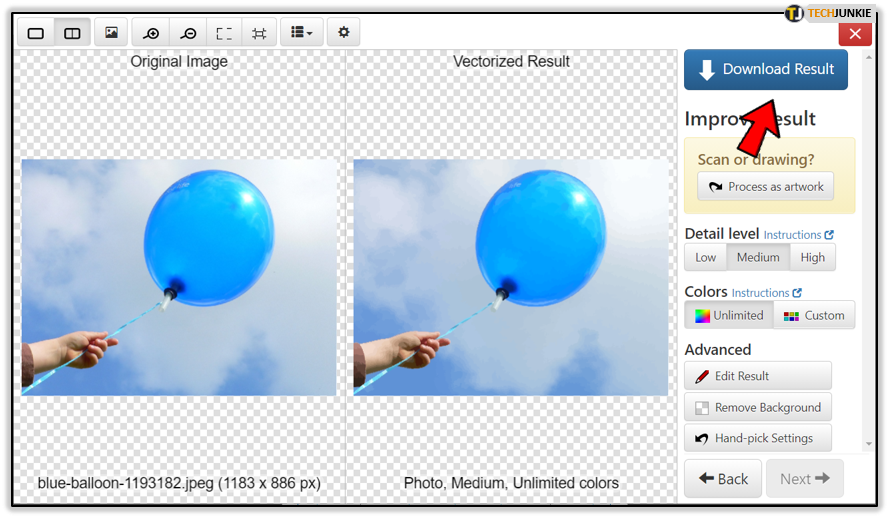
- Once you’re satisfied, click the “Download Result” button.

Desktop Solutions
Illustrator
Illustrator is an immensely powerful piece of image-manipulating software. You can do many things with it, including the conversion of images into vector files. Let’s see how to convert an image into a vector with Adobe Illustrator.
- Launch Illustrator.
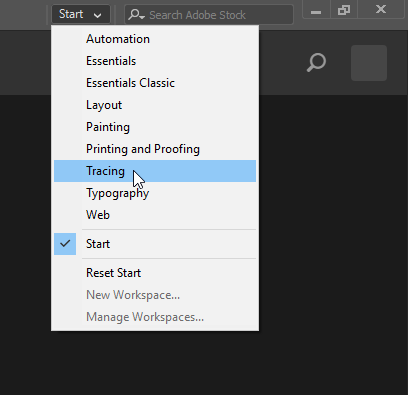
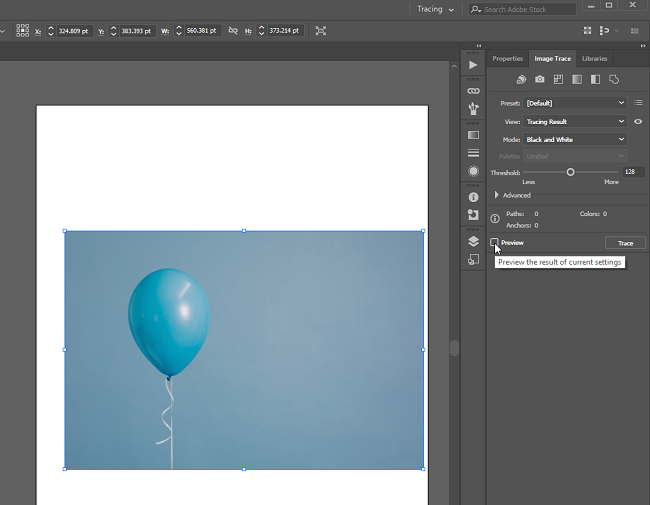
- Open the menu in the upper-right corner and check the “Tracing” option to activate the “Image Trace” panel.

- Click “File”.
- Click “Open…”
- Browse for the image you want to turn into vector and double-click on it.
- Select the image once it opens in Illustrator.
- Go to the Image Trace panel and check the “Preview” option.

- Select the preset you want from the top row of the Trace panel. You can choose between “Auto Color”, “High Color”, “Low Color”, “Grayscale”, and “Black and White”.
- Adjust the complexity of the color with the “Colors” slider.
- Open the “Advanced” segment of the Trace panel.
- Use the “Paths” slider to determine how loose or tight the path will be.
- Use the “Corners” slider to determine how smooth the corners will be.
- “Noise” slider is there to smooth the rough spots and iron out the lines.
- Once you’re done tweaking, click the “Trace” button. Illustrator will do the tracing automatically.
- Next, click “Expand” to convert the image into vector paths.
- Click “File”.
- Select the “Save As” option.
- Choose the format. The AI format is the most common one. Optionally, you can choose to save the file in PDF and SVG formats.
- Browse for the location and click “Save”.
Photoshop
Adobe Photoshop has been around since 1990 and is widely considered the most powerful raster graphics editor around. Creating vector files from images is only one of the myriad things you can do with this beast. Here’s how to turn your image into a vector with Photoshop CS6:
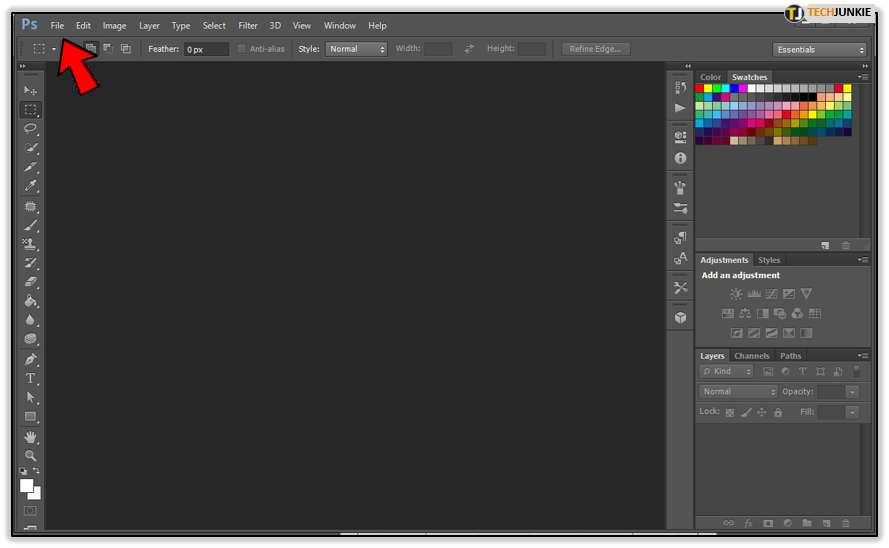
- Launch Photoshop.
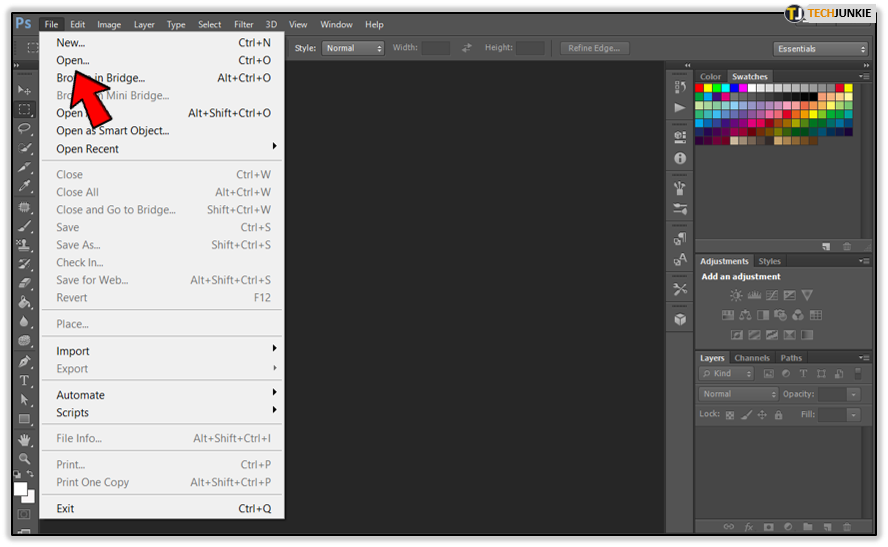
- Click “File”.

- Click “Open”.

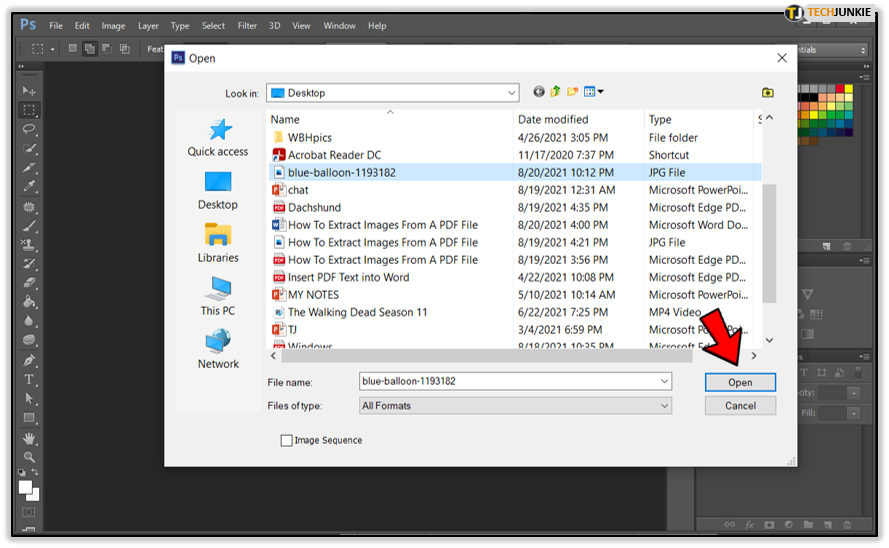
- Browse for the image you want to convert and double-click on it. Alternatively, select it and click “Open”.
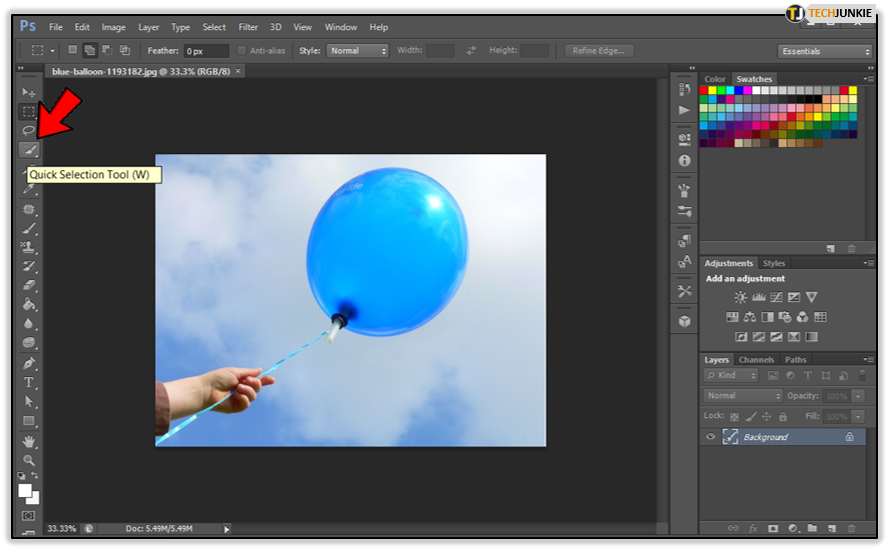
- Next, select the “Quick Selection” tool from the menu on the left side. In CS6, it is the fourth icon from the top.

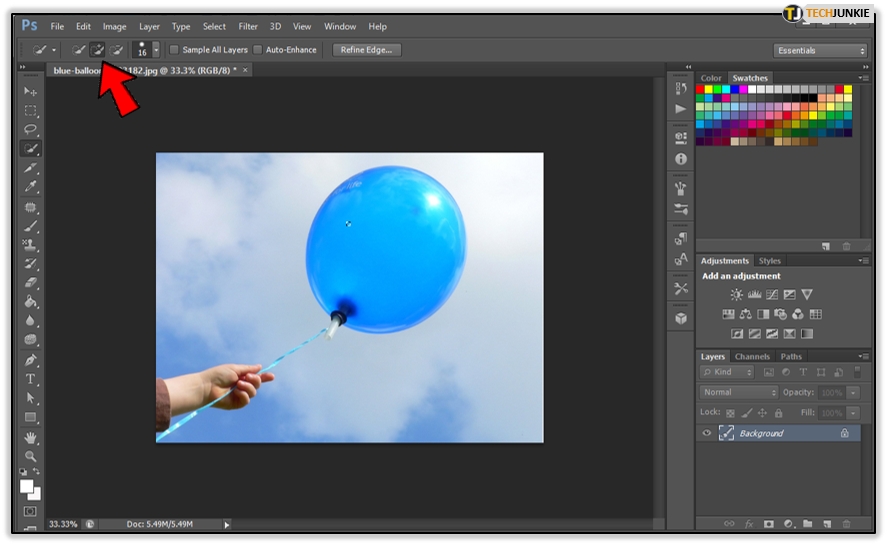
- Click the “Add to Selection” button. It should be located below the “Edit” and “Image” tabs of the Main Menu.

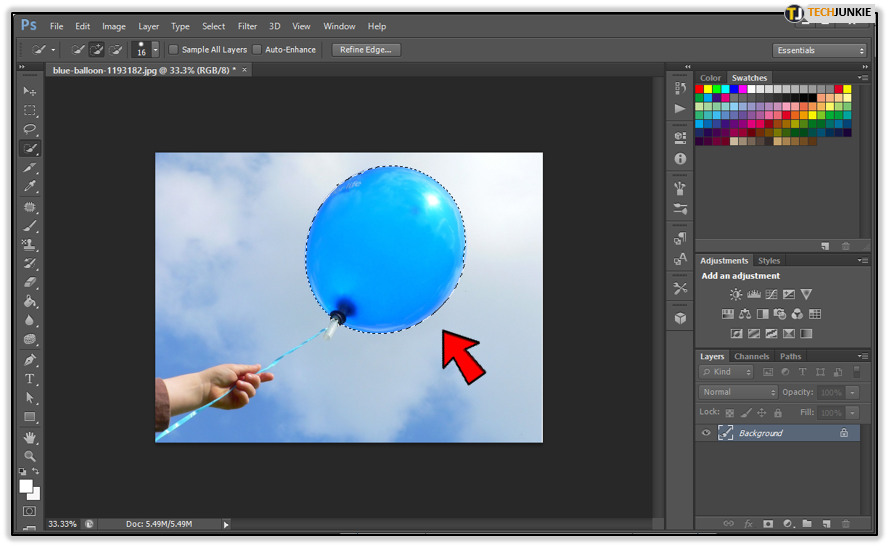
- After that, click on the portions of the inserted image to select them. All clicked areas will be encircled with a dotted line.

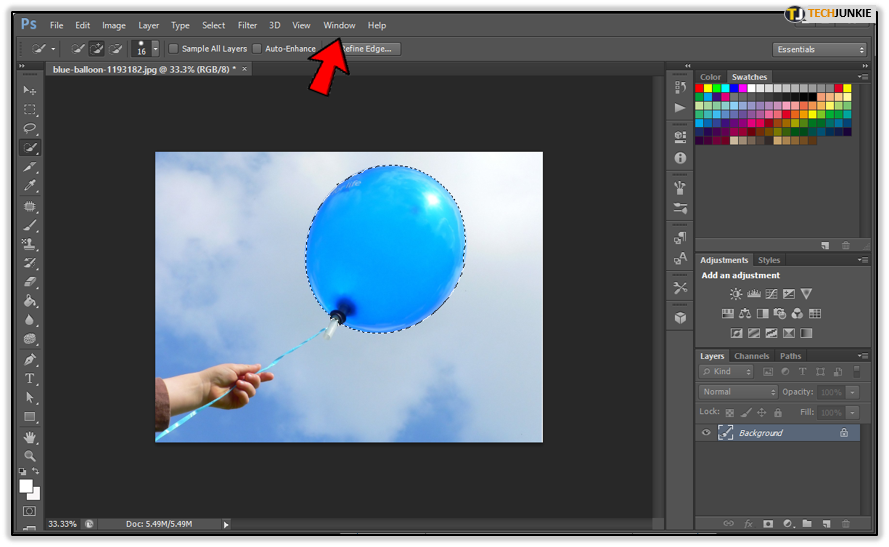
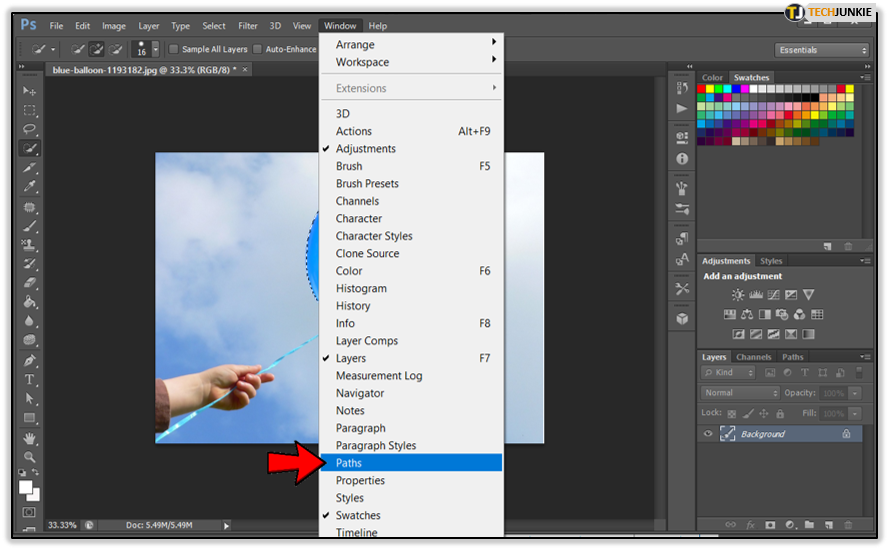
- Next, click the “Window” tab of the Main Menu.
- Select the “Paths” option.
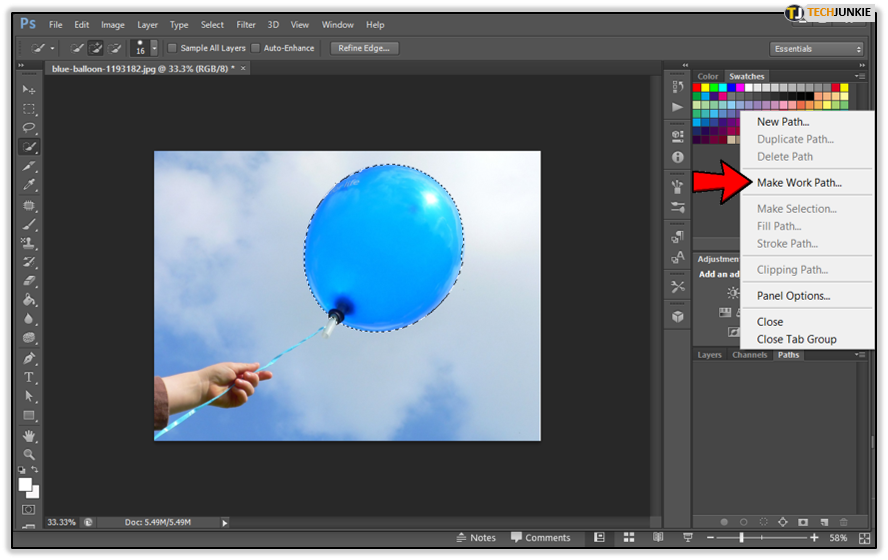
- Pick the “Make Work Path” option from the menu in the Paths window.

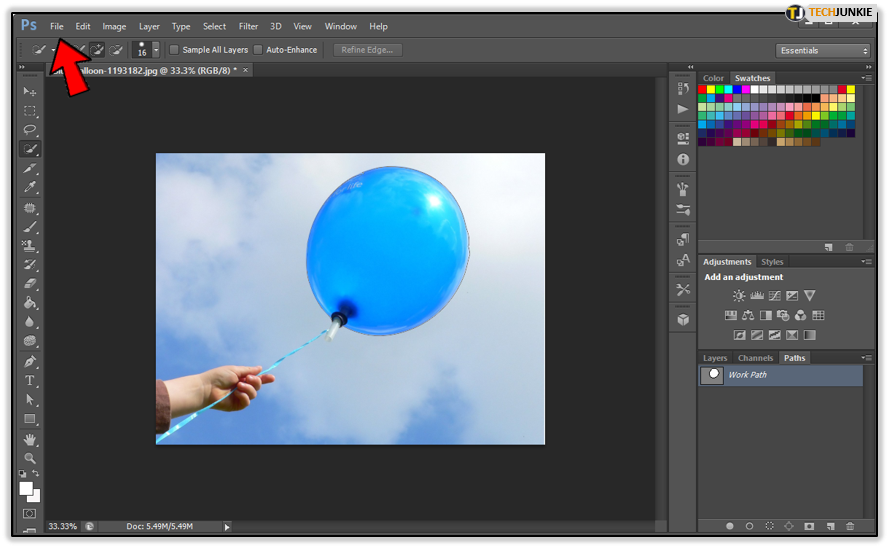
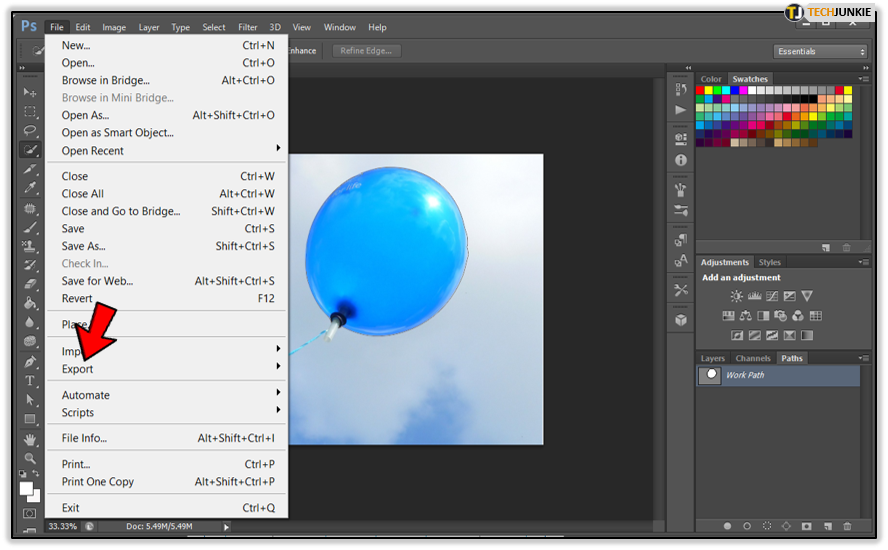
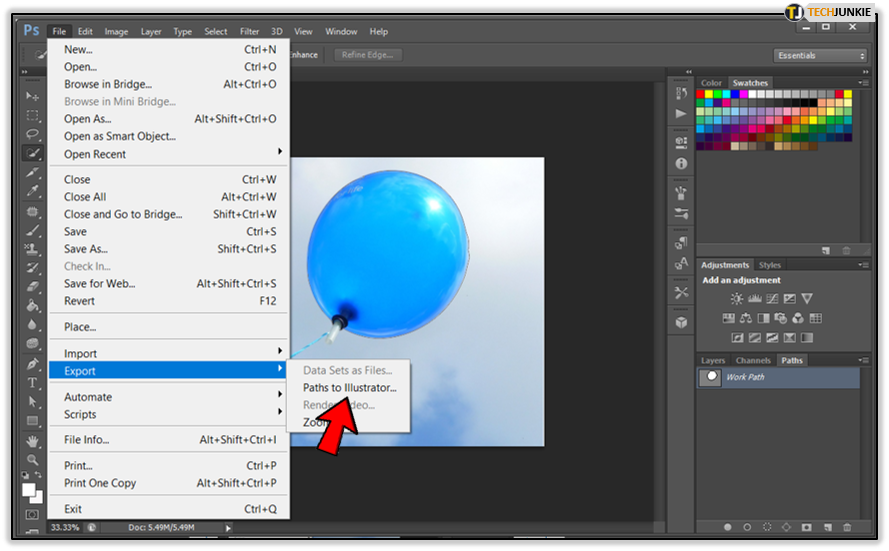
- Next, click “File”.
- Choose the “Export” option.

- Pick the “Paths to Illustrator” option.

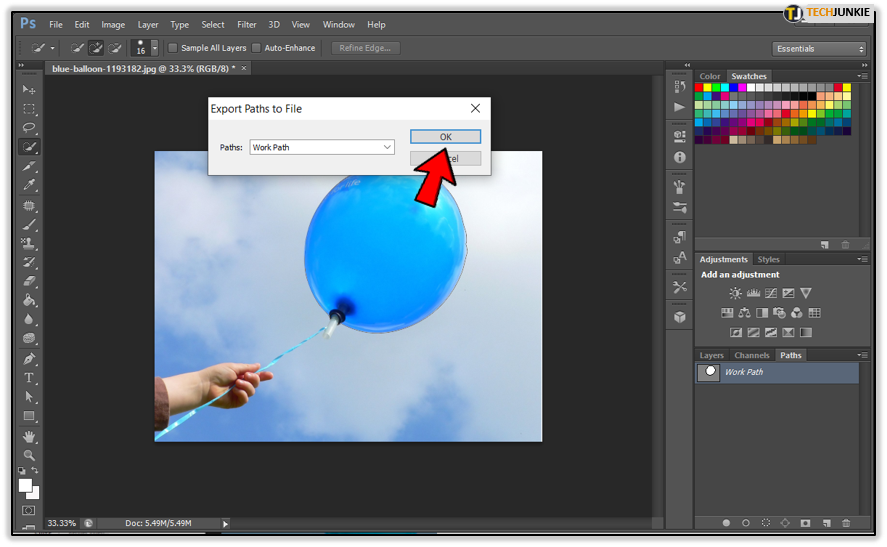
- Name the file and click “OK”.

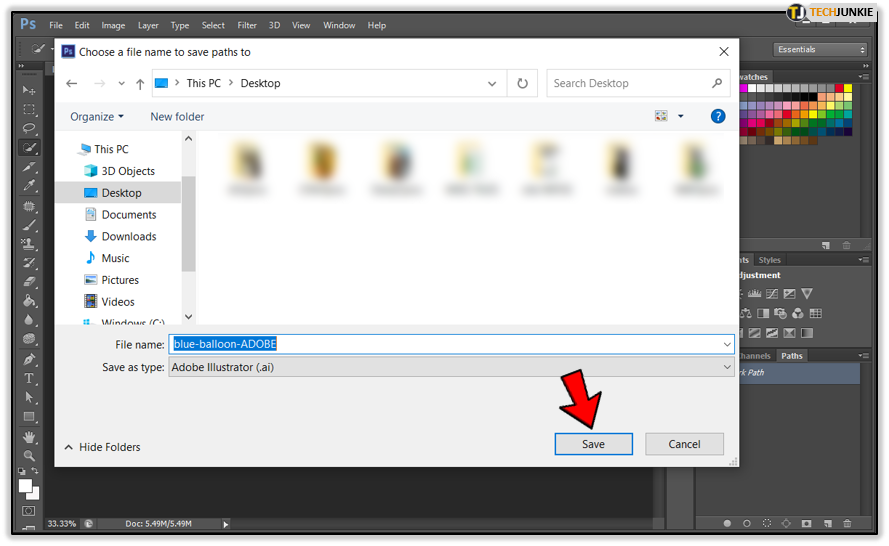
- Find the folder where you want to save your new vector.
- Name the file and click “Save”.


Save and Exit
Online sites are fast and simple to use, but are somewhat limited. On the other hand, desktop options aren’t free and require some know-how, but they yield superior results. Go with the former if you’re in a pinch. If you want maximum quality, desktop apps are the way to go.