


Quick Tip: How to Turn Off Snap in Windows 10

In Windows 10, when you drag an application or system window to the edge of the screen, you’ll see a circular animation appear at your mouse cursor and a window outline expand to fill that portion of the screen. If you let go of the mouse at this point, the window you were dragging will automatically expand depending on the location of where you dragged. For example, dragging and releasing on the right or left side of the screen will expand the window to fill exactly half of that side of the screen, dragging to the top of the screen will fill the entire screen, and dragging to one of the corners will expand the window to fill just that corner.
This behavior is called Snap, and it’s a helpful feature that has been part of Windows in one form or another since Windows 7. Some users, especially those with multi-monitor configurations, may not like it when Windows automatically messes with their desktop window layout. For these folks, the good news is that it’s easy to turn off Snap in Windows 10. Here’s how.
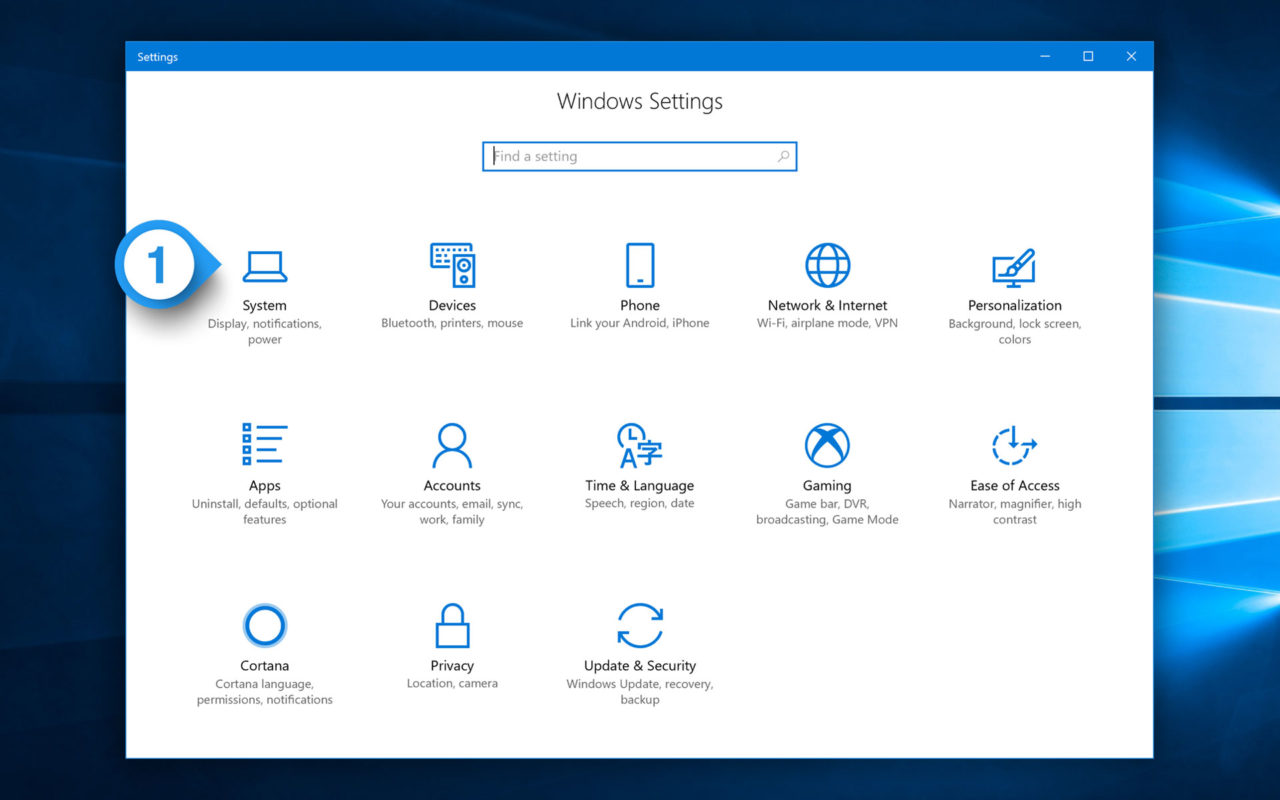
First, launch the Settings app, found by clicking on the Start Button (the gear icon) or by searching for it via Cortana. From Settings, select System.
Next, select Multitasking from the list of sections on the left, and then find the option labeled Arrange windows automatically by dragging them to the sides or corners of the screen.
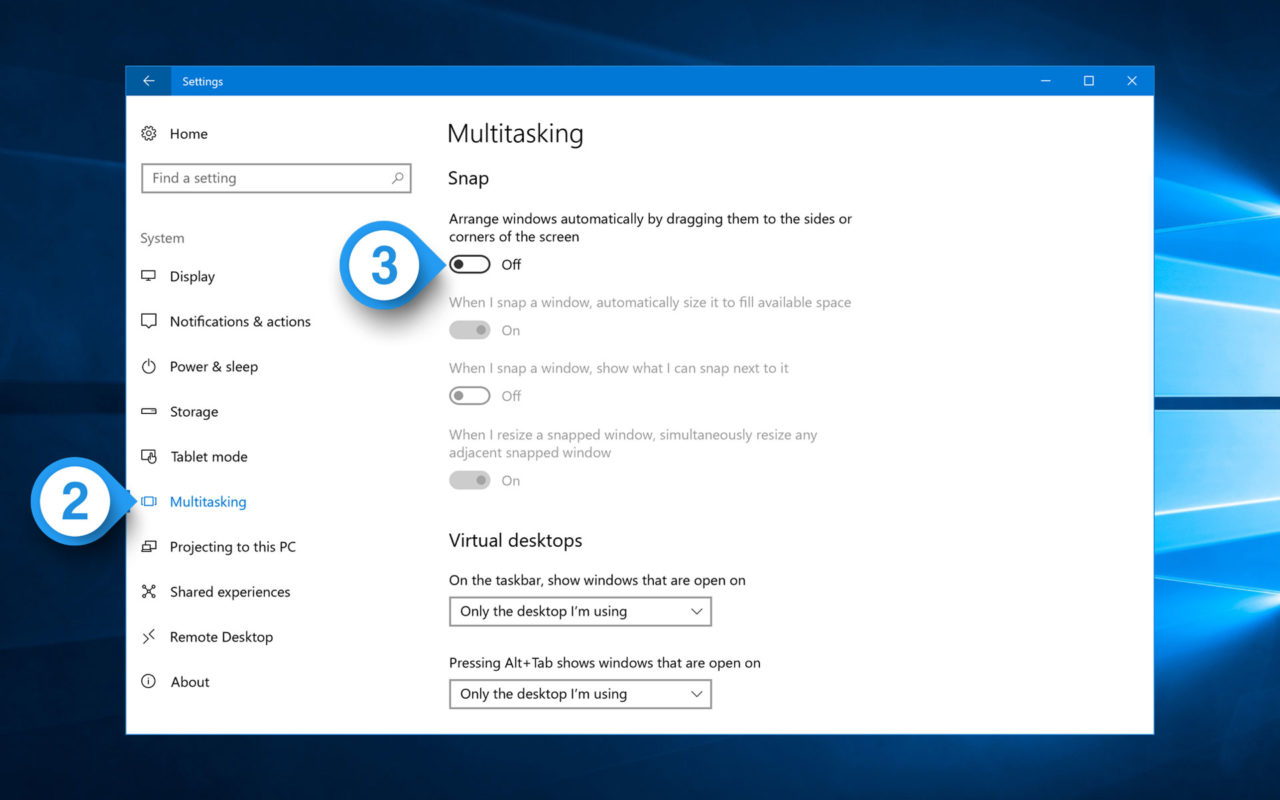
This option, which is enabled by default, is what controls the overall Snap feature in Windows 10. Its sub-features address options like Snap Assist, but if you want to turn off snapping entirely, that top option is the one you’re looking for. Just set it to Off and Snap will be immediately disabled.
If you find yourself missing the Snap feature, you can turn it back on at any time by heading back to Settings > System > Multitasking and turning the aforementioned option back to On.


3 thoughts on “Quick Tip: How to Turn Off Snap in Windows 10”