How to Use the Eraser Tool in Pixlr App

Do you have a favorite photo but hate the background?
You don’t need to toss out your favorite memories just because you have an unsightly background or unexpected photobomb. Photo editing software is easily accessible and even easier to use.
Find out how to erase unsightly elements from your photos using the Pixlr app.
Desktop App – Free Web-Based Software
If you don’t have a big budget, you’re in luck!
Pixlr has a couple of free web-based apps that you can use online: Advanced Pixlr E and Playful Pixlr X.
They also have paid subscriptions that give you access to more tools and stocks. However, you don’t necessarily need to use the paid version to use the erase tool. Here’s how to do it:
Step 1 – Go to the Pixlr Website
First, go to pixlr.com and click on the “Advanced Pixlr E” button.
Step 2 – Upload an Image
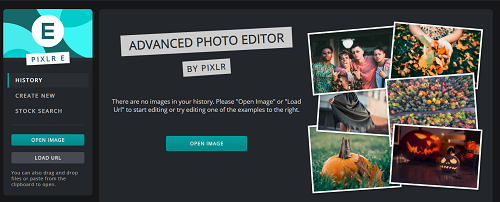
You need an image before you can edit it, so the next screen gives you the option to open an image from your computer. The app also temporarily saves recent images in the browser cache. If you recently worked on an image, you’ll see it displayed here.
Open the image that you want to edit, or click on it from the history list.
You can also load a URL image address by clicking on the “Load URL” button on the left -hand panel.
Step 3 – Open the Eraser Tool
Now that you have an image to work with, it’s time to edit it.
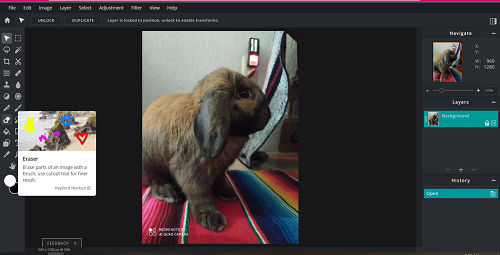
On the left-hand panel are a variety of editing tools for your current photo.
Click on the eraser icon or the eighth icon from the top in the left row. You can also access the eraser tool by using the keyboard shortcut “E”.
Step 4 – Choose Eraser Tool Details
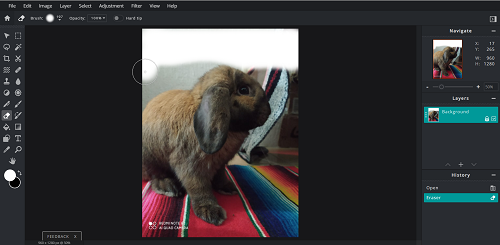
When you click on the eraser tool, a variety of options appear in the sub-header. Option choices include:
- Brush – change the size, softness, step, and shape of the eraser
- Opacity – changes desired transparency of the erased sections
- Hard tip – click on this if you want to change the default eraser edges to a clean, crisp finish
If you choose to forego the hard tip, the default eraser tool uses a softer spray paint type of texture.
Step 5 – Using the Eraser
There are a few ways to utilize the eraser tool.
You can left-click the mouse and hold the button down. Holding down a left-click using continuous motions can help if you have large sections that you want to erase quickly.
Alternatively, you can use individual clicks of the left button of the mouse to stamp eraser marks onto the photo. This may be time-consuming, depending on the size of your brush, but it does provide a little more control of the eraser tool.
Don’t be afraid to alternate between different sizes, shapes, and even opacity to get your desired effect. To erase in finer details, try zooming in on the photo and using a smaller tipped eraser point.
Step 6 – Using the Undo Button
Mistakes are inevitable.
Even the most seasoned photo editor’s hand slips from time to time. If that happens to you, don’t panic.
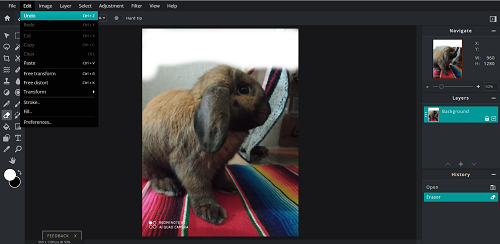
Go to the Edit button in the header menu and click on the Undo button. The Ctrl+Z hotkey also works to do this. Keep clicking Undo until your mistake disappears.
Keep in mind, though, that if you hold down the left mouse button for continuous erasing, pressing the Undo button reverts everything. All the work from when you first held down the button until you release it again counts within the parameters of the Undo button. That could mean a lot of lost work in the process, so use the continuous erase feature with caution.
When in doubt, try holding down the left mouse button for very large areas and save individual button presses for areas where you need more detail.
Also, to revert your photo, you can keep pressing the Undo button as many times as you need. But it only works in the same session. Once you exit the program, it’s saved as is… mistakes and all.
Step 7 – Save Your Edited Photo
When you’re satisfied with your edit, click on the Save button located in the drop-down File menu. You can also use the Ctrl+S shortcut to get to the Save menu.
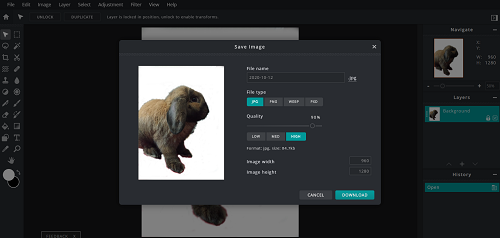
Name your file and pick your file type. You can also choose the quality and resolution of your saved files at this time.
Click on Download to download the image to your Desktop and save it to your computer.
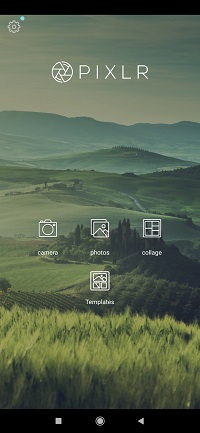
A Word About the Mobile App
Pixlr also has a free mobile version of its photo editing app at your favorite app store, but it has limited functionality.
You can make great collages and add special effects to photos while you’re on the go with the Pixlr app. Additionally, it does also have an Eraser tool. However, the eraser functions more like an “Undo” button for the effects that you apply to the photo using the app.
Erasing things from the background of your photos isn’t really an option on the mobile version. But you probably want to reserve edits that require a fine touch, like erasing, for your desktop anyway.