


How to Manage and Disable AutoPlay in Windows 10
AutoPlay is a Windows feature that Microsoft first introduced way back in Windows 98. AutoPlay detects when removable devices such as DVDs, flash drives, and camera memory cards are connected, and automatically launches a designated program to play or view any compatible content those devices contain. For example, if you insert a DVD movie into your AutoPlay-capable Windows PC, the DVD player app will launch and start playing the movie.
AutoPlay can be a useful feature in that it makes it quicker to access your content with common apps. But it can also become annoying for some users who prefer to access their content manually or with different applications. AutoPlay is enabled by default in Windows 10. If you find the feature to be more annoying than helpful, here’s how to disable it.
Disable AutoPlay
To disable AutoPlay in Windows 10, head to Start > Settings > Devices > AutoPlay.
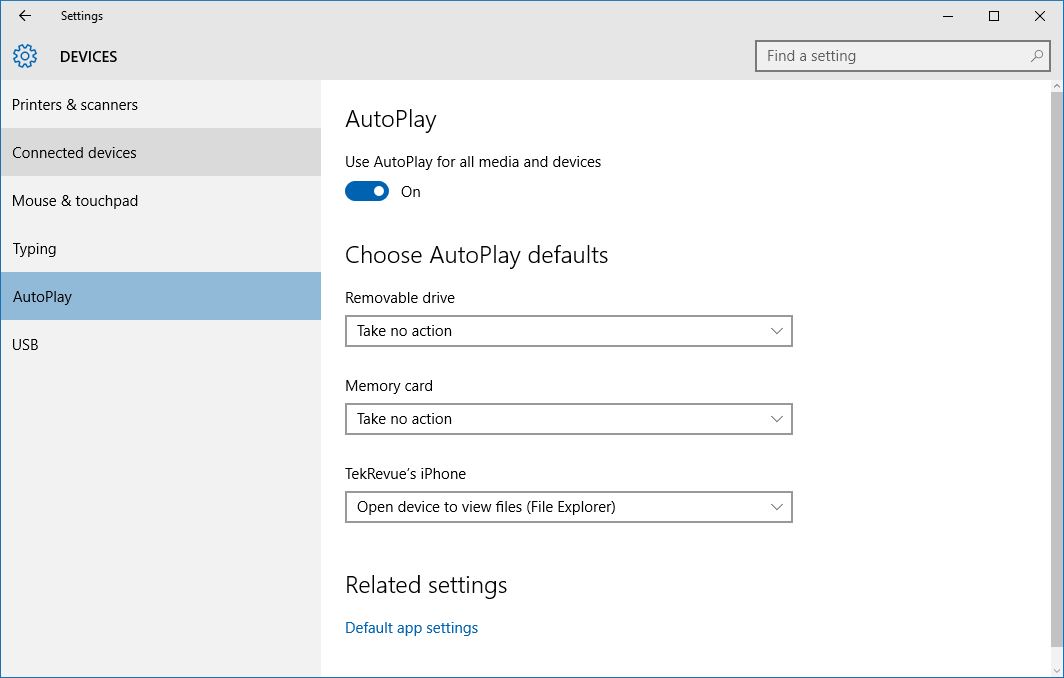
Users have the option to disable AutoPlay completely by turning it off with the first setting: Use AutoPlay for all media and devices. AutoPlay will be disabled as soon as you toggle the option to the Off setting. There’s no need to reboot or save your change.
Manage AutoPlay Settings
Instead of simply disabling AutoPlay, you can manage how it works for certain devices. To do so, first leave the main AutoPlay toggle described above set to the On position. Next, look at the options under Choose AutoPlay Defaults.
Your own Settings window will look a bit different from the one in our screenshots as each PC is unique. In general, you’ll see an option for “Removable drives,” which covers devices like USB flash drives, and “Memory cards,” which refers to your digital camera’s SD or Compact Flash cards. You’ll also see specific references to certain other devices such as external hard drives or, in the case of our screenshot, mobile devices like the iPhone.
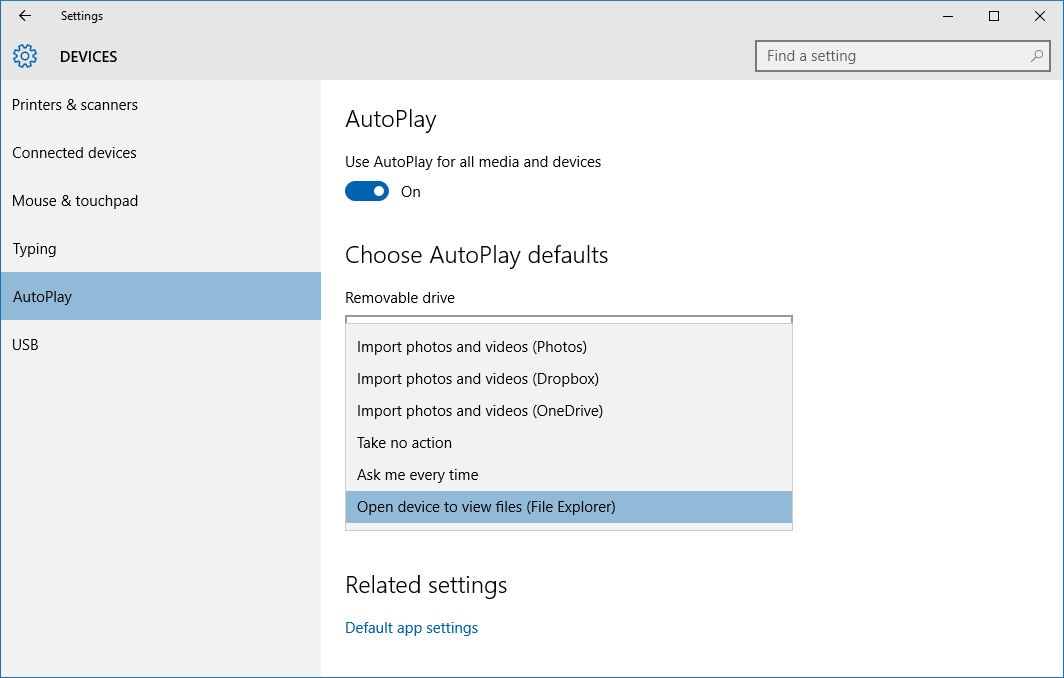
You can click on the drop-down menu beneath each device type to set a default AutoPlay action. You can also disable AutoPlay for that device by choosing Take no action.
For example, in our screenshots above we’ve disabled AutoPlay for Removable Devices and Memory Cards (“Take no action”), but we’ve configured AutoPlay to launch File Explorer and show our photos each time we connect our iPhone. If you frequently open the same type of content in different applications and would like to be prompted each time a device is connected, choose Ask me every time. Also note that you can trigger the “Ask Me” prompt regardless of default setting by pressing and holding the Shift key on your keyboard while you connect an AutoPlay-compatible device.
Changing Advanced AutoPlay Settings via Control Panel
The AutoPlay options in the Windows 10 Settings app are relatively straightforward. Longtime Windows users, however, may notice that these default options aren’t as granular as those found in previous versions. Thankfully, those old advanced AutoPlay settings are still available in the Control Panel.

Just head to Control Panel > Hardware and Sound > AutoPlay. Here, you’ll be able to choose default AutoPlay actions for all device types, including CDs, Blu-rays, and DVDs.
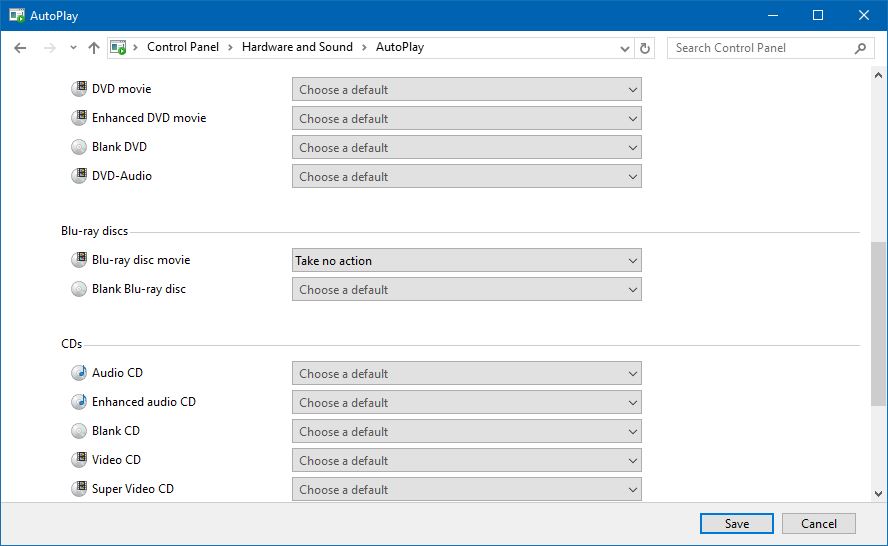
If you’ve made too many changes and want to revert back to the default AutoPlay settings, scroll to the bottom of the AutoPlay window in Control Panel and click Reset all defaults.


