


How to Use Text Replacement on the Mac

Need to frequently type the same phrase or text snippet? If so, you can save a ton of time by using the Mac’s little-known built-in text replacement feature.
Here’s how it works: When you type in a preconfigured text shortcut (for example, “hth” is one of mine), macOS will automatically fill in the replacement text you designate (“Hope that helps!”). Since these replacements can be as long as you’d like, you can use this to instantly type whole emails full of information — such as your mailing address, legal disclaimers, or your full signature — without having to copy and paste from a draft or anything like that. Cool! Now let’s walk through how to set it up.
How to Configure Text Replacement Snippets in macOS
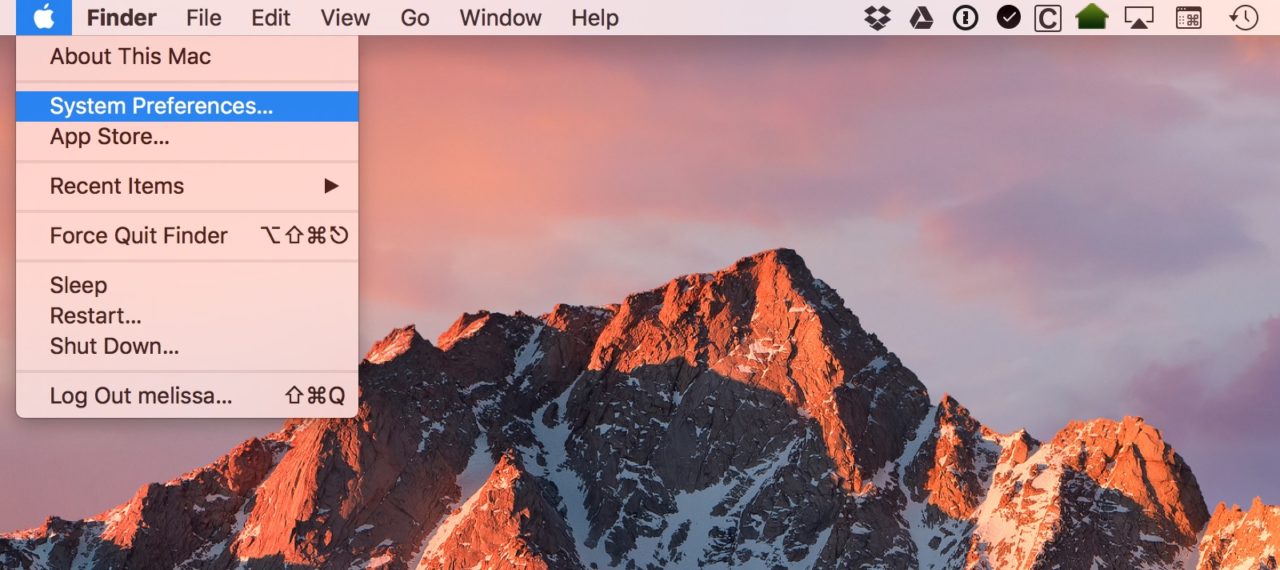
To get started, first launch System Preferences from the Apple menu at the top left of the screen, or by selecting the System Preferences icon from your dock.
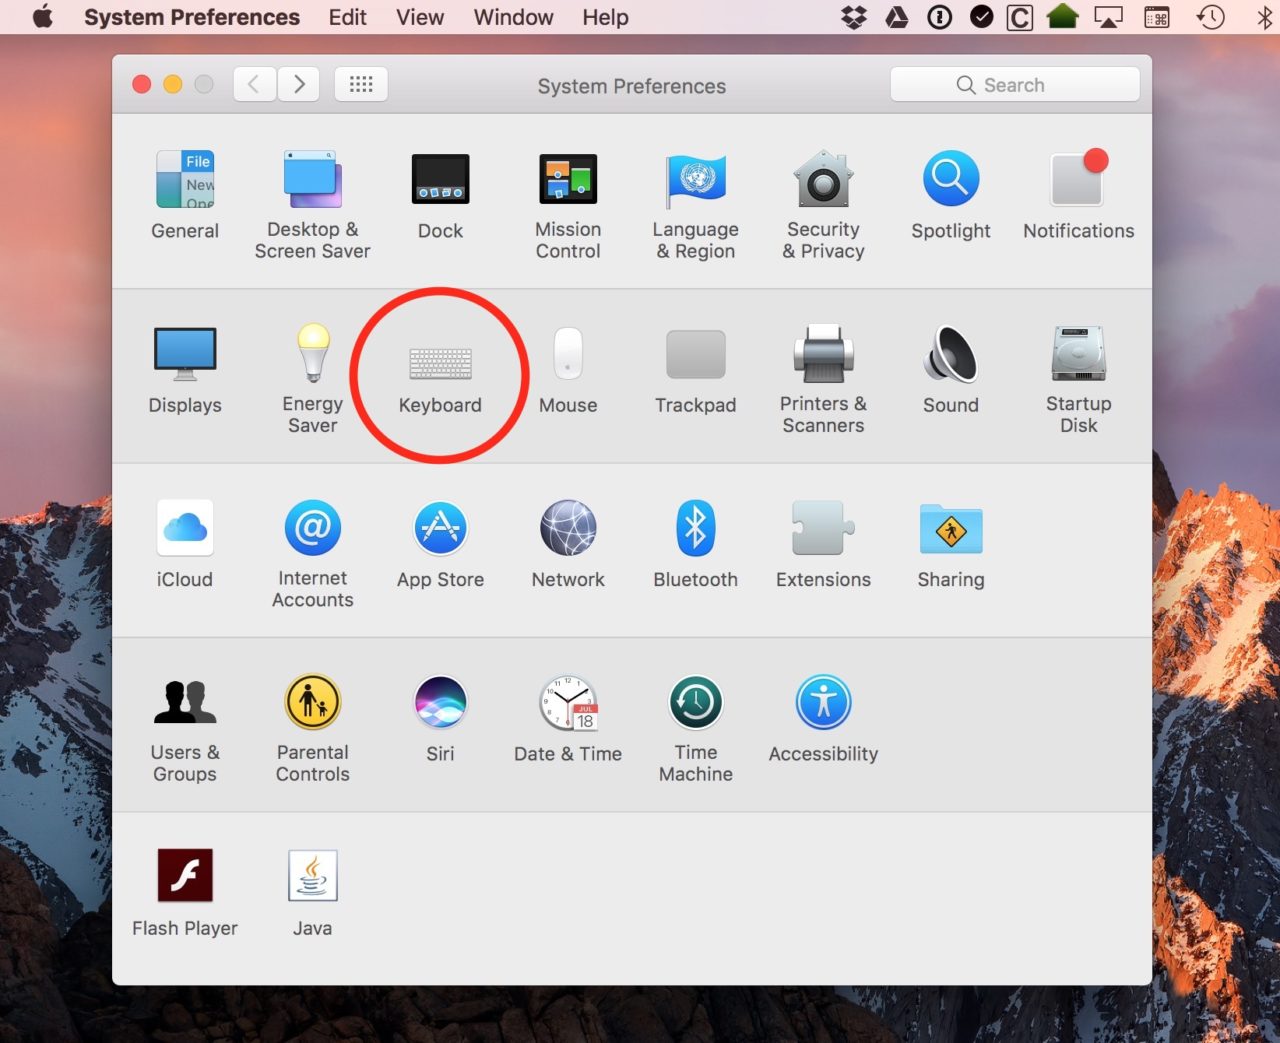
From the System Preferences window, select Keyboard:
On the Keyboard screen, select the Text tab at the top. This will show you any existing text replacement snippets you may have (such as those in my screenshot below), but if this is the first time you’re using this feature, you’ll see a blank list.
Here’s how it works: the column on the left, Replace, is the text you’ll type, while the column on the right, With, is the text that will appear when you type the corresponding snippet. The Replace text can be anything you want, from an actual word to an abbreviation, to random letters. The With can also be anything, from a single word to a multi-paragraph block of text.
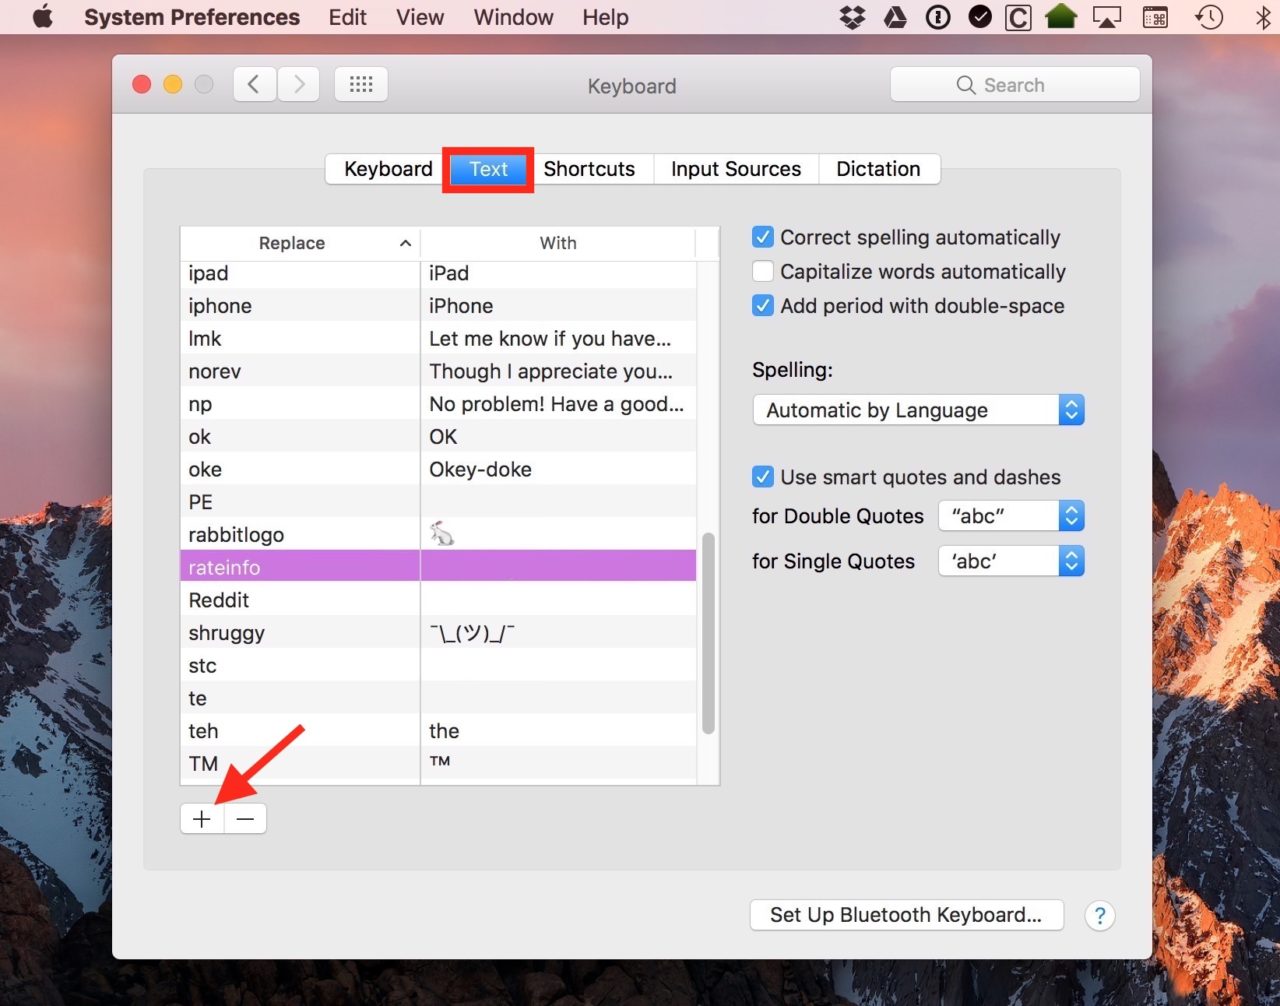
To add your own text replacement snippets, click the plus button at the lower-left (identified with the red arrow in the screenshot above). This will create a new blank row in the list at the top. On the left side, type the shortcut you’d like to use (such as “omw” for “on my way” or “lmk” for “let me know if you have any questions”).
The one limitation is to make sure you choose a text snippet that you’d never actually use, because once you set this up, macOS will replace your snippet with your predefined text every time you type it. For example, setting the word “address” to autofill with your home address might seem like a good idea, but then it’ll be a pain when you need to, you know, type in the WORD “address!” Heh. Anyway, once you’ve got your shortcut in, click on the right column and type or paste in the text you’d like to autofill when you type that word. Press Return once you’re done to save your new text replacement snippet.
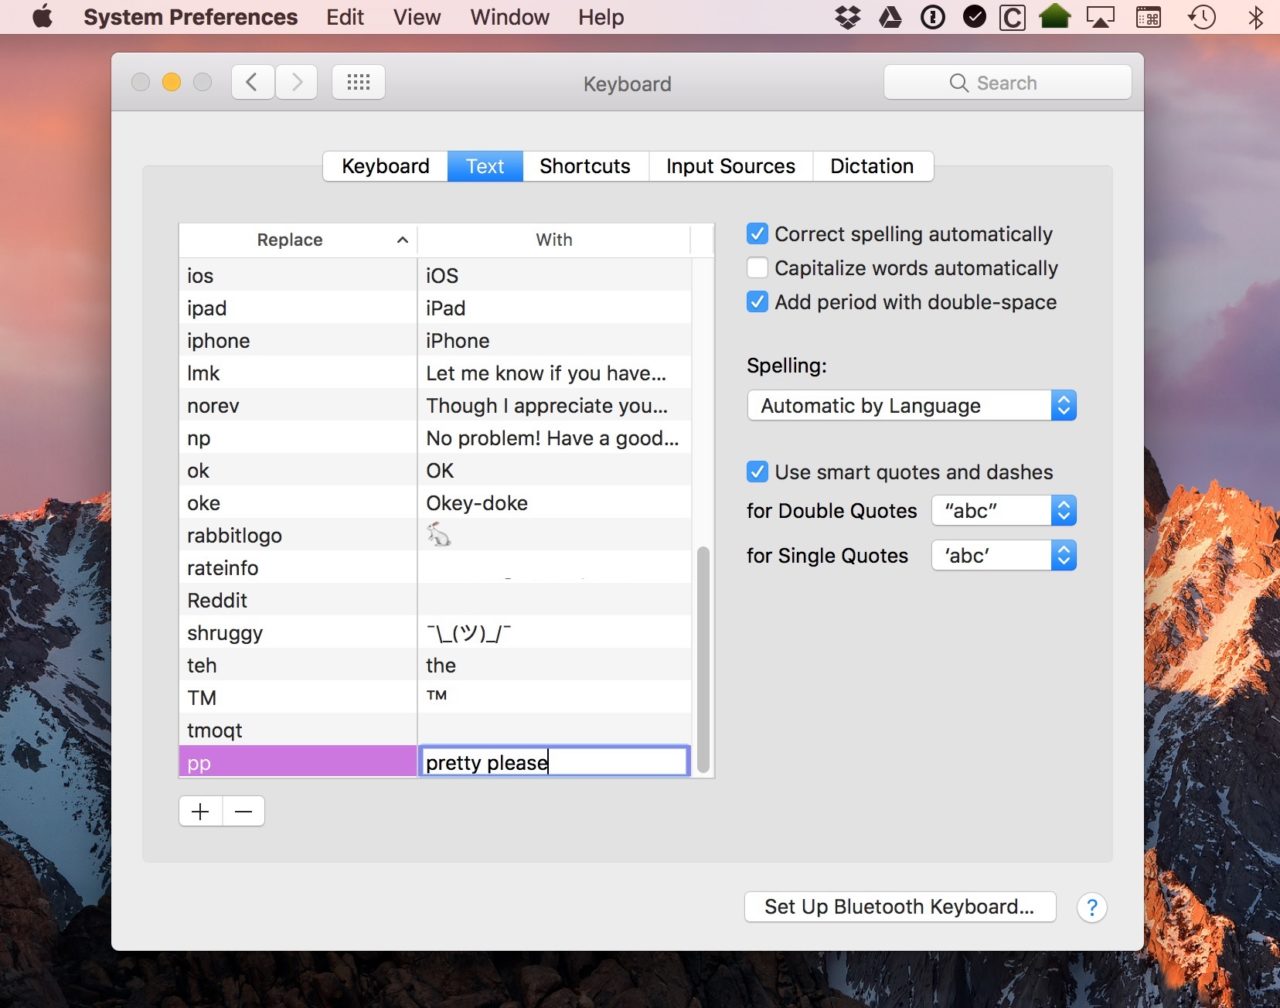
For example, in the screenshot above, I’ve configured “pp” to autofill with the phrase “pretty please.” This means that every time I type two lowercase p’s in sequence, macOS will automatically replace those two p’s with “pretty please.”
Once you’re done adding text replacement snippets, close System Preferences and launch an app that allows text input — such as Mail or TextEdit — in order to test them. Type one of the shortcuts you defined earlier, such as my “pp” example, and you’ll see macOS automatically suggest your text replacement snippet.
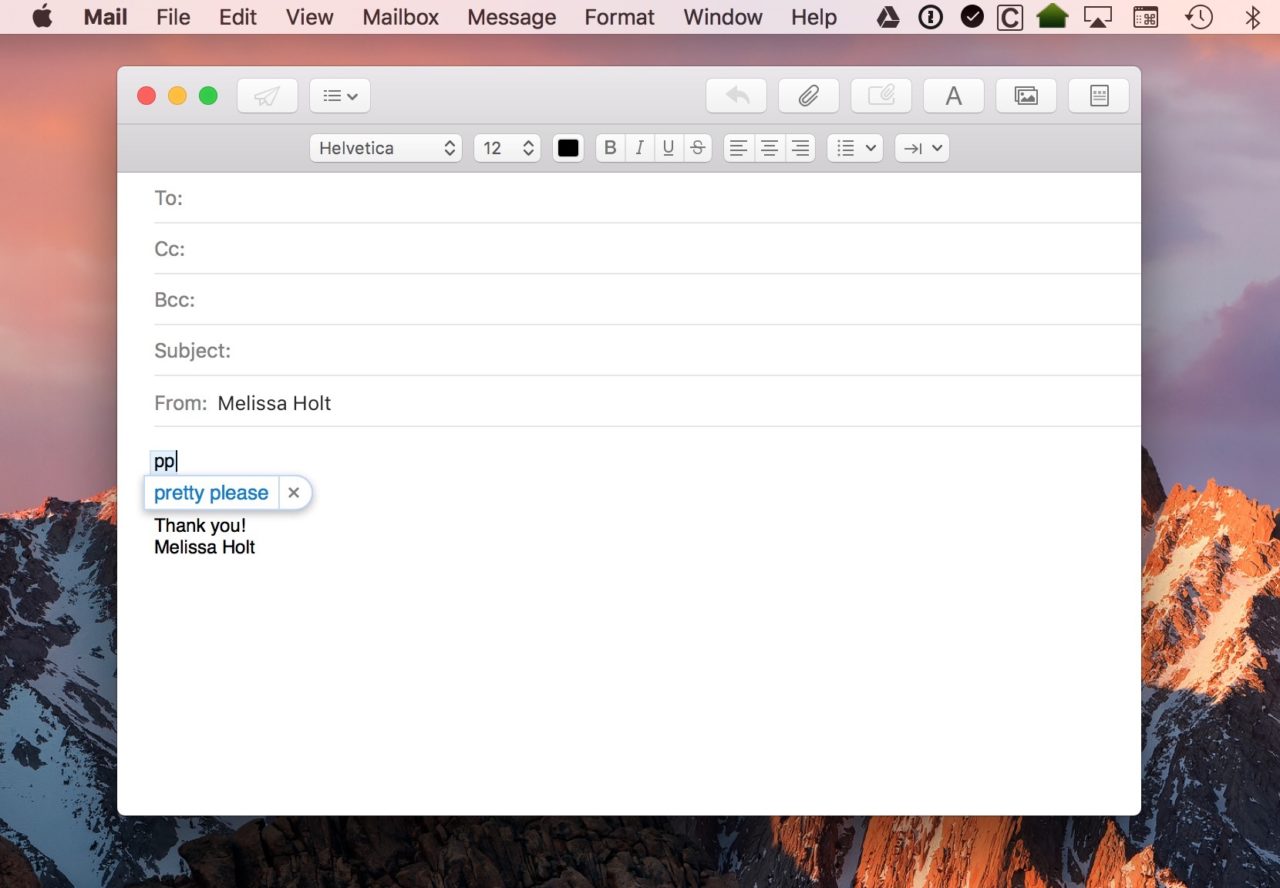
Once macOS suggests your replacement, just press spacebar to continue typing, or Return to end the line, and the replacement text will automatically replace your shortcut. If you typed those characters by mistake and don’t want your replacement text to appear, press the Escape key or click the small “x” next to the recommendation to cancel the replacement.
I honestly find this to be one of the most time-saving features of macOS—I’m never gonna set the world on fire with my typing speed, so this helps me get stuff done. I don’t need to spend my time retyping the same info over and over, and neither do you!
Commercial Text Replacement Options
As you can see, the Mac’s built-in text replacement feature will be helpful to many users, but those seeking a bit more power and functionality can look to third party text replacement software for macOS. Some popular options are TextExpander ($40/year subscription), Typinator ($25), and aText ($5).


