How to Disable “Which Device Did You Plug In” Notification Spam

You might know what device you just plugged into your PC, but your machine certainly doesn’t. At least, that’s what the constant “Which device did you plug in?” messages seem to be telling you. This popup is related to Realtek Audio and is designed to be helpful to users, but can quickly become annoying, overwhelming, or both.
In this article, we’ll be showing you how to disable it, and address the underlying causes behind the popup.
The Reasons Behind the Popup Popping Up
While Realtek Audio is not the default audio driver for all PCs, it’s installed in so many as to almost be ubiquitous. Many motherboards come with Realtek equipped to handle both audio output and input requirements, and therein lies the problem.
Being able to cater for so many different audio devices, from sound systems to microphones, Realtek uses the “Which device did you plug in?” popup to determine how best to deal with the device you’ve just inserted, in order to provide the best settings possible.
Sometimes, if you’re plugging in new devices frequently, the popup can become annoying. On the other hand, users also report that the notification stops popping up at all, even when they want it to. Let’s take a look at how to deal with the problem.
How to Disable the “Which Device did you Plug In?” Notification
There are a few ways to stop this pop up, and one of them is bound to work for you.
Using Realtek Audio Controller

The easiest method for disabling the popup is through the Realtek Audio Controller itself. With every laptop and motherboard manufacturer, the layout of this app will vary slightly. Still, the overarching steps are similar:
Step 1. If this hasn’t been done already, download and install Realtek Audio Controller from the Microsoft Store.
Step 2. Open up the app and look for the connection settings.
Step 3. There will be a checkbox or slider, enabling the auto popup dialog whenever a device is plugged in. Uncheck this, or drag it to off and exit.
Disable via Task Manager
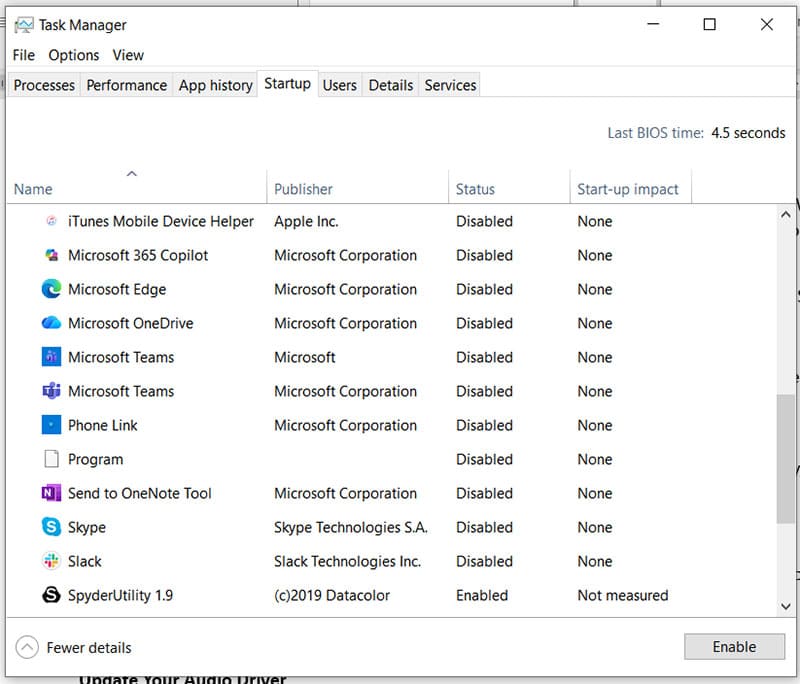
If the issue still persists, you can disable the popup on Startup in Task Manager. Don’t worry, you’ll still get to enjoy your sound, just without the popup. Here’s what to do:
Step 1. Open the Task Manager (Ctrl + Shift + Esc) and switch to the Startup tab.
Step 2. Scroll down until you find any task beginning with “Realtek” (i.e. Realtek HD Audio Manager, Realtek Audio Console), right-click it and choose “Disable” from the context menu.
Step 3. You can also do the same in the “Process” tab for the process named “RtkNGUI64.”
Update Your Audio Driver or Uninstall It
Frequent popups may also be a sign of driver errors. To fix this, you can update your audio devices in Device Manager. Here’s how:
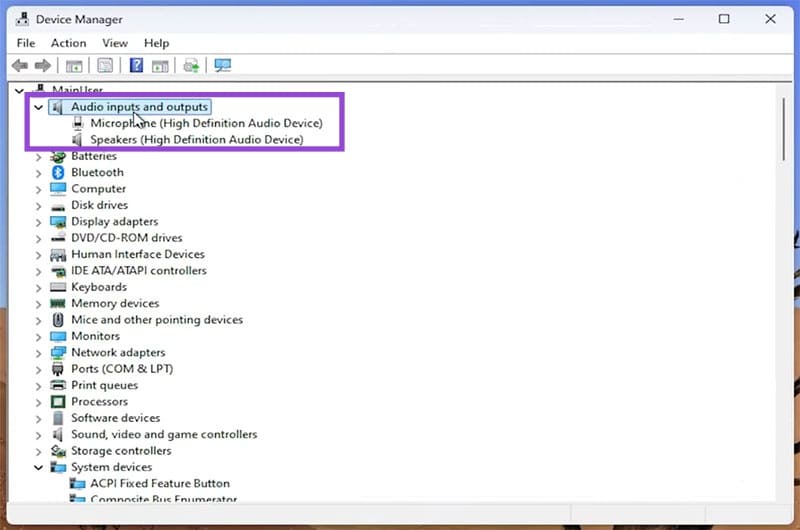
Step 1. Open the Run dialog (Win + R) and type “devmgmt.msc” into the box, and press “OK.”
Step 2. Navigate to “Audio inputs and outputs” and right-click the options underneath.
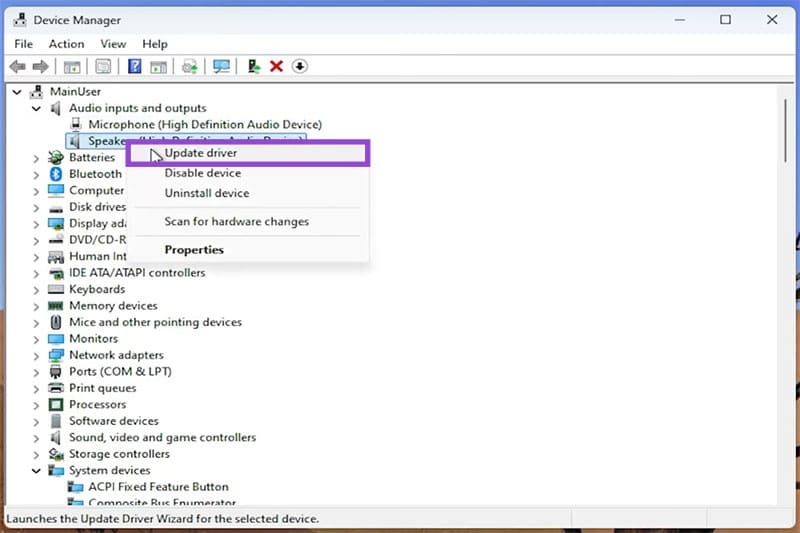
Step 3. Select “Update driver” from the context menu.
Step 4. In the next popup, select “Search automatically for drivers” and let the process run. Any new drivers will be shown and you can install them.

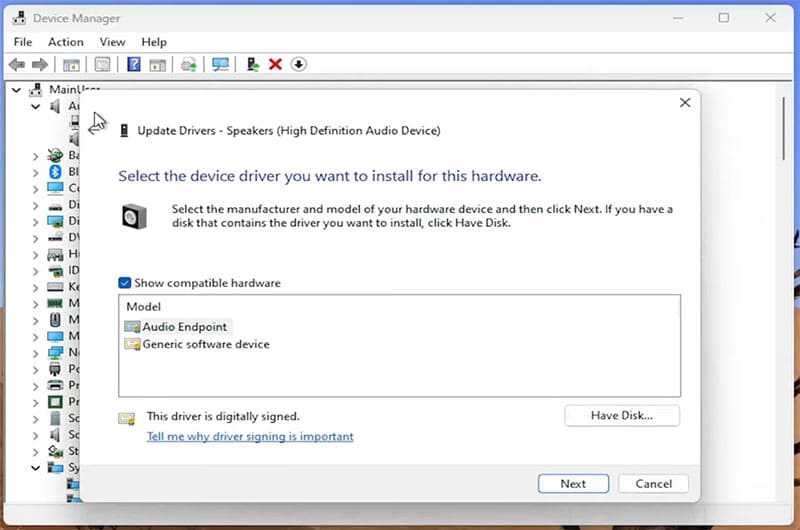
If you want to rather get rid of Realtek altogether and rely instead on default Microsoft drivers, you can do so by uninstalling the Realtek ones:
Step 1. In Device Manager, click “Uninstall” after right-clicking the audio device.
Step 2. You can also override the current drivers by selecting “Update Drivers” and choosing “Browse my computer for files” and choosing from the options included on your PC.