BSOD on First Startup Only
A Blue Screen of Death (BSOD) is never a welcome sight, often striking out of the blue (no pun intended). But what about when it strikes predictably, in this case, the first time you boot up your PC? In this article, we’ll be looking at this specific error, what causes it, and what to do about a BSOD on first startup.
Dealing With BSOD on First Startup
A blue screen on first start might be a bit confusing, especially if the next boot is always fine. There are many possible hardware and software-related causes, and we’re going to look at some fixes for them below.
Disable Fast Startup
Sure, a fast startup gets you to Windows quicker, but it might be causing this BSOD, which increases the time it takes to get to Windows. You can try disabling it and see if it helps:
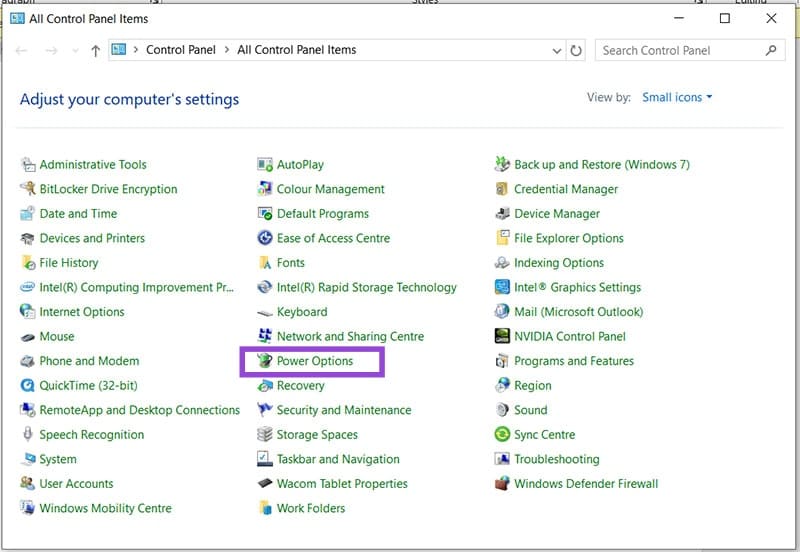
Step 1. Open Control Panel by typing it into the search bar.
Step 2. Click “Power Options,” then select what you want the power buttons to do.
Step 3. Click “Change settings that are currently unavailable.”
Step 4. In the window that pops up, uncheck “Turn on Fast Startup,” click “Save Changes,” then reboot your PC.
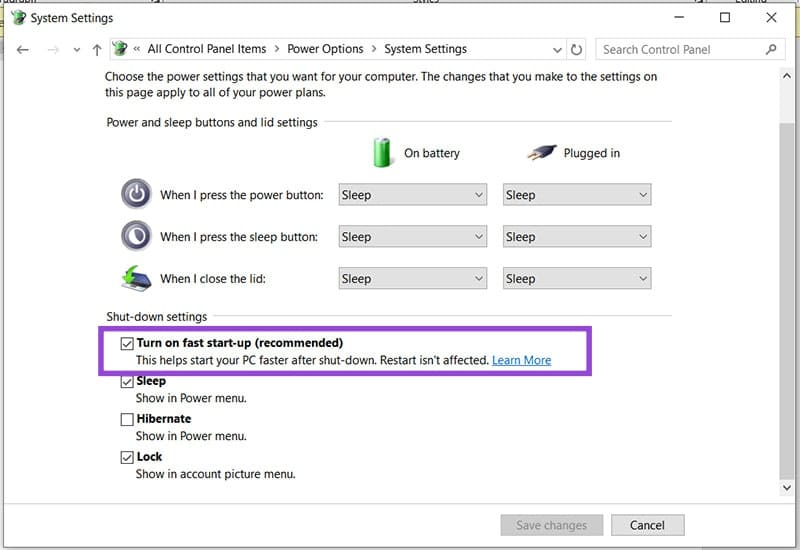
Step 5. Click “Save changes,” shut down your PC, and try booting up again.
Disable Overclocking
Your PC doing too much, too fast when booting up can also cause the BSOD. If your PC is using overclocking, it might also be a good idea to temporarily disable it and see if this resolves the initial issue. This might resolve incorrect settings or overburdened RAM.
Check Drivers
Faulty drivers can cause trouble when starting up Windows, in addition to running it. Graphics drivers are a particularly big offender. Take the time to ensure your drivers are all up to date and problem-free:
Step 1. Open the Run Dialog (Win + R) and type “devmgmt.msc” into the box before hitting “Enter.”
Step 2. In Device Manager, expand all options and check for any exclamation icons that indicate problems.
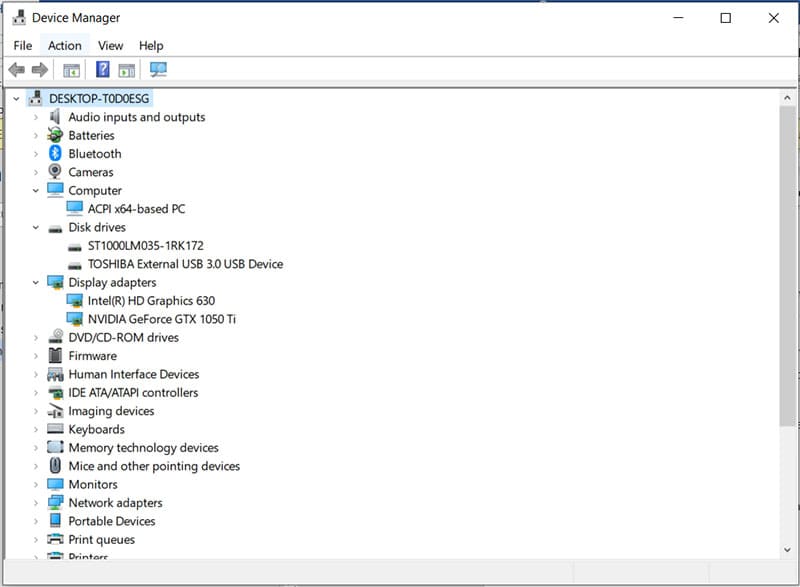
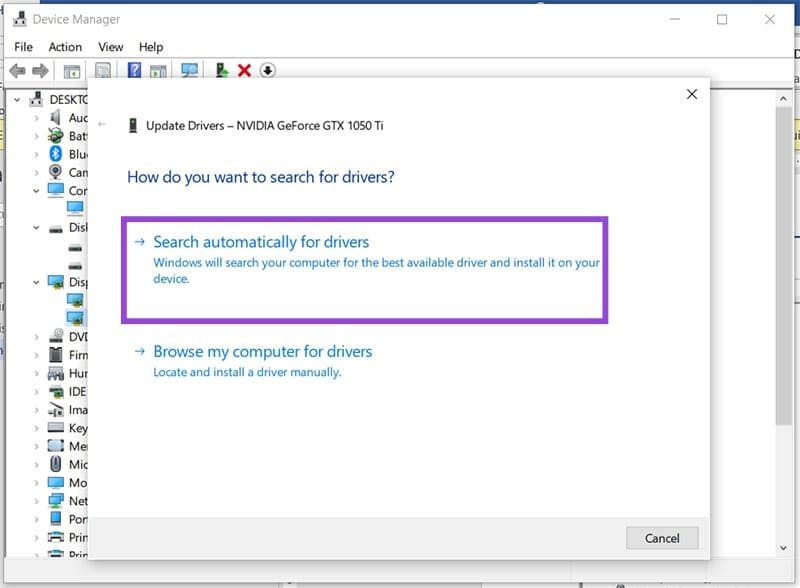
Step 3. If you need to manually update drivers, right-click an option and select “Update Drivers.”
Step 4. Click “Search automatically for drivers” and follow the steps to install.
While you’re at it, check your motherboard manufacturer’s website for the latest BIOS version and ensure it’s installed if it isn’t already.
Check Your RAM
Some users have faced issues with RAM compatibility when upgrading their PCs. If this is the case, try cleaning your RAM slots or seeing if the issue persists with the old RAM reinstalled. If it does, you might need to replace your chips.
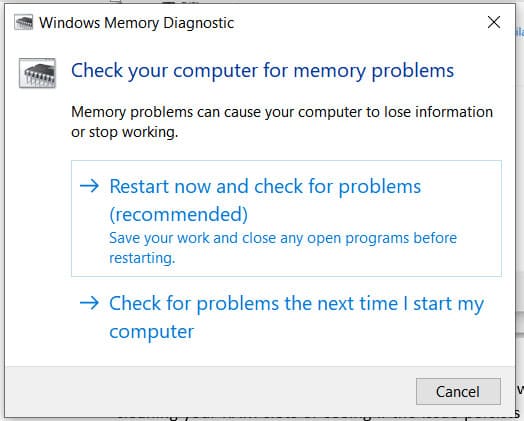
Another way to test your RAM is via Windows Memory Diagnostic, easily accessed from the search bar. This utility will check the health of your RAM. You can set it to run on a restart or the next time you boot up. This might take some time, so do so when you aren’t busy.
Remove the CMOS
The CMOS contains a little battery on the motherboard that powers the BIOS settings even when your PC is disconnected from all power sources. Removing it for a few minutes will cause the BIOS settings to reset to default, and can solve a potential configuration problem causing the BSOD:
Step 1. Turn off your PC and disconnect it completely.
Step 2. Gently remove the CMOS battery from its slot and wait for a few minutes.
Step 3. Place it back in again (remember the polarity) and boot up your machine.