


How to Add a Fingerprint to Touch ID on the MacBook Pro
Apple brought Touch ID to the Mac with the introduction of the Touch Bar MacBook Pro. During the initial setup, users are prompted to enable Touch ID by registering one of their fingerprints. Once enabled, Touch ID lets users unlock their MacBook Pro without needing to type the password, authorize purchases in Tunes and the Mac App Store, and make Apple Pay purchases.
Even though you only set up one fingerprint when enabling Touch ID for the first time, you can add additional fingerprints, just like iOS. Here’s how to add fingerprints to Touch ID on your MacBook Pro.
Touch ID Compatible Macs
First, the steps here only work for Macs with Touch ID support. As of the date of this article’s publication, only the following Macs offer Touch ID:
- 13-inch MacBook Pro (Touch Bar, Late 2016)
- 15-inch MacBook Pro (Late 2016)
- 13-inch MacBook Pro (Touch Bar, Mid-2017)
- 15-inch MacBook Pro (Mid-2017)
- 13-inch MacBook Pro (Mid-2018)
- 15-inch MacBook Pro (Mid-2018)
Add a Fingerprint to Touch ID on the Mac
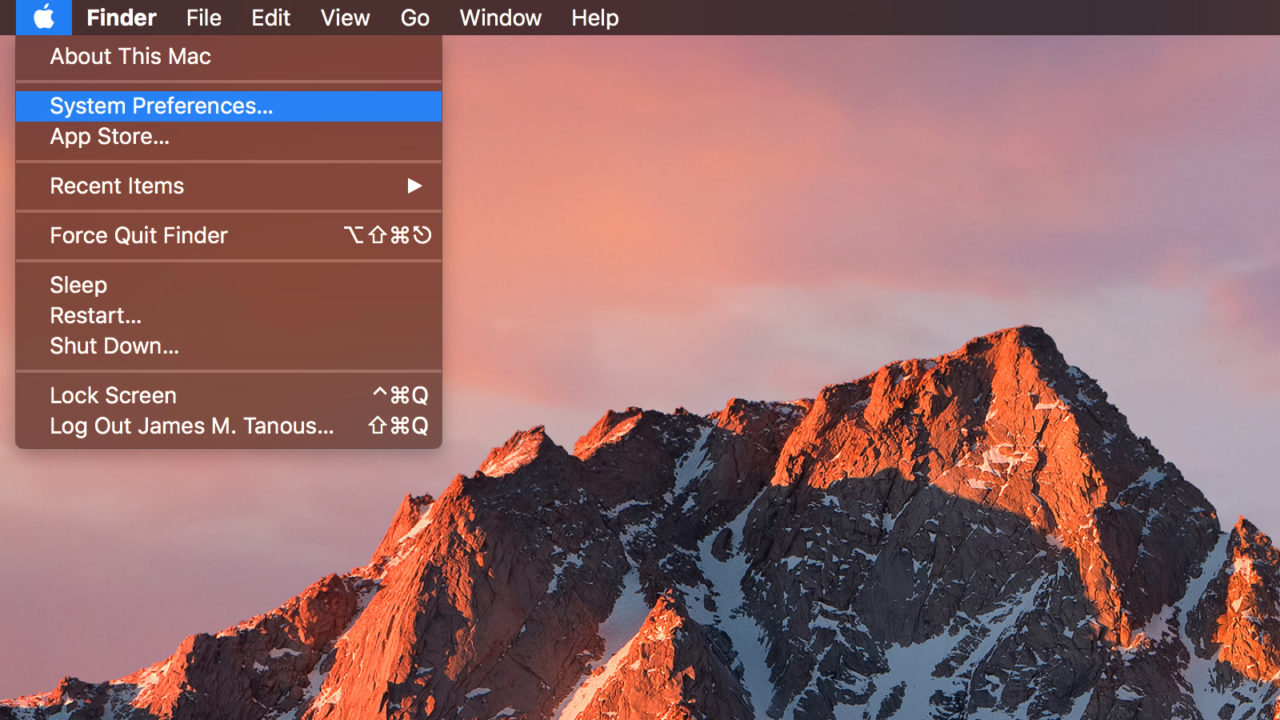
To add a fingerprint to Touch ID (or set it up for the first time if you didn’t do so during the MacBook’s initial setup), first login to the desired user account and launch System Preferences. You can find System Preferences either as the gray gears icon in your Dock or by clicking the Apple icon in the upper-left corner of the screen and selecting System Preferences from the menu.
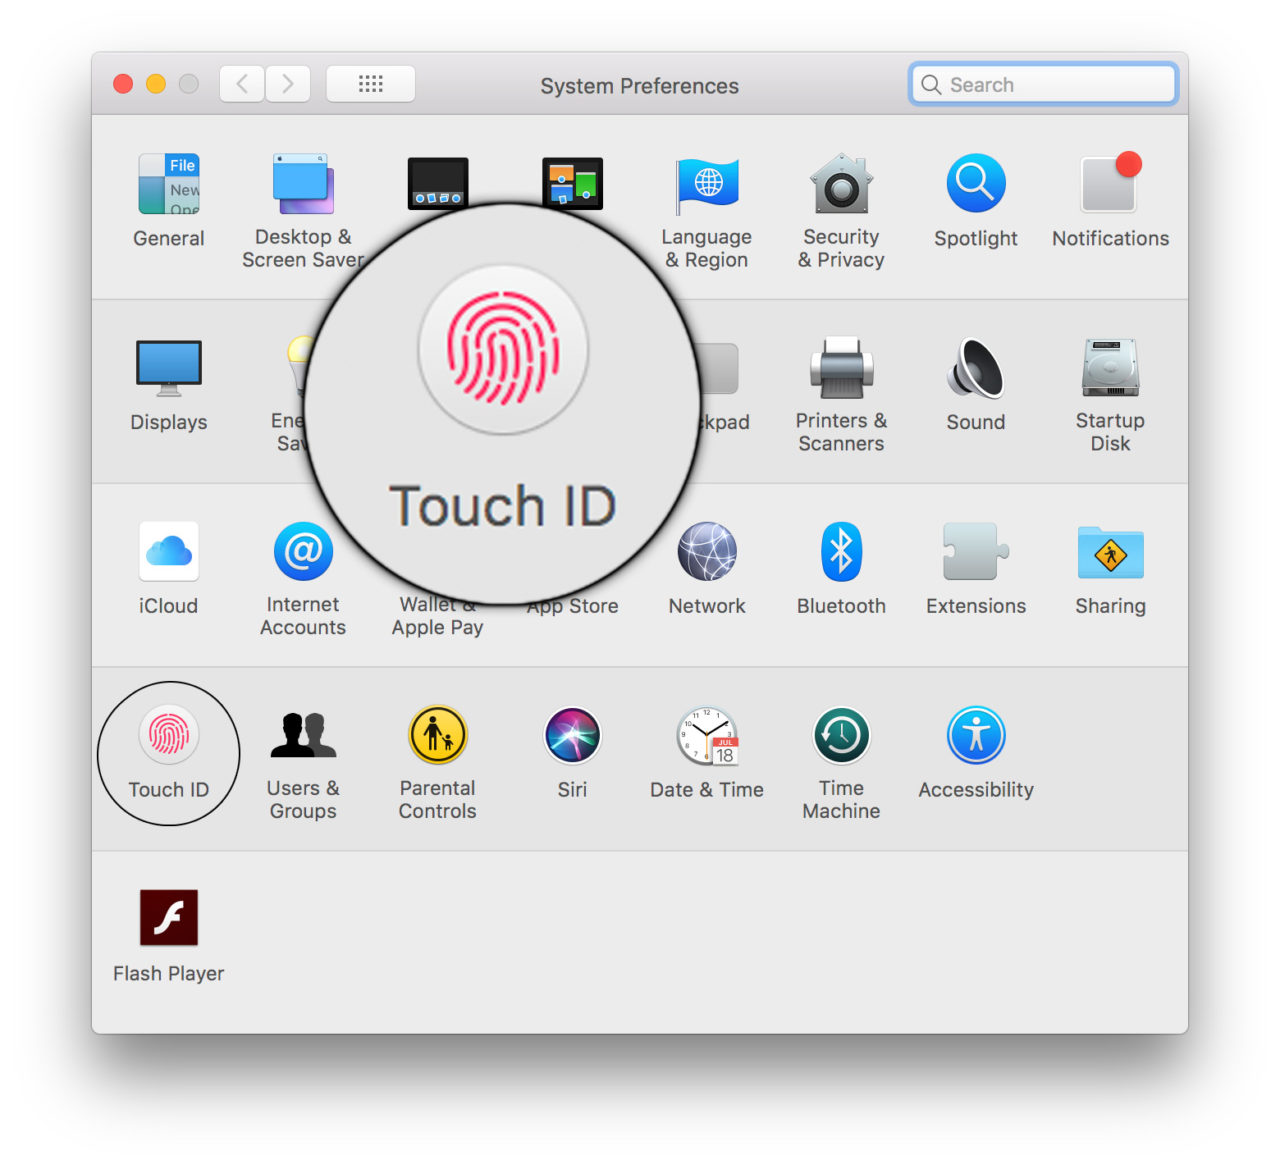
From the System Preferences window, select Touch ID.
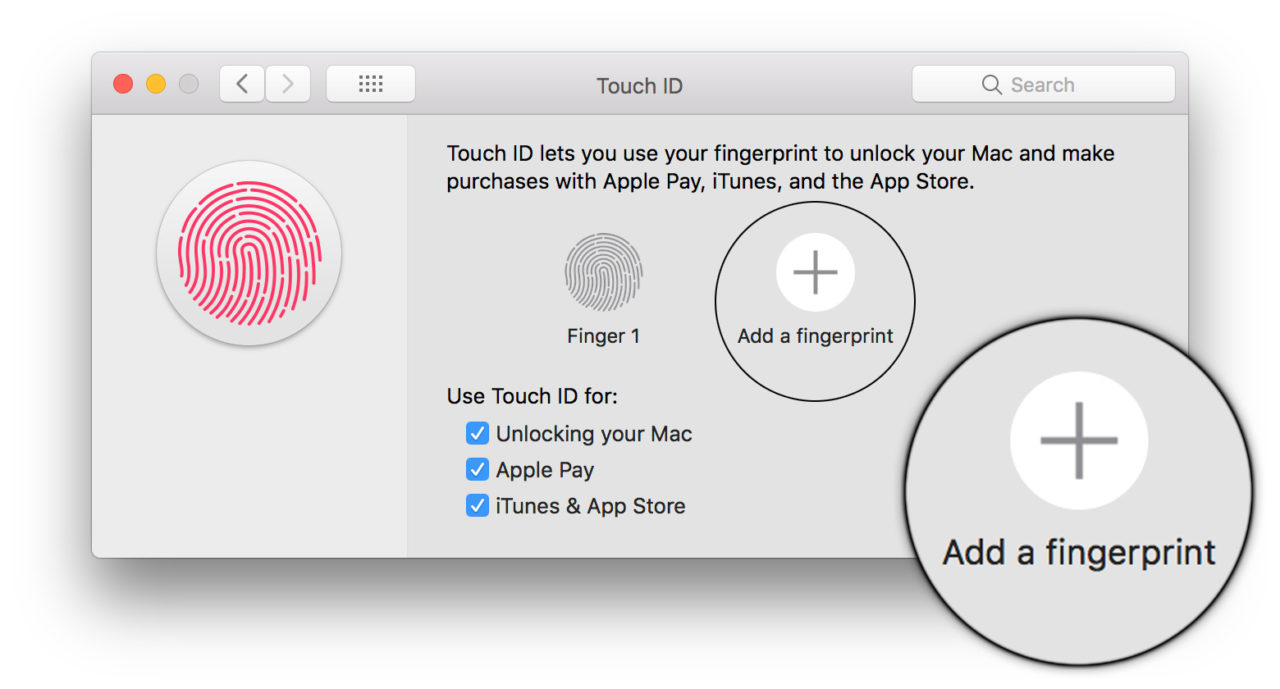
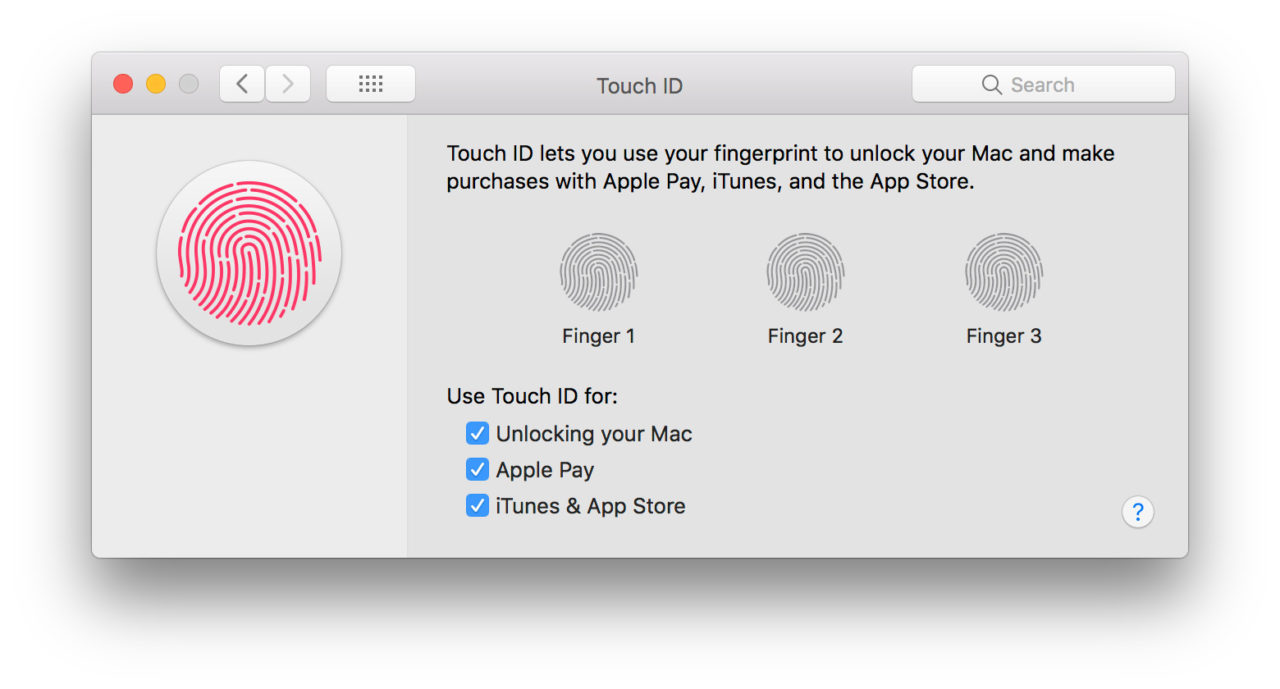
If you enabled Touch ID during your MacBook’s initial setup, you’ll have one fingerprint registered. To add a second fingerprint, click Add a fingerprint.
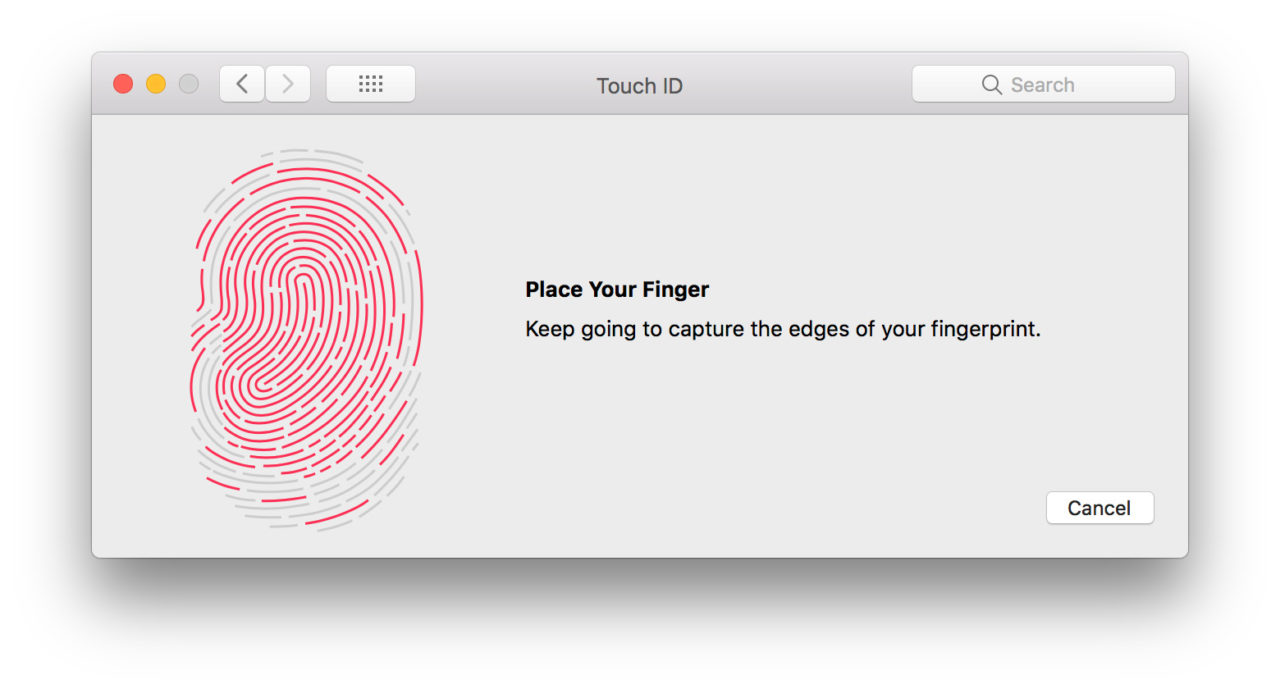
Follow the instructions to raise and lower your finger onto the Touch ID sensor at the right of the Touch Bar, making sure to slightly adjust the angle to ensure good coverage of your entire fingerprint.
When you’re done, you’ll see the second fingerprint listed. You can add one more fingerprint, for a total of three Touch ID fingerprints per user account.
Why Add a Second Fingerprint?
Most users will probably be fine with a single fingerprint — likely the index finger — for Touch ID. But some users may want to alternate between right and left hands or use their middle finger to unlock their MacBook. You can also use this method to give another person access to the same user account on a MacBook Pro, although you’ll of course need to be aware of the security implications of doing so.
But another reason is for improved Touch ID accuracy. In a strategy similar to that for Touch ID on the iPhone, you can actually add your same fingerprint again as your “second” finger. For example, if you initially set up Touch ID with your right index finger, you can follow the steps above to add your right index finger again as the “second” fingerprint. This gives Touch ID more data about the finger you’re most likely to use when unlocking your device and helps reduce errors when using Touch ID.
Deleting Touch ID Fingerprints on the Mac
Once you’ve added additional fingerprints to Touch ID, you can delete them if desired by returning to System Preferences > Touch ID.
There, just hover your cursor over one of the existing fingerprints and then click the small circled “x” that appears. You’ll need to enter your account’s admin password and then again confirm the deletion when prompted.


