How to Add Music to a PowerPoint

Microsoft PowerPoint is a real lifesaver when you need to slap together a quick slideshow for your school assignment or your office meeting. Sometimes, though, a handful of slides won’t cut it and you’ll need the right choice of music to make your presentation stand out.
In this article, we will show you how to add music to your PowerPoint project in a quick and easy way. Just follow these simple steps and you’ll be good to go in a matter of minutes. You won’t have to worry about your presentations being boring and bland ever again.
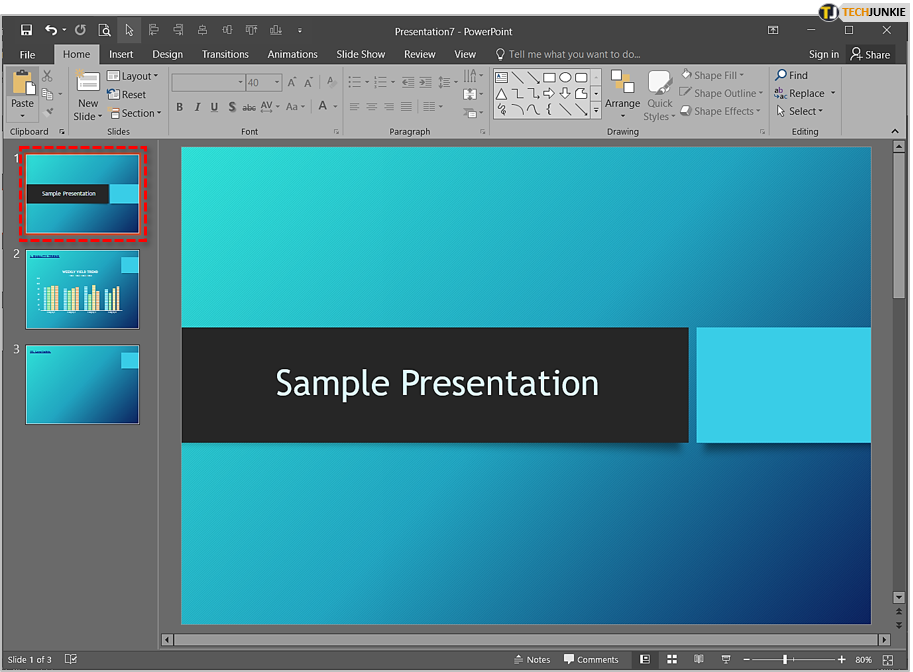
Step 1: Pick the Slide
Get PowerPoint up and running and open your project. Now choose where you want to place your music file. If you want it to play from the start, choose the first slide. Otherwise, select the one you want. You are now ready for the next step.
Step 2: Click Insert
Now that you’ve picked the slide you want, click on the “Insert” tab in the main menu. The tab will open and display all the things you can add to your project. Usually, the “Audio” button will be on the far right, just below the minimize/maximize buttons.

Step 3: Pick the Type of the Audio File
If you click on the little arrow beneath the speaker icon, PowerPoint will offer you several types of imports. Pick the one you want and click on it. The options are “Audio on My PC” and “Record Audio”.
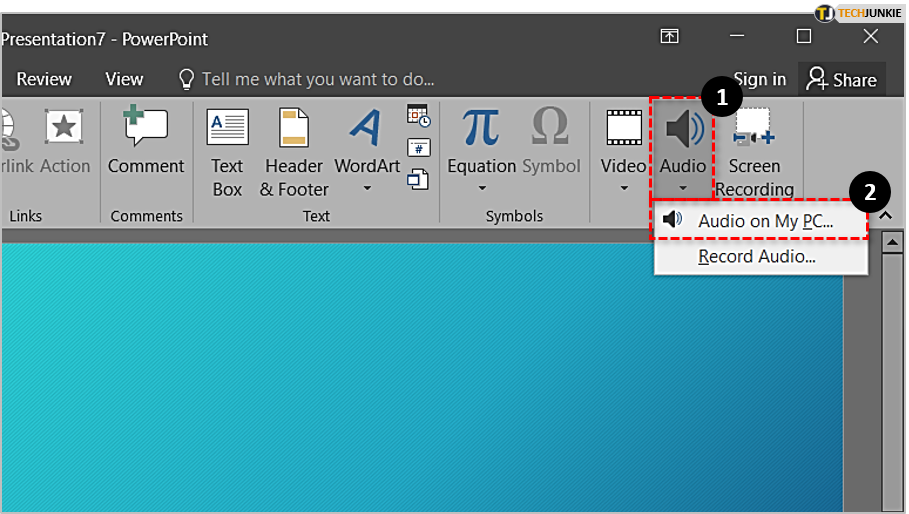
In this tutorial, we will concentrate on the “Audio on My PC” option. This is PowerPoint’s default setting, as well as the most frequently used option.
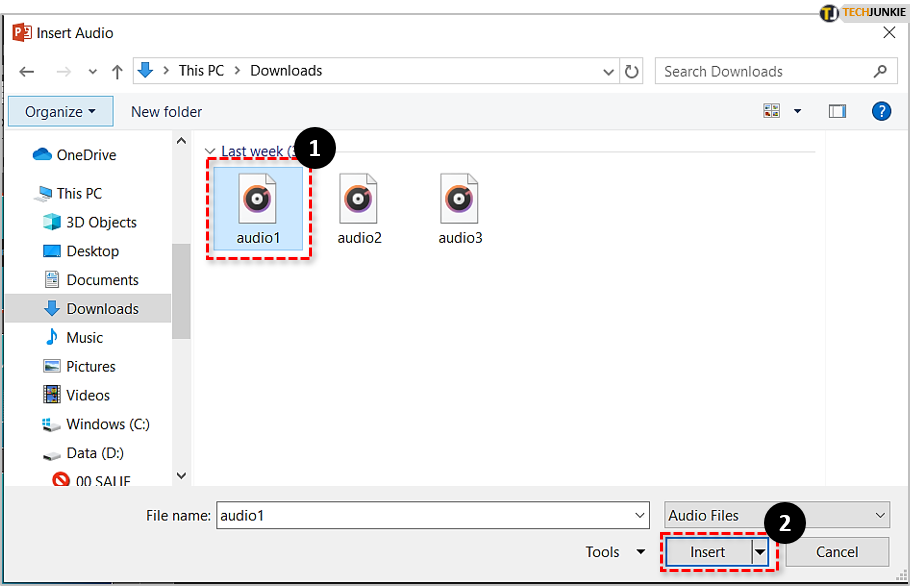
Step 4: Choose the File
PowerPoint will now let you browse your computer for the song you want to add. Find it and then click on the “Insert” button. You can also double-click the file title. Once PowerPoint inserts the file, you should see the speaker icon with a player bar beneath it. You can move the icon and the player bar around the slide.
Step 5: File Manipulation
PowerPoint allows some basic file manipulation. You can trim the track, set a bookmark, adjust the volume, fade in/fade out, loop, and rewind. To access the “Playback” menu, click on your audio file and then click on the “Playback” tab in the main menu.
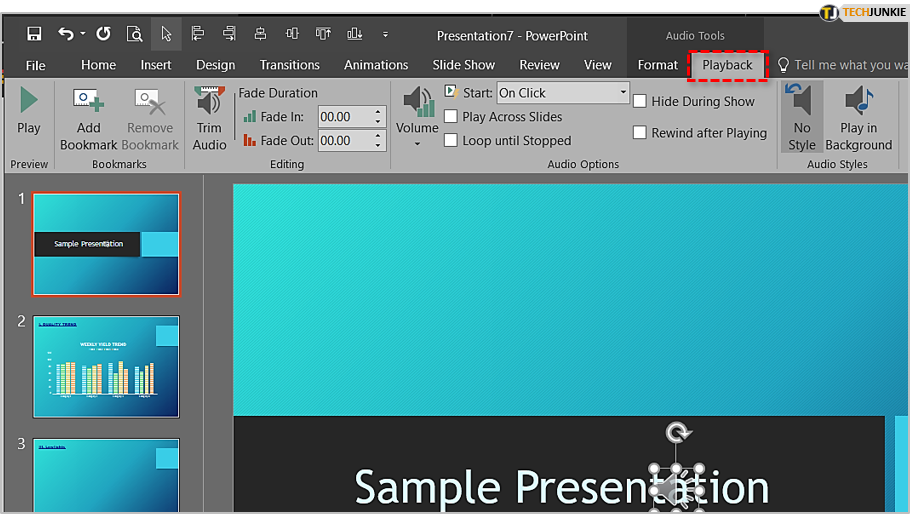
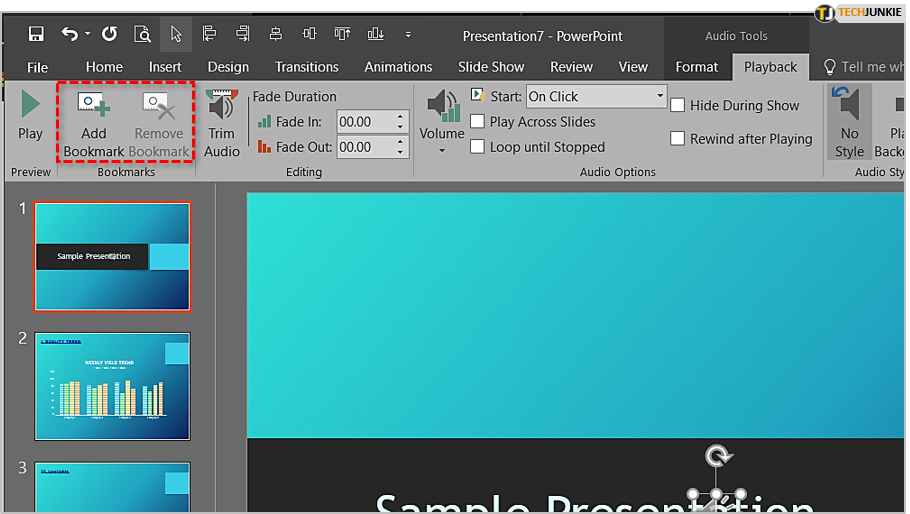
Bookmark Your Song
Creating a bookmark is a piece of cake. To add one, click on your file and then click on the “Add Bookmark” icon in the “Playback” menu. To remove it, select the audio file and click the “Remove Bookmark” button.
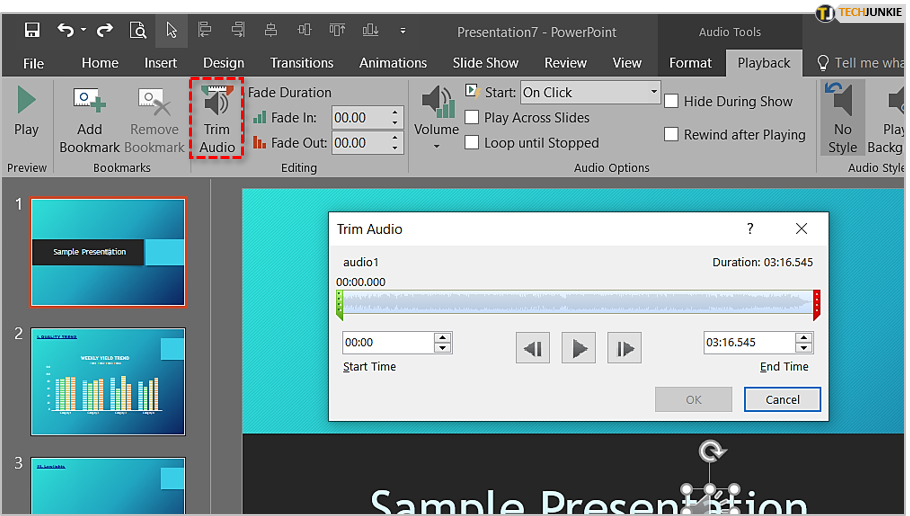
Trimming
Let’s say you only want to play the chorus of your song and leave the rest out. Easy. Click on your file and then click on the “Trim Audio” button. Move and adjust the start and end markers and click OK. Another way to do it is to set the timers manually. When you’re done, click OK.
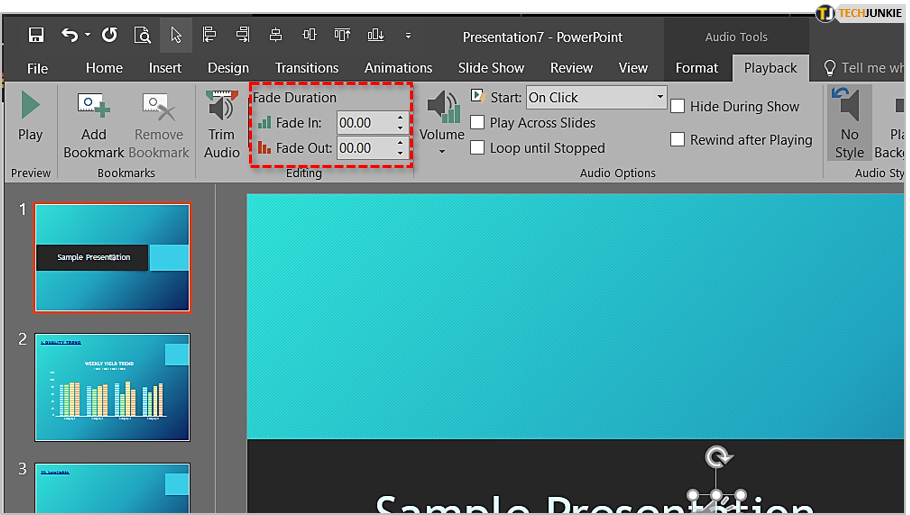
Fade In/Fade Out
Fade in/out is a pretty straightforward affair, as well. Select the file and adjust the “Fade In” and “Fade Out” timers in the “Playback” menu.
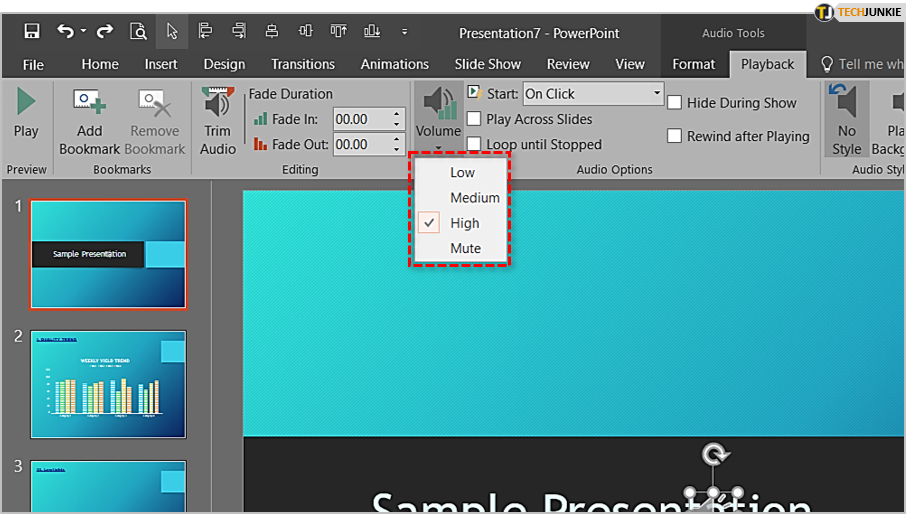
Volume
There are two ways to adjust the volume – from the “Playback” menu or from the player bar. The first option only gives you Low, Medium, High, and Mute presets. The second allows you to adjust the volume slider embedded into the player bar.
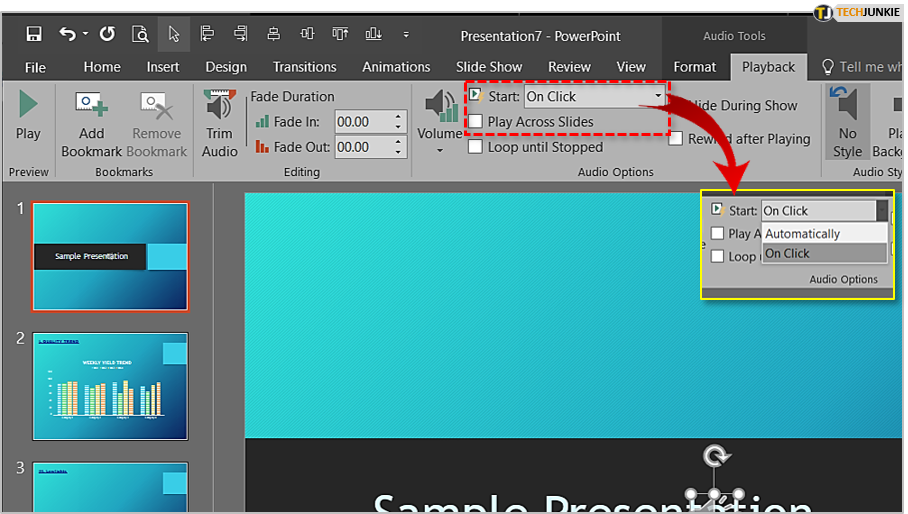
Other Options
The “Start” option lets you choose how you want your file to start. “On Click” requires you to start it manually, while “Automatically” starts the song when the slide is activated. “Play Across Slides” plays the file until the end of the presentation.
Things to Consider
Newer versions of PowerPoint do not allow online links. This means that if you want to add a song you found on the internet, you will have to download it. There are no workarounds or tricks here – downloading the song is the only solution.
Make sure that the music you use falls under Creative Commons license and adheres to the Fair Use guidelines. The last thing you’d want is to get in trouble over a PowerPoint presentation.
PowerPoint supports two file types – MP3 and WAV. Our recommendation is to go with MP3. For one, it is smaller and takes less time to insert. Also, if you need to email your presentation, it will help you stay within the 20MB file size limit. If you need to convert your file to MP3, there’s a variety of free online converters and desktop app to choose from.
If you want to play multiple files throughout your presentation, you have two options. You can insert them one by one or you can lump them together into a single file. If you choose the first option, repeat the process described in this article as many times as needed. The second option might come in handy sometimes, but beware of the file size. You can merge files with Audacity, which is completely free and open source.
One final thing to consider is the size of your project. If it is over 20MB, you will have to share it via a cloud service. Google Drive, Dropbox, and many others offer basic cloud storage for free. Keep in mind that the terms of use and the size of the available storage space vary from service to service. Choose the one you like and share your project with your colleagues and family.
Conclusion
Now that you’ve unlocked the powers of audio wizardry, your PowerPoint projects will never be the same again. You have defeated the “silent movies” dragon and unlocked the “proper multimedia presentation” treasure chest. We hope you found this article useful and helpful. If you discovered any issues or problems with adding music to your PowerPoint project, let us know in the comments below