


How To Change from a Public to Private Network in Windows

If you have Windows 10, you may want to check if your network connection is set to public or private. That’s because, depending on the connection, your computer will interact differently with other connected devices.
The first time you connect to a public network, the Network Wizard will ask if you want to be discoverable by other devices. This can allow file sharing and other interaction between your device and others connected to the same network.
To prevent others from gaining unauthorized access to your private data, you should check what kind of environment your PC is set up to connect to before you continue browsing.
Types of Networks
There are three types of networks that you can connect to – public, private, and domain.
A public network is a network that is shared freely with the world. Airports, shopping malls, public institutions, cafes, and other large objects have their own public Wi-Fi networks. These connections don’t have any safety features to protect your device. To make up for that, Windows will automatically block all file and network sharing options. If you wanted to share files with another device, you would have to manually allow it.
A private network is usually a home network or a small office network. You can also set up a private network between yourself and other users you find trustworthy (for example, your roommates, colleagues, or family members). Your device will connect to a homegroup and other devices on the network, such as scanners, printers, etc.
A domain network is one where a device acts as an administrator of an entire network. That administrator device is a server. All other devices can connect to this server and manage resources that are on it.
Changing from a Public to Private Network in Windows 10
If you are unsure about the status of your network and want to switch it to private, follow these few simple steps.
Identify the Network Profile
To see what type of network is currently active on your computer, you will have to go to the Windows Menu > Settings > Network & Internet.
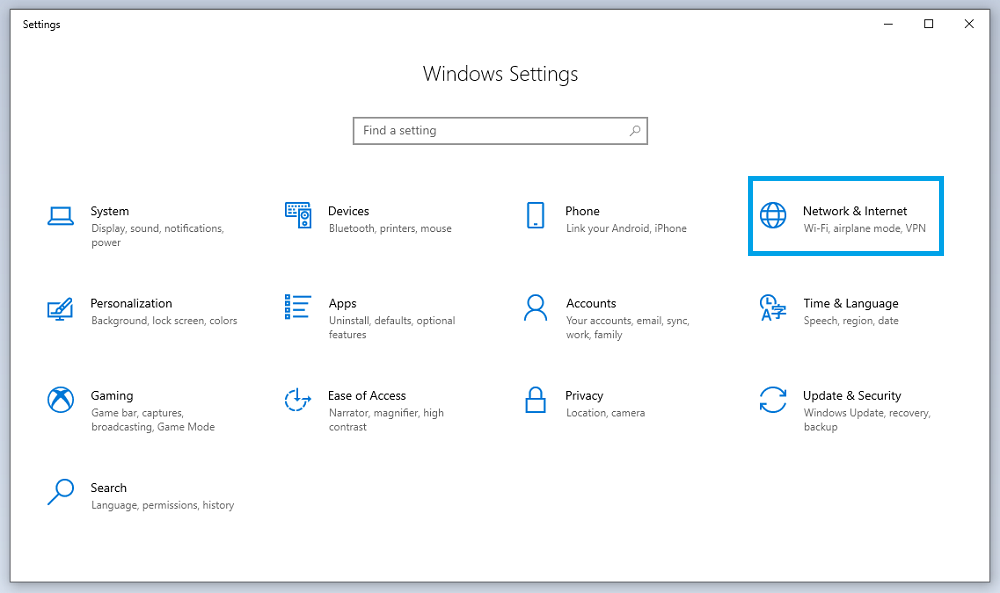
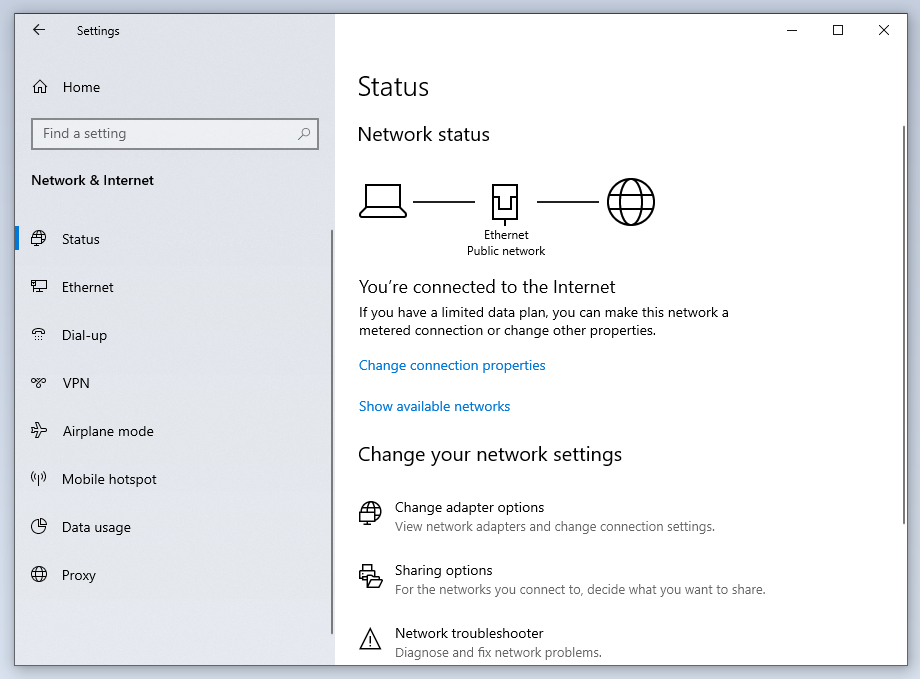
When you open the Network & Internet window, the Status menu should open by default. If not, open it manually. This is where you will see whether your network is private or public.
Many public networks are password-protected, but they can still be shared with nearby devices. If you want your network to be part of a closed group like a small office, it would be better to set it as private.
Change the Network from Public to Private
To change the connection from public to private or the other way round, you should look at the sidebar on the left and find your connection. It is usually placed below the Status menu.
The label will depend on the type of connection you are using. For example, if you are using Wi-Fi, you will see a Wi-Fi option. If you are using an Ethernet cable, you will see the Ethernet menu instead.
Sometimes you may be connected to more than one network. In those instances, you have to choose which one you want to change. Once you identify your connection, click on it. It will open that network’s properties.
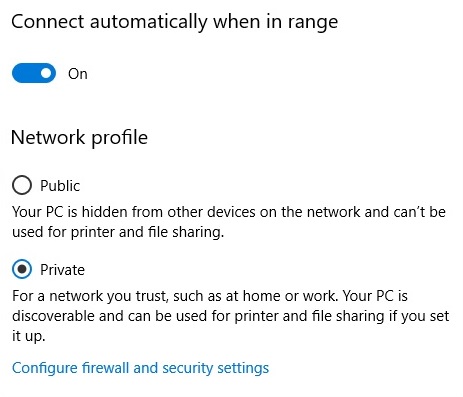
In the Network Properties window, you will see the Network Profile section with two available options. Here you can change between private and public depending on your needs. When you finish, you can close the settings and go back to the previous window.
Keep in mind that there could be some variations depending on the Windows 10 release you have installed.
Are There Other Ways to Change from Public to Private?
Yes, there are other ways to change your network type. These two methods require you to be more tech-savvy as you’ll be tampering with the system, which could affect the functionality of your device if you don’t know what you’re doing.
PowerShell
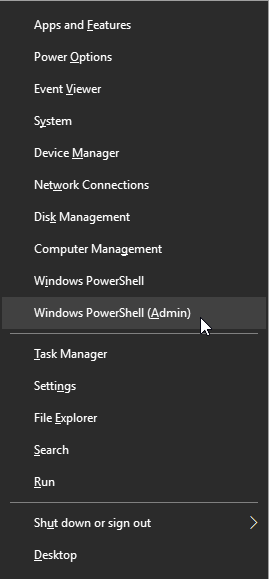
You can access PowerShell as an admin by pressing the Win and X keys at the same time and clicking on Windows PowerShell (Admin). A User Account Control Window may appear where you should click Yes, and you will then see the PowerShell window.
Here you type these commands in this order:
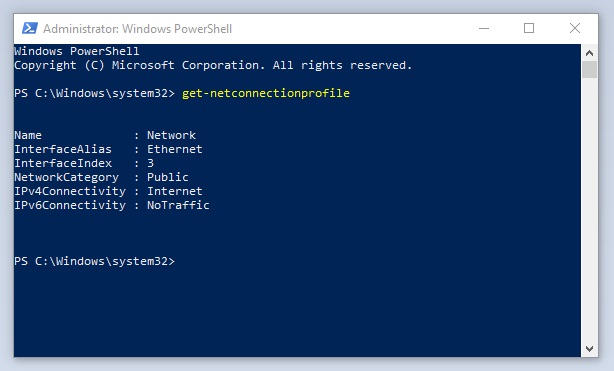
Get-NetConnectionProfile
Set-NetConnectionProfile -InterfaceIndex <index number> -NetworkCategory Private
Once you type the first command, you will see the index number of the network displayed under its name. You just rewrite this number in the second command.
Registry
You may also try and change the network type in the registry. However, it is not recommended if you don’t know how to use it properly.
Press Win and R to open the ‘Run’ app on your Windows 10, type regedit into the box, and press Enter. The registry window will open.
Look for the folder stored in:
HKEY_LOCAL_MACHINE\SOFTWARE\Microsoft\Windows NT\CurrentVersion\NetworkList\Profiles
Expand the key folder labeled Profiles and you will see subfolders with numbers and letters in their names. Open each one until you find the Description sub-key in the right pane that matches the name of your Network.
Once you have found it, double-click the Category sub-key in that same folder.
If you change the number from 0 to 1 your network type becomes private.
If you change it from 1 to 0, it will become public again.
A Word of Warning
There it is! These are the usual and slightly less usual ways to change your network type depending on your environment.
Remember to be careful with public networks as others may connect to them and gain access to your files, personal data, and connected devices. At the same time, if you opt to set your network to private, you should only grant access to people you trust.


