


How to Create an Apple ID for a Child

If you have a teenager and you want them to have an Apple ID of their own so that they can buy apps, purchase music, and so on, then you could just visit appleid.apple.com and click “Create Your Apple ID.” However, Apple doesn’t allow you to create an Apple ID in this way for anyone under 13. So what do you do if you want your younger children to have one?
It’s pretty simple, actually—you’ll just need to set up what’s called Family Sharing on your own account, and then you can add a child to your family group with an Apple ID all his own. If your child is under 13, creating an account for them will automatically turn on a feature called “Ask to Buy,” too, which will mean the little guy or gal can’t purchase anything without your say-so. Here’s how you’ll set it up so that you can create an Apple ID for your child! I’m going to be walking through the steps on how to do so under macOS, but if you’d rather use your iPhone or iPad, Apple’s got you covered on their support pages.
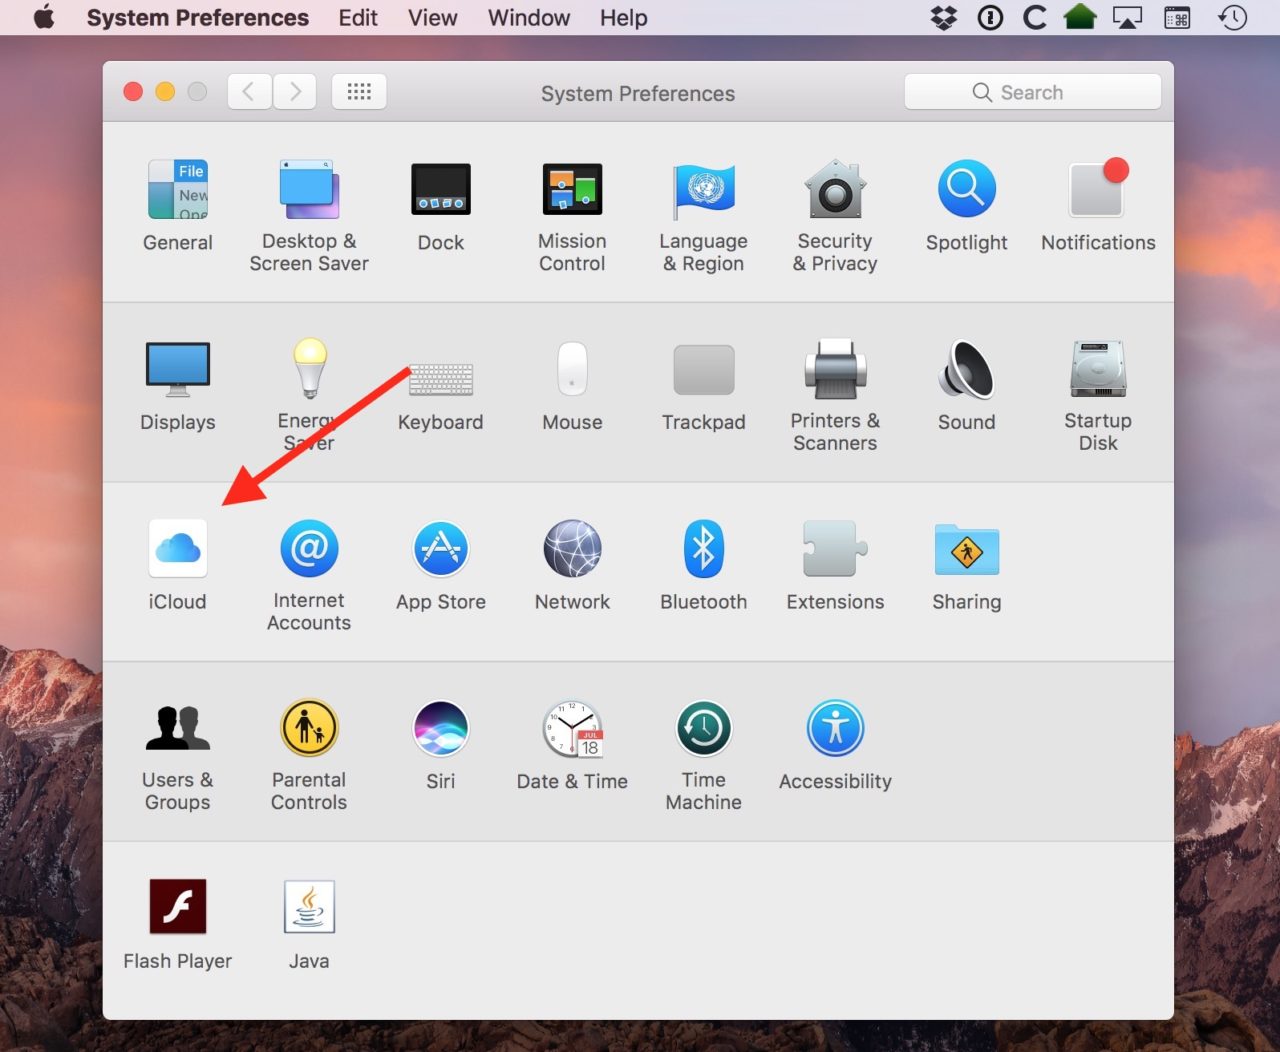
So get started on your Mac by clicking on the Apple Menu at the upper-left corner of your screen and choosing “System Preferences.”

Then click the “iCloud” section.
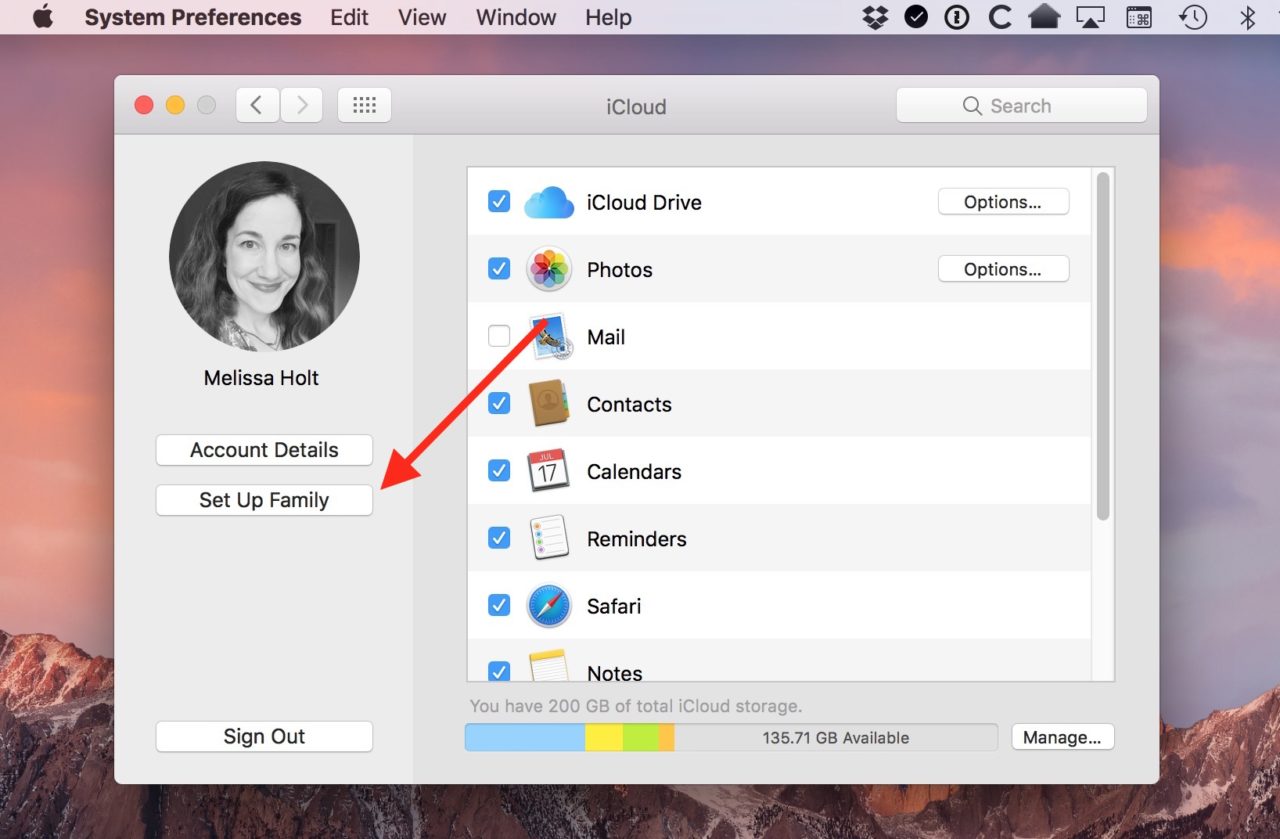
Within “iCloud” you should see “Set Up Family” if you’re not already using Family Sharing, so click that.
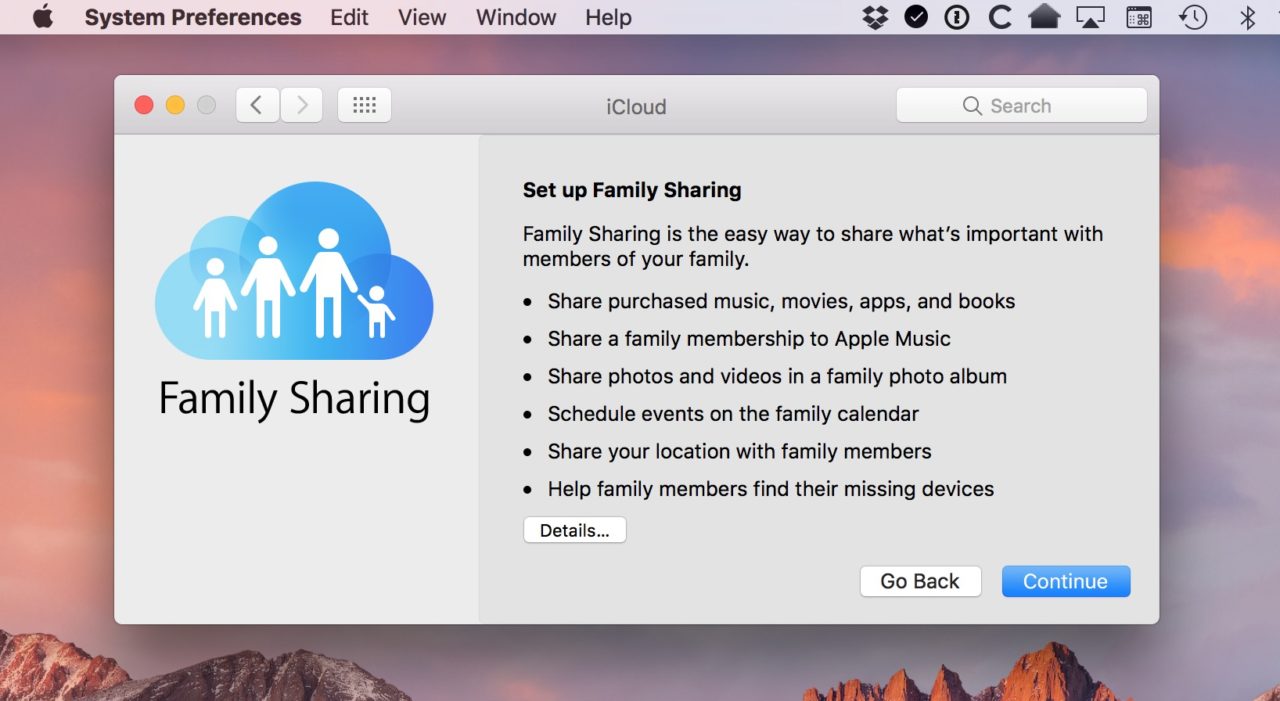
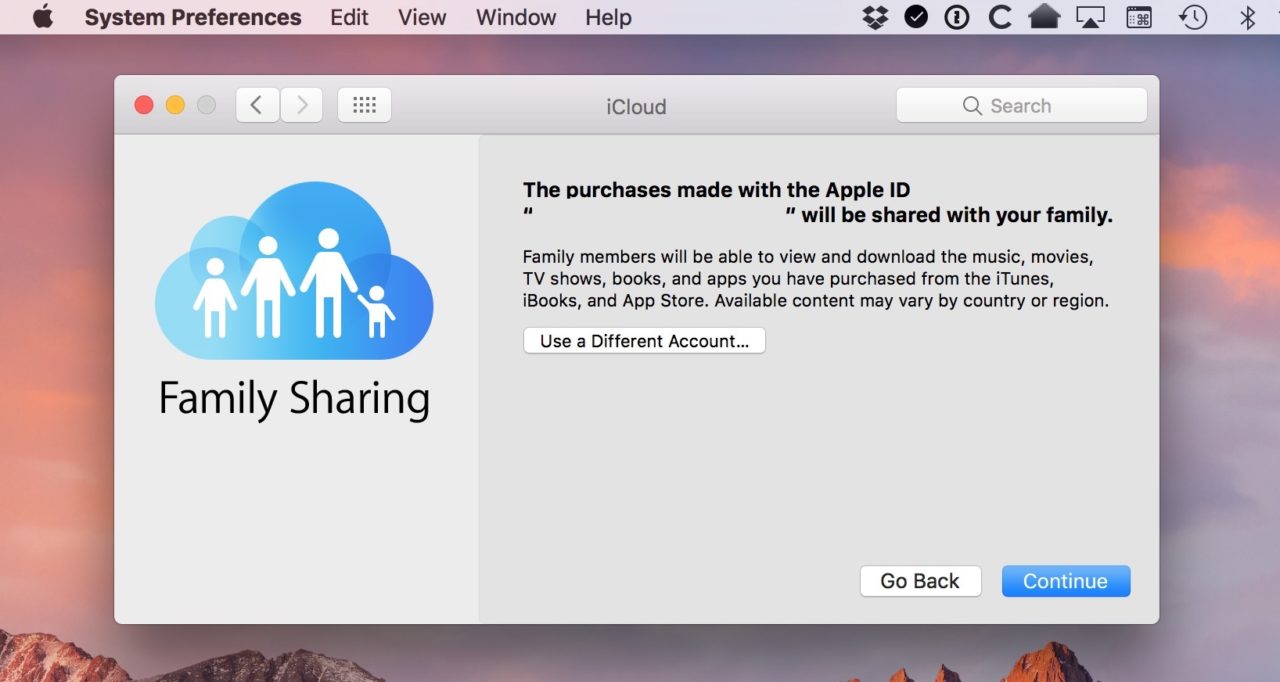
Once you do, you’ll be taken through approximately 50 bajillion screens describing what’s happening and asking for your input. The first one (below) gives you a broad overview of what Family Sharing is and does.
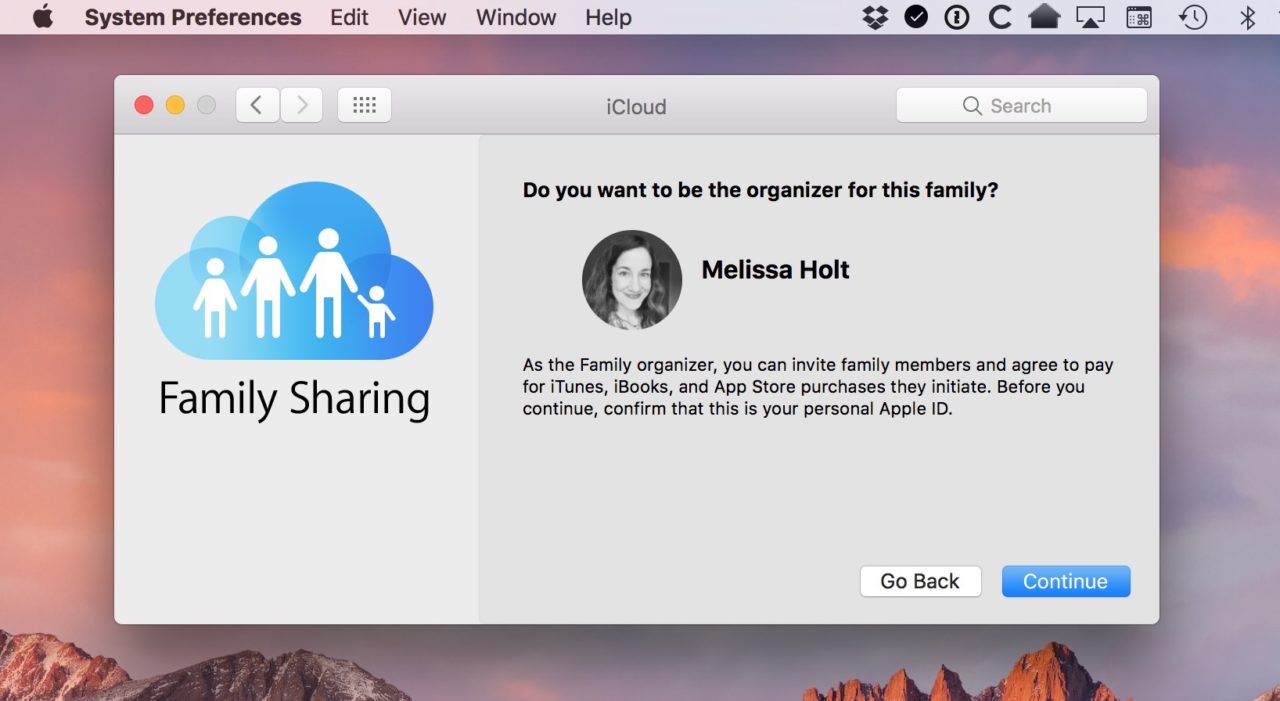
The next few screens will let you know that if you choose to be the organizer of your family unit, the purchases the family makes will go on the card tied to your Apple ID. As my first screenshot below indicates, you’ll want to be sure that this is tied to the correct Apple ID of yours (I blotted mine out, of course, but you should see current Apple ID email here).
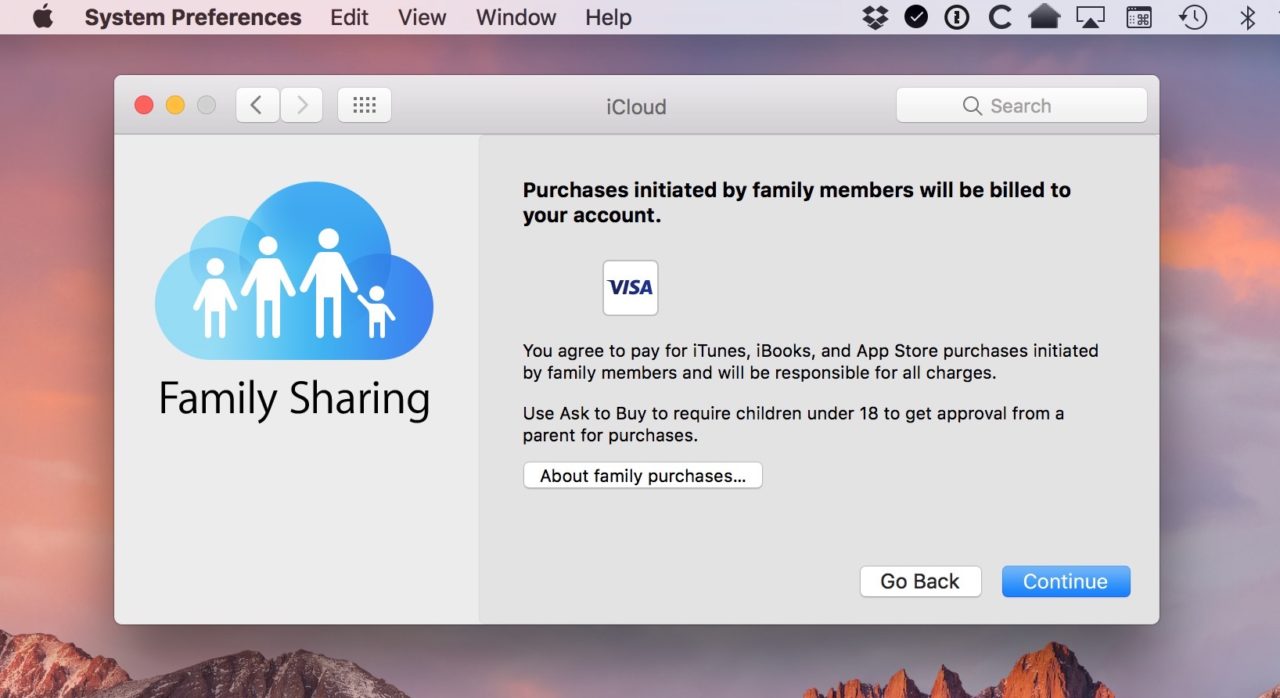
And as you can see above, you’ve also gotta know that your purchases will be visible to other members of your family. So let’s throw caution to the wind and add a family member, shall we?! This is where you get to create the Apple ID for your kid, because you’ll finally get to this screen:
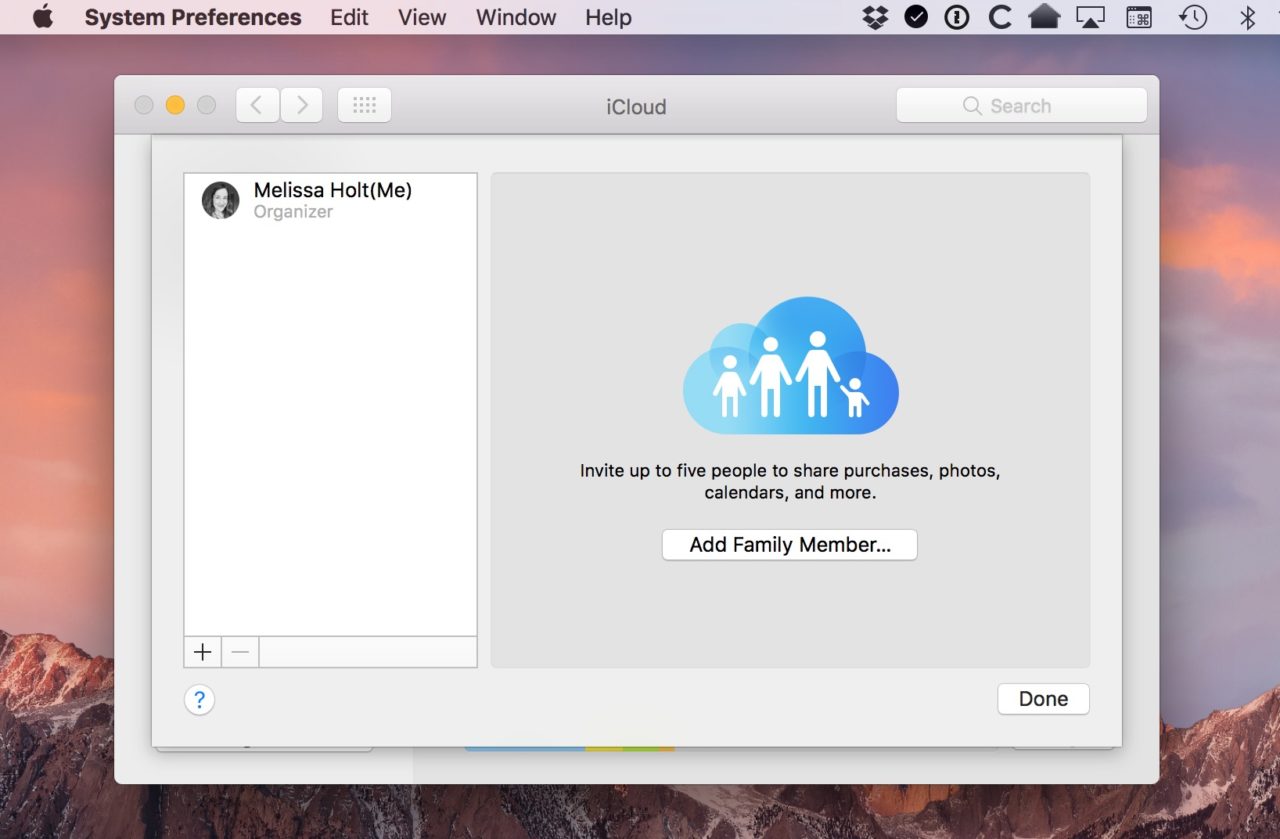
You’re a family, all by yourself! But if you click the plus button or the big “Add Family Member” option, you’ll see the choice that it’s taken me so long to get to: “Create an Apple ID for a child who doesn’t have an account.”
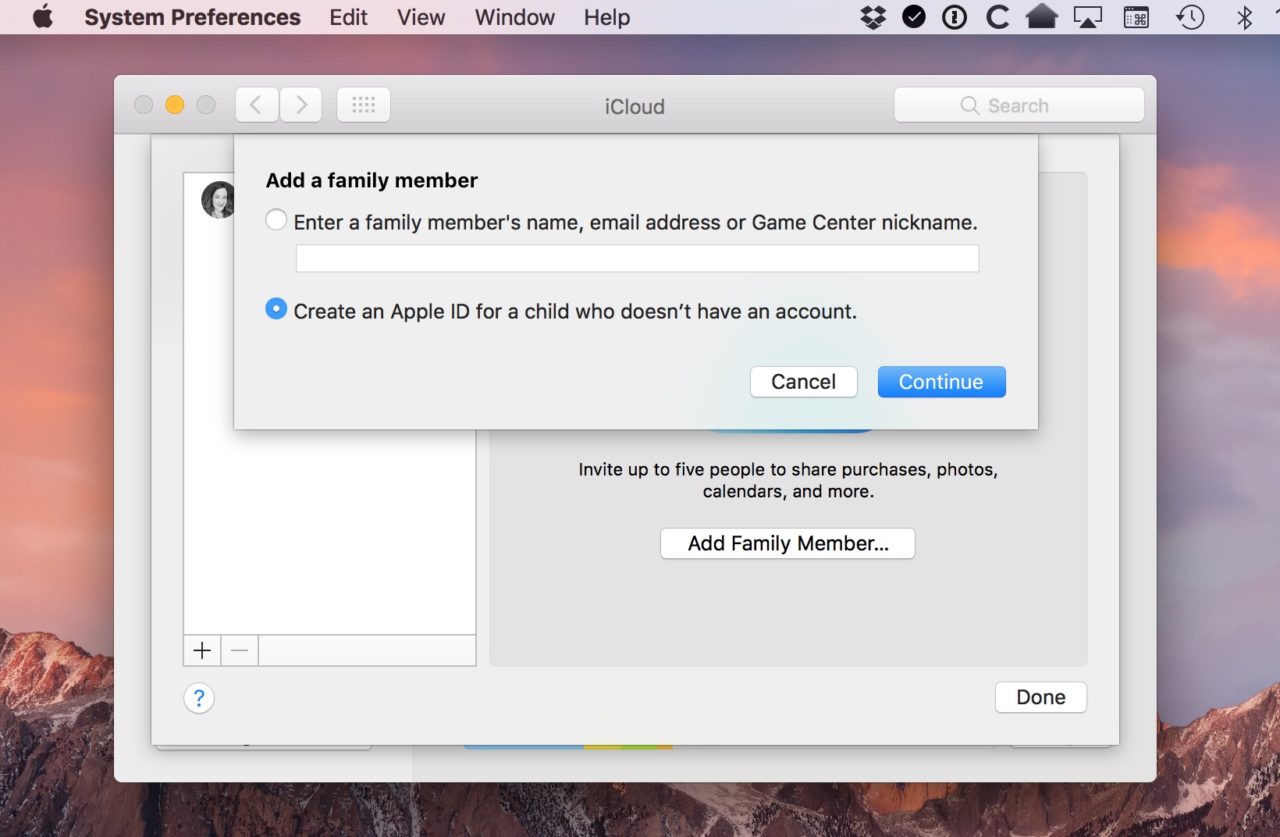
If you select that and choose “Continue,” you’ll be asked to enter your kid’s info.
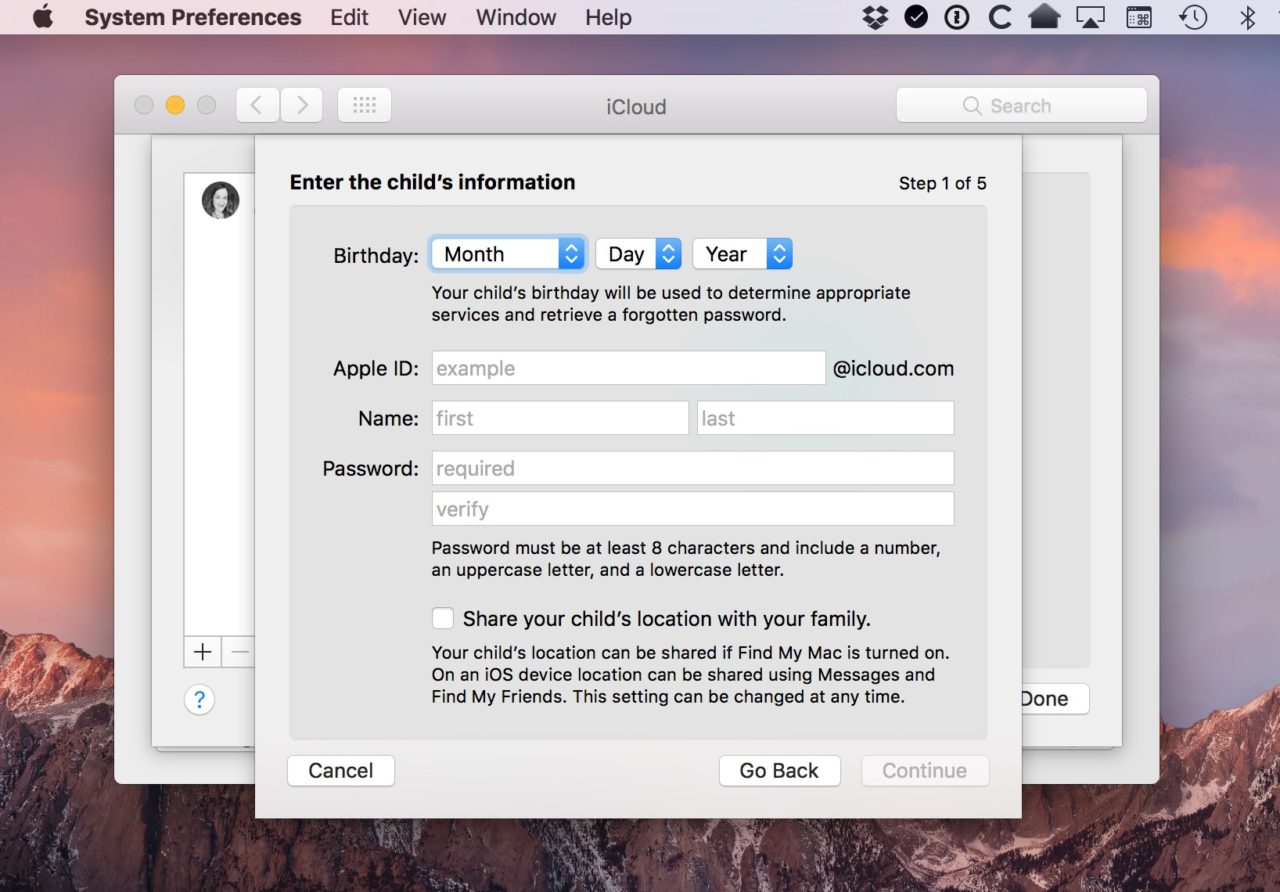
Note that this screenshot indicates that this is step one of five. Lordy.
Fill out the fields as I’ve done below (and pick whether you want your kid’s location to be shared with you)…
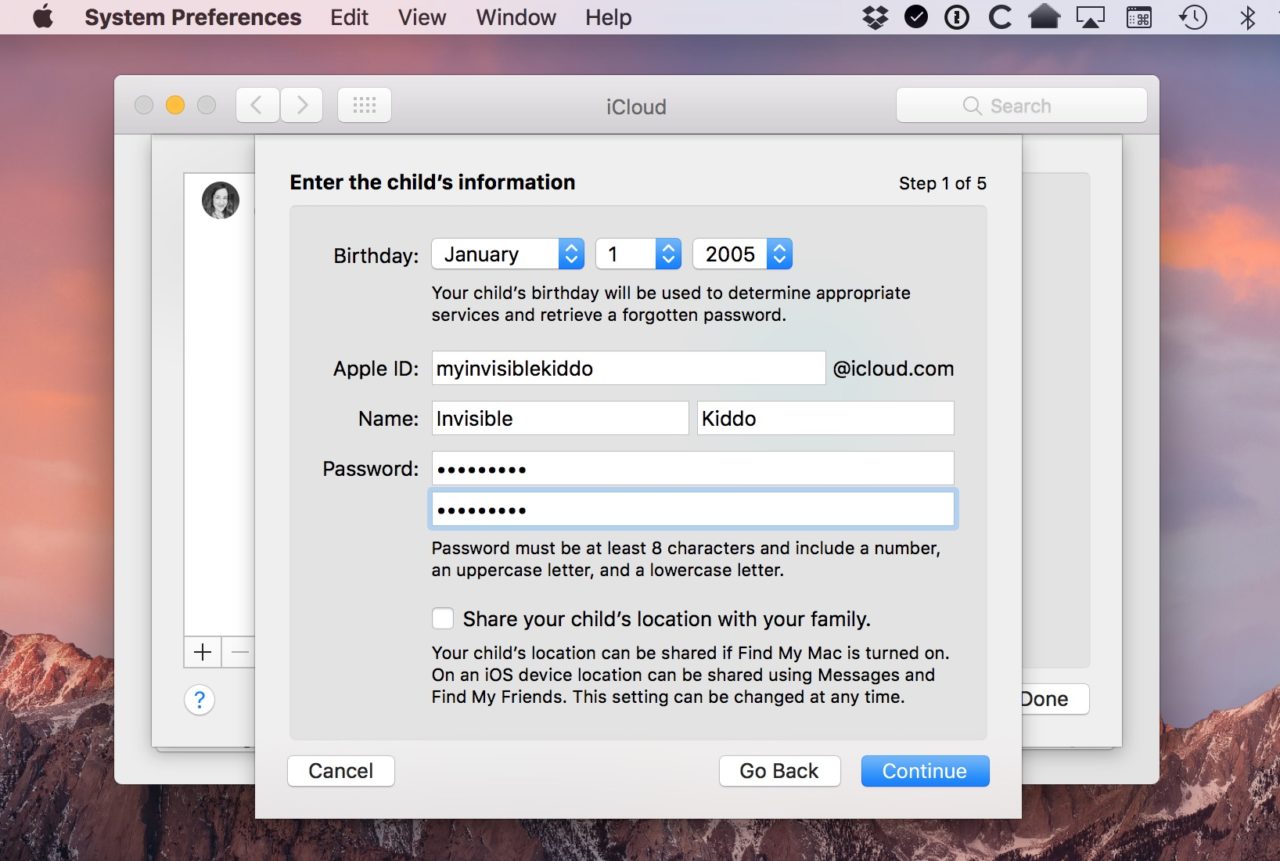
…and when you click “Continue,” your Mac will warn you that you can’t change this Apple ID once it’s created.
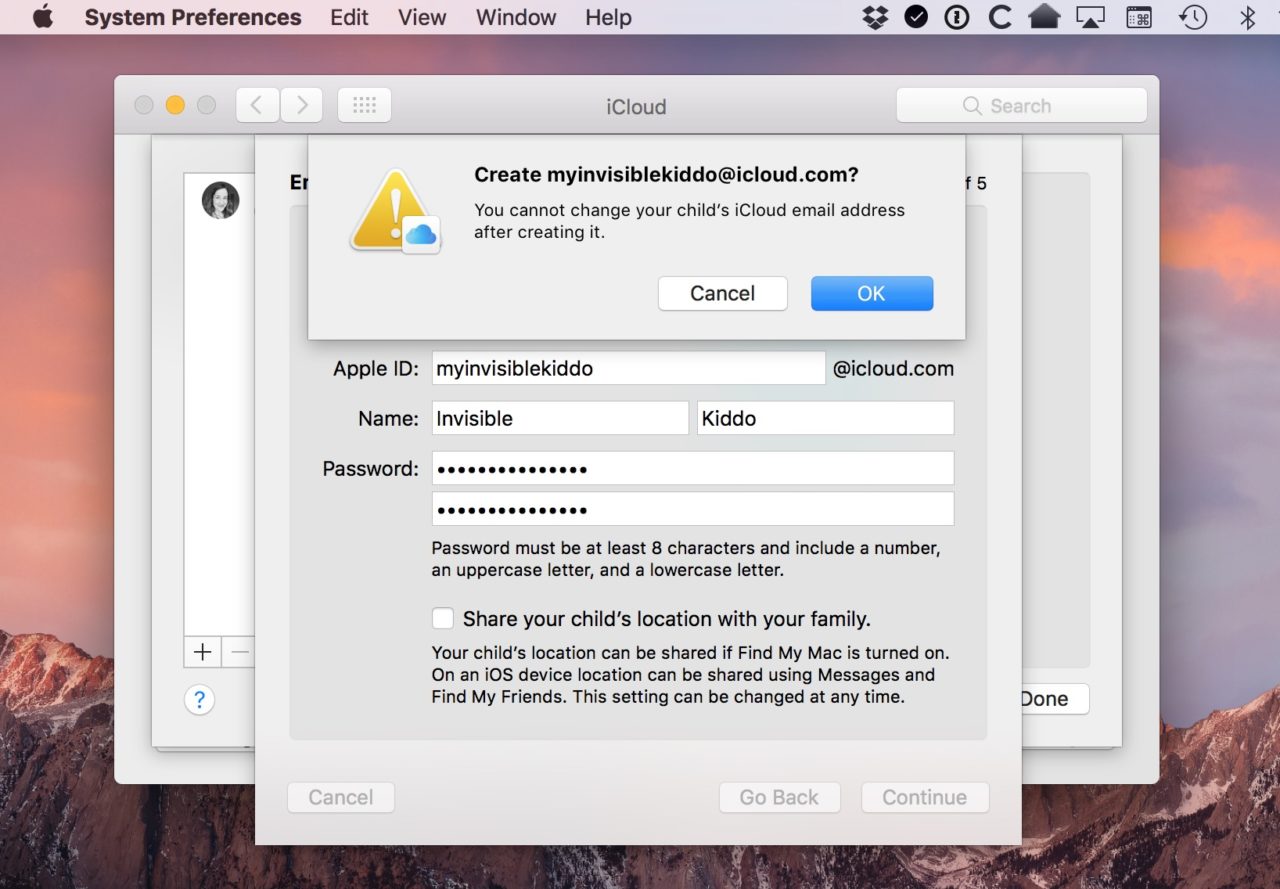
Because of that, you’ll also want to be sure that the @iCloud email you make isn’t something your child will grow to hate later! This address could potentially be used for years to come, so…you know…don’t make it dabestestcutiepatootie2005@icloud.com or anything.
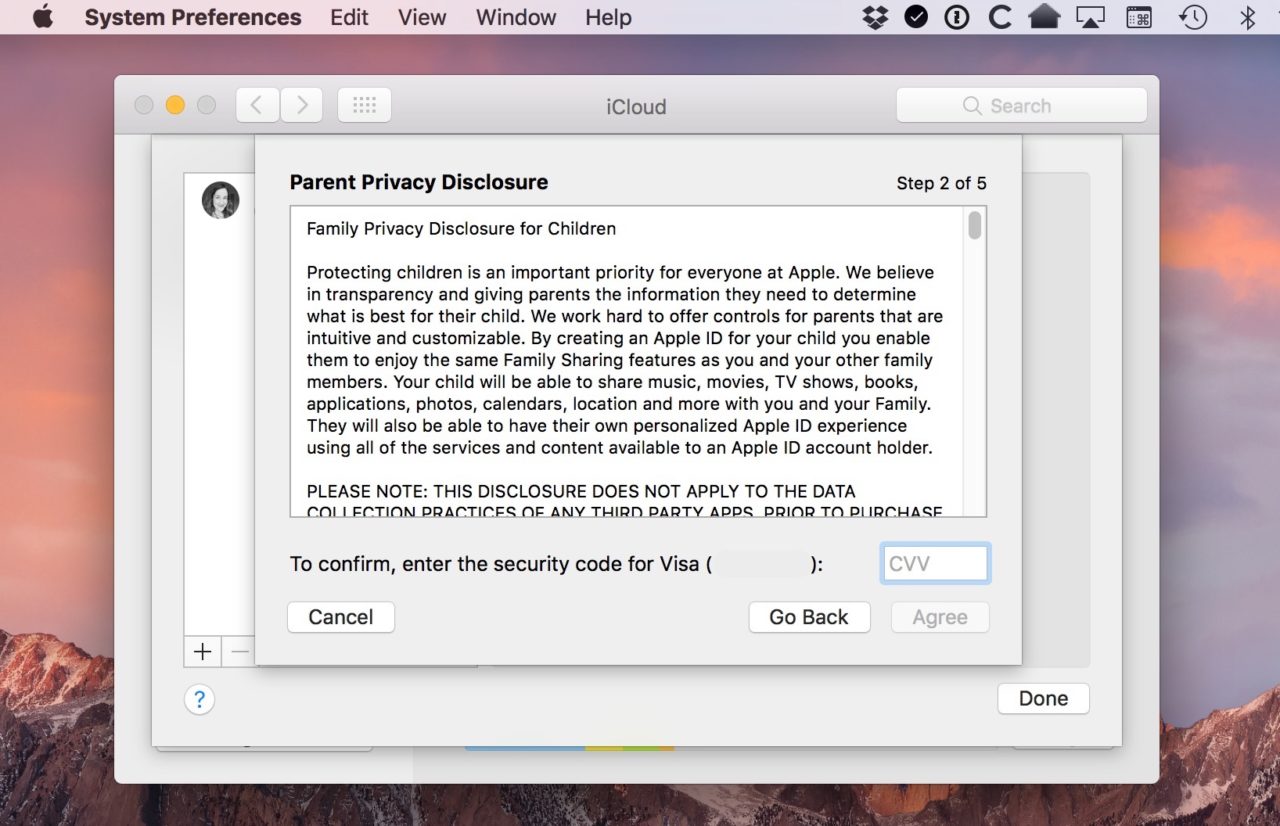
Anyway, select “OK,” and steps two through five remain. You’ll need to verify your credit card’s security code to confirm the privacy policy…
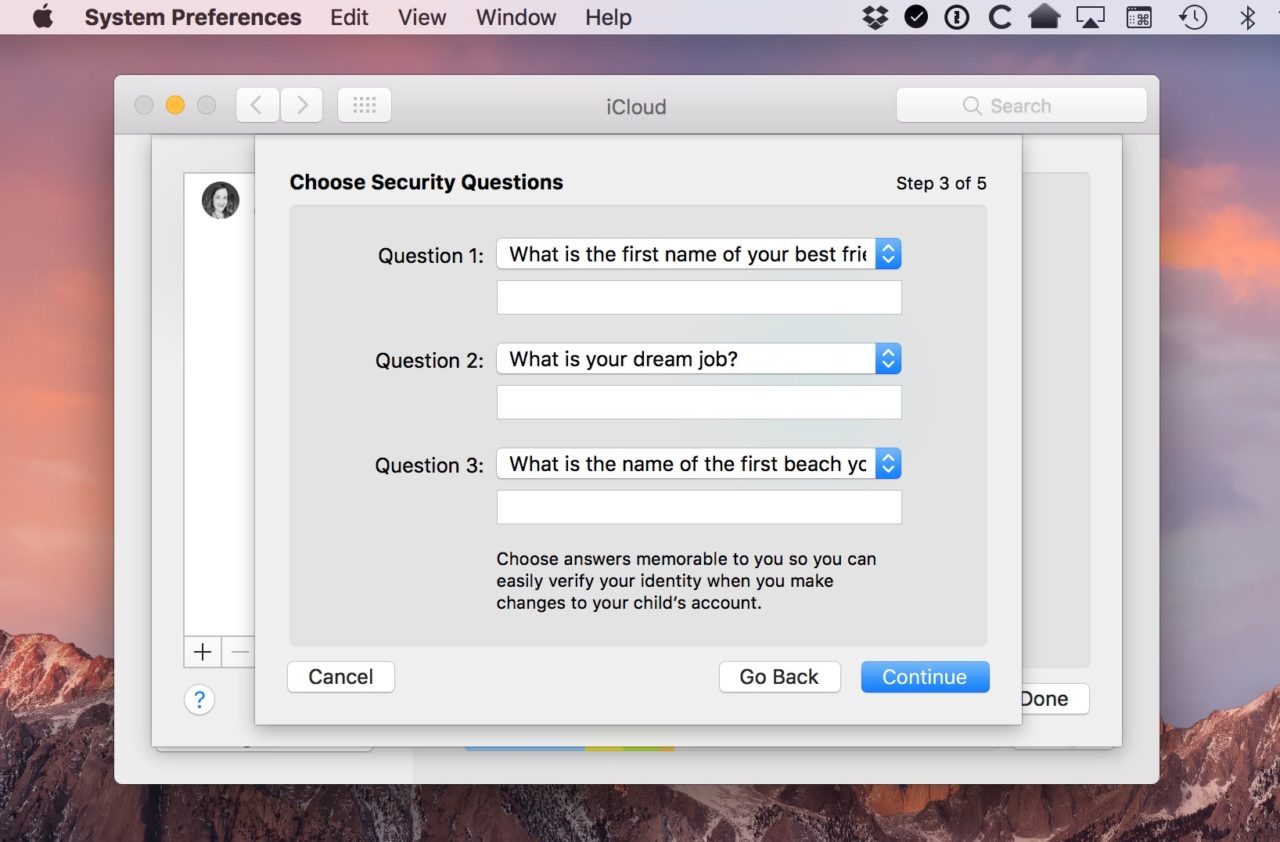
…add in your child’s security questions…
…and finally confirm a couple of pages of terms and conditions.

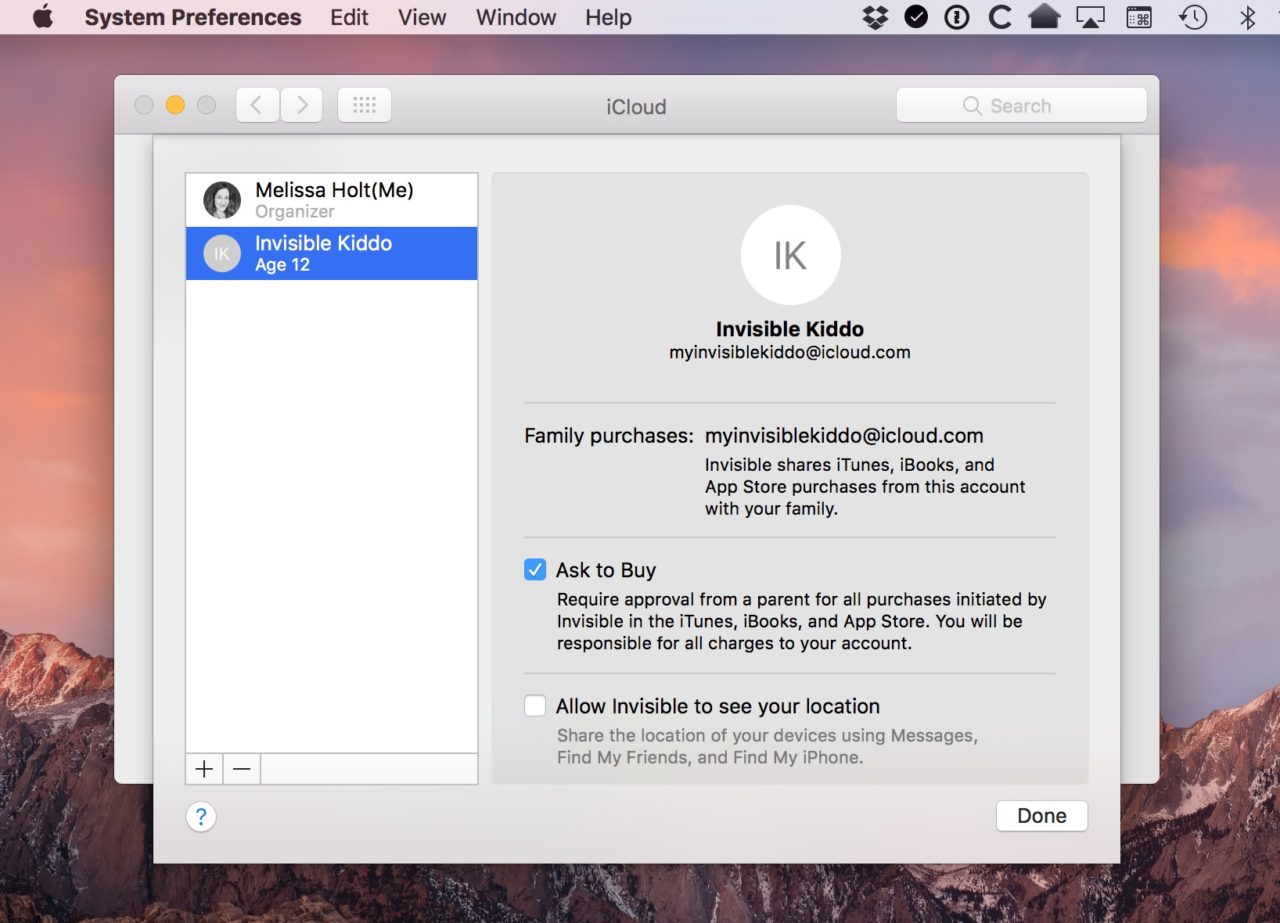
When you’re finished jumping through hoops, you’ll see your kid has been added to your family with his spankin’ new Apple ID! That wasn’t TOO painful, I guess.
You could add an additional child (or a parent) if you need to within this Family Sharing screen, but in any case, you’ll then go to your kid’s devices and log him in with the new account you created. Whew! That’s a lot of steps just for one measly Apple ID. Oh, and one more thing—if you’re setting a new device up for your kid, be sure to figure out how you’d like the parental controls to be configured. You can do this both on the Mac and on the iPhone/iPad to keep your child from messing around with anything you don’t want him to. Within reason, I mean. If my experience with children and devices has taught me anything, it’s that they, uh…they find a way.


