


How to Create a Windows USB Installer

More and more Windows PCs are shipping without optical drives, making it a bit more inconvenient to reinstall Windows from a disc. There’s always the option to attach an external DVD drive via USB, but a better and more future-proof method is to create your very own Windows USB Installer. Here’s how.
Download or Create an ISO
The first step to creating a Windows USB Installer is obtaining the source data. If you purchase Windows online or opt for a free trial, you often have the option of downloading the operating system instead of receiving a physical disc in the mail. This download will arrive as an ISO file, an image or archive of the entire contents of an optical disc.
The size of your Windows ISO will vary depending on the version, but expect it to be between 2 and 4 GB, which may take a while to download. Once you have it, make note of its location as we’ll return to it later. In our example, we’re using an ISO of the new Windows 8.1 Preview and we’ve saved it to a “Downloads” folder on our Desktop.

If you already have a physical disc, you’ll need to create an ISO yourself. There are many free and paid tools that can handle this task, but one we like the best is ImgBurn. Here’s a great tutorial from How-To Geek on using ImgBurn to create an ISO file. The end result will be an ISO file on your hard drive that is nearly identical to one you could download from Microsoft.
Find the Right USB Drive
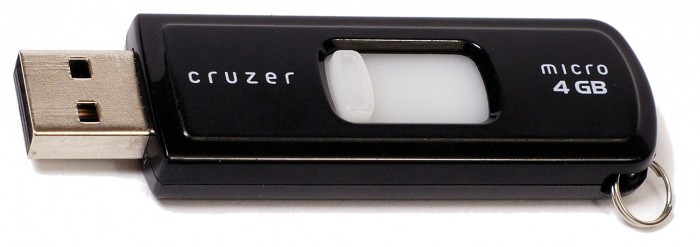
To create a Windows USB Installer, you’ll need a proper USB drive. Capacity is the primary concern; depending on the version of Windows you’re working with, you’ll likely need a drive with at least 4GB of free space.
If you’re purchasing a new USB drive, it’s difficult these days to find one smaller than 8GB so you should be well-suited by almost any product. These drives are also incredibly cheap. Here’s a well-reviewed 8GB Kingston drive for about $7.
If you’re using an old drive you already have, just make sure it still works and is at least 4GB in size. The drive we’re creating will just hold a generic Windows Installer, so reliability isn’t a huge concern. As long as you save your ISO file, you can always repeat these steps if the drive fails down the road.
Install Microsoft’s USB/DVD Tool
While it’s possible to manually create a bootable USB installer from an ISO file, the process can be time consuming and complicated. Thankfully, Microsoft created a free tool that does the work for you. The Windows 7 USB/DVD Download Tool (ignore the name, it works great with both Windows 7 and 8) walks users through USB Installer creation process step-by-step.
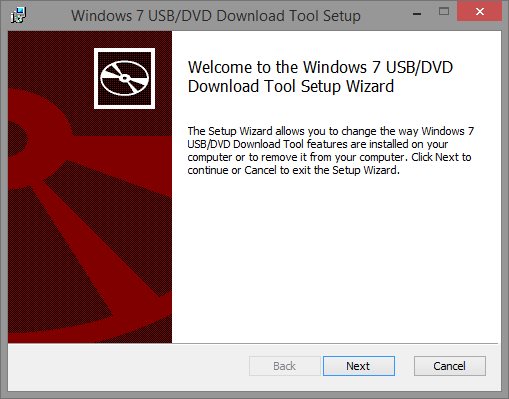
Download the small tool from Microsoft’s website and launch the installer. Proceed with the installer’s process and complete the installation.
Create a Windows USB Installer
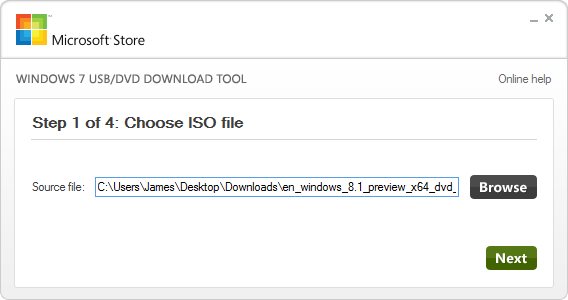
Next, launch the Windows USB/DVD Tool which, by default, can be found on your Desktop. It requires administrative access so select “Yes” when prompted by Windows’ User Account Control.
The tool consists of four simple steps. First, click “browse” and navigate to the location on your PC where you saved your downloaded or created ISO file. Press “Next” once you’ve selected your ISO file.
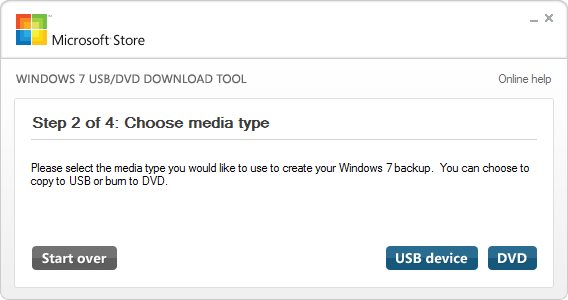
Now you’ll need to choose your media type. This tool was originally created to help users with Windows 7 ISO files make backup installers, both via USB and DVD. Since we’re only interested in creating a USB installer, choose “USB Device.” If you ever need to create a Windows Install DVD, you can repeat these steps and choose “DVD” instead.
It’s time to insert the USB device you selected earlier, and choose it from the drop-down list. Be careful here; the tool will wipe whatever is on the drive so make sure you’re using an empty USB drive (or at least one that has files you don’t need to save) and also double check that you’ve selected the correct drive from the list. In our example, we’re using a 4GB USB drive currently assigned to drive letter “M.”
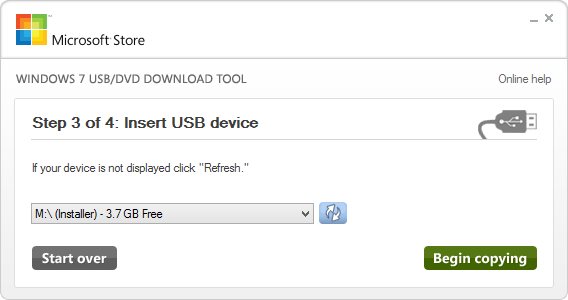
Once you’ve double-checked the drive path, press “Begin Copying” to start the creation process. Depending on the size of your ISO, speed of your USB interface, and the speed of the USB drive’s storage, this may take a bit of time. Just grab a drink and let the tool do its thing.
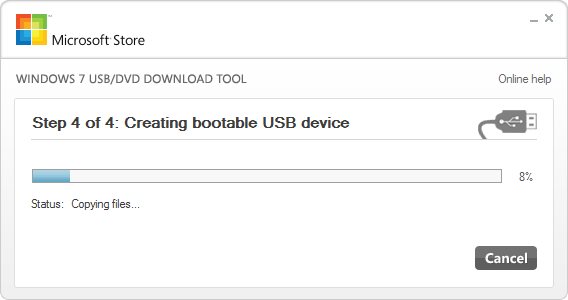
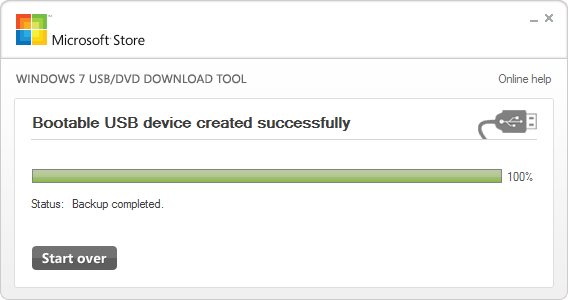
When the process is done, you’ll be notified that the “Backup completed” and it’s now safe to remove your USB drive.
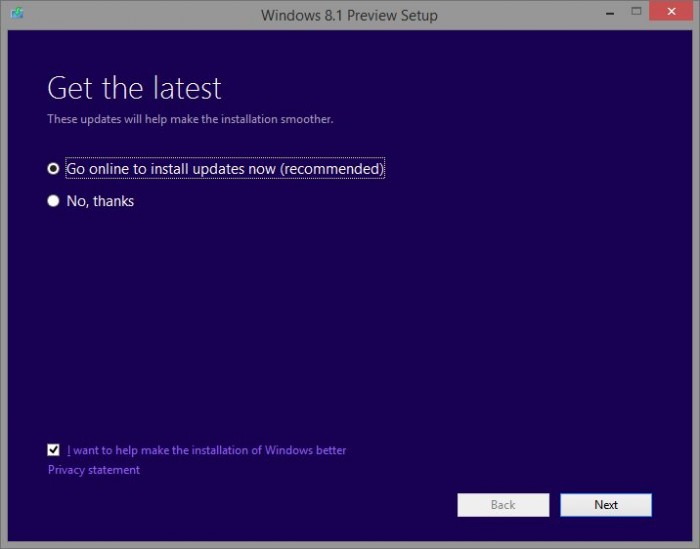
Use Your Windows USB Installer
There are two primary ways to use your Windows USB Installer. First, you can launch the setup process from the drive directly from within Windows. This allows you to perform an upgrade or initiate a repair.
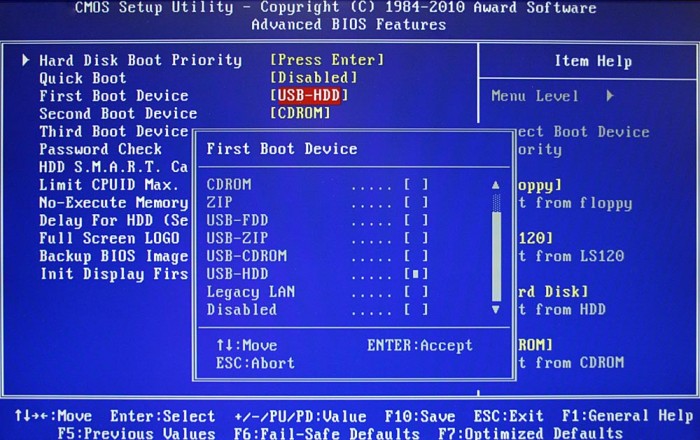
Second, if you want a clean install, you can configure your computer to boot from the USB drive, just as you would from an optical drive. Note, however, that not all motherboards support booting from USB drives, so make sure to check your motherboard’s manual to ensure compatibility. Motherboard configurations also vary greatly, so even if your board supports booting to a USB drive, check your manual for instructions on how to configure that process in your BIOS or EFI interface.
A Windows USB Installer can also be used to install Windows on virtual machines, such as VMware Workstation on Linux or Parallels Desktop on Mac OS X.
A final note: not all Windows Install ISOs are the same. Depending on the version of Windows you purchased or used to create the ISO, the Windows Installer may be either a full version or an upgrade version. If the latter, you may not be able to install a “clean” version of Windows onto a blank drive; you may need to have an existing licensed version of Windows already in place. Your USB Installer will still work in these cases, but make sure you check the licensing of your source ISO.
BIOS Image modified from Corsair source file.


2 thoughts on “How to Create a Windows USB Installer”
Recently, I ordered at a site from India, They provided me 3 windows 7 pro key sticker and 2 windows 8.1 pro keys, Which is legal and working good. I’m happy after getting so cheap license.
You can also get an unused Windows 7(any version)8, 8.1 pro License key from: ODosta Store
I want to buy another, But Now Please tell me, If can I use my windows 8.1 professional product key at my existing windows 8.1 standard KMS Activated License, being upgrade it.