


How to Enable Access for Assistive Devices in OS X Mavericks

After upgrading to the OS X 10.9 Mavericks Developer Preview, we proceeded to install one of our favorite everyday OS X apps: SizeUp. This neat little app, which we’ve used for years, allows you to quickly snap and position windows on your screen using keyboard shortcuts. SizeUp uses OS X’s GUI scripting control features to work its magic, and it requires you to “enable access for assistive devices” in System Preferences each time you install it on a new computer.
OS X Mountain Lion’s method to enable assistive devices.
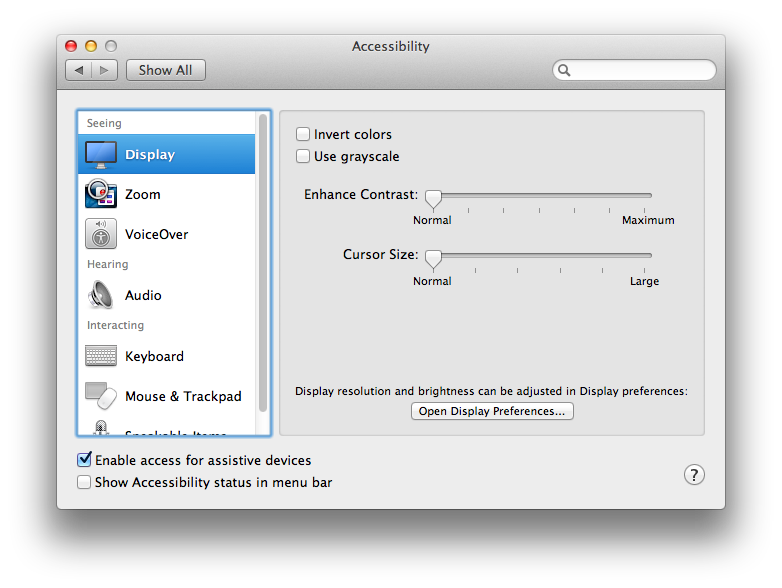
After installing it on Mavericks, SizeUp gave us the familiar message about enabling assistive devices. No problem, we thought, as we opened System Preferences and headed over to the Accessibility Pane, where the option has lived for years. Unfortunately, the old check box for assistive devices was gone and none of the new options seemed applicable. Without the ability to grant SizeUp access to OS X’s underlying control functions, the app was useless!
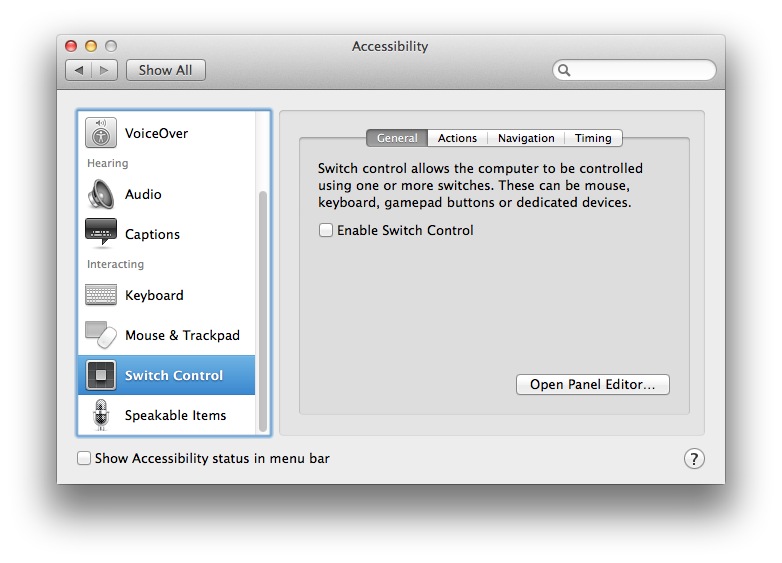
The function is missing from the Accessibility preferences in Mavericks.
Thankfully, after a bit of searching, we found that Apple had simply moved the option… to the Security Preference Pane. You’ll find it in System Preferences > Security & Privacy > Privacy > Accessibility. Unlike previous versions of OS X, which used a universal checkbox in an “all or nothing” approach, the new functionality in Mavericks allows users to individually choose which apps can gain control of the system to perform their various scripted functions.
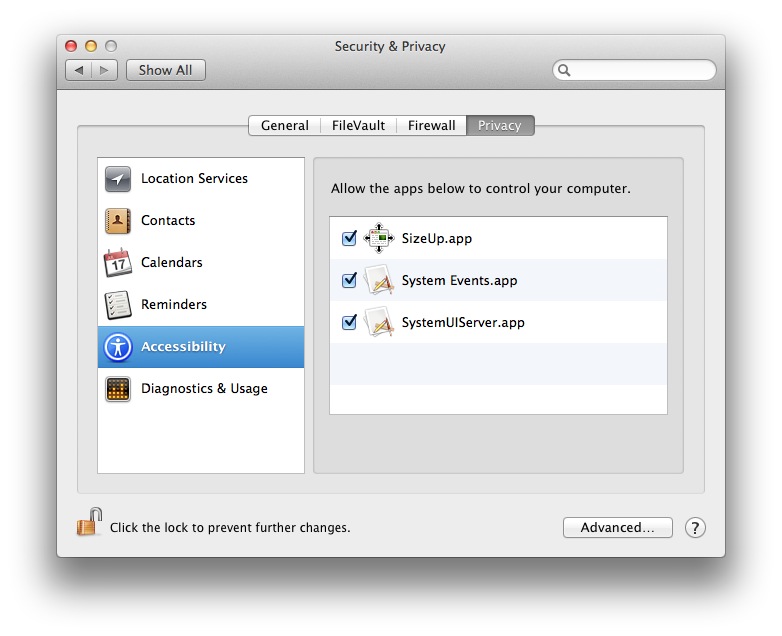
In our case, we had to attempt to run SizeUp first, have it fail because control wasn’t enabled, and then we found that it appeared in the new Accessibility list in System Preferences. We clicked the padlock icon at the lower left corner of the window to authenticate as an administrative user, checked the box next to SizeUp, and then found that our favorite app was back up and running again.
This change not only applies to window management apps like SizeUp, but also to many other automation utilities and predefined AppleScripts. The change is definitely a positive one due to the new ability to grant control only to specific apps, but it’s yet another example of how longtime OS X users will need to take some time to acclimate to the new features in Apple’s latest operating system.


30 thoughts on “How to Enable Access for Assistive Devices in OS X Mavericks”
https://github.com/univ-of-utah-marriott-library-apple/tcc_database_manager
We have made a management utility to administrate OS X Location Services, Contacts requests, Accessibility, and iCloud access in enterprise environments.
It runs on OS X 10.8 & 10.9 and has been tested with OS X 10.10 “Yosemite”.
Since Mac OS X 10.8 “Mountain Lion”, Apple has introduced systems to handle access to certain features of the computer. Among these are Contacts (AddressBook), iCloud (Ubiquity), Accessibility, and Location Services. The first three are managed through one method (SQLite databases called TCC.db hidden throughout the system), while the latter is handled by the locationd daemon through property list files. Originally I created two separate scripts to accommodate the manual modification of these systems. However, eventually I realized that while the internal workings were different, the desired effect was more or less the same. This Privacy Services Manager is a compilation (and mild reformation) of those two scripts.
The script is fairly straightforward, though there are some options:
$ privacy_services_manager.py [-hvn] [-l log] [-u user] [–template] [–language] action service applications
Options
Option Purpose
-h, –help Prints help information.
-v, –version Prints version information.
-n, –no-log Redirects logging to stdio.
–template Modify permissions for Apple’s User Template. Only applies to certain services.
-l log, –log-dest log Redirect logging to the specified file. (This can be overridden by –no-log.)
-u user, –user user Modify permissions for user, not yourself. (Requires root privileges.)
–language lang When changing permissions for the User Template, modify the langtemplate.
Our two other GitHub repos
– tcc_database_manager
– location_services_manager
Are deprecated and replaced by the more-complete & actively developed and supported Privacy Services Manager
We also have included a package installer/uninstaller for those using package distribution systems or to ease installation for the busy/less technical.
If you have any questions, problems or features requests feel free to email me off-list or send email or file a issue via the GitHub repo.
Try this: go to System Preferences > Security & Privacy > Privacy > Accessibility and then try to drag and drop the QuicKeys app into the list. Let me know if that does it for you. When we wrote this tip using the Mavericks beta, this didn’t work, but since its public launch it seems this drag and drop functionality works.
I GIVE UP!