How to Find Your Steam Screenshots

You’ve just taken the perfect screenshot of your game on Steam, one that clearly shows how great you are at the game. Now the only question is: where on Earth do you find it to show everyone else? Steam makes taking screenshots easy by pressing the F12 key in any game (or using in-game screenshot mechanics). The problem is that it doesn’t tell you where to find it.
In this article, we’ll show you not only how to find the screenshot, but also how to set the save destination yourself.
Find Steam Screenshots
Steam is a very flexible client and gives its users a lot of freedom in preferences. One of these freedoms is where screenshots are saved. There are also a few ways that you can track down your PC’s screenshot folder. Here are the two easiest ones:
In-App
You can easily view your screenshots via Steam’s top menu and find their location from there. Here’s how:
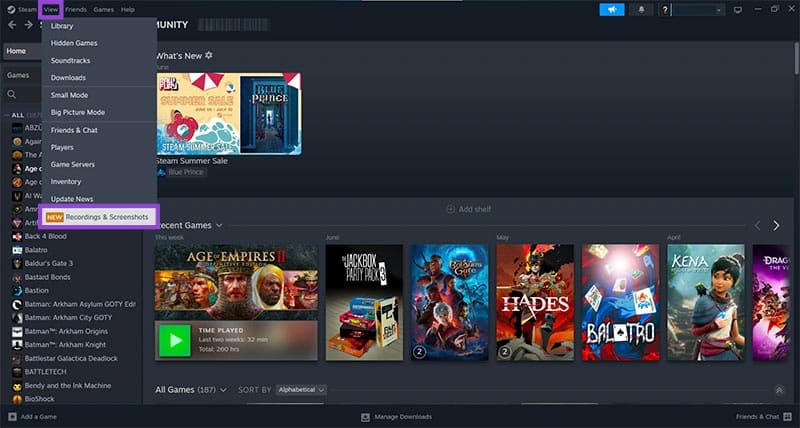
1. Click “View” in the top menu and navigate down to “Recordings & Screenshots.”
2. Right-click on any screenshot and then select “Show on disk” from the context menu that pops up.
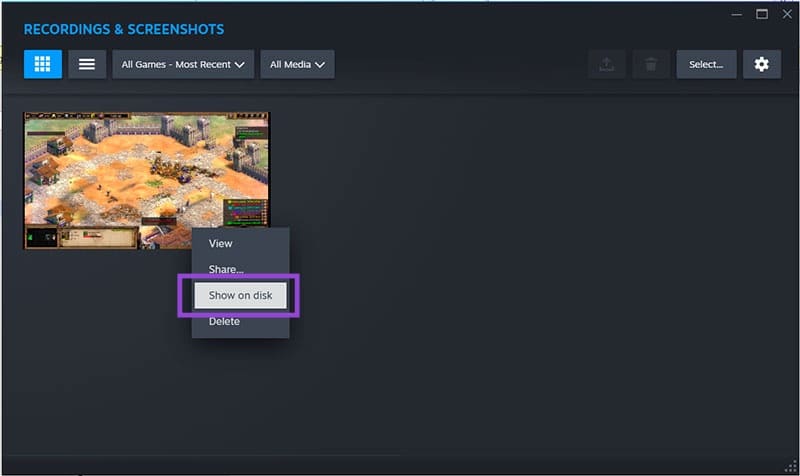
3. File Explorer (or Finder for Mac users) will then open the folder containing the screenshot.
Navigate With Your OS
If you want to track down your folder using Windows File Explorer or Mac’s Finder, you can also do that. By default, Steam will have a certain location for screenshots in both operating systems:
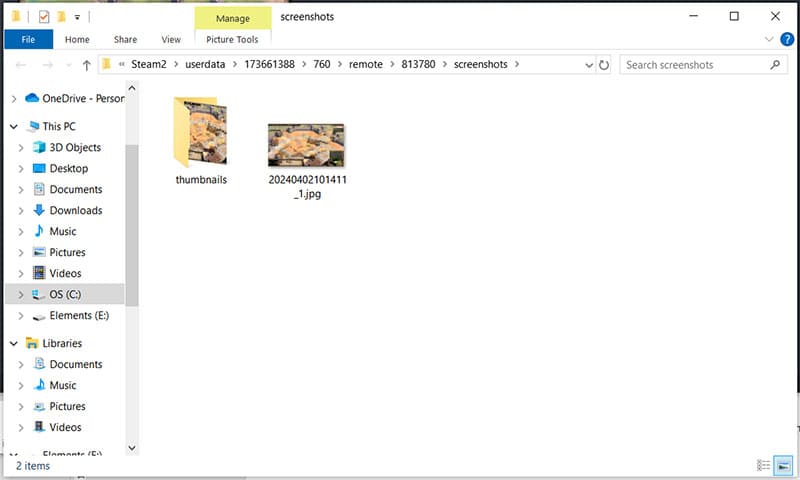
1. If you’re a Windows user, open up a File Explorer window and navigate as follows: “C:\ Program files (x86) \ Steam \ userdata \ [SteamID] \ 760 \ remote.”
2. If you’re a Mac user, navigate to the following in Finder: Users \ [Mac username] \ Library \ Application Support \ Steam \ userdata \ [Steam ID] \ remote.”
In this folder, you’ll see a number of sub-folders with numbers. Each is the ID code of a game in your Steam Library. Simply double-click on one to see the screenshots you’ve taken.
Create a New Save Location
Of course, you don’t have to stick with having your screenshots placed in different folders per game. You can also save any screenshots you take externally, meaning that they’ll also be saved to a special folder you designate. You can do this in the following way.
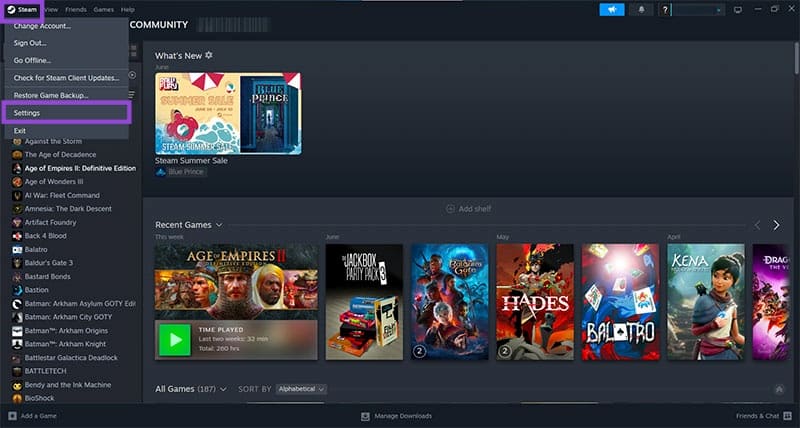
1. In the top menu, click “Steam,” then “Settings.”
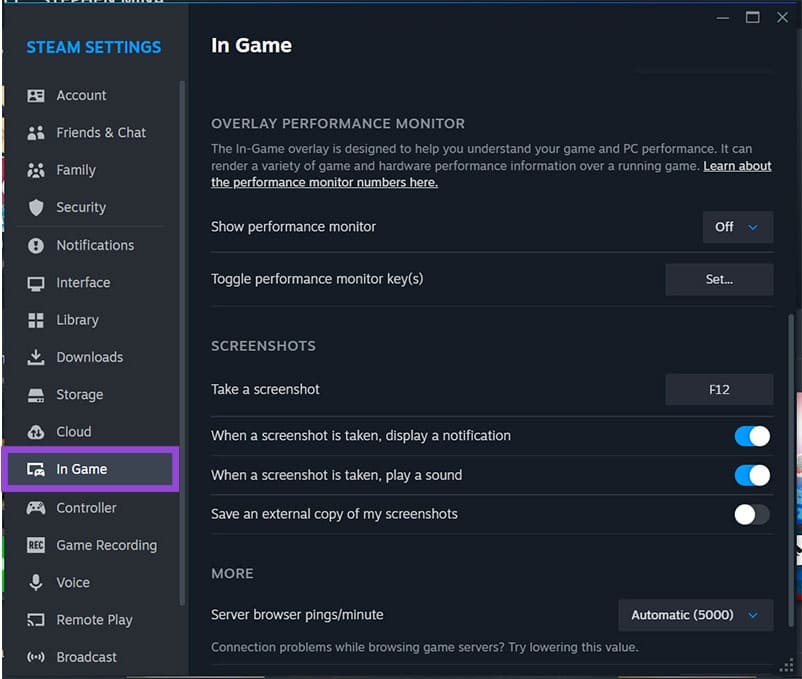
2. In the sidebar of the Settings menu, select the “In Game” option.
3. Scroll down to the “Screenshots” subsection and drag the “Save an external copy of my screenshots” slider to “On.”
4. A button will appear that says “Change folder.” Click it and File Explorer or Finder will open.
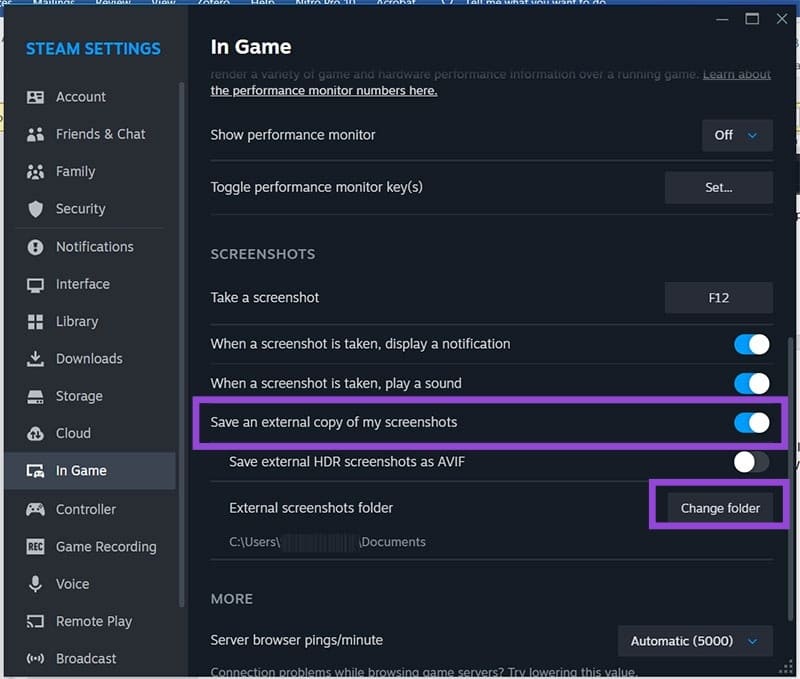
5. Specify the location for your screenshots to be saved externally and confirm (in Windows’ case, by clicking “Select Folder”).

6. Your screenshots will now also be saved to this folder for easier access.
Bonus: Changing Your Screenshot Key
While F12 is the default key for capturing screenshots in Steam’s overlay, you can always set a different key. Here’s how:
1. Click “Steam” in the top menu, then “Settings.”
2. Click “In Game” in the sidebar and navigate down to “Screenshots.”
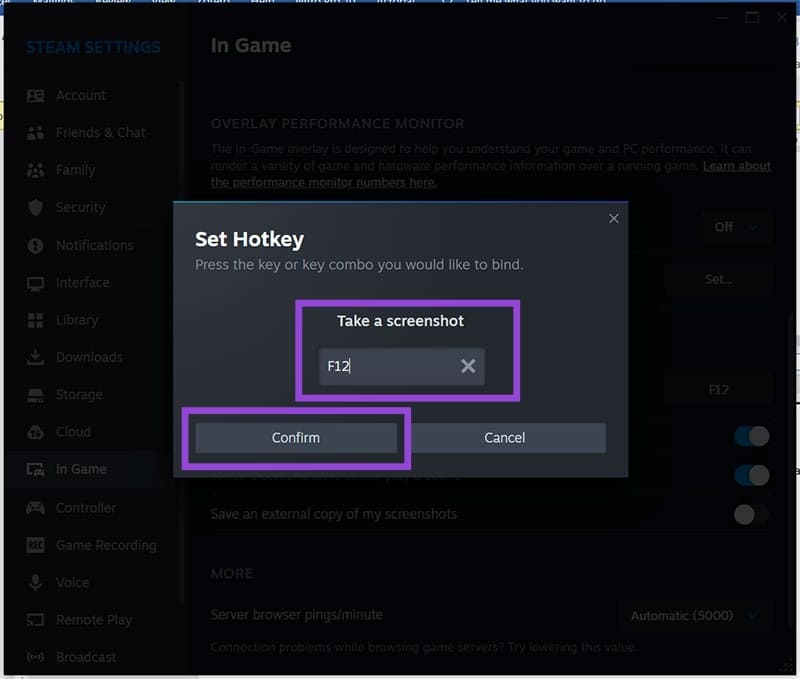
3. You’ll see the current “Take a screenshot” hotkey (by default, F12). Click it.
4. Change your hotkey by pressing the new one (or combo). Press “Confirm” when done.