How to Install a New Motherboard
If it wasn’t for the motherboard, there’d be no computer as nothing else would work. The motherboard is the “mother” of all its components. It is the computer’s backbone and essentially the most critical module. It determines what other features can be installed. Whether building a PC or upgrading one, knowing how to install a motherboard correctly is essential.
Read on as we take you through what to consider when choosing the right motherboard and how to install it.
How to Choose a Motherboard
In many ways, choosing the right motherboard is an integral part of the installation process. Every aspect of your PC will plug into the motherboard you choose. As well as meeting your requirements, it determines which upgrades you’ll be able to make in the future.
The Motherboard
A motherboard is the chief printed circuit board and a complicated product. It talks to and facilitates communication between many of the crucial components of the system — including the CPU and memory. It also supplies the connections for peripherals. Most computers today, including your smartphone, notebook, and tablet, will have a motherboard installed to pull everything together. But the only type of motherboard you’ll generally need to purchase is the one for a desktop computer.
When you look at a motherboard, you’ll see a lot of circuits, capacitors, slots, connectors, transistors, heat sinks, etc. They work together to direct signals and power throughout the computer, and the finer details can get quite technical once you begin to delve into it. However, some elements will be essential in deciding on the right motherboard for you.
Things to consider include choosing a future-proof one. If you’ve decided that you won’t be upgrading your PC after this installation, you can pick one that meets your requirements now. On the other hand, a future-proof motherboard can accommodate expansion.

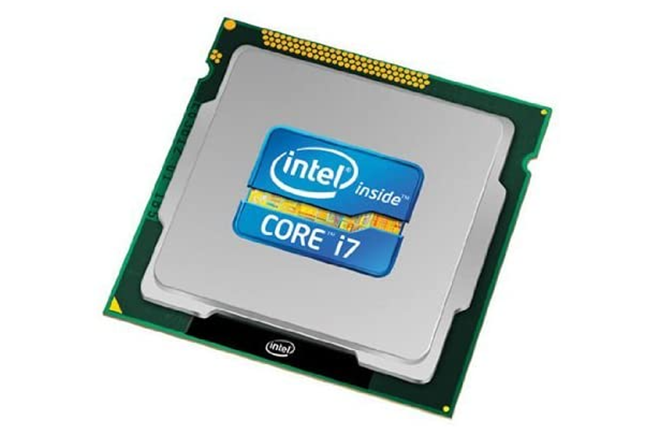
Central Processing Unit
The CPU is probably the first and most important decision you’ll need to make. Which chip do you want to be the brains behind your computer? Your choice of two manufacturers is Intel and AMD. Both offer chips that are good for entry-level tasks such as web browsing and low-end gaming, and they also have chips to create a super powerful beast of a computer. However, since both companies constantly upgrade their chips, the capabilities of each become obsolete very quickly.
AMD vs. Intel
AMD chips are better if your software and tasks can take advantage of more cores and threads. On the other hand, Intel chip offerings aren’t sparse, especially the high-end ones. But chip to chip, AMD offers more cores than Intel for relatively the same price.
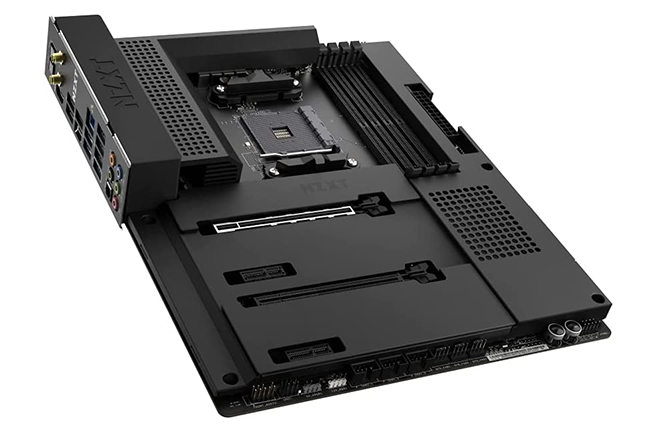
Processor Socket
The type of processor socket on your motherboard will determine the CPU you can get. Therefore, deciding on the CPU before the motherboard is probably best. The three processing sockets available today are LGA, PGA, and BGA. Intel uses LGA, and AMD uses PGA. Since BGA sockets are permanently bonded to the motherboard and can’t be upgraded or serviced, they are the least popular option.
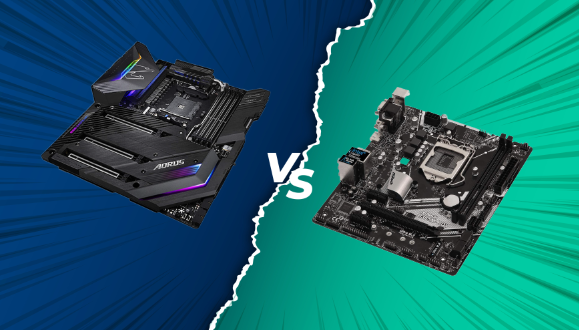
What Size Motherboard?
The form factor is the specs on how the motherboard is built, its size, casing, shape, mounting holes, power supply, and overall layout. Most modern boards are obtainable in three sizes:
- ATX is the most popular and has the most room for plugs and slots.
- Micro-ATX is another popular one despite it being shorter than the ATX by 2.4-inches, so there is not as much space for expansion slots.
- Mini-ITX is for tiny computers. It offers space for an add-in card, plus some connectors for storage and RAM.
How Many RAM Slots?
Modern mainstream boards, apart from Mini-ITX with just two, usually have four RAM slots. The high-end HEDT board is another exception to this as it typically has eight. The number of slots your board has will control the amount of RAM you can install. A board that can accommodate at least 16 GB will be sufficient for mainstream tasks and games, and 32 GB is more than enough. You can have as much as 64 GB of RAM with two slots. With a four-slot board, you can install two RAM modules initially and have two spares for future upgrades.
What Ports Do You Need?
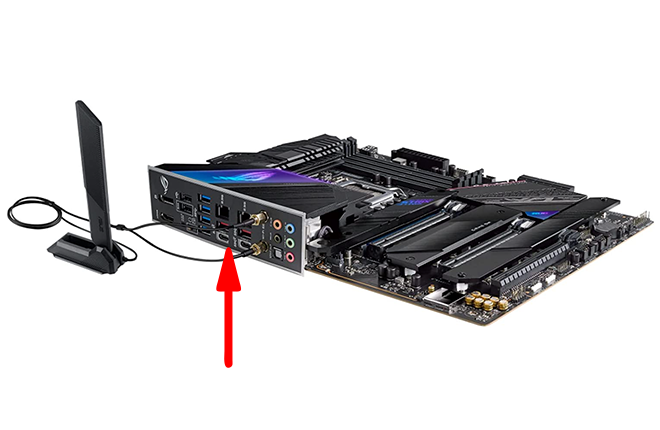
You’ll need to look at the I/O space on the motherboard to ensure it has the external connection options you want. Also, look for the USB headers on the motherboard. USB headers will allow you to add additional ports using the front-panel connection or economic expansion slot brackets at the rear. Here are the most common ports:
- USB 3/3.1 Gen1: The more you have of these ports, the merrier since they’re compatible with most devices.
- USB 3.1/3.2 Gen2: Not many devices are compatible with this standard despite offering double the bandwidth of Gen1. These ports are typically found on mid and high-end motherboards.
- USB 2: Although slower than 3/3.1, it will be satisfactory for mice, keyboards, and many other peripherals.
- USB Type-C: This port can either be 3.1 Gen1 or 3.1 Gen2 compatible and is intended for newer devices like phones.
- Audio ports: These ports are integral to connecting analog headphones or speakers.
- HDMI/DisplayPort Video out: This port is only necessary if you’re planning for an integrated graphics setup.
- PS/2 ports: These offer compatibility with ancient mice and keyboards.
- Thunderbolt: It’s rare to see this port built into a motherboard. It supports speedy connections of up to 40 Gbps.
How Many SATA Ports?
You may want to think about the number of SATA ports required to connect optical and storage drives, like an SSD or HDD. You should ensure that your new motherboard has SATA 6, also known as the SATA 3.0 gigabyte standard.
Any Additional Features?
As you can see, motherboards comprise many features, and particularly with the high-end ones, it can be impossible to cover everything. However, here are a few features to keep an eye on:
- On/Off switches: On-board switches can be useful, especially if your PC will be housed in an open case for component/benchmark testing. Although, on/off switches aren’t required for the average user.
- Wi-Fi card: If you don’t have an Ethernet connection close by, you’ll want one of these cards. For a future-proof build, consider a board with Wi-Fi 6.
- LED diagnostic readouts: Many mid to high-end boards include a two or three digit display to alert you when something is wrong, using an alpha-numeric code instead of bleeps. These diagnostic signs can be helpful when installing your motherboard. You’ll be notified if you forget to plug something in, if a component isn’t properly seated, or if something is faulty, for example.
- Dual Ethernet ports: If you want to use your PC as a server, a single Gigabit Ethernet port will have plenty of bandwidth for internet traffic. In addition, the board can combine the two connections. If your PC will be used for heavy-weight wired networking tasks, consider boards with 2.5 Gb or 10 Gb Ethernet.
Additional Features You Might Not Need
Now for some features that you may not need to worry about:
- More than six SATA ports: The flexibility of six SATA ports is excellent. However, you should consider how many drives you will have installed at one time.
- More than one Ethernet port: Although port failures happen, this isn’t a good enough reason to need a motherboard with two Ethernet ports. There are plenty of budget-friendly solutions like USB Wi-Fi dongles that you can pick up if you’re having problems with the native port.
- PCIe and DRAM slot shielding: For the most part, it’s likely that your PC won’t be moved around very often. As long as your slot card is affixed and screwed into the expansion slot space properly, slot shielding won’t be necessary.
- On-board video ports: You’ll likely be using a discrete video card with its ports. If there isn’t any integrated GPU on your processor chip, the additional port will just take up precious I/O space.
With most of the techie stuff out the way, it’s time to roll up your sleeves and install this bad boy.
How to Install a New Motherboard
Here are some quick installation steps that apply whether you choose a mammoth eATX, a standard ATX, or a tiny ITX board.

Get Prepared
Before you start, you must ensure you have the tools you’ll need and sufficiently protect yourself and your sensitive computer components. If an electrical jolt is transferred to a circuit, it could cause damage beyond repair. To prevent this, ground yourself by wearing an anti-static wristband, and ground your workspace by working on a hard, solid, and non-conductive surface.
Installation Tools
In terms of tools, you’ll need a long Phillips head screwdriver with a lightly magnetized tip to hold the screws to it. Some needle-nose pliers will help with fishing out screws that may end up in the nooks and crannies within the PC case. Good lighting will also be helpful, and you should keep the manual close by for answering any specific questions.
Install the Standoffs
Before installation, to protect your motherboard from the conductive chassis of the case, you’ll need to fit the standoffs. These are the male screws with a female head to be directly screwed into the motherboard. You would have received some with the motherboard or the case. Many cases are pre-fitted with the standoffs, but not necessarily for the precise size or form of the motherboard you’re installing.
Check your motherboard and case manual to determine which screws need to be used and where. Once the alignment is correct, you should be able to thread the screws in with your fingers.
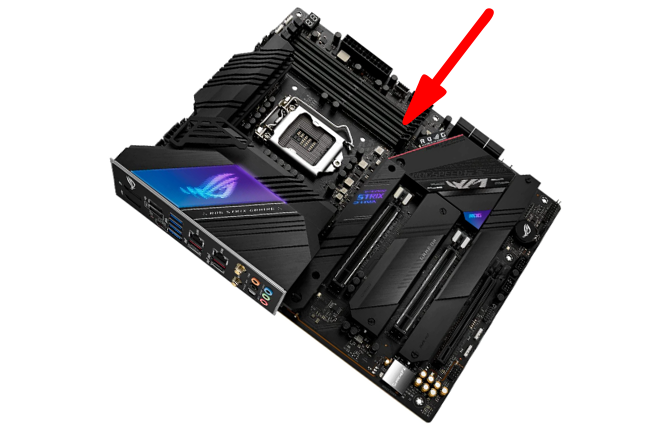
Install the Input/Output Shield
Fitting the input/output shield is the final step before installing the motherboard. The I/O shield is the silver or black panel required to protect the back ports of your board. It needs to be pressed into the rear gap of your case. The gap should be noticeable, but check the alignment before pressing it in.
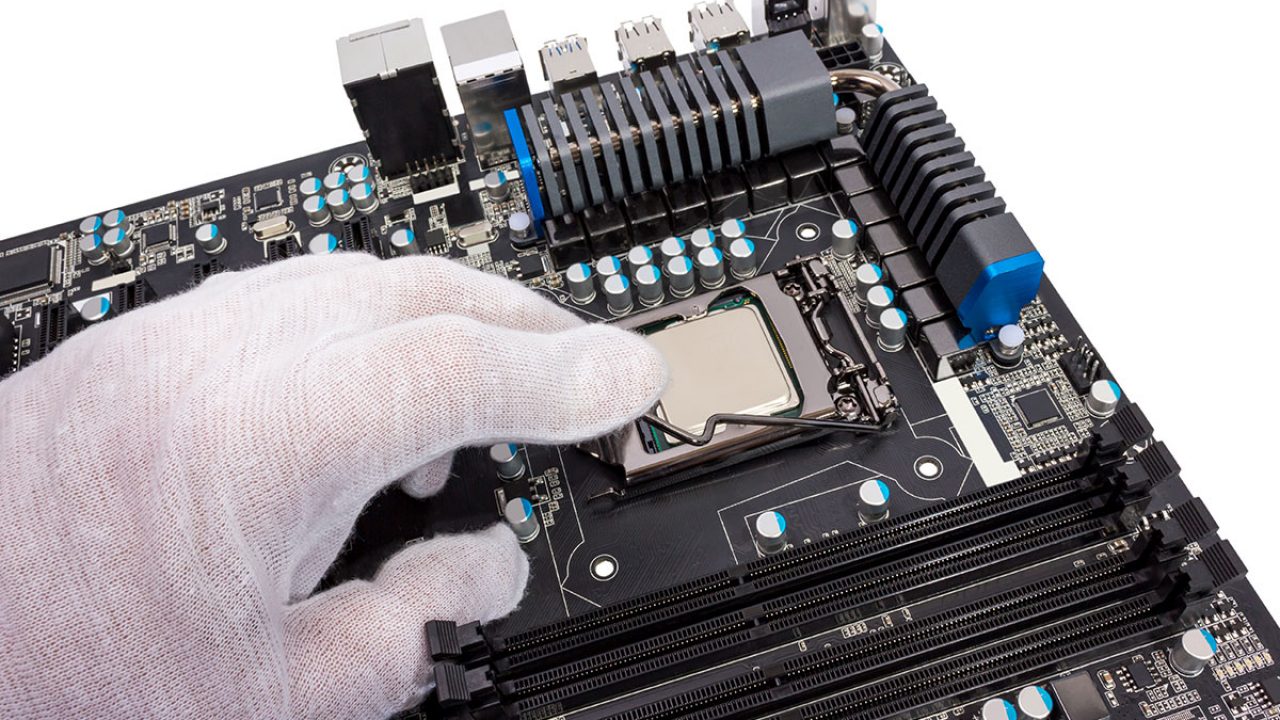
Motherboard Installation
Assuming your CPU is already fitted to your motherboard, here’s how to install it.
Install your motherboard by gently lowering it into the case at an angle slanted upward toward the front of the case. Depending on the chassis, this might be a helpful technique to use. Aim to align the screw holes on the board with the spacers. Ensure it mounts neatly into the rear I/O shield and that the ports are kept clear.
Mounting the Motherboard
Hold the motherboard gently in place as you screw in the first couple of screws that came with it. Once the first one or two are in, it should be easier to screw in the rest. If you feel like you need to apply force, then unscrew and start again. Also, it’s better to thread the screws loosely in place before tightening them.
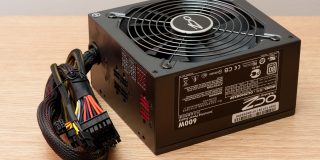
Plug-In the Motherboard Connector and CPU Power Connectors
Your motherboard will get its power from the power cables, and you’ll need to be careful about plugging in the correct connector. Most modern boards will include a 24-pin long connector, while older ones will comprise a 20-pin connector. The matching connector on the motherboard will reside next to the IDE ports. It will include a clip to hold the connector securely in place. You’ll just need to press the connector to clip it in gently.
Most modern motherboards will have a second power connector, either a four-pin or eight-pin. Typically, the second power connector will be located near the processor port. Glide the connector into the plug and use light pressure to secure it. You should hear a “click” once the connector is fastened into place.
Motherboard Install Successful
The motherboard is not the most exciting part of a computer, but it’s the most important. It is the backbone of the computer and acts as a hub to tie all the components together. The hardest part about the installation process is deciding which motherboard to install. Once you’ve decided on one to meet your requirements, installing it should be relatively straightforward.
It is the most significant component, and getting it inside the case might be slightly awkward initially. The installation will most likely be successful if you’re careful and take your time.