How to Wipe an SSD With Windows 11 Before Selling Your Computer

Are you looking to upgrade to a new PC and sell your old one? You might be ready to leave the old one behind, but the same can’t be said about your old hard drive. Hard drives have a way of holding onto files that you might not be aware are still there. Manually deleting important data doesn’t always help either, as data bits may remain until overwritten.
In this article, we’ll show you how to reset your PC to clear your SSD with Windows 11, and we’ll cover other hard drive-wiping methods to ensure you’re leaving nothing behind.
How to Wipe an SSD With Windows 11
When selling a PC, the manual approach to destroying a hard drive (like driving a nail through it) won’t necessarily do the trick. You’ll also need to use software. Thankfully, Windows comes with a few ways to overwrite and wipe your SSD drive. It goes without saying that you should back up everything before moving on with any methods below.
Let’s get started.
Reset via Windows Settings
A quick way to get the job done is to use Windows Settings. It might not be the most thorough, but for most purposes, it’s perfectly serviceable:
Step 1. Open Settings (Win + I) and navigate to “System” and then “Recovery.”
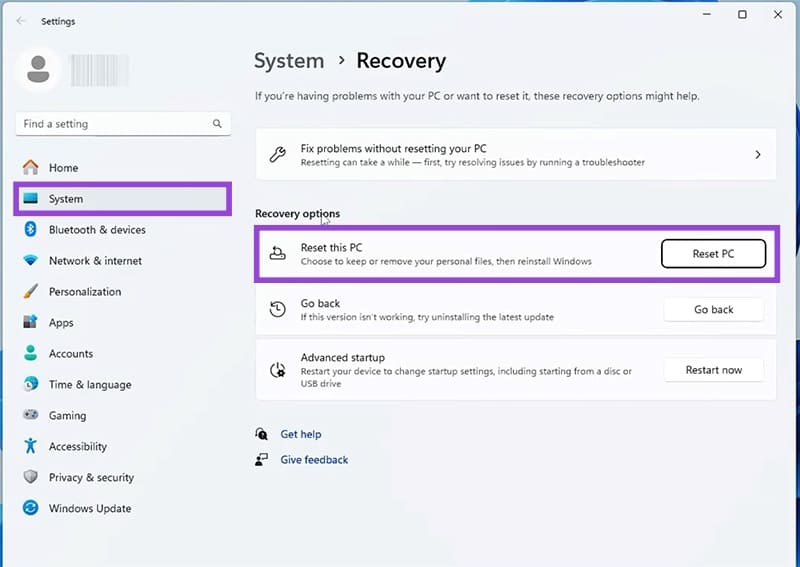
Step 2. Click the “Reset PC” button.
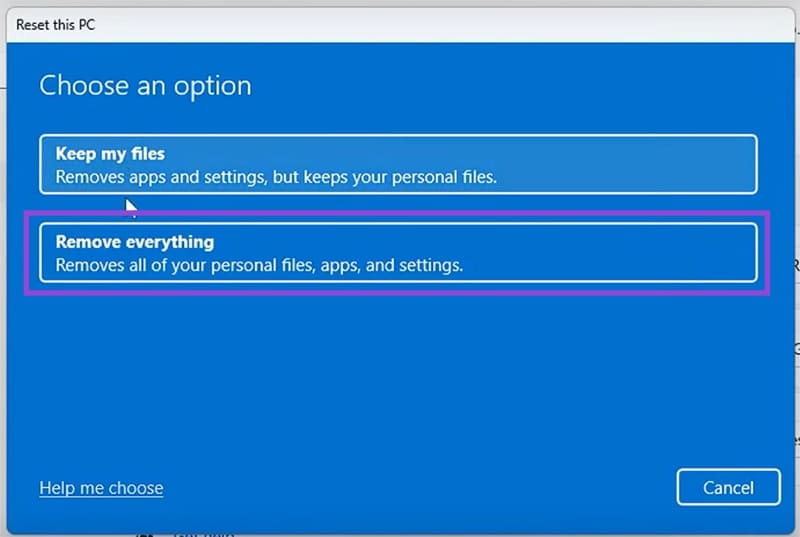
Step 3. In the window that pops up, choose the “Remove everything” option.
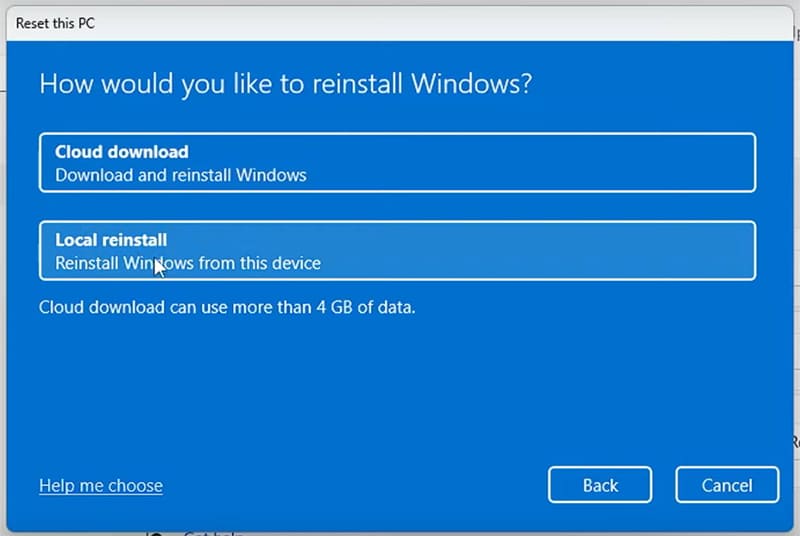
Step 4. You will then have to choose between downloading and installing Windows from the Cloud or a local version on your machine.
Step 5. You’ll be taken to a menu with additional options. Click the “Change settings” option.
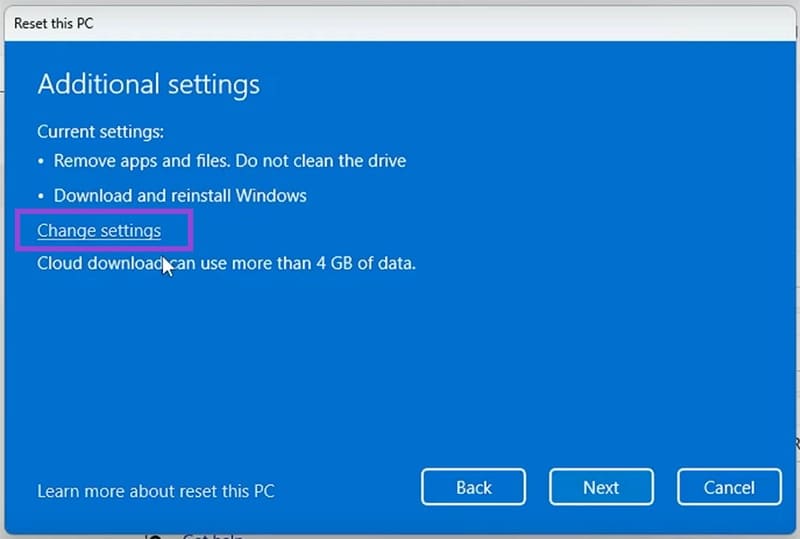
Step 6. Ensure the “Clean data” slider is dragged to “Yes” and click “Confirm.”
Step 7. Follow the additional steps, and finally click the “Reset” button to begin the process.
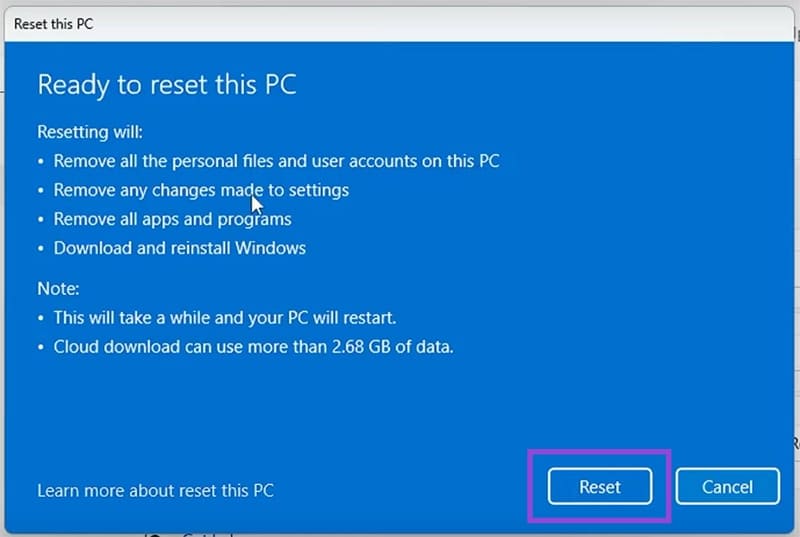
Your machine will reset and restart, and you can then choose both your region and language, and other steps to complete the setup.
Third Party Tools
There are plenty of third-party apps and tools out there to help you reset, overwrite, and wipe your SSD completely. Some require payment, while others are open-source and free. In a pinch, you can even go to a trusted PC specialist and have them securely wipe your hard drive.
Wipe via Windows Diskpart
If your SSD isn’t your main system hard drive, then a very effective way to wipe and overwrite it is using Diskpart. You can access this via Command Prompt. If you want to erase your system SSD, then you’ll need to have a bootable version of Windows 11 in your CD drive or on an external device to begin wiping it. Here’s what to do:
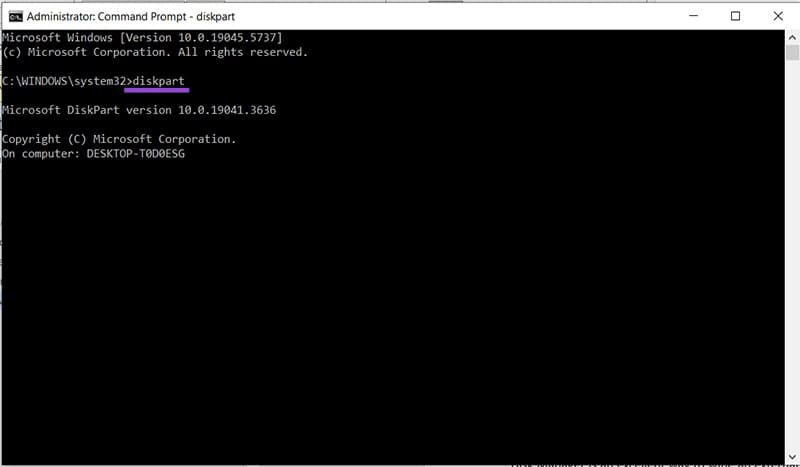
Step 1. Open up Command Prompt via the Search Bar and run as Administrator.
Step 2. Type “diskpart” and hit “Enter” to open Diskpart.
Step 3. Type “listdisk” into the prompt to see all current drives on your machine.
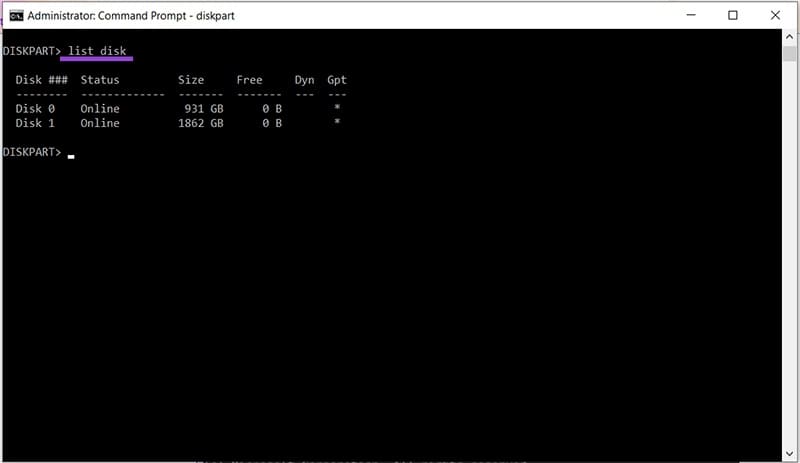
Step 4. Type “select disk [number]” to highlight your target disk.
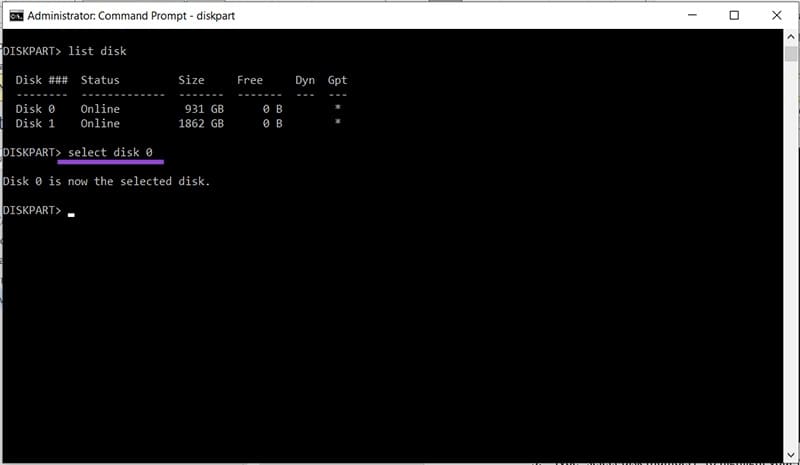
Step 5. Then type “clean all” to begin the wiping process.

Step 6. Your drive will then be erased. It may take some time, but you’ll receive a notification once the process is complete.
Format via Disk Manager
If you’re just looking to erase a non-system SSD, then you can always reformat it via Disk Manager. Here’s what to do:
Step 1. Right-click your Start menu (or Ctrl + X) to open the context menu.
Step 2. Select “Disk Management.”
Step 3. You’ll see a window listing all your hard drives, including any external ones currently connected.
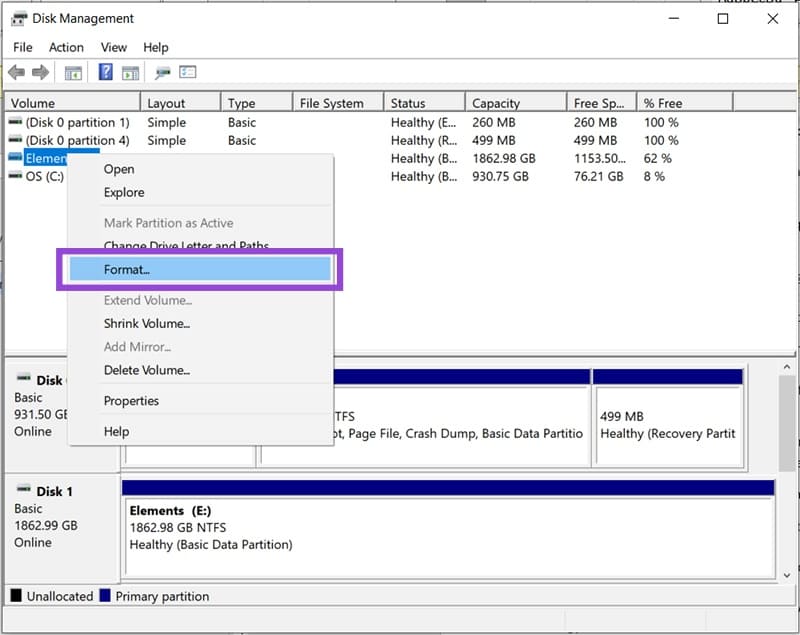
Step 4. Right-click the disk you want to wipe and select “Format” from the context menu.
Step 5. Choose your options from the menu that pops up and, once done, click “OK” to begin the reformat.
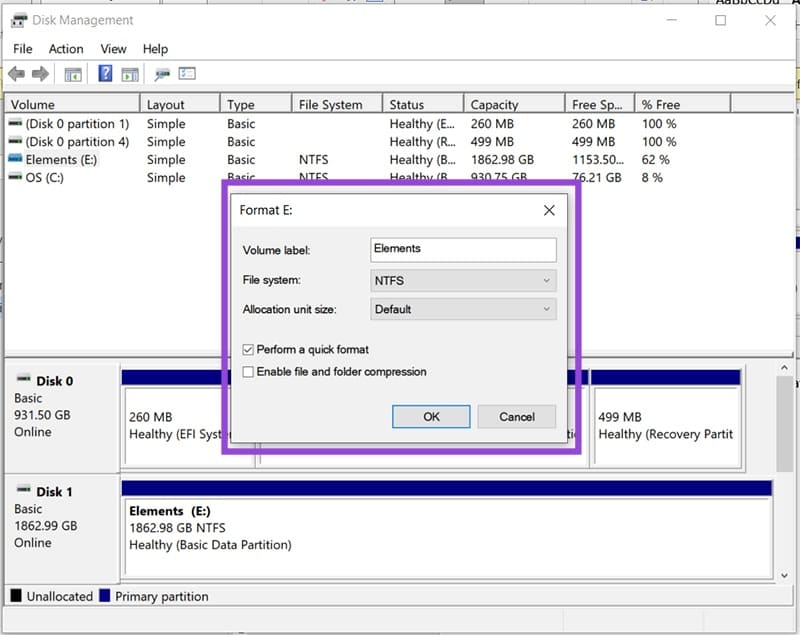
Disk Manager provides a few options for reformatting. You can choose your file system (NTFS being the default for Windows) and allocation unit size for partitions. Be sure to deselect the quick format option for a more thorough job.