How to Set Up a Water Cooled PC
Between air-cooled and water-cooled PC setups, many tech experts recommend using the latter. Liquid cooling is much more effective when your PC has powerful components, especially the latest hardware. With a water-cooling system, you won’t have to worry about your PC overheating.
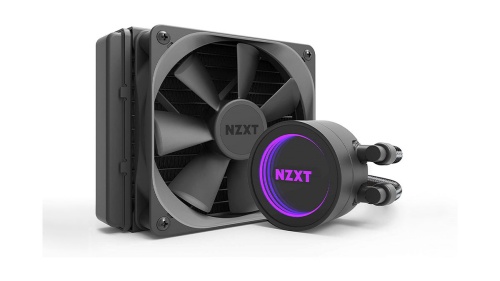
Setting up a water cooling system in your PC isn’t always straightforward, but many designs today, such as all-in-ones (AIO), have everything you need. You’ll learn what each component does and the general setup process in this article.
The Parts of a Water Cooling Kit
There are five main components in an AIO water cooling kit. Not including screws or other small parts, they have the following.
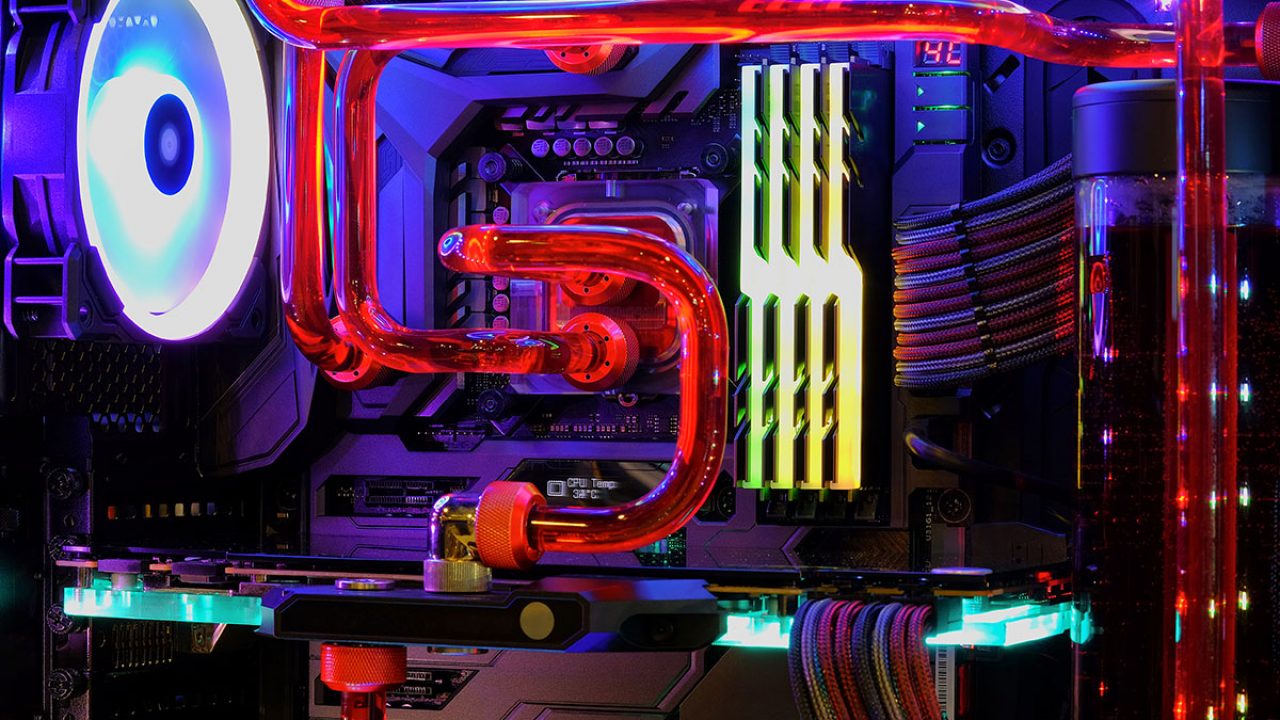
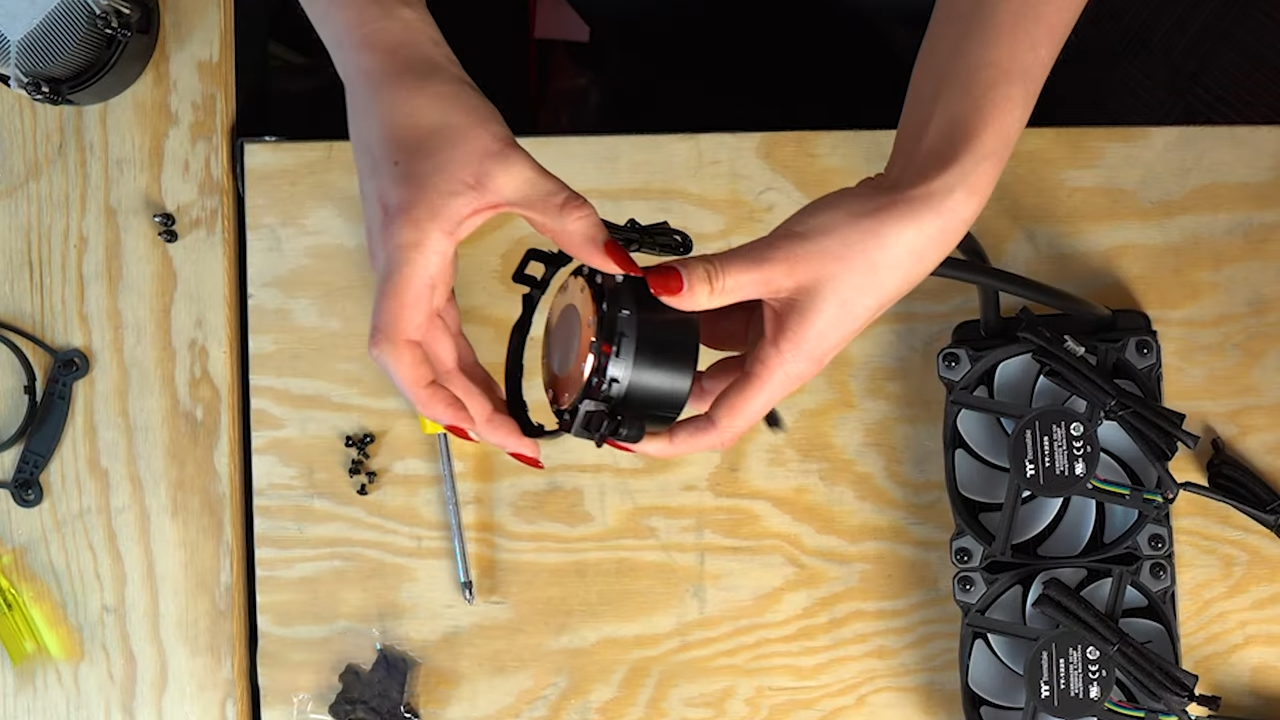
- Waterblock
- Pump
- Tubing
- Radiator
- Fan(s)
- Water and coolant
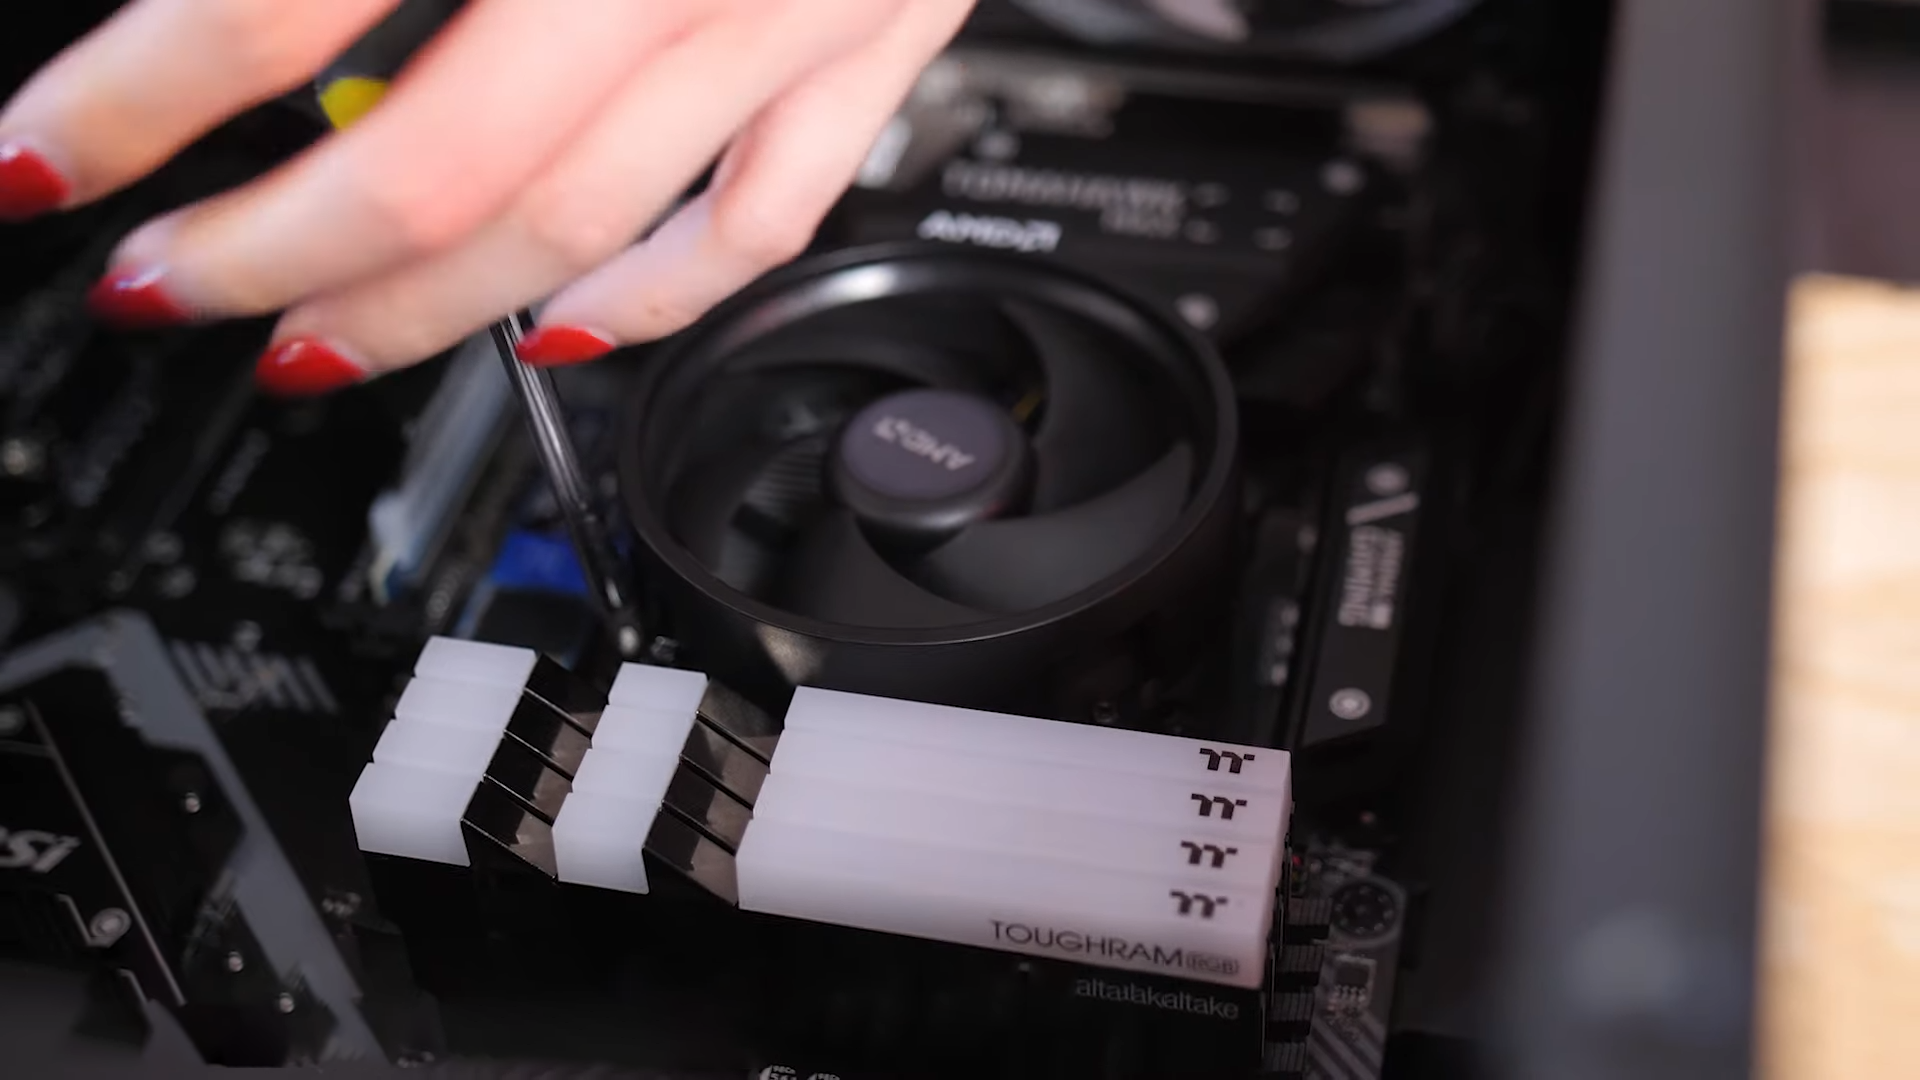
The water block is the part you connect to your CPU directly. It has a cold plate that your CPU’s integrated heat spreader (IHS) can accept during installation. Underneath the IHS is some thermal paste, which helps heat transfer from the CPU to the IHS and the water cooling kit efficiently.
If your CPU doesn’t have any thermal paste, we recommend getting some and applying it. That way, you can get the most out of your cooling system.
Without a pump, the liquid coolant can’t move around to dump heat outside the PC. The pump has a propeller to send water in a single direction. Warm water is directed to the radiator, while the cold liquid is introduced to the water block to absorb as much heat as possible.
The hoses in the AIO system are also referred to as tubing. The water will move through these rubber lines. Only one length of tubing is required for a standard water cooling kit.
The radiator is where the heat ends up after being pumped out of the water block. The radiator is connected to the fan, which sends heat into the air outside of the PC, thus achieving a PC cooling effect. The cold water is then sent back to the water block for another cooling cycle.
Most manufacturers recommend using pure distilled water or deionized water to cool a PC. Tap water contains minerals, which can cause buildup in the tubing after extended use. Purified water will avoid this issue.
You will also need some PC coolant mixed with the water. These products contain chemicals designed to optimize cooling and even keep the water safe from bacteria. Coolants are often premixed and ready to add.
Depending on your tastes, you can get transparent coolant or dyed ones. The latter can spice up your PC’s appearance and impress onlookers.
With all of this in mind, the cooling process goes like this:
- Water enters the water block and absorbs heat.
- The pump pushes it to the radiator.
- From the radiator, the heat is sent to the fan and expelled.
- The water returns to the water block cold, and the process repeats.
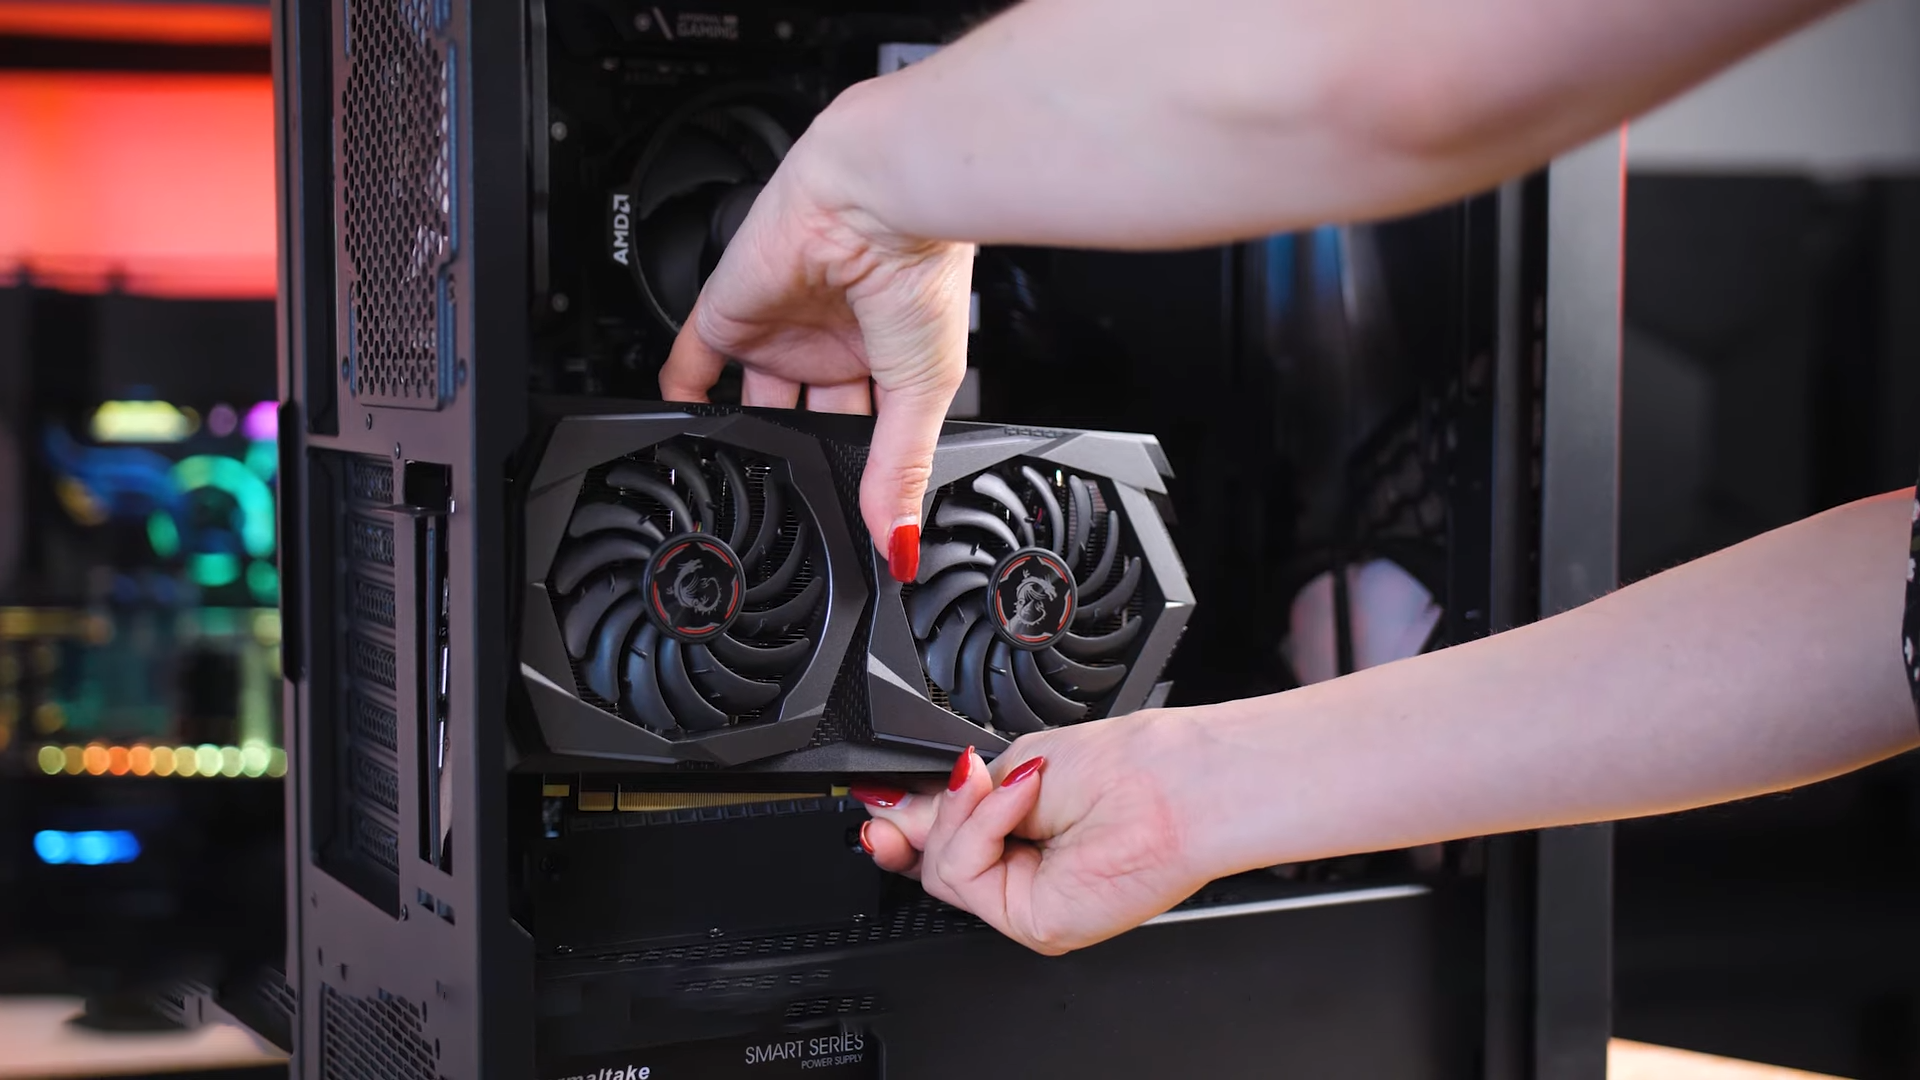
Installing a Water Cooling Kit in Your PC
Once you have your AIO water cooling system, you can start assembling it unless the manufacturers have already done most of the work. You will have to open your PC tower before installing the kit.
Assuming the cooling system is assembled, your unit should be ready for installation.
- Open your PC case and unplug all cables and cards, especially the motherboard.

- After loosening everything, remove the heatsink gently.
- Use an alcohol wipe to remove the old thermal paste.

- Apply some new thermal paste and install the water block.
- Secure it with a mounting bracket.

- Install the radiator and fan in a safe and convenient location.
- Connect the fan cables to any available slots and secure them with cable ties.
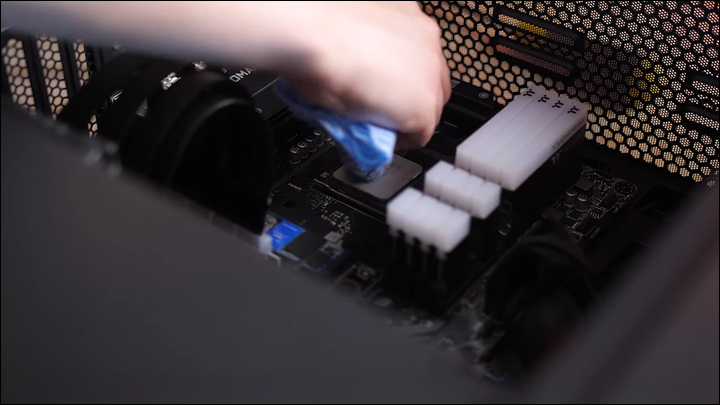
- Connect all required power cables to the AIO unit.
- Ensure everything is secure.
- Turn the PC on and check for leaks.

This is only a general guide, and it may not completely apply to the AIO system you have. We recommend consulting the owner’s manual or any YouTube guides of your specific model, if available.
After installing the water cooling system, you can use its dedicated software to fine-tune its performance. The software is also used to configure the RGB lights, should your system have any. Depending on your needs, you can make your unit focus on maximizing performance or minimizing the noise.
In-depth settings like adjusting fan speeds are also available with the software. The cooling system already has a thermometer to tell you the current temperature, and you can use it as the basis of your settings.
Things to Consider Before Getting a Water Cooling System
Before getting an AIO water cooling system, there are many factors to think about. Depending on your PC build, the size and many other statistics can make it incompatible with your PC.
Radiator Sizes
The first thing many people think of when selecting an AIO water cooling system is the radiator size. If it’s too large, it won’t work with your computer. Here are some standard radiator sizes.
- 92 mm
- 120 mm
- 140 mm
- 140 mm
- 360 mm
Anything around 92 mm is hard to find and is usually used in small form factor PC builds. These are among the smallest possible products you can get. Compared to larger systems, they can’t remove heat as efficiently but are the best choice for mini PCs.
120 mm to 140 mm radiators are more common and work on mid-range gaming PCs. They’re usually enough for dissipating heat since mid-tier gaming rigs aren’t as powerful as top-tier machines, which contain the strongest CPUs available.
A 240 mm radiator is for high-range and top-tier PCs and is usually a combination of two 120 mm radiators. Because these products are getting more affordable, you can also find them on mid-range gaming PCs.
The peak of AIO water cooling consists of the 360 mm radiator, and the strongest gaming rigs will usually have one of these installed. You can thus overclock your CPU without much worry, as the cooling system will siphon most of the heat away.
Sockets
AMD and Intel CPUs support different sockets, and you need to make sure your AIO system is compatible with your CPU. Otherwise, connecting the two becomes impossible.
AMD processors use these.
- AM2
- AM3
- AM4
- sTR4
- sTRX4
As for Intel CPUs, these are the supported examples.
- 155x
- 1200
- 2011
- 2066
You should go to either brand’s websites and see what your processor has. The website should inform you what sockets the CPU uses. With this information, you won’t buy the wrong system.
Thermal Design Power Ratings
Thermal Design Power (TDP) ratings are based on how much power a system needs. Your AIO system’s TDP should match or exceed your CPU’s TDP, so it doesn’t overheat. Therefore, a 150W TDP CPU will need a cooling system that reaches at least 150W TDP.
You can find your cooler’s TDP rating on the manufacturer’s website or in the statistics section of the package.
For high-end CPUs like Intel Core i7 or AMD Ryzen 7 and above, you’ll need a 360 mm radiator AIO. These CPUs have hyperthreading and high clock speeds, so you need the best cooling systems to dissipate heat efficiently.
Mid-level processors like the i5 or Ryzen 5 units will work just fine with a 240 mm radiator or below. The bigger your radiator, the more overclocking you can do with even a mid-level gaming rig. For slower CPUs, you can do well with air cooling.
We recommend a dual-fan radiator when you build your PC as single-fan radiators tend to be inefficient when cooling PCs. If your PC can’t fit a double-fan AIO, you can go with a single-fan one because there’s simply no other choice. Having one is better than nothing.
Fan Statistics
Your AIO water cooling system’s fans have two statistics you should look out for. They are fan CFM and fan RPM.
CFM stands for Cubic Feet per Minute, and this refers to how much air the fans can blow within a minute. High CFM values don’t always equate to superior cooling, but you should get something above 70 CFM. A high-airflow water cooling system will do a better job of sending the heat out of the PC, and it’s the best option.
A high fan rotation per minute value will result in increased cooling rates as fans blowing faster will push more air away from the PC’s interior. However, the main downside to faster fans is more noise, and you might not be a fan of jet turbines whirring in your gaming room.
You can get fans that reach at least 2,000 RPM if you don’t mind the noise level.
Fan noise is also a number you can find out. Some powerful fans are softer by design, so it’s possible to get excellent cooling without compromising too much on noise. The lower the decibel ratings, the quieter the fans are.
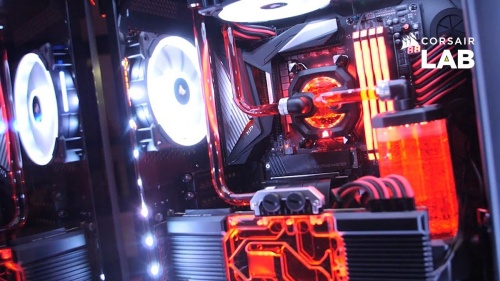
RGB and Style
These two should be considered a bonus rather than a priority. However, if you really like a glowing PC, you can easily get cooling systems with RGB functionality. When combined with other RGB PC components, your PC can be its own light show.
AIO coolers without RGB lights are also available if you like a more conservative look. These are also less power-intensive since you’re not spending extra electricity on lights.
A water cooling system’s design can make your PC tower look great, but the functionality is more important than appearance.
Your Budget
Your budget determines how much you can afford to spend on the water cooling system. A dual or triple-fan radiator AIO system will cost more than a single-fan radiator, but you can find some budget-friendly options even in these categories.
How to Maintain an AIO Cooler
Initially, many PC builders weren’t confident in AIO coolers as they believed these systems didn’t last long. With technological advancements, these systems can now last much longer than before. Even with continuous operation, your cooler can have five to seven years of life ahead of it.
Most pumps claim to last around 70,000 hours, approximately eight years. However, you’re usually replacing the water cooling system before that.
Fortunately, there’s not much you have to do to maintain your AIO water cooler. You can easily get a duster and remove the dust from the radiator and fans as dust can accumulate there after a while.
Closed-loop AIO coolers don’t need water changes, and your coolant will ideally all stay inside until it’s time to get a replacement. The chances of getting a leak are actually quite slim, and you’re more likely to experience pump failures first.
Your cooler’s manufacturer should have a warranty period, and it’s best to contact customer service if something disastrous happens.
Saving Your Computer
If your AIO water cooling system starts leaking, follow these steps to contain the damage.
- Unplug the computer immediately.

- Grab a towel and use it to remove the liquid.
- Use rubbing alcohol to remove any coolant residue.
- Keep everything still and let it dry for at least 72 hours.
- Clean the internal components with a towel and some rubbing alcohol again.
- Plug your PC back in and see if there’s damage.
Make sure you remove as much residue and dust as possible. It’s better to give the PC time to dry up, as hidden pockets of water left behind can severely damage the sensitive components. Therefore, we recommend being patient as it can reduce the possibility of short circuits and other damage.
Since shutting down normally can take too long, we recommend unplugging the power cable immediately. Programs crashing or corrupted data can be retrieved, but hardware is expensive, and replacements can set you back immensely. You’re better off saving the hardware first.
Having an AIO cooler is better than a custom one since they are usually covered by a warranty. Depending on the brand, you can expect coverage periods ranging from two to five years.
The Superior Cooling System
Water cooling AIO systems are the best for dissipating heat from powerful gaming computers. Compared to fans, they do a better job and will ensure overheating doesn’t happen on a typical day. Installing one of these systems isn’t challenging either, as your kit will come with exact instructions.