How To Change your Wi-Fi Network Name and Password
All Wi-Fi routers have a network name (otherwise SSID) and password. If you connect new hardware devices to your wireless network, you might need to enter both password and network name details. So it might be better to change the default password and SSID to more preferable alternatives. This is how you can change both a Wi-Fi network profile name and password in Windows with and without router software.
Edit the Network Name with the Registry Editor
Windows 7 users can adjust their SSIDs by clicking their network names on the Network and Sharing Center tab. However, you can’t edit SSIDs via the Control Panel in Windows 10. Nevertheless, you can still change a Wi-Fi network name by editing the registry.
First, open Run by pressing the Win key + R hotkey. Enter ‘regedit’ in the Run window’s text box, and press the OK button. That will open the Registry Editor window.
Next, browse to this registry key: HKEY_LOCAL_MACHINE\SOFTWARE\Microsoft\Windows NT\CurrentVersion\NetworkList\Profiles. You can copy (Ctrl +C) and paste (Ctrl + V) that registry path directly into the Registry Editor’s address bar. Select the subkey that includes your Wi-Fi network’s ProfileName as below.
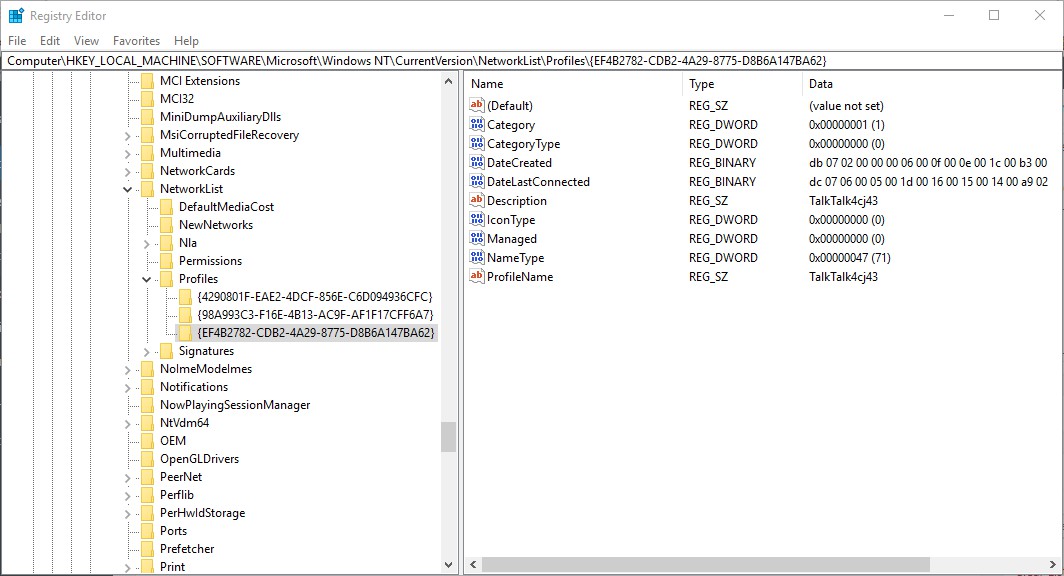
Double-click the ProfileName string value that includes your Wi-Fi SSID. An Edit String window will open, which includes your network title. Now you can enter an alternative SSID in the Value data text box.
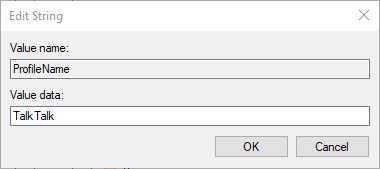
Click OK to close the Edit String window. You can also close the Registry Editor. Restart the Windows OS, and then open the Network Connections control panel tab. Your Wi-Fi network will now have a new SSID.
Edit Network Password via the Wireless Network Properties Window
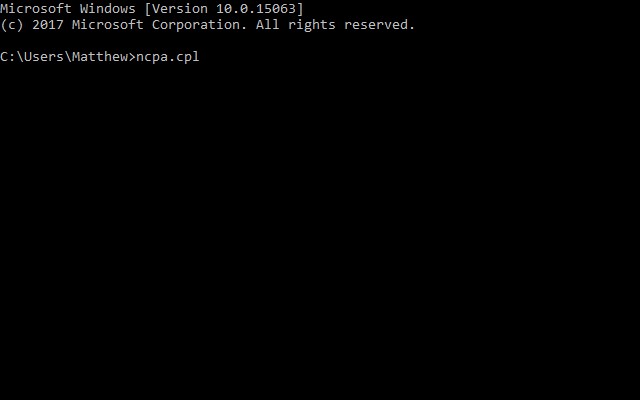
You don’t need to edit the registry to alter your Wi-Fi password. You can edit the password by opening the Network Connections tab. Enter ‘ncpa.cpl’ in Run’s text box to open the Control Panel tab shown in the snapshot directly below.
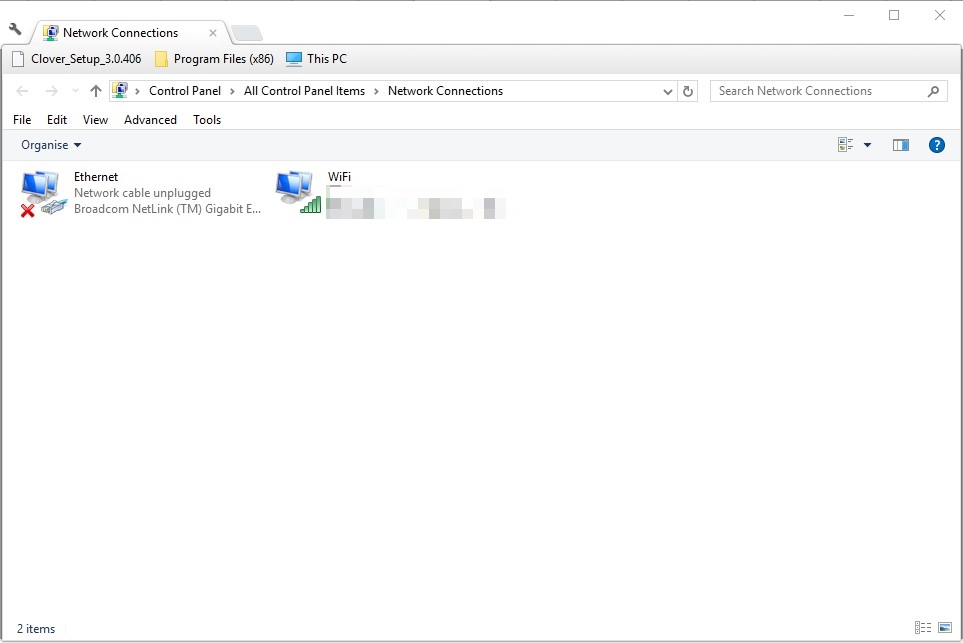
Right-click your Wi-Fi network, and select Status to open the WiFi Status window. Press the Wireless Properties button on that window. Click the Security tab on the properties window to open the Wi-Fi password text box as below.
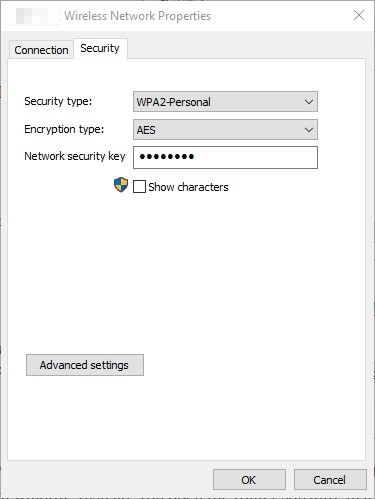
Now click the Show characters option to show the password. Click within the security key text box to edit the password as required. Press the OK button to close the window.
Edit Network Name and Password with Router Software
You can also change a Wi-Fi SSID and password with your default router software. All routers have built-in software that doesn’t have its own window. Instead, you open the router software in a browser by entering an IP address in URL bar. Router software includes a variety of network settings.
First, you’ll need an IP address to enter in a URL bar. You can find your IP address with the Command Prompt. Press the Win key + X hotkey to open a shortcut menu. Select Command Prompt to open the window below.
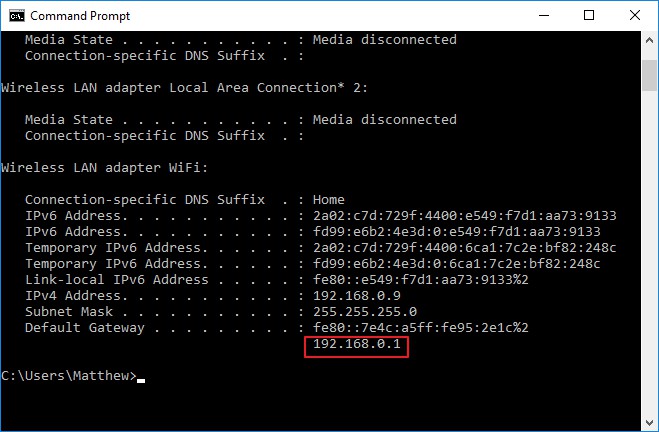
Enter ‘ipconfig’ in the Command Prompt’s window. The Command Prompt will list Ethernet adapter details when you press Enter. The IP address, highlighted in the shot below, is at the bottom of the listed Ethernet adapter details under Default Gateway. So long as the Prompt’s Quick Edit Mode option is selected, you can copy the IP address with Ctrl + C.
Next, open a browser in Windows. Enter, or paste, the IP address in the browser’s URL bar; and press the Return key. That will open your router software as below.
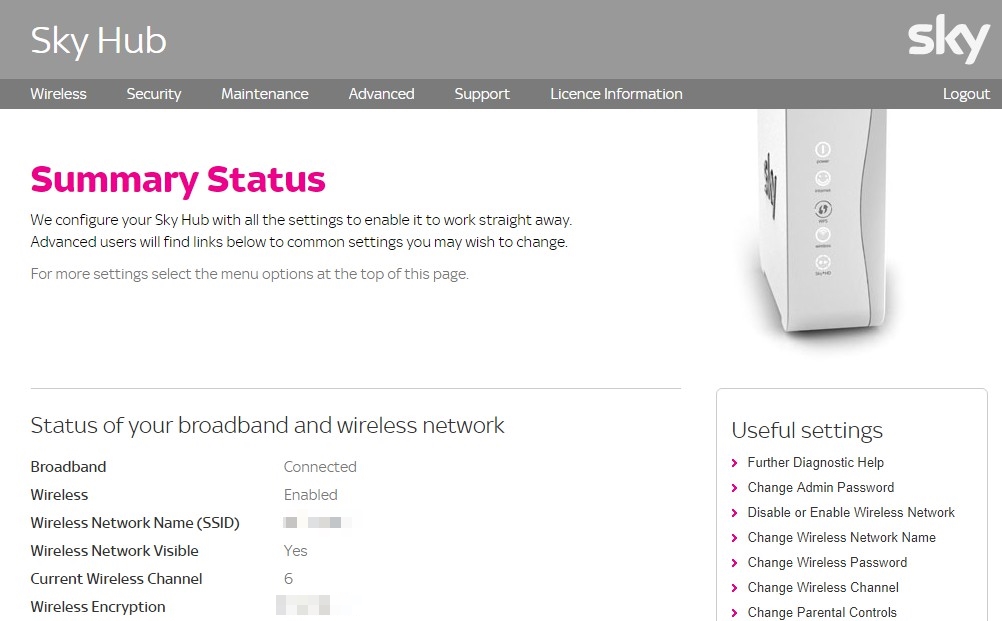
You’ll also need to log in before you can adjust any settings. An authentication box will open when you click links on the page. Your router’s manual will include the software’s login details.
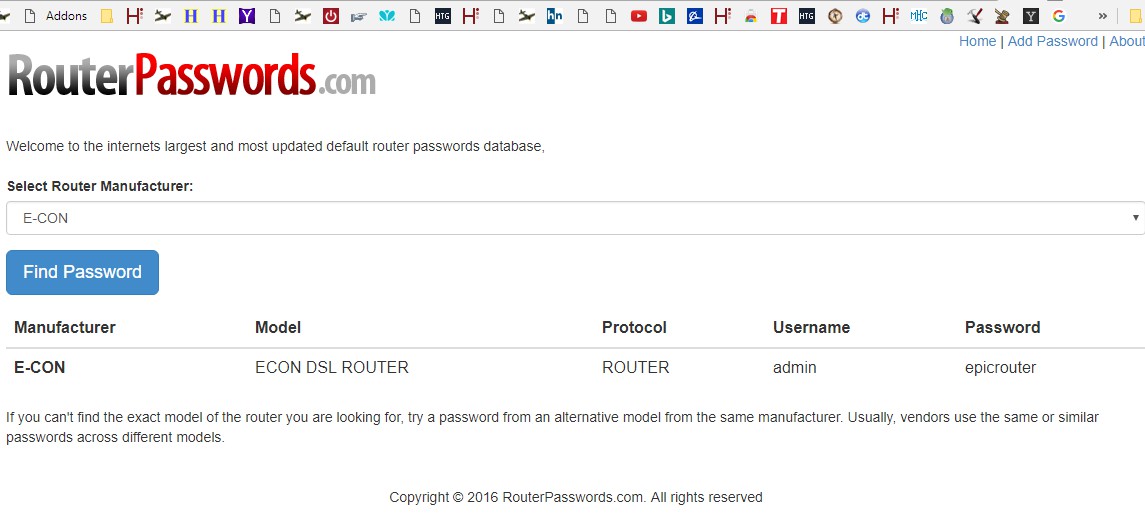
If you’ve lost the router manual, this web page might come in handy. That site provides default login details for router software. Select a manufacturer from the drop-down menu. The page will provide login details when you press the Find Password button. Enter those login details in the router software’s authentication box.
You’ll probably find your network name and password listed on a Wireless tab within the router software, but settings pages vary. Select the Wireless tab, and then scroll down to the SSID field. Enter a new network name in the SSID text box.
Then scroll to your password, which will probably be listed under WPA2-PSK, password, network key or something along those lines. Edit the password in the text box. Press the Apply or Save button to save the new settings.
So that’s how you can change your Wi-Fi SSID and password in Windows 10. Adjusting those details might also disconnect your laptop or desktop from the network. As such, you might also need to reconnect with the new SSID and password.