How to Enable Remote Desktop in Windows 10
Remote Desktop is a Windows tool that enables users to connect and access their desktops or laptops with alternative devices. For example, you could access your Windows 10 desktop with your tablet. This can come in handy for quickly checking documents that you haven’t saved to USB sticks or cloud storage; and the Remote Desktop tool is also essential for IT support. Remote Desktop is not enabled by default in Windows, and this is how you can switch it on to enable other devices to connect with your PC.
Remote Desktop is not included in all Windows editions. The tool is included in Windows Enterprise, Pro and Ultimate. The Home edition of the platform only includes the Remote Desktop client with which you can log in to other desktops or laptops. However, the Home edition does not have the server part of Remote Desktop. As such, you can’t connect to Windows Home PCs remotely. This Tech Junkie article compares the Windows 10 Home and Pro editions in more detail.
Enable Remote Desktop in Windows 10, 8.1 and 8
You can enable remote desktop in Windows 10, 8.1 and 8 by pressing the Win key + X hotkey and selecting System on the menu. Then click Remote settings to open the window shown in the snapshot directly below. The window in the screenshot doesn’t have any Remote Desktop options, but it would do in Windows 10 Enterprise.
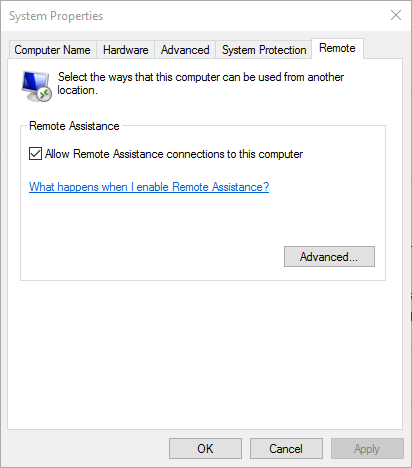
If you have the Windows 10 Enterprise edition, you can now select an Allow remote connections to this computer option from the Remote tab. Also click the Allow Remote Assistance connections to this computer check box if it’s not already selected. Press Apply to confirm selected settings.
You can also press a Select Users button to choose non-administrative users to grant remote access rights to. Click the Add button and then enter a user name to grant Remote Desktop access rights to. Click the OK buttons on the Select Users and Group and System Properties windows.
Enable Remote Desktop in Windows 7
You can also switch on Remote Desktop in Windows 7 from the same System Properties window. However, as Windows 7 doesn’t have a Win + X menu you should right-click the Computer button on Start menu and then select Properties. Then select Remote settings to open System Properties.
The options on Windows 7’s Remote tab aren’t entirely the same. You can select either Allow connections from computers running any version of Remote Desktop or Allow connections only from computers running Remote Desktop with Network Level Authentication. Selecting the middle option will enable remote connections from any Windows version. The latter option only enables connections from Windows 7 or later platforms. Select an option there and click Apply > OK to close the window.
In addition, check the Windows Firewall settings aren’t blocking Remote Desktop. Open the settings by entering ‘firewall’ into the Cortana or Windows 7 search box. Select Windows Firewall and click Allow an app to open the window shown directly below.
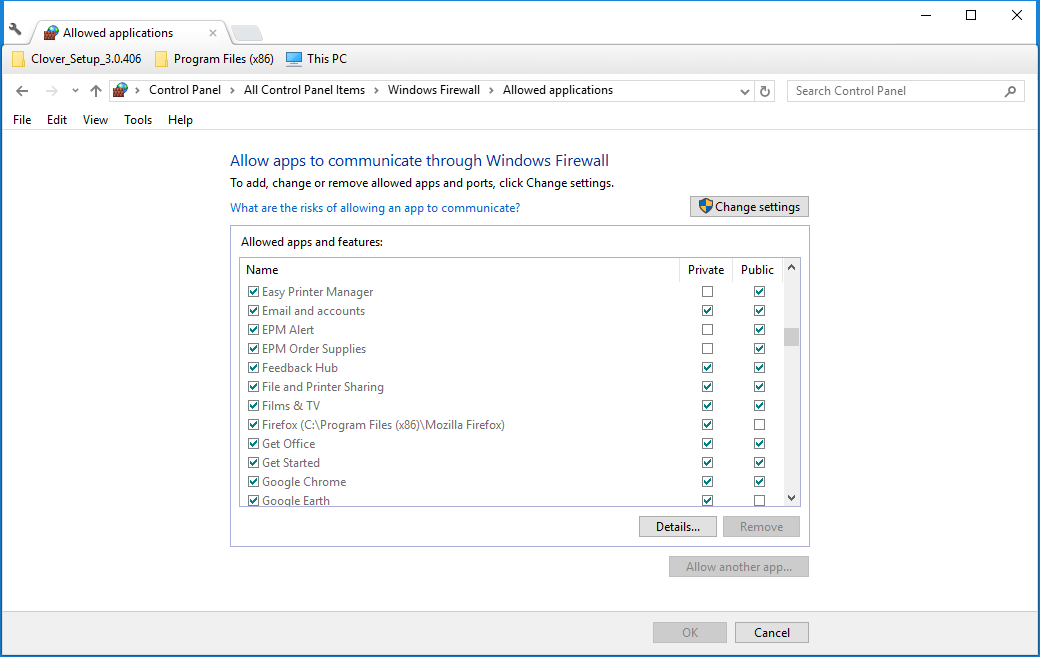
Scroll to Remote Desktop on that window. If the Remote Desktop’s check boxes aren’t selected, the firewall will block it. So press the Change settings button and select both the Remote Desktop’s check boxes if they aren’t already selected. Click OK to apply settings.
IP Address Details
Now you can remotely access the Windows PC either via the internet or a private network. However, in both cases you’ll still need to have IP address details to enter in the Remote Desktop software on client device. To set up a remote connection within a private network, you’ll need a local IP address for the PC you enabled Remote Desktop on. Or you’ll need a public IP address for the Windows PC you’re connecting with via the internet.
You can find your public IP address with Google. Open Google in the laptop or desktop you need the IP address for. Then type ‘what’s my IP address’ into the search box, and press the Google Search button. The search engine will list your public IP address at the top of the resulting page.
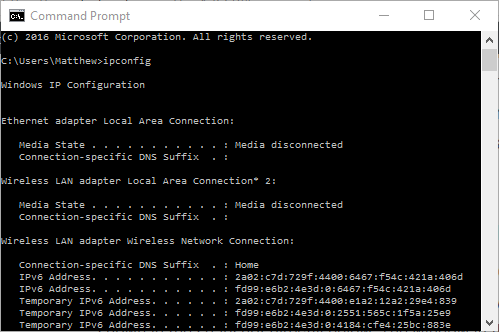
To find the local IP address, press the Win key + R and enter ‘cmd’ to open the Command Prompt. Then enter ‘ipconfig’ into the Command Prompt and press the Return key. The Command Prompt will show you IP details as below. Your IP address is listed there as IPv4 Address.
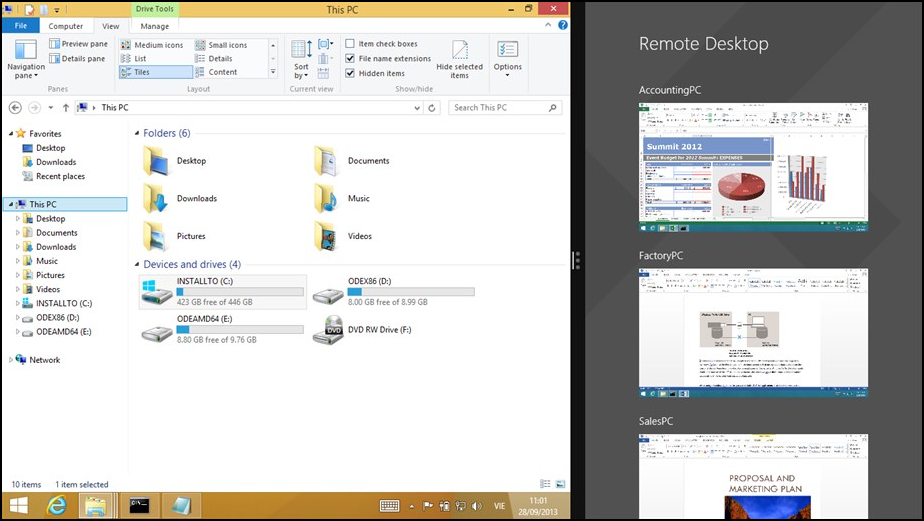
Now you have enabled Remote Desktop on a Windows PC and have the required IP details, you can set up a client device. That can be done with numerous remote desktop apps and software such as TeamViewer. Remote Desktop is another app you can add to a Windows client device to access the host PC with. Enter the required IP details into the software, and you can then log in to the PC desktop with the client device.