How to fix error 0xc1900200 in Windows 10
Now Windows is a service, Windows Update plays an even more vital role in the continued health and development of your computer. As anyone with a history with Windows will tell you, this isn’t exactly a positive thing. While Windows Update has improved in leaps and bounds, it still isn’t flawless in its execution. Just ask anyone who has experienced error 0xc1900200 in Windows 10.
Error 0xc1900200 is usually seen when you first upgrade to Windows 10 from a previous version or when you are applying a feature update such as the Fall Creator’s Update. Chances are that you will see the error partway through the update and will be presented with the blue screen and ‘Oops something went wrong’. Error code 0xc1900200 will be underneath.
The error is linked to insufficient hardware resources for the update but can actually be caused by other things. I know of three ways to fix this. They are; to restart Windows Update, check the disk partition is large enough and to install an updated version of Windows from an ISO. All should have you up and running within an hour or two.
Reset Windows Update to fix error 0xc1900200 in Windows 10
Resetting Windows Update is not the usual fix for this particular error but as it is faster and less intrusive than the other two solutions it is worth trying first. If you have read my other tutorials on Windows Update errors, you will already be familiar with how it works.
- Right-click the Windows Start button and select Command Prompt (Admin).
- Type ‘net stop wuauserv’ and hit Enter.
- Type ‘net stop cryptSvc’ and hit Enter.
- Type ‘net stop bits’ and hit Enter.
- Type ‘net stop msiserver’ and hit Enter.
- Type ‘Ren C:WindowsSoftwareDistribution SoftwareDistribution.old’ and hit Enter.
- Type ‘Ren C:WindowsSystem32catroot2 Catroot2.old’ and hit Enter.
- Type ‘net start wuauserv’ and hit Enter.
- Type ‘net start cryptSvc’ and hit Enter.
- Type ‘net start bits’ and hit Enter.
- Type ‘net start msiserver’ and hit Enter.
This will stop Windows Update and allow you to remove the update files. Restarting these services forces Windows Update to start all over again, hopefully without the error this time.
Check disk partition to fix error 0xc1900200 in Windows 10
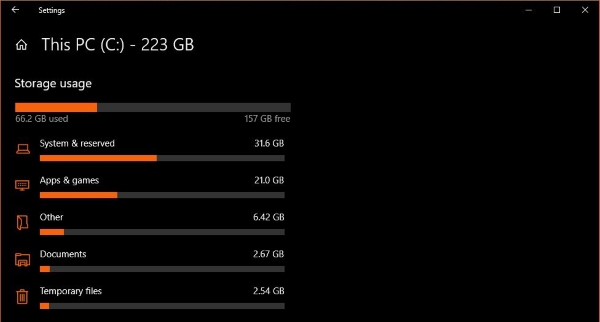
One common cause of the error is when the EFI or System Reserved partition is too small. Ideally, the partition should be around 500MB in size but occasionally Windows Update gets its math wrong. You cannot resize a System Reserved partition within Windows so you will have to use a partition tool to change it. There are lots of them out there so I won’t recommend a particular one but some are free and will get the job done.
- Find and download a good partition manager and install it into your system.
- Perform a full system restore before making any changes.
- Select the EFI or System Reserved partition and expand it to 500MB.
- Reboot your system and retry the update.
It’s difficult to list the exact steps to expand the partition as each tool does it differently. Make sure whatever tool you use can modify this particular partition as it has different permission requirements to any other disks you might have.

Use an updated Windows 10 ISO to fix error 0xc1900200 in Windows 10
If Windows Update fails terminally for any reason, you can go to Microsoft and download the latest ISO image with all the updates included within it. This is more useful for larger feature updates or for updating computers from previous versions. Either way, if you’re seeing error 0xc1900200, this is a simple way to fix it. Microsoft provides everything you need to get the job done in the Windows media creation tool.
You will need an empty USB drive of at least 5GB to make this work. Backup all data you cannot afford to lose before doing this. It should work fine but there is a theoretical chance it may overwrite files. Better safe than sorry!
- Visit this page on the Microsoft website and download the media creation tool.
- Insert your USB drive into the computer.
- Start the Windows media creation tool.
- Select Create installation media in the first blue window and hit Next.
- Select the language, edition and architecture and hit Next. This may not need changes as the tool should select the correct options automatically.
- Select USB Flash drive in the next window and hit Next.
- Select your drive in the next window and hit Next.
- Allow the tool to complete its work.
- Reboot your computer and select to boot from USB. You may need to go into your UEFI/BIOS to enable this option.
- Allow the Windows installer to load.
- Select Install Windows and select to save your personal files.
- Follow the installation wizard.
All three of these methods can fix error 0xc1900200 in Windows 10. Got any other solutions? Tell us about them below if you do!