How to Install SteamOS on PC
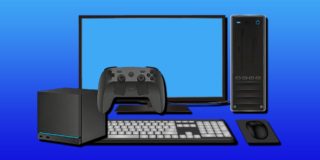
SteamOS is Valve’s own operating system that’s optimized for games. It’s the default operating system for the company’s Steam Deck and is a Linux-based OS. While SteamOS is built for the Steam Deck and other portable gaming devices like the Lenovo Legion Go S, many users have managed to install the software on their PCs, albeit with differing levels of success.
In this article, we’ll guide you through the process.
Before You Install
With Steam’s official release of SteamOS, it’s now possible for users to grab the OS files and install them on other devices besides the Steam Deck. If you want to try and install this operating system on a PC, there are a few things to note before doing so:
- SteamOS was never designed with PCs in mind. Although you can install it, you should be prepared for some wobbly performance in certain areas and UI that caters more to portable game systems.
- SteamOS does not support Nvidia graphics cards and drivers. If you have an AMD (integrated or otherwise), you’re good to go. If not, it may not work properly. Ensure that your GPU is supported by updates and drivers.
- Installing SteamOS on a PC is done entirely at your own risk. Be sure that you’re doing a clean install and aren’t putting any valuable data at risk.
- The main hard drive on your computer needs to be an NVME SSD and not SATA. You can have an additional SATA drive, but it can’t be your main one.
- Your processor (CPU) should either be Intel or AMD.
Install Steam OS on PC
The nice thing about installing SteamOS (if everything goes well with your hardware) is that the process is automatic. All you need to do is load the system image onto a bootable device, such as a USB or DVD.
Format Your Bootable Device
For a USB (probably the easiest to use), you need to ensure that the device is properly formatted beforehand. Here’s what to do:
Step 1. Insert the blank drive. You’ll need to format it to run in BIOS. Open up “This PC” and right-click the drive.
Step 2. Click the “Format” option in the context menu that pops up.
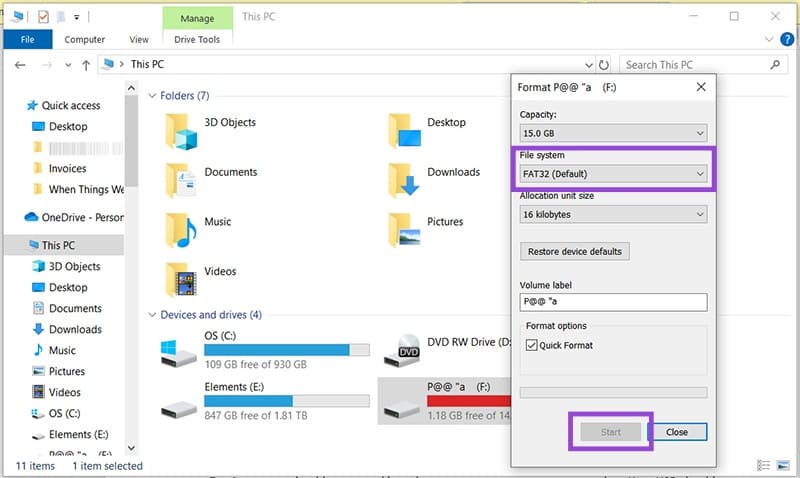
Step 3. Ensure that “File System” is set to “FAT32 (Default)” and press “Start.”
Step 4. Click “OK” on the warning window and allow your drive to be reformatted.
It’s also possible to create bootable drives through third-party software, including the free and open-source Rufus.
Downloading the SteamOS Installation Image

The next step is to download the image that you’ll add to your bootable drive. Steam has made these files accessible to all, and the SteamOS Installation file and SteamOS recovery images are the same. You can find this file on the Steam site and easily download it.
Accept the terms, and the archive file will start downloading. Once it’s done, extract the file and add it to your drive.
Installing the OS
With everything in place, it’s time to begin the installation. Here’s how:
Step 1. Turn off your PC. Insert your bootable device into your PC and turn it on. Press the BIOS key (the location varies depending on the make of the computer, but is usually a Function or Delete key) to enter the BIOS.
Step 2. Navigate to Secure Boot and ensure that it’s disabled.
Step 3. Save your changes and select “Exit.”
Step 4. The PC will then begin to boot from your bootable device.
Step 5. Because SteamOS is Linux-based, your PC will boot into Linux. Depending on your device, this might be smooth or problematic.
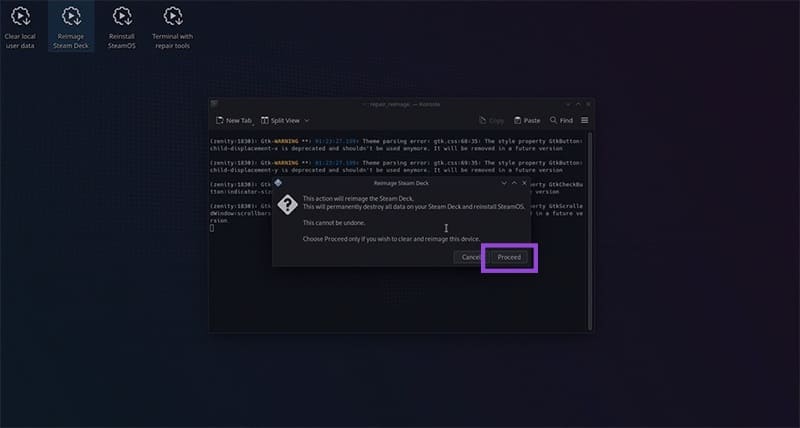
Step 6. Once in the graphical interface, you’ll see the icon “Reimage Steam Deck.” Click it.
Step 7. Click “Proceed” and SteamOS will install, overriding all other data on your hard drive.
Step 8. Once done, your PC will reboot into SteamOS. After this, if the installation has been successful, you can update SteamOS and begin to install and run games.