


How to Adjust White Balance in Photos on the Mac
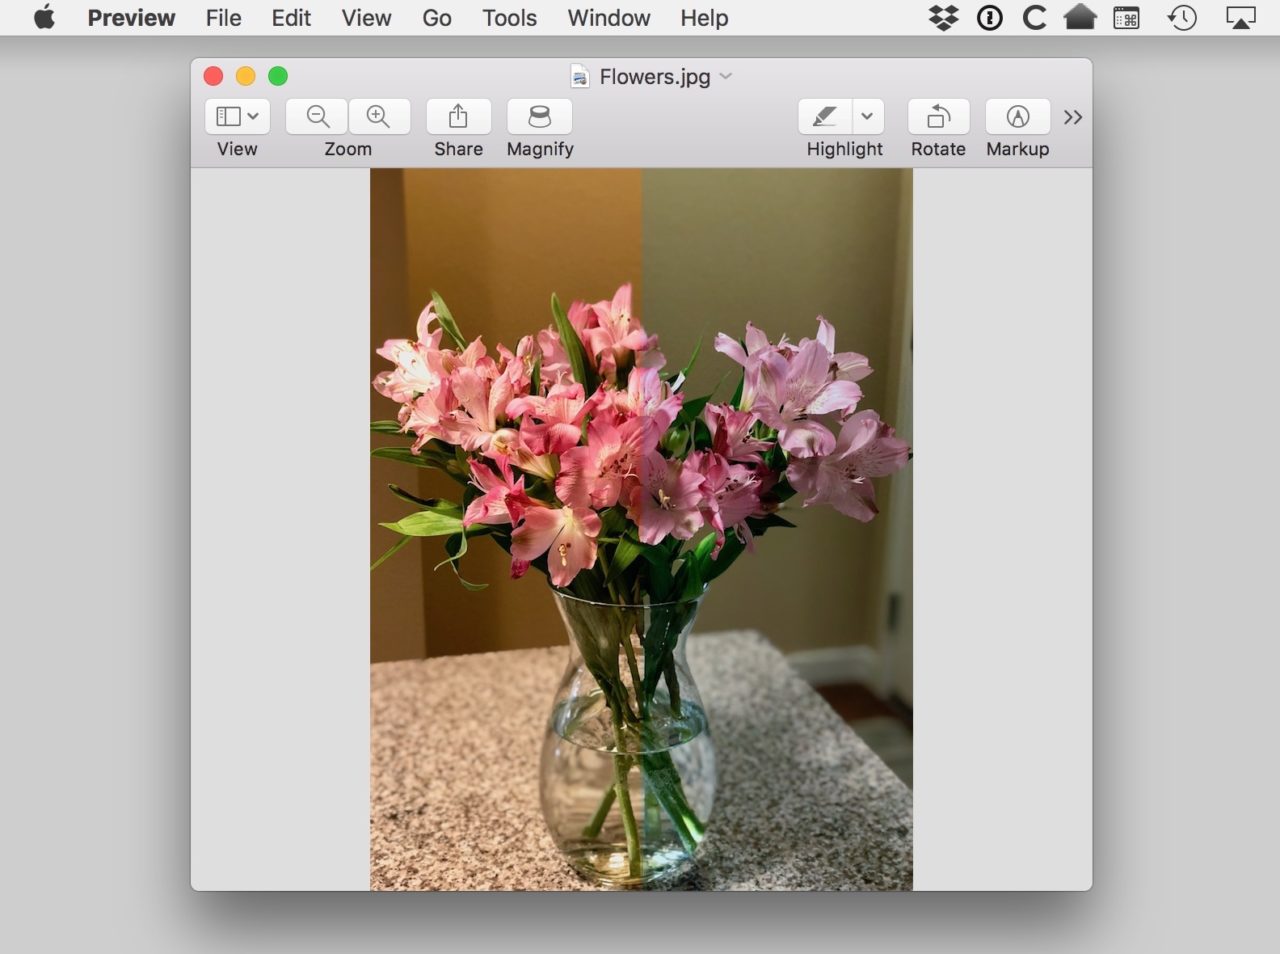
The Mac’s Photos app has a ton of nifty built-in editing tools, including one that you can use to adjust the white balance on images you’ve taken. You see, pictures can have what’s called a color cast depending on the light source where they were taken. For example, here’s a picture I took of some flowers. On the left is the straight-out-of-the-camera shot; on the right, I’ve corrected the orange color cast using Photos’ tools.
It’s simple to do this yourself, too, which means that you have the power to make your images look more professional—and more realistic! To get started, open the Photos app (it lives in your Applications folder), and then double-click on the image you’d like to correct within your library.
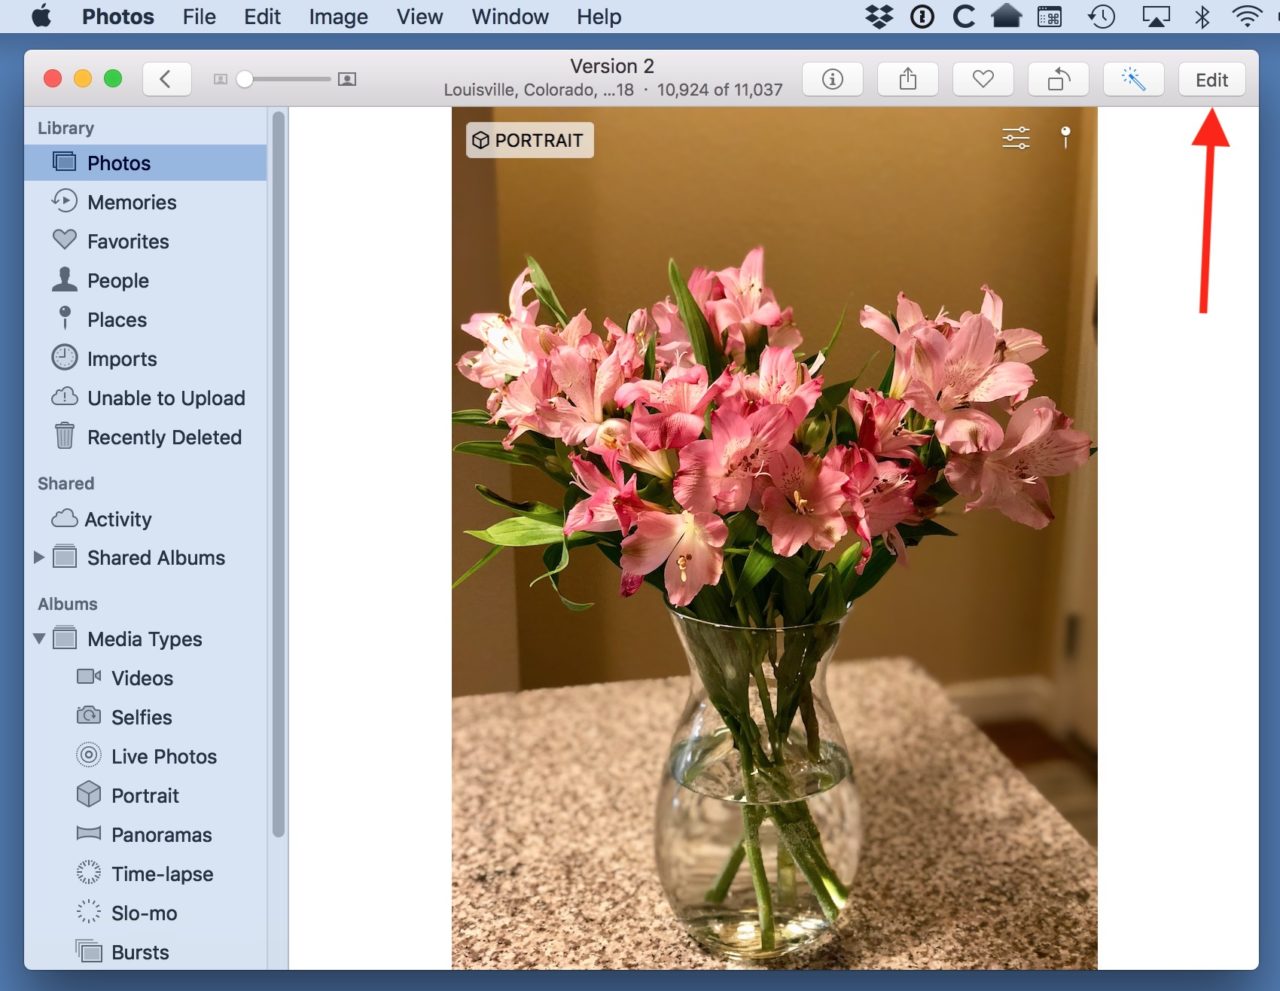
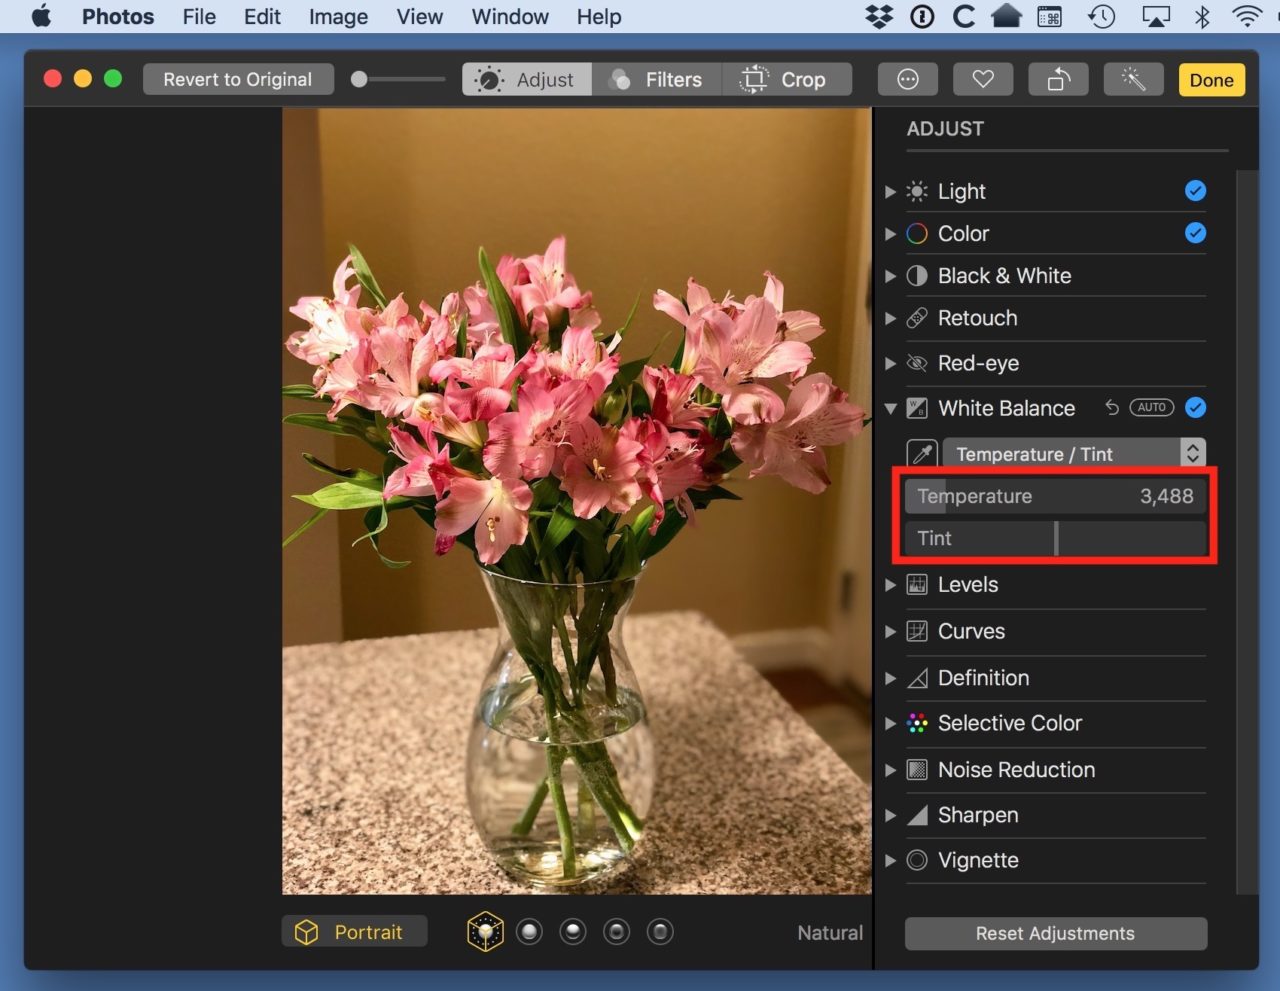
When you do so, you’ll see that Edit button I’ve called out above, so click there. Within editing mode are all of the tools you can use on your images, including White Balance. Click on the disclosure triangle next to that option to see all of its controls.
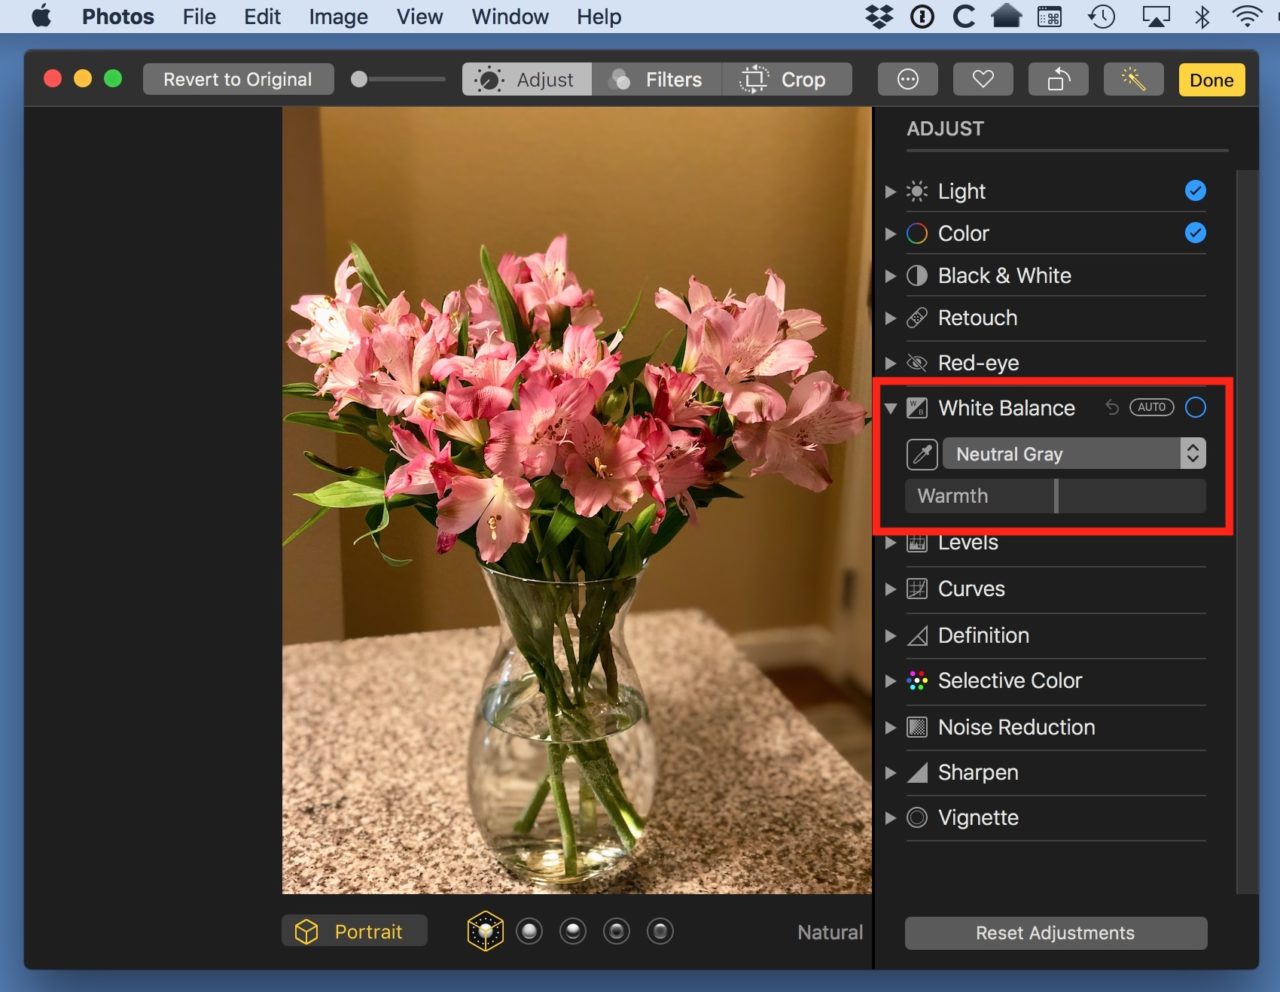
The available choices under White Balance include a “revert” arrow, which is at the top of the box shown above; an “Auto” button next to the arrow, which you can click to have Photos attempt to fix the white balance for you; and a drop-down menu in the middle, from which you can pick the starting point to adjust your white balance.

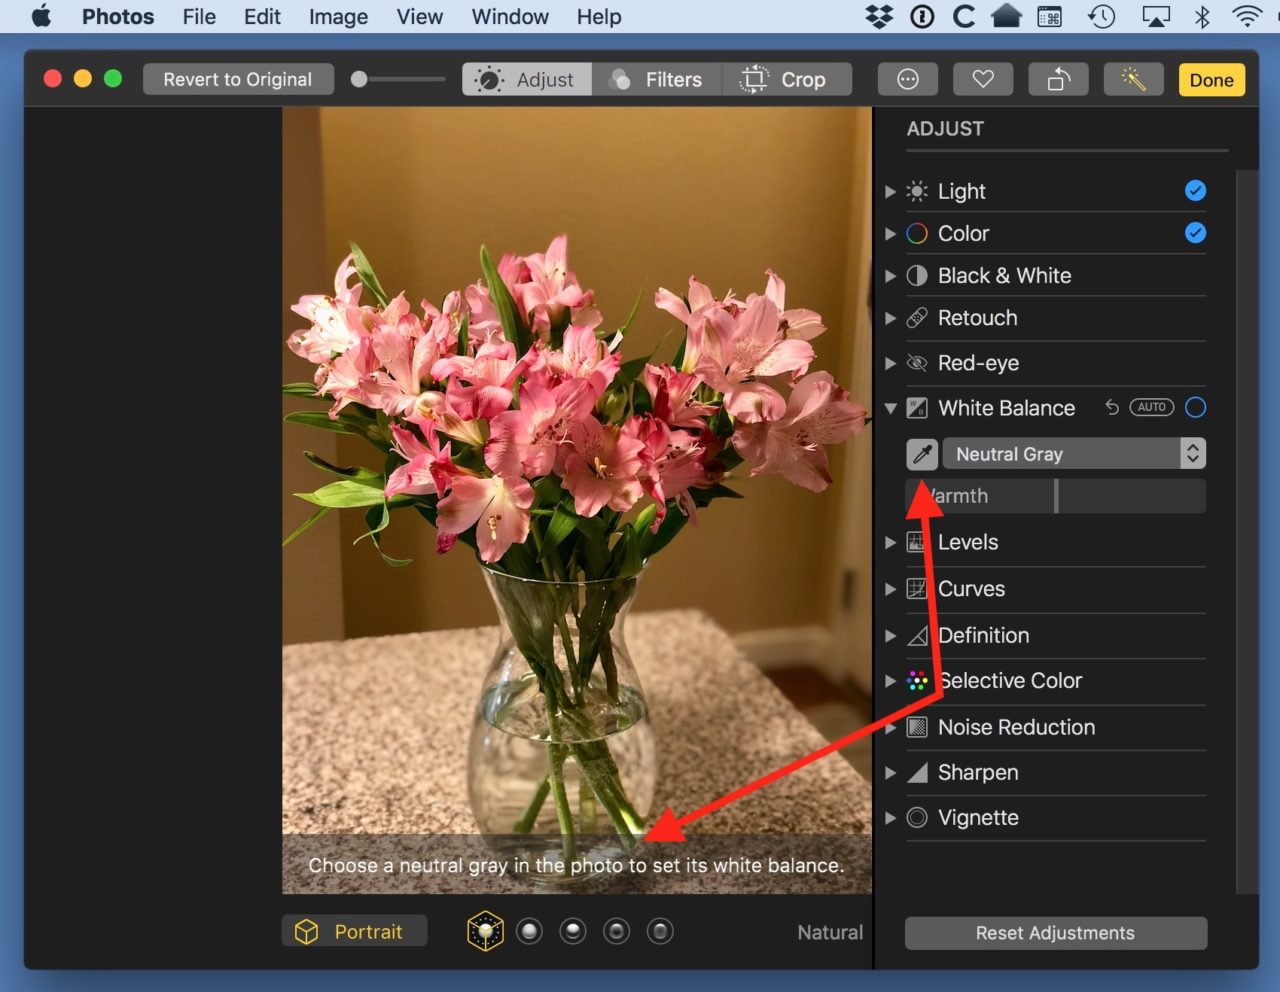
As you can see, you can select a neutral gray to use to balance your image, a skin tone (handy if your main subject is a person), or the “Temperature/Tint” option, which you can use to manually drag sliders for micro-adjustments to your photo.
If you pick either “Neutral Gray” or “Skin Tone,” though, you’ll then click on the tiny eyedropper icon. After that, Photos will ask you to click in your image on either a neutral gray point or a skin tone, depending on which method you’d selected from the drop-down.
Follow those directions and click an appropriate point in the picture, and it’ll adjust the color cast of the photo based on what you clicked. So here’s what happened when I clicked on the countertop in my image, which is fairly close to neutral gray in real life:
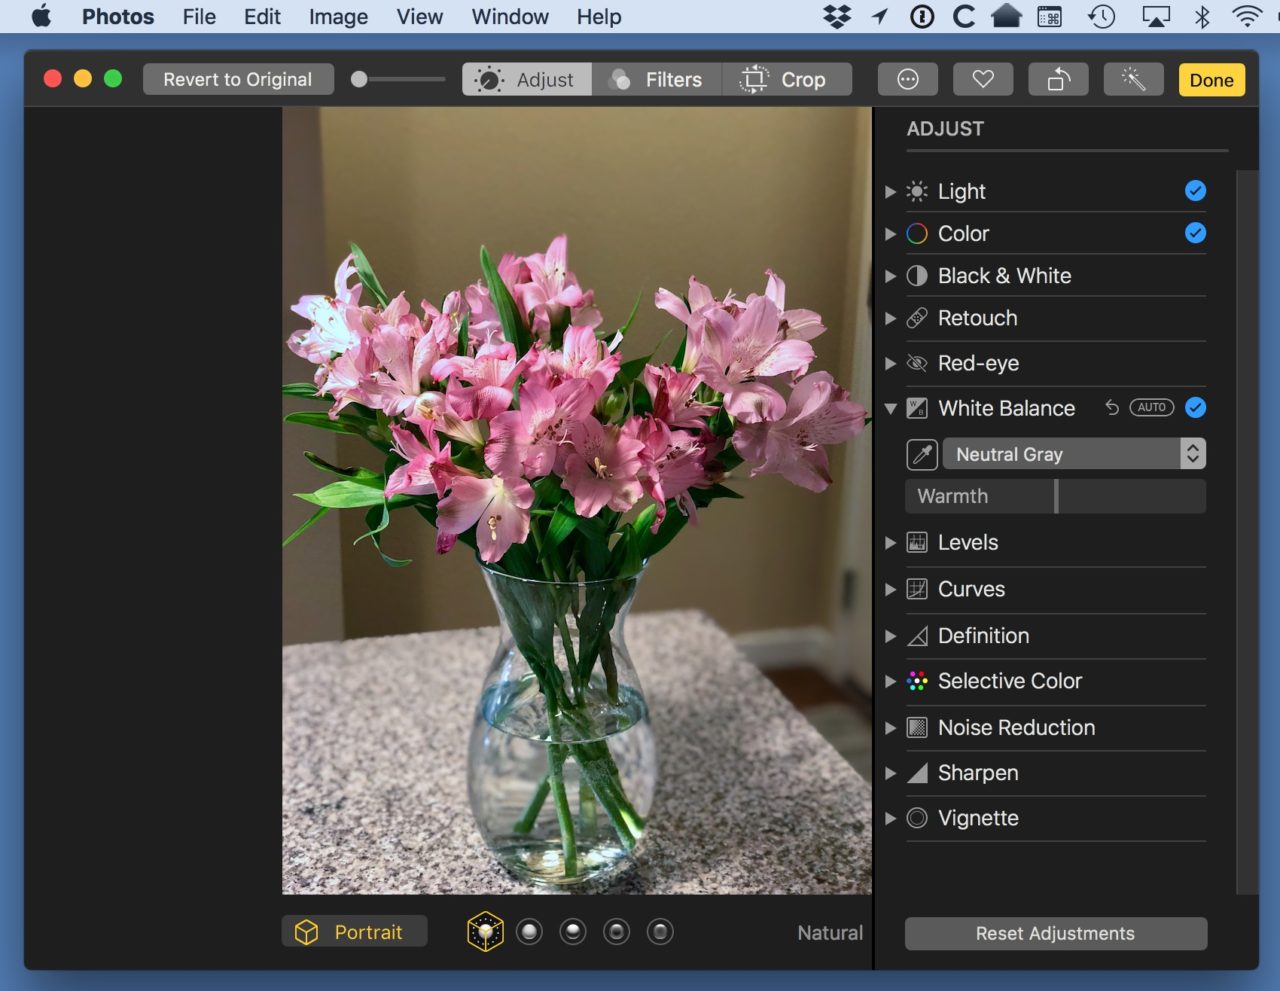
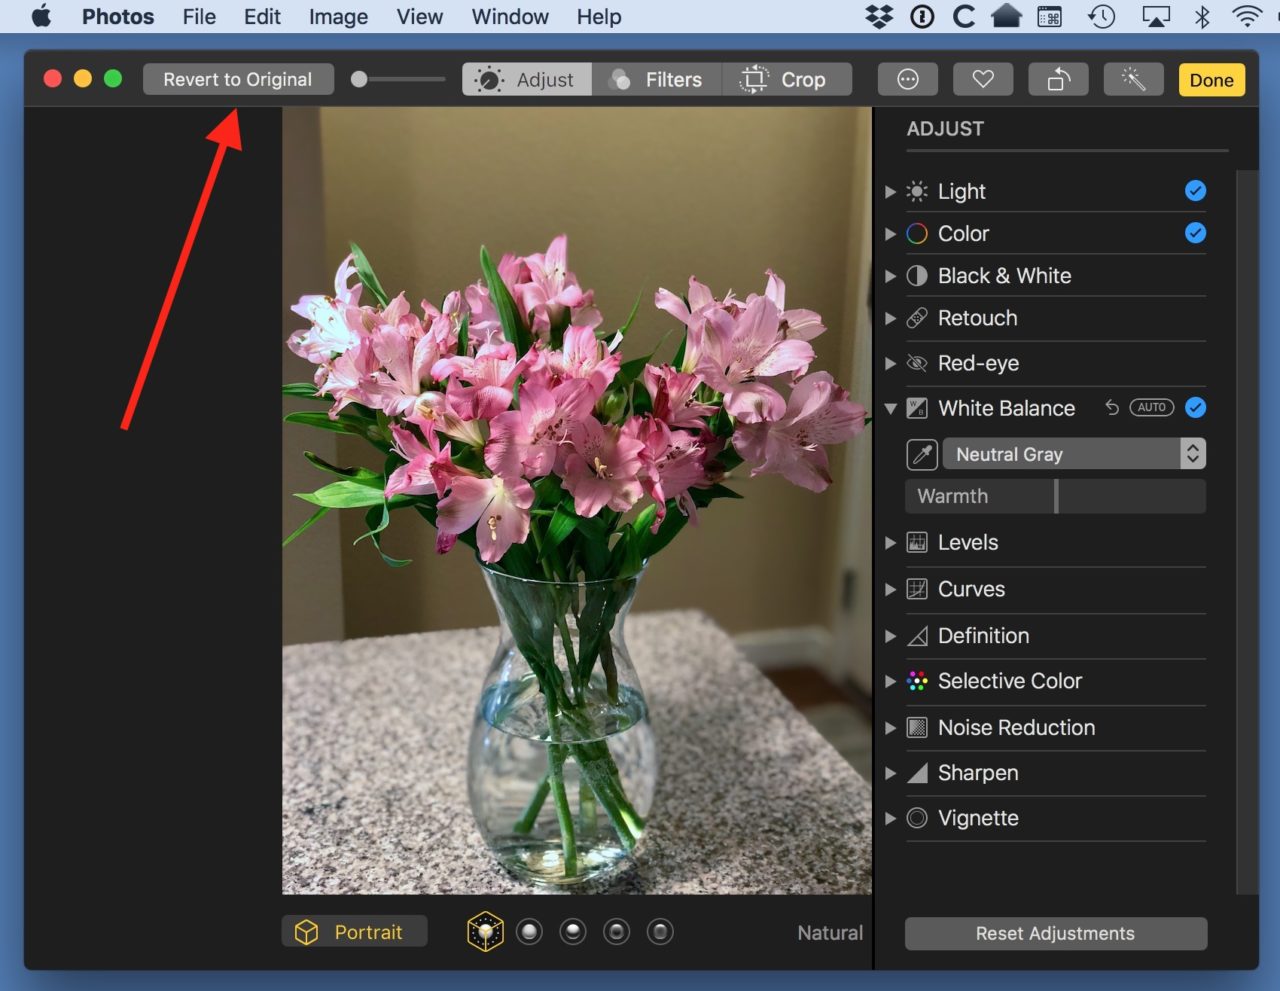
Photos used that gray as a reference point to remove the orange-like color cast from my flowers! Yay! If you’re not satisfied with the results, though, feel free to go back and click the eyedropper icon to re-select a reference point, but when you’re happy, just click “Done” at the top-right corner to save things. And be aware that at any point you can come back to edit mode for your picture and choose “Revert to Original” if you find that you don’t like your adjustments.
This is a simple way to make your images look better, especially if you took a whole bunch of them under weird lighting that you’d like to fix. No, your kid’s school play doesn’t have to look like it happened under blazing blue fluorescent lights. Even if it did! Fix those problems using Photos, friends.


