How to Configure Per Account Email Signatures on the iPhone and iPad

With iOS, Apple’s mobile operating system for the iPhone and iPad, you can set up email signatures separately for each of your email addresses. This lets you keep the famous “Sent from my iPhone” as your personal email signature, but use something more professional or informative for your work account.
So let’s go over how to configure separate email signatures on the iPhone and iPad for each of your email accounts!
Adding Email Signatures
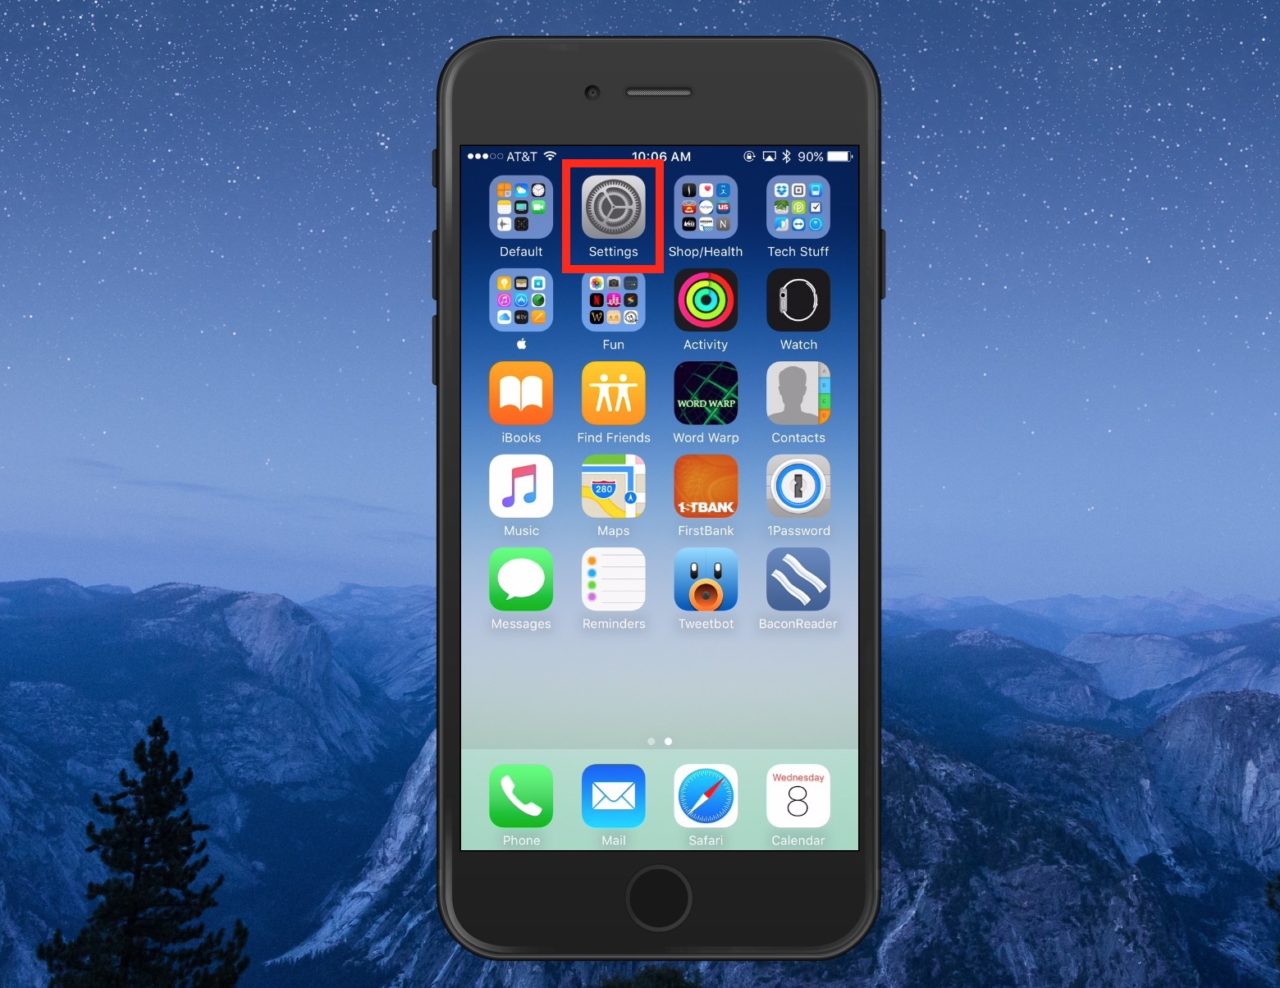
The first step in configuring separate email signatures is to grab your iOS device and launch the Settings app (it’s the grey gear icon that’ll be floating around somewhere).
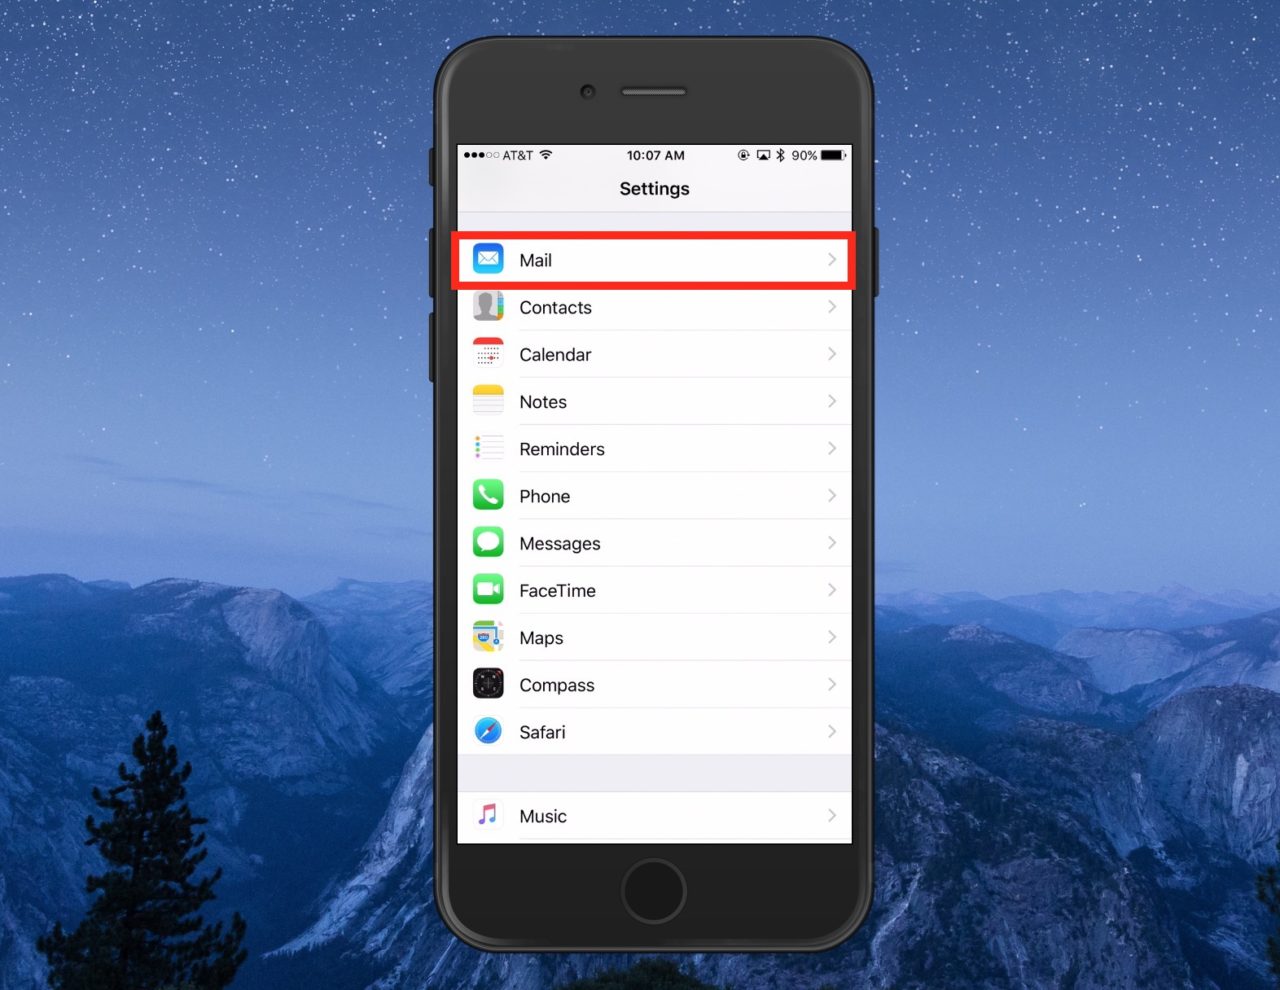
From the Settings screen, scroll down until you see Mail and tap to select it.
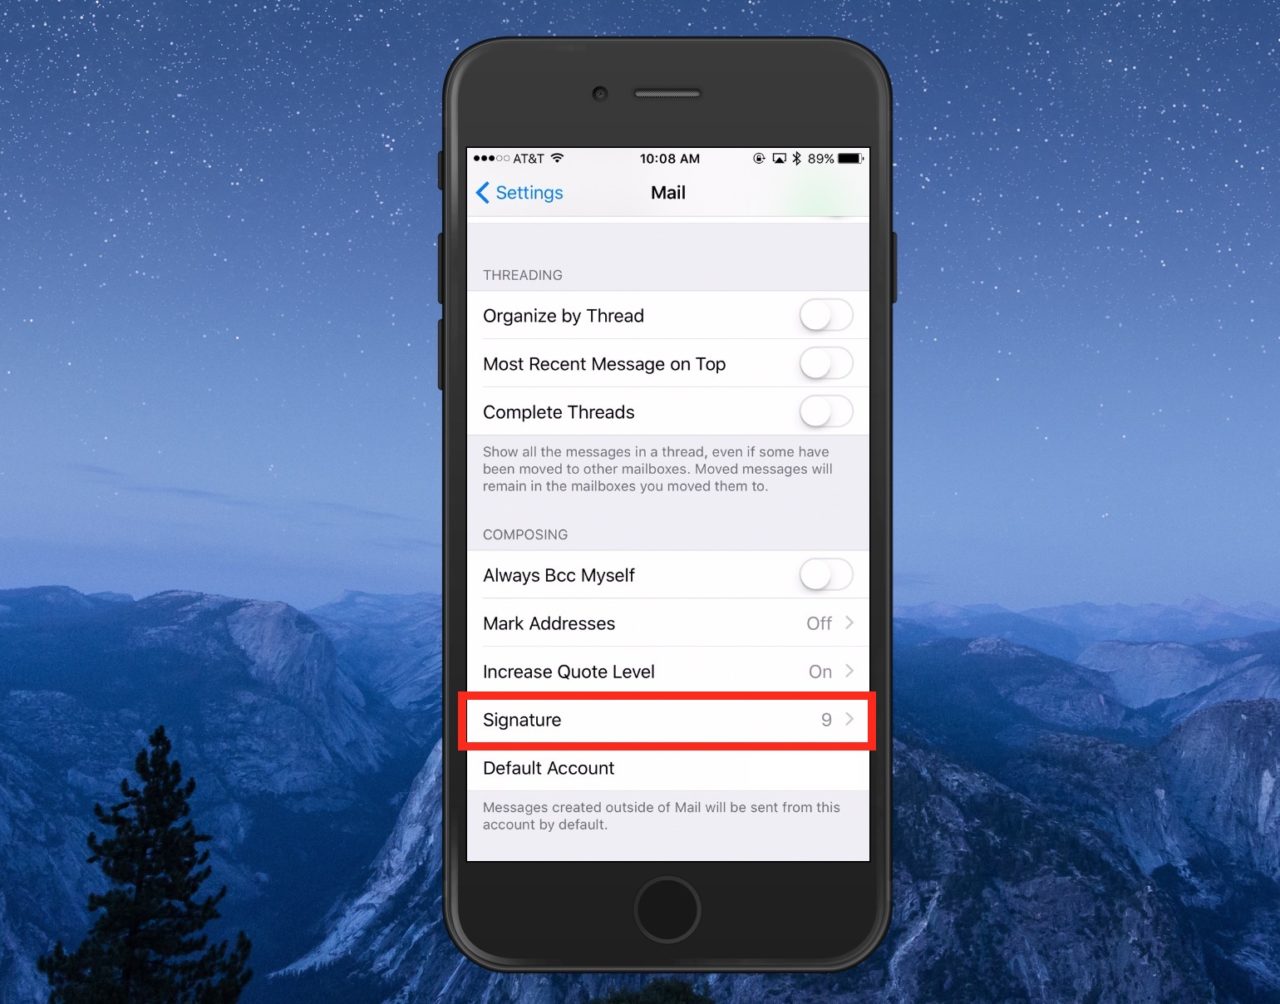
In the Mail Settings, again scroll down to the “Composing” section and select Signature. The number to the right of Signature is the total number of email signatures currently configured on your iPhone or iPad. As you can see, I’ve got nine of them set up! Whoa.
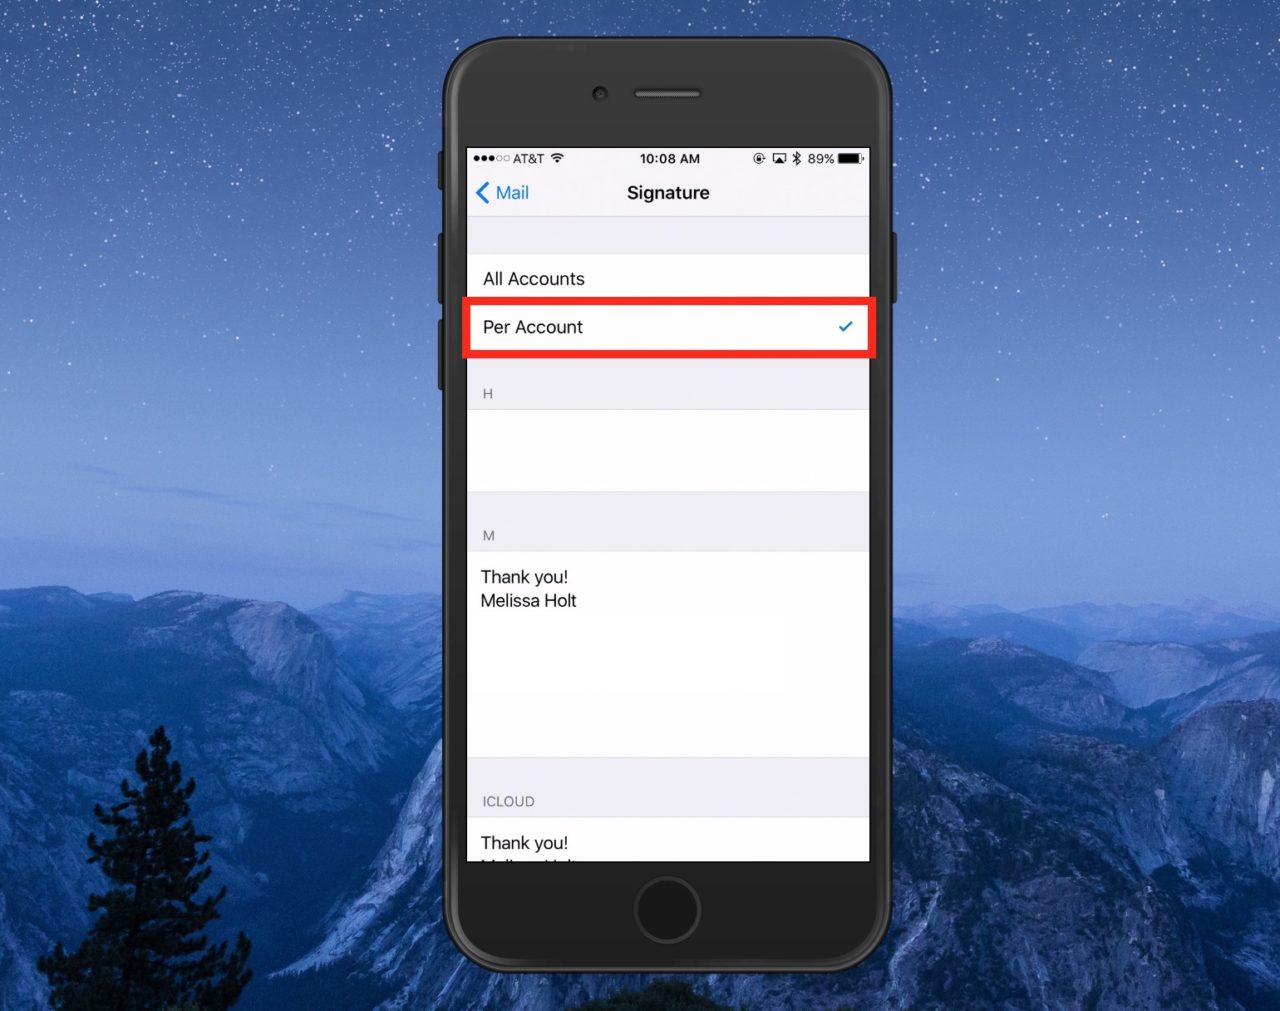
At the top of the Signature Settings is the option which lets you choose between having a single email signature for all of your email accounts (All Acounts), or individual email signatures for each of your accounts (Per Account). Select Per Account and a series of blank boxes will appear for each of the active email accounts on your device. The accounts will be listed according to the name you gave them when setting them up and not necessarily the full email address, so be careful not to mix things up and add the wrong signature to the wrong account.
To add signatures, just tap in the white box below the desired email account and type or paste the information you want to include. Your email signature can be as brief or detailed as you want, from just your name to a full list of job title and contact information with a legal disclaimer to boot!
In my case, I have one email address that I use for online purchases only, and that’s the one shown at the top. Since I never need to send any personal contact info when I use that email address, I’ve left it blank. Alternatively, the account listed second is one of my work addresses, so I’ve typed in way more data there (which, of course, I’ve redacted for the purposes of this tip! But you get the idea.)
Using Your Custom Email Signatures
Once you’re done customizing your iPhone email signature, just hit the Home Button to close the Settings app. Your changes will be saved automatically. To test out your new email signature, launch the Mail app and compose a new message from one of your accounts. The email signature you configured for that account will be automatically added at the bottom when the New Message window appears.
If you’re not sure which account you’re currently using, or if you’d like to send your email from one of your other accounts, tap the Cc/Bcc field to expand all of your email composition options, and then tap in the From field to select another one of your email accounts.
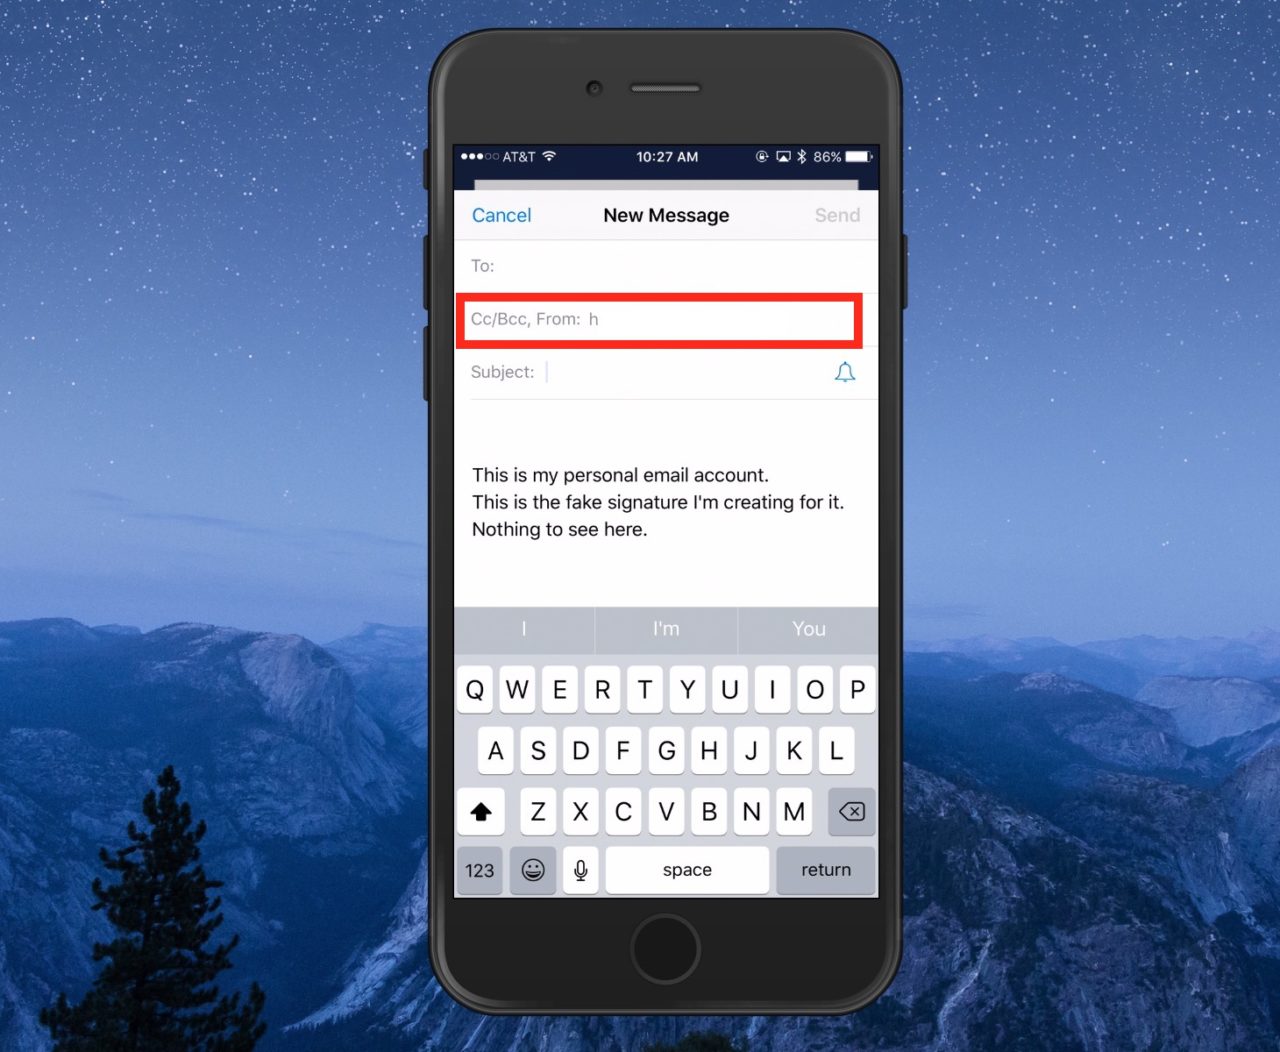
That’s just the perfect signature, isn’t it? I may just leave that in there forever.
As you create new emails from your different accounts, the custom email signature you configured for each will automatically appear at the bottom of your message. You can go back to Settings > Mail > Signature at any time to change or add information to your email signatures, and you can switch back to having a single email signature for all accounts by tapping All Accounts at the top of the Signatures Settings screen.
Finally, if you want to include a set block of text in just some emails, and you don’t want to type it all in every time, considering using the Mac’s built-in text replacement feature, which will let you quickly add commonly used sentences or paragraphs with just a few keystrokes.