How To Record the Screen / Screencast in Windows 10
Unbeknownst to all, Windows 10 has a built-in screen recording feature which allows you to record a desktop or application video. This feature can come in handy for software demonstrations or recording games from your desktop.
There are a few software packages available for screencasts, and this is how you can record one with the freeware package called VClip.
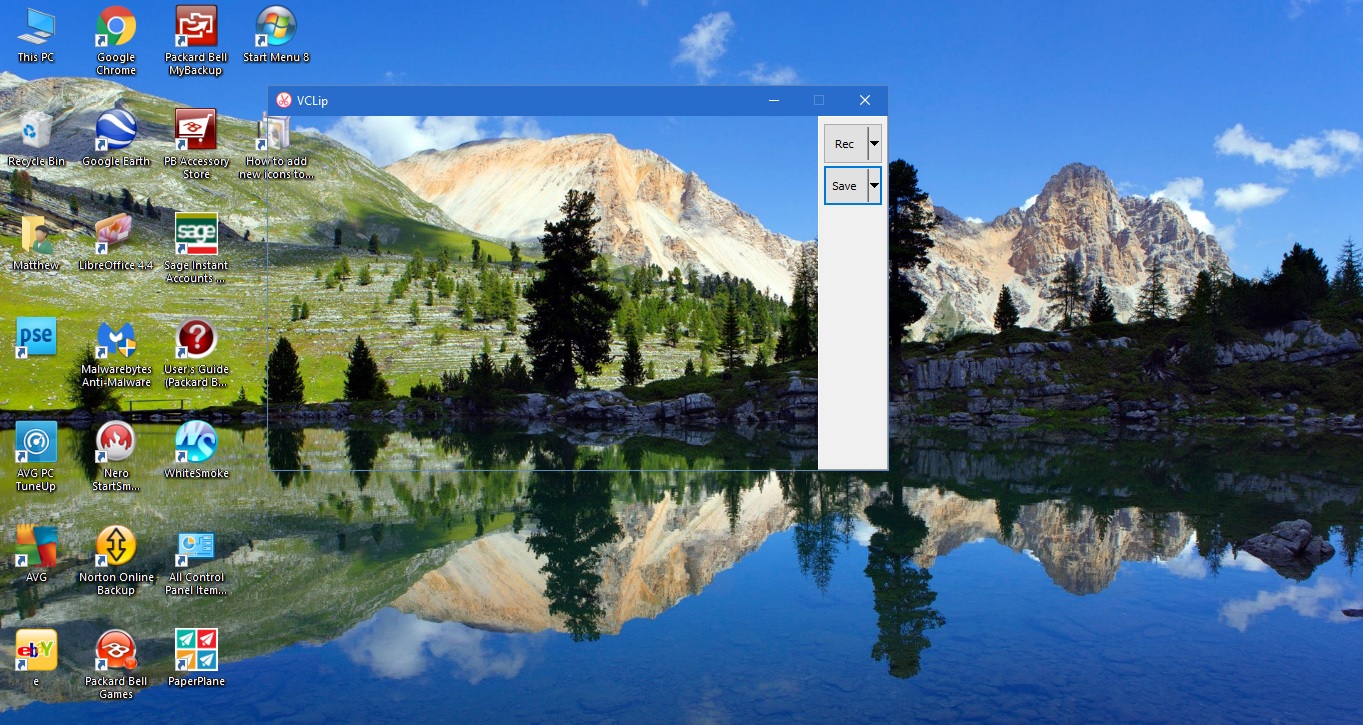
First, open this page to add VClip to your Windows 10. Then, you should click Download VClip.zip 13.8 MB to save the compressed Zip file. As it’s a compressed Zip, once downloaded, you have to press the Extract All button in File Explorer and then enter a folder path where you want to extract it to. Open the extracted folder, and click VClip to launch the window as shown below.
Then you should move and expand the VClip window so it includes all the area of the window or desktop you’re going to include in the recorded screencast. Move the cursor to the window borders and then hold the left mouse button to drag it.
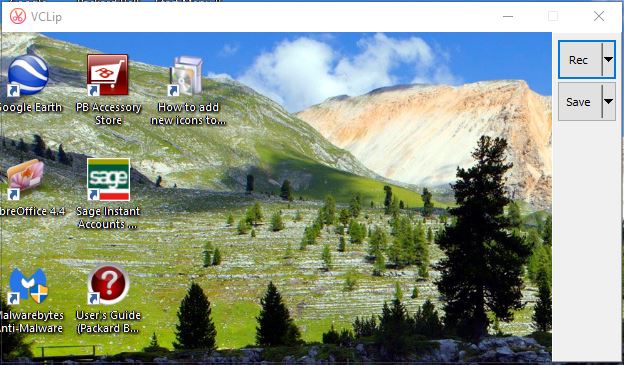
Once you have resized the window, click the small arrow beside the Rec button. Then, select 15, 25 and 35 FPS options for recording. Press the Rec button to begin the recording.
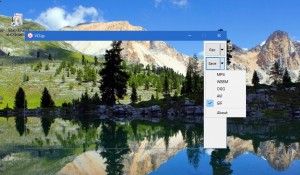
When you’ve finished recording the screencast, press the Stop button. Then click the small arrow beside the Save button to choose a file format. You can choose to save the recording into MP4, WEBM, OGG, AVI and GIF formats.
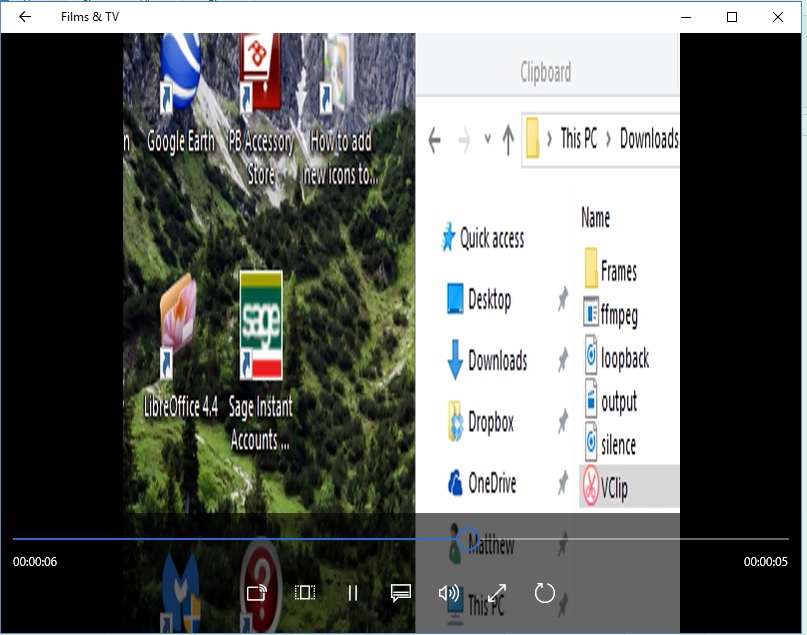
Next, press the Save button. Enter a title for the screencast in the File name box and press Save. Then you can click on the saved output to play it back as below. It will play back in your default video player.
Overall, VClip is a fairly simple screencast program to use. It could do with some options to add text to the recorded output. Nevertheless, with a variety of output formats this is still a screencast app worth noting.
How to Record Screen Using the Built-in Recorder in Windows 10
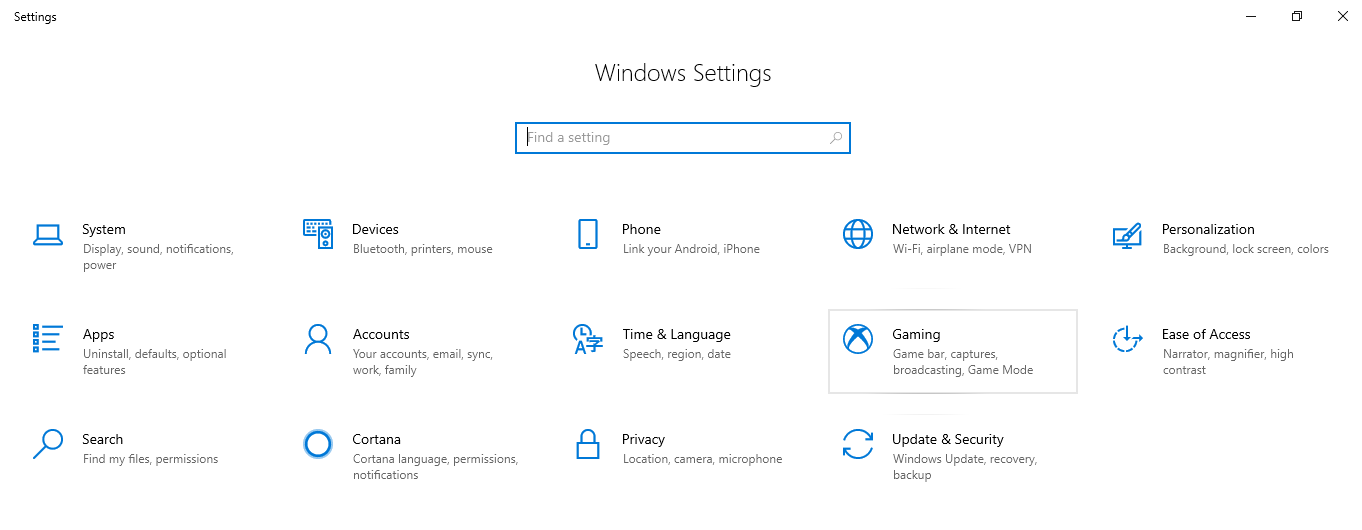
Windows 10 has a built-in screen recording tool called Game Bar. To allow this tool to do recordings, make sure you have enabled it in your computer settings.
- Press the Windows key and I at the same time on your keyboard. This will take you to Settings.
- Select Gaming.

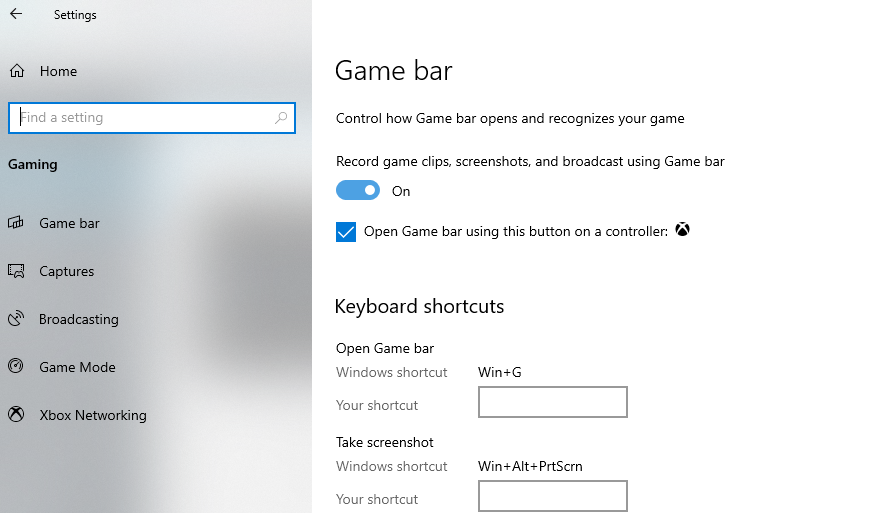
- Press the toggle button to turn on the feature.

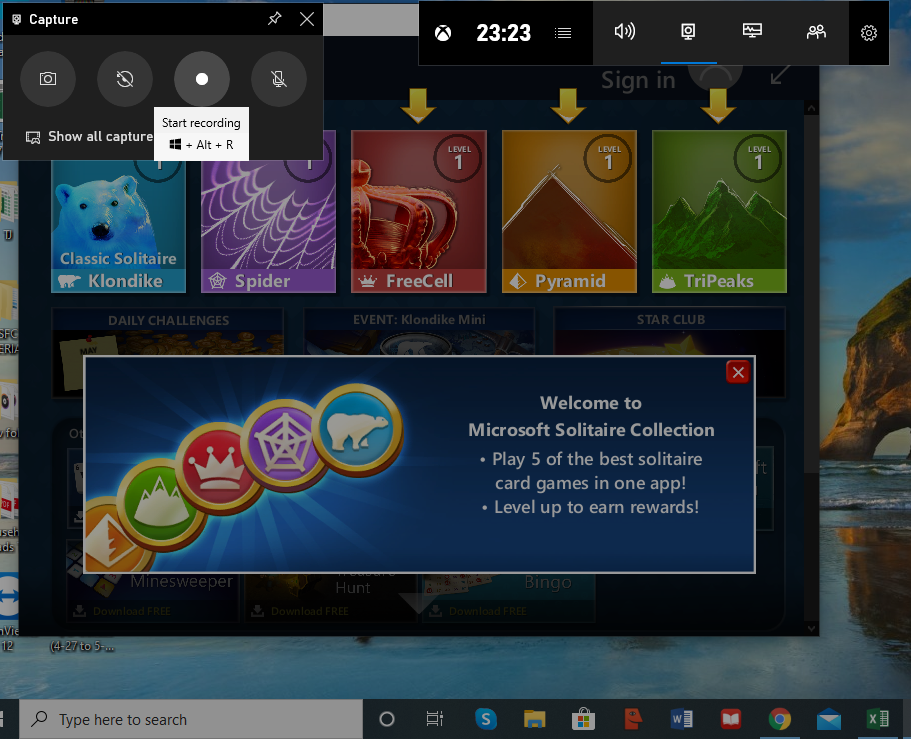
- To record your screen activity within an app, move your cursor to it and press the Windows logo and G at the same time on your keyboard.
- Click the Record button to start recording.

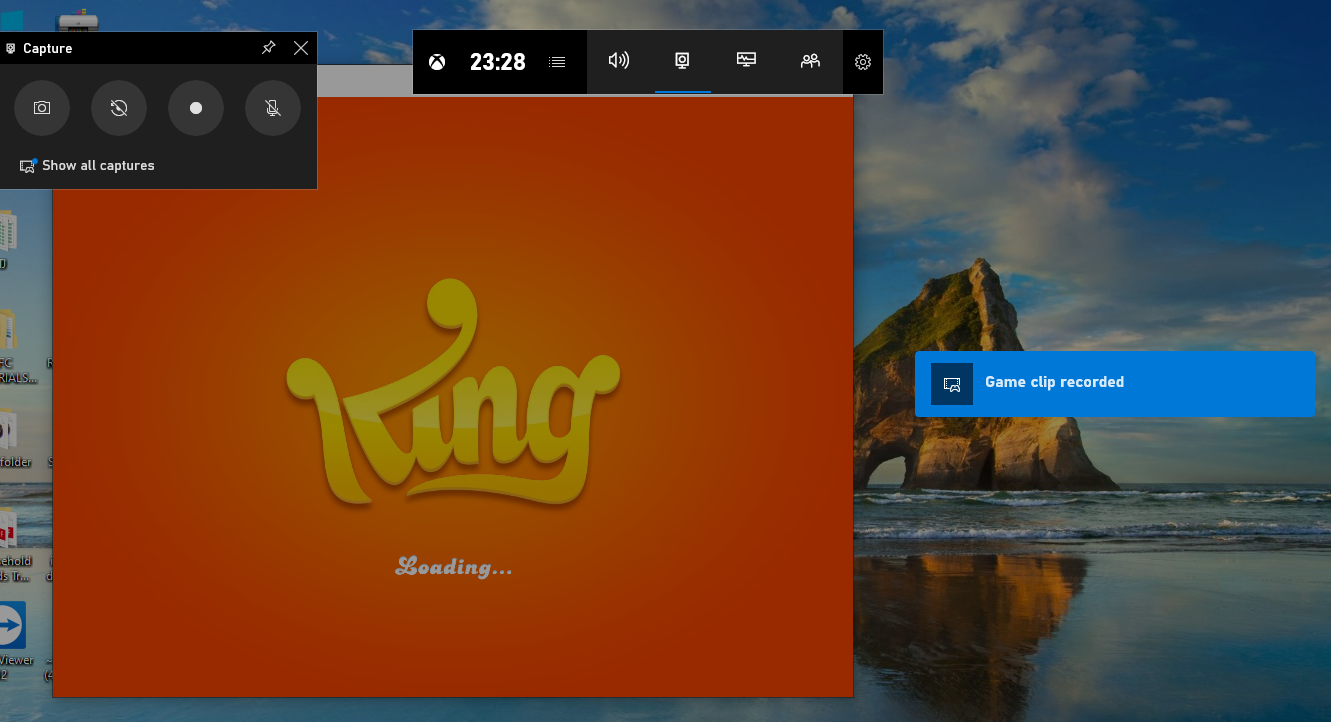
- To end the recording, simply press the Stop button.
- To view your recording, click on the notification at the bottom right of your screen.