


How To Setup Auto-Login on Windows 10
Being able to skip the login screen on your Windows 10 desktop is incredibly convenient. No longer having a need to remember your account password, getting to skip that part of the bootup process and jump right into using your apps and programs almost immediately is definitely something worth looking into.
“That does sound pretty awesome. How do I do it?”
Multiple Microsoft customers have notoriously referred to the Windows 10 login screen and process as a pointless and unnecessary nuisance. To have to type your password every time you want to log into your own PC is incredibly redundant.
To save a few seconds on the booting process by avoiding the Windows account login step is a great feature. However, it’s only recommended if you are the sole user of the computer as it does open it up to easy access to outsiders should any get their hands on your PC.
By performing the steps in this article you open your PC to a potential security compromise. This could allow critical data, such as your bank card details, login credentials, insurance details, and personal correspondence to fall into the wrong hands of anyone else who has access to it.
The privacy and security of this data should come first before a minor convenience, so keep this in mind when choosing to set up an auto-login. In the end, the choice is yours and yours alone to make the wise decision that is best for you.
Methods To Setup Auto-Login For Windows 10
There are a few different methods I’ll touch on to bypass the login portion of the Windows 10 boot up process. This article will detail exactly what you’ll need to do in order to get this set up regardless if you’re using a local user account or Microsoft account. The following methods are considered Windows 10 specific. Yet, the procedures discussed are very similar to what you’d go through using Windows 7 or 8.1.
Method 1 – User Accounts
The first method is the one I think most people know about already so I might as well begin here. To change the auto-login settings using User Accounts:
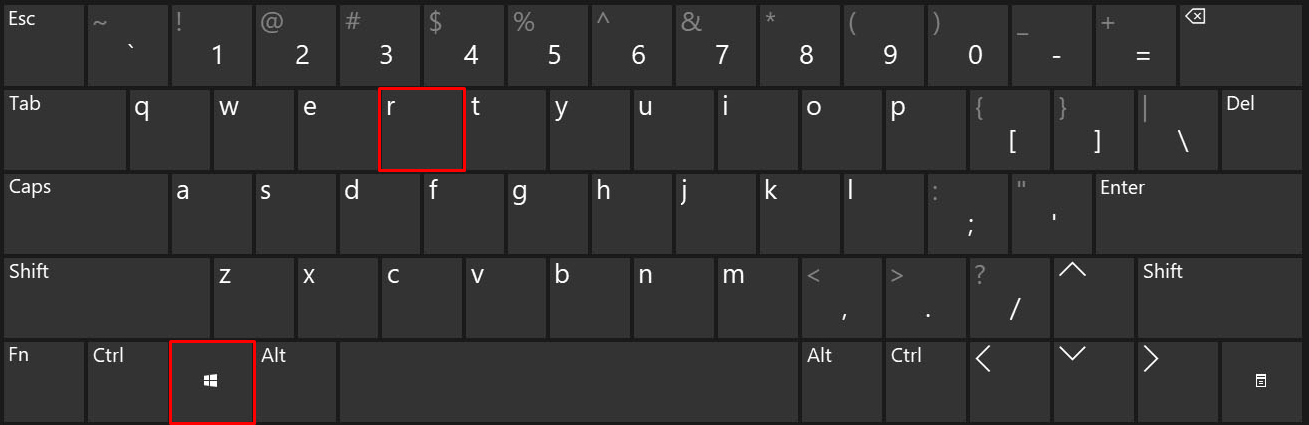
- Open the Run function by pressing Win+R.

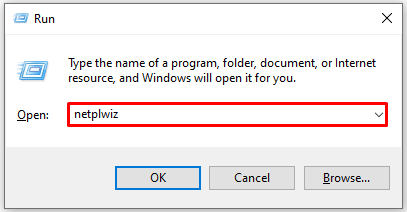
- In the dialog box type netplwiz and press the Enter key.

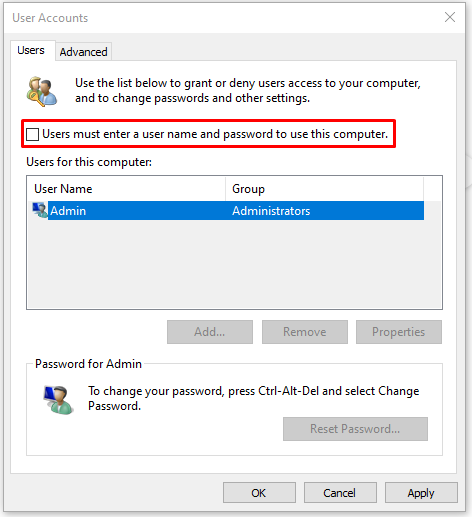
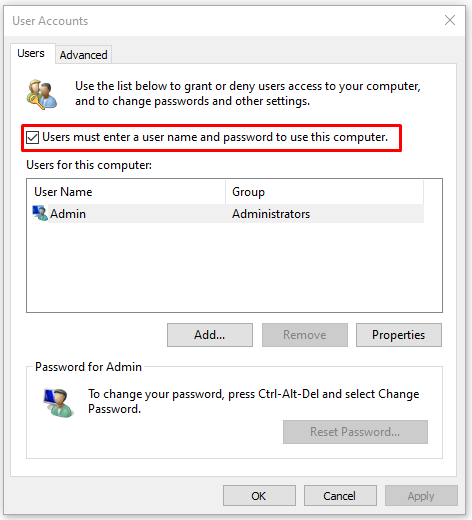
- This will bring up the User Accounts window.

- This will bring up the User Accounts window.
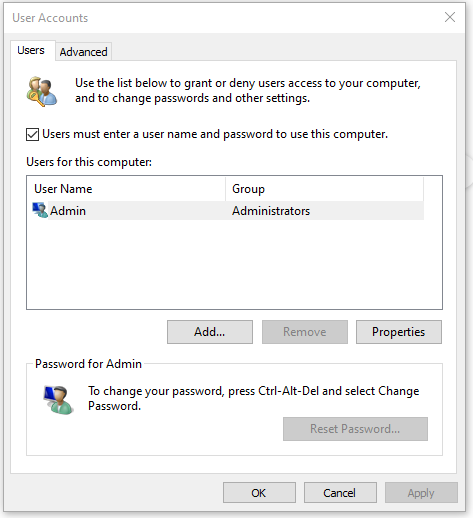
- Stay on the “Users” tab, highlight your account in the “Users for this computer” section, and uncheck the box marked as Users must enter a user name and password to use this computer.

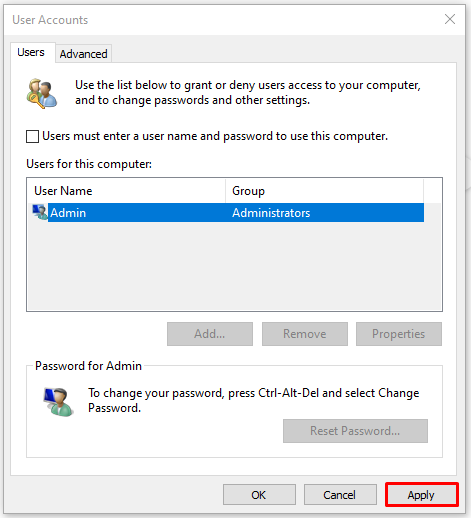
- Click the Apply button on the bottom-right of the window.

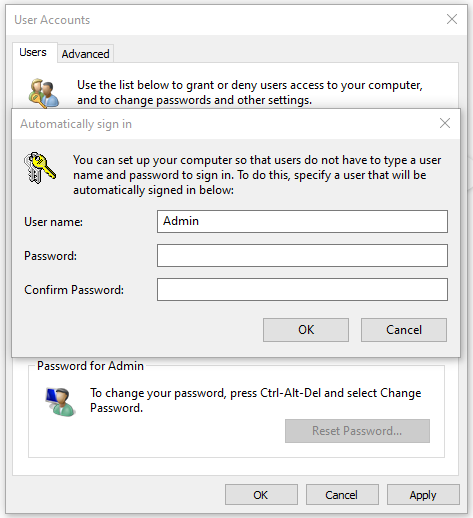
- A pop-up window requesting your username, password, and password confirmation will appear.
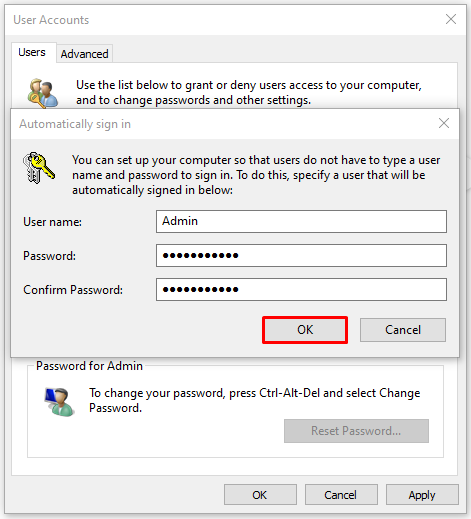
- Fill in the appropriate information and click OK.

- You can undo this process by following the same steps and opting to check the box labeled Users must enter a user name and password to use this computer.

Windows will automatically login to this account upon boot up.
Method 2 – Settings Menu
Likely the easiest method of setting up your Windows OS to boot without the need for logging in, is going through the Settings app. Here, you can change the sign-in options directly.
To do this:
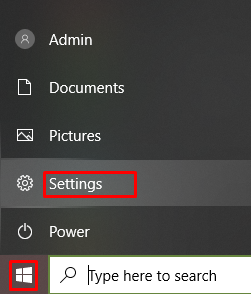
- Open your Start menu and click the Settings icon (the cog).

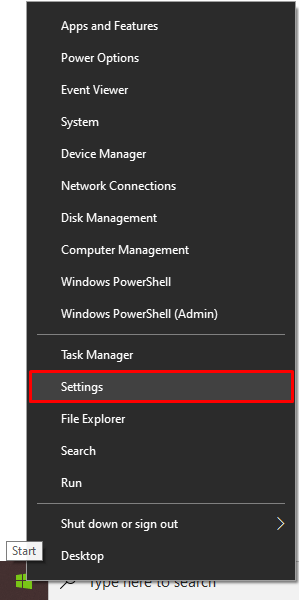
- You can also right-click the Start menu and select Settings from the menu.

- You can also right-click the Start menu and select Settings from the menu.
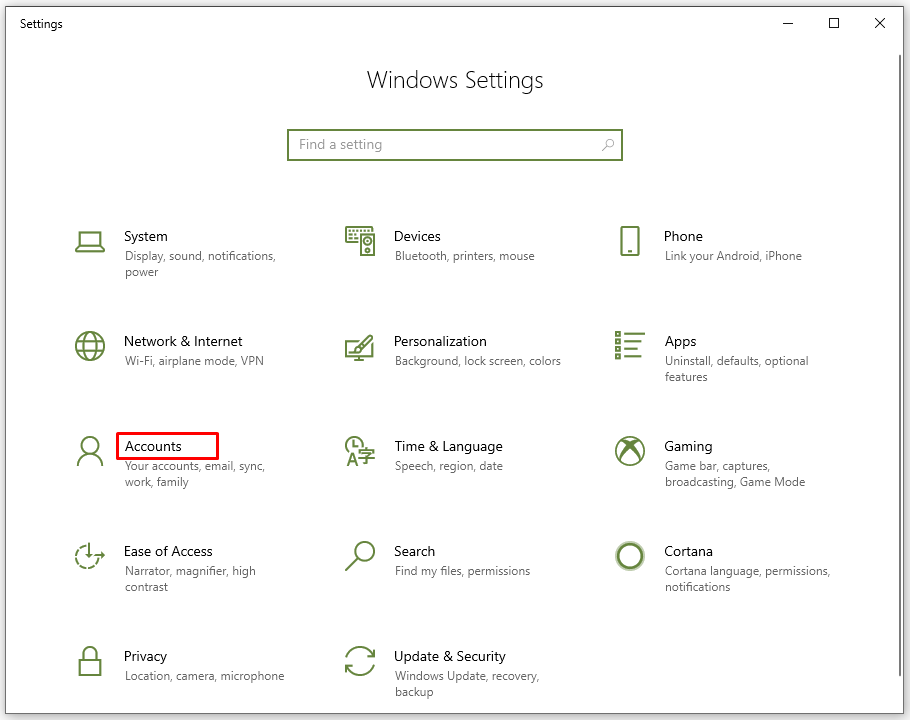
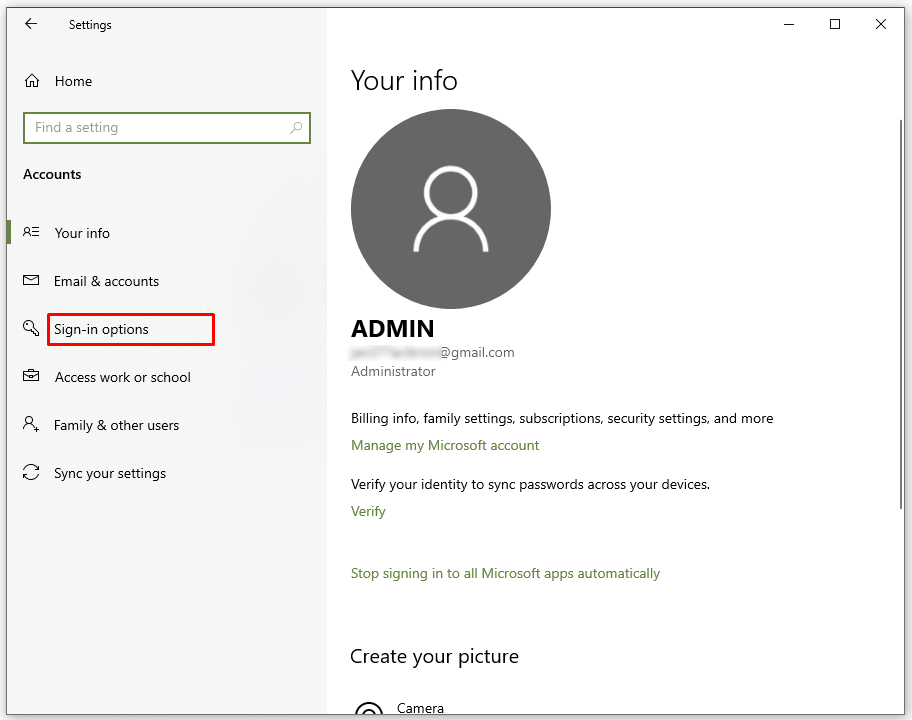
- Locate and click on Accounts.

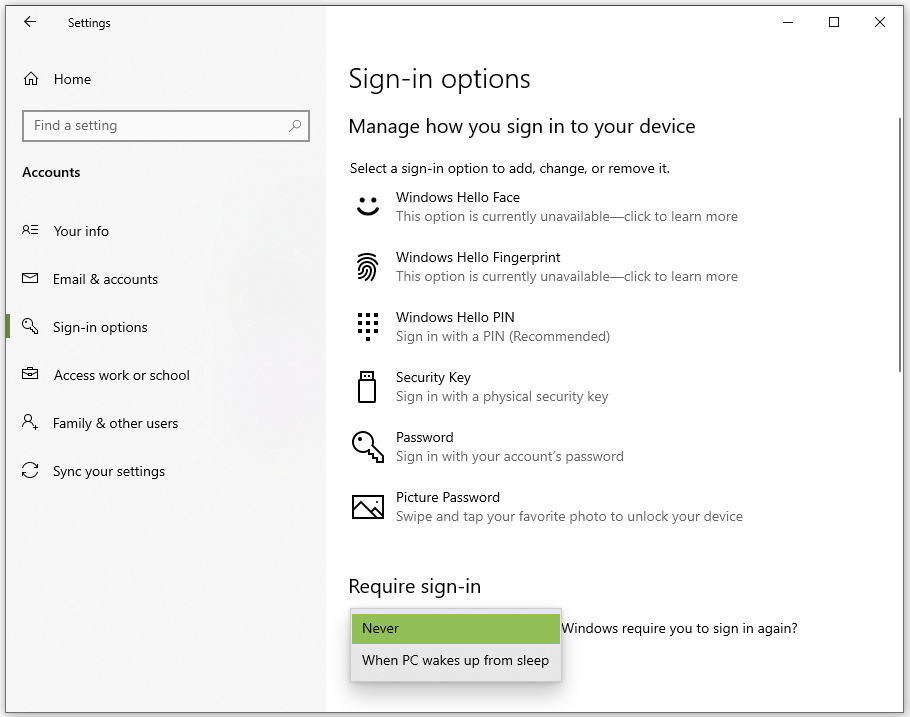
- From the left side menu, click on Sign-in options.

- In the drop-down below “Require sign-in”, change it to Never.

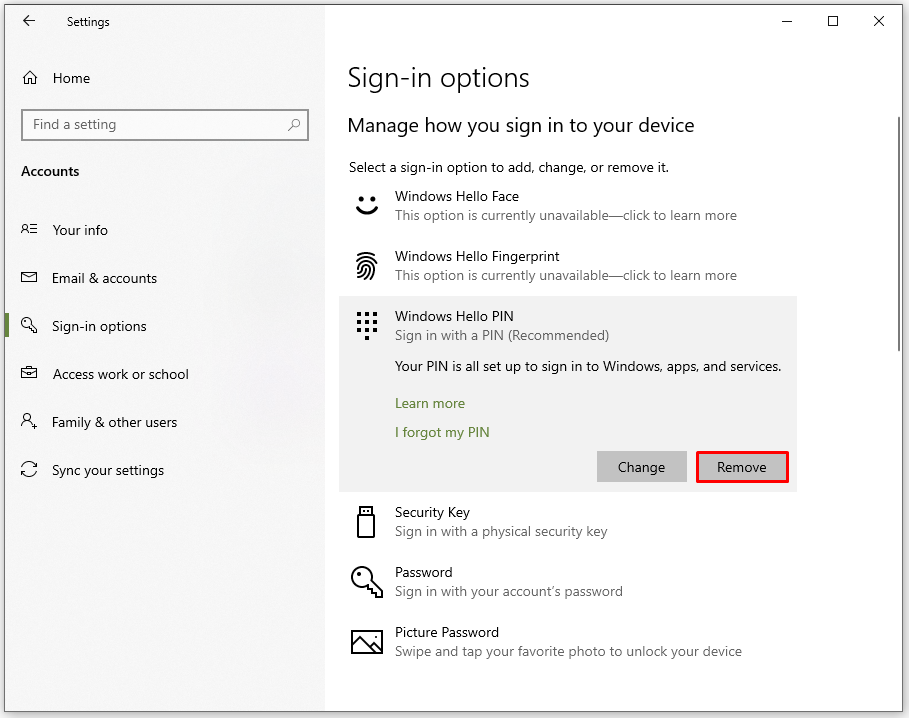
- Scroll to the “PIN” section and click the Remove button.

This should do the trick. You can now bypass the login screen entirely.
Method 3 – Registry Editor
If, for some reason, you’re not able to configure Windows 10 to automatically login by following the above method, please use this method. This should only be the last resort method as you’ll be heading into the system registry. Editing files here can cause unforeseen complications with your Windows OS. It is recommended that you perform a backup on your registry before proceeding.
If feeling overly confident or happen to be highly competent with the Windows Registry, so long as you stick to the following steps, everything should be fine.
To use the registry for auto-login:
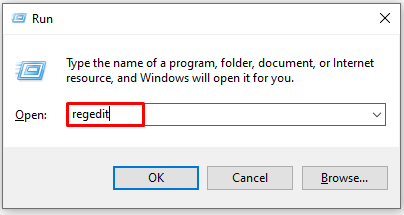
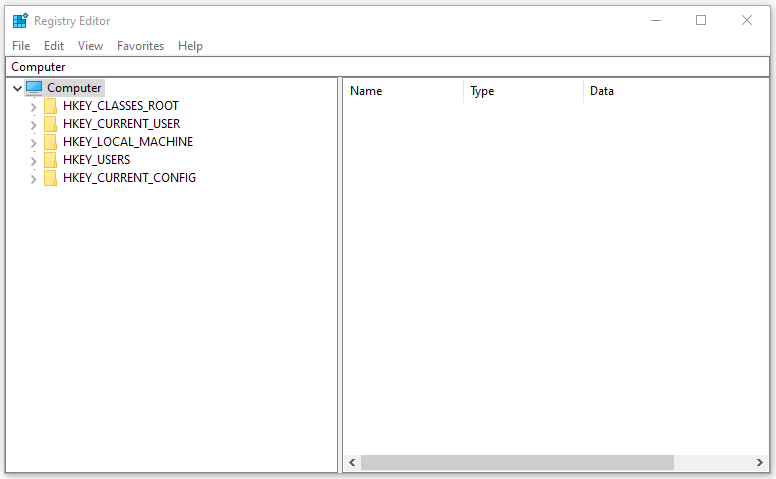
- Either through the Start menu search box or the Run function, type in regedit and press Enter.

- This will open the Registry Editor.

- You will have to press the Yes button when prompted by the UAC (User Account Control) pop-up window.
- This will open the Registry Editor.
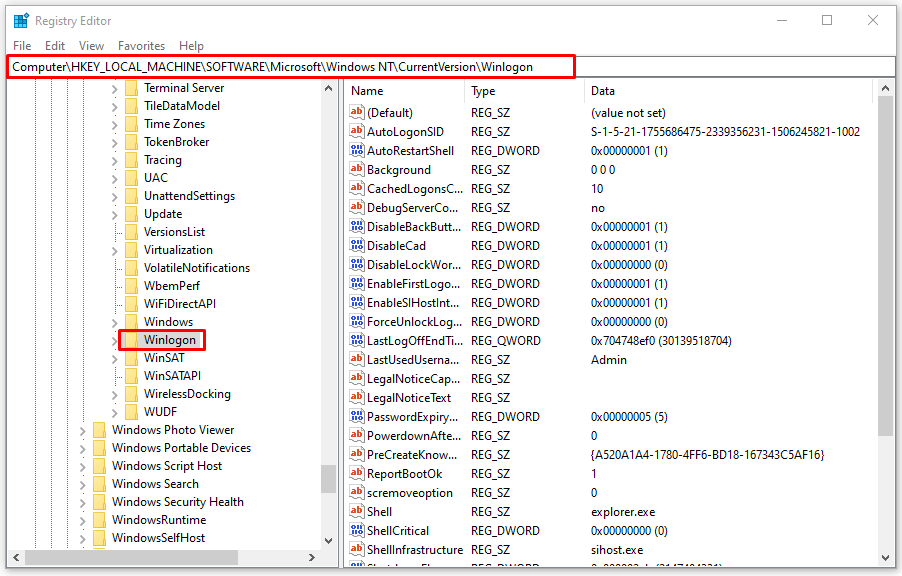
- In the Registry Editor, navigate to HKEY_LOCAL_MACHINE > SOFTWARE > Microsoft > Windows NT > CurrentVersion > Winlogon or copy and paste HKEY_LOCAL_MACHINE\SOFTWARE\Microsoft\Windows NT\CurrentVersion\Winlogon into the bar at the top and press Enter.

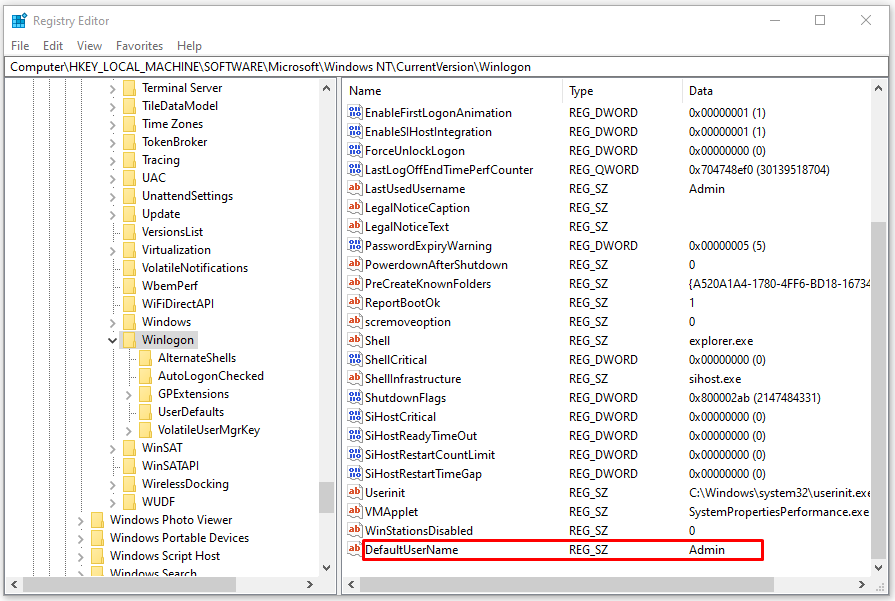
- From the right-side window, locate the DefaultUserName entry and double-click on it.

- Ensure that your username is correct in the Value data box.
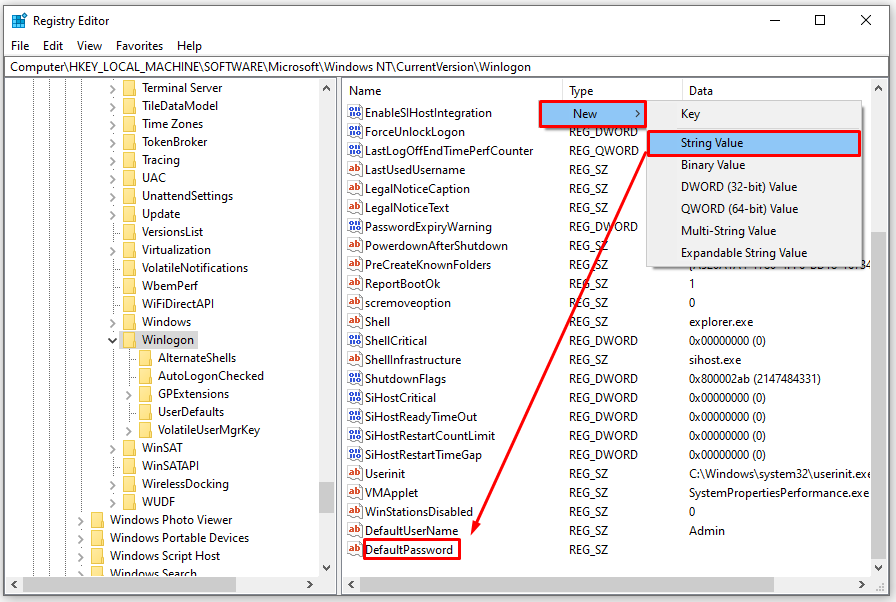
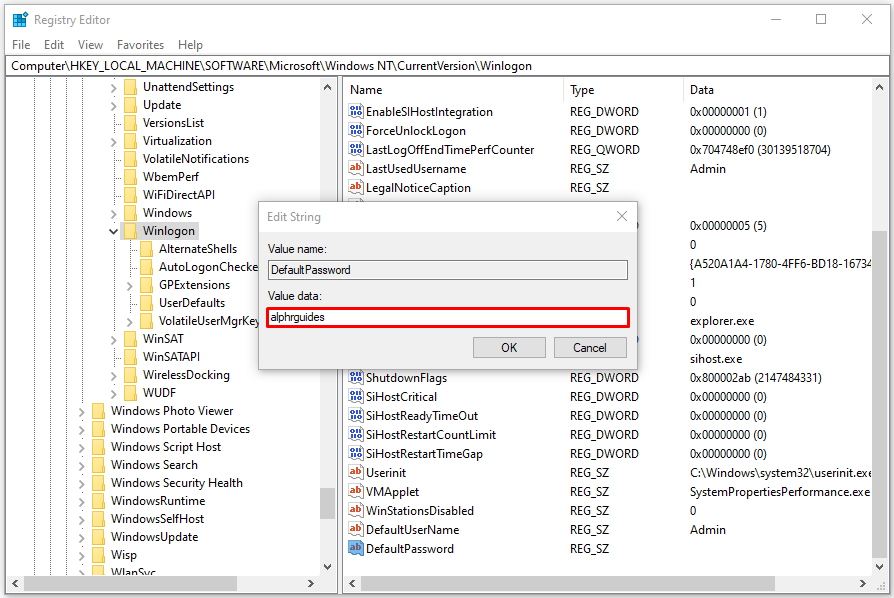
- Now, from the right-side window, locate the DefaultPassword entry and double-click on it.
- If the entry does not exist, right-click on an empty space within the right-side menu and clicking New. Next, click on String Value. Rename it to DefaultPassword.

- If the entry does not exist, right-click on an empty space within the right-side menu and clicking New. Next, click on String Value. Rename it to DefaultPassword.
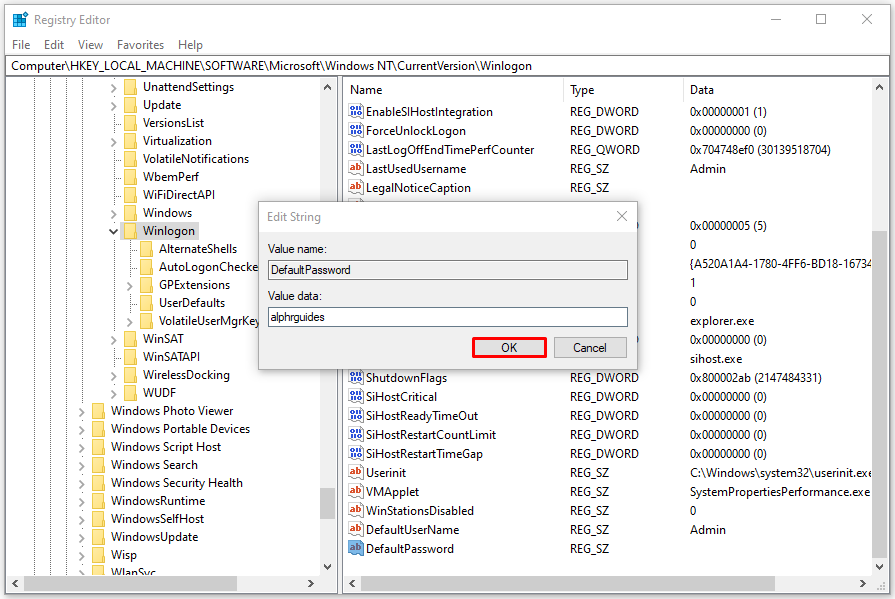
- Enter your password into the Value data box.

- Click the OK button.

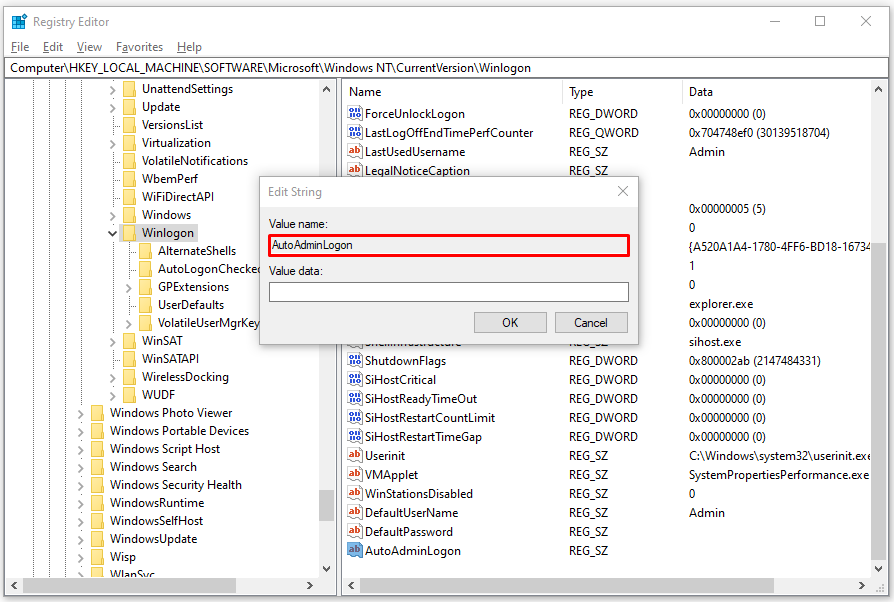
- Lastly, locate the AutoAdminLogon entry in the right-side window and double-click on it.

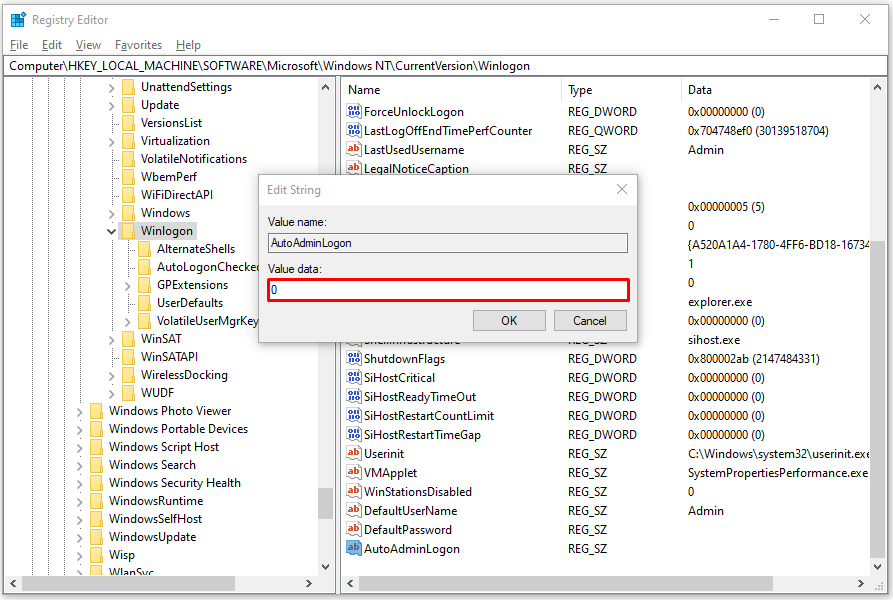
- Change the Value data number from ‘1’ to ‘0’ and then click the OK button.

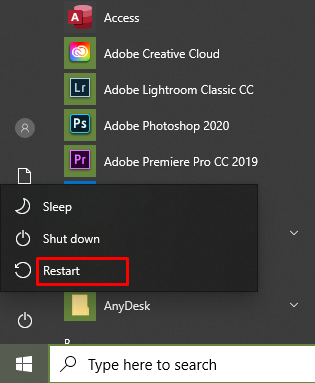
- Restart your PC for it to take effect.

Method 4 – 3rd Party Program/Application
There are a few different free software programs and applications out there that can assist with automating the Windows 10 login process. These aren’t necessarily recommended as the above options should be more than enough. However, if you find that following the above steps to be a bit too overwhelming, downloading and installing a program may be in your best interest.
Autologon is a tool designed by Microsoft to help you skip both the lock screen and login screen for the Windows 10 operating system. Choosing this program is likely the safer option if you’re worried about the possibility of malware in the download as some other sites may be compromised.
You can download the program directly from the Microsoft docs site using this link https://docs.microsoft.com/en-us/sysinternals/downloads/autologon
Once it has been downloaded, you’ll need to extract the zip file to retrieve the executable.
To use Autologon:
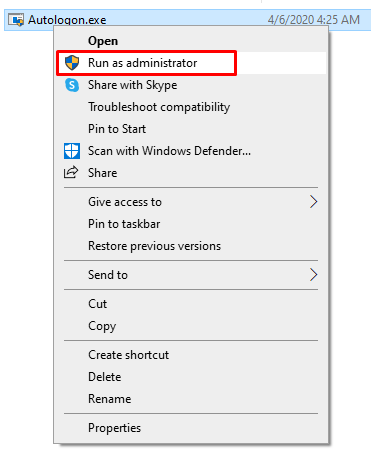
- Run the tool and click Yes when prompted by the UAC.

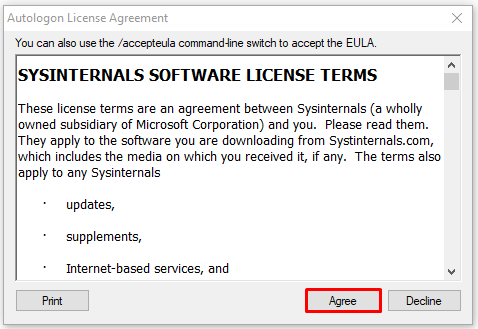
- A license agreement will pop-up. Click the Agree button to accept the license agreement.

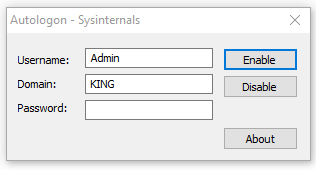
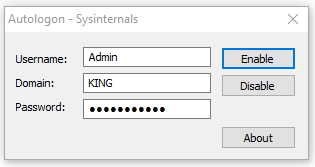
- Your username will already be filled in as well as the domain. All you’ll have to do is type in the password for the user account used to log into Windows.

- If using a Microsoft account to sign in to Windows, you’ll need to fill in the full email address in the username box. It will likely not already be filled out for you.
- To finalize the process, just click Enable.

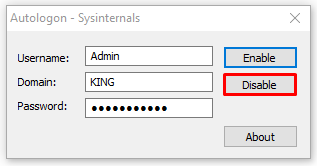
- If you’d like to disable Autologon, follow these steps up until step 4. Click Disable instead.

- You can also hold down the Shift key while the bootup process is taking place to turn off the Autologon feature.
- If you’d like to disable Autologon, follow these steps up until step 4. Click Disable instead.
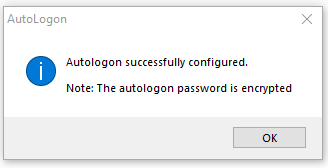
- You’ll receive an Autologon dialog box stating “Autologon successfully configured”.


4 thoughts on “How To Setup Auto-Login on Windows 10”