Write and Edit Like a Pro with Split View in Microsoft Word for Mac

When dealing with long documents, you will often want to compare or reference multiple parts of the document at once. To prevent you from having to scroll back and forth between two sections of your document, Microsoft includes a “split” feature in Word that, unsurprisingly, splits the window into two sections with each offering an independently navigable view of your document. Here’s how to use the Split feature in Microsoft Word for Mac.
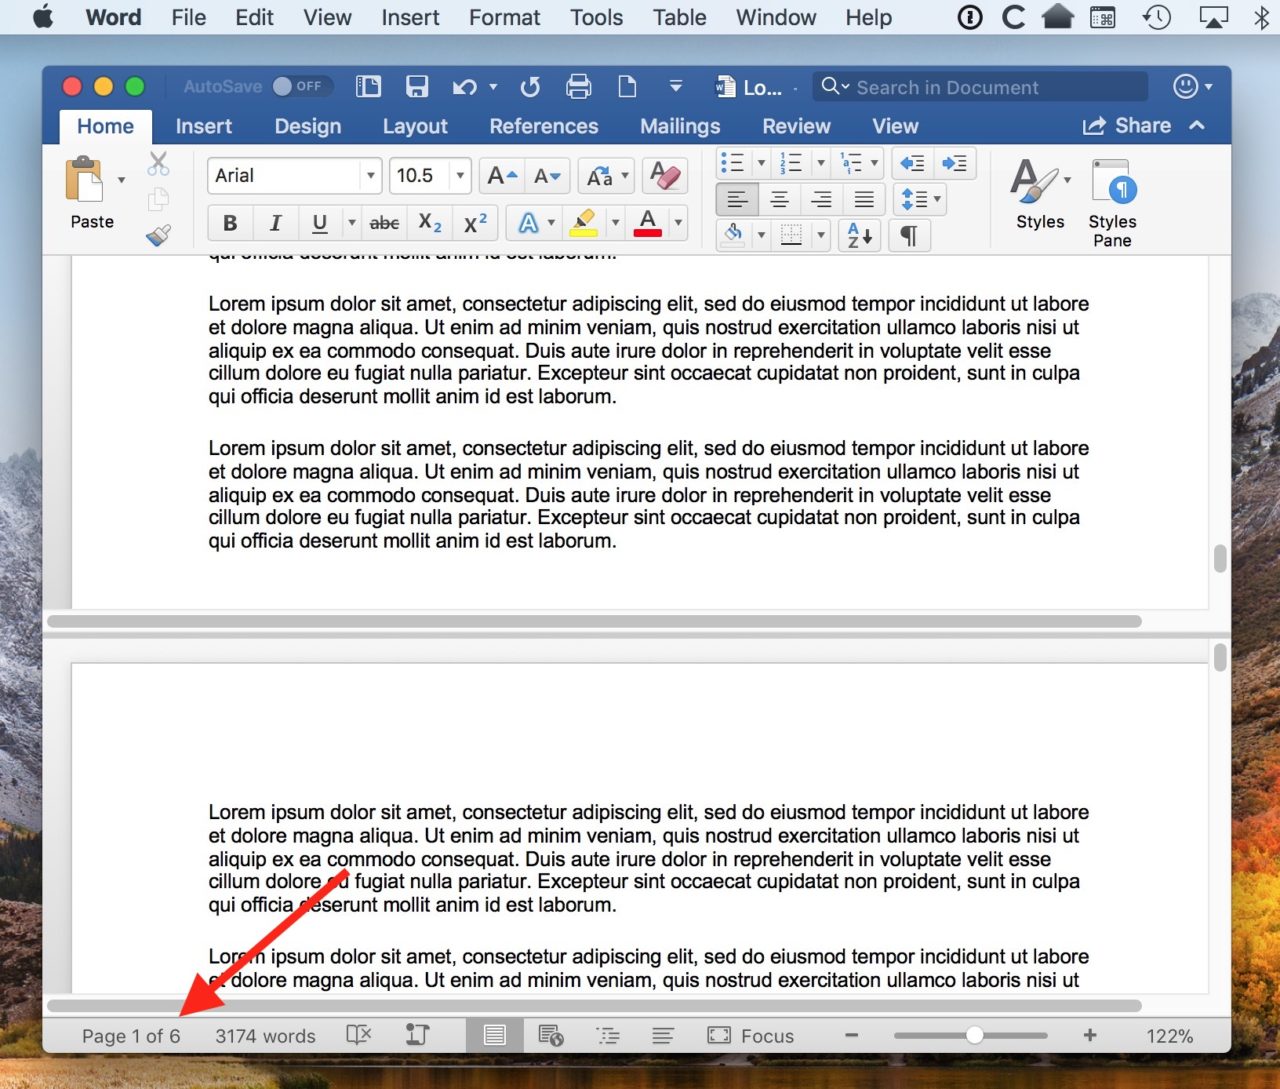
To try out the Spit feature, first open a document in Word. Split works with documents of any length, but is most effective with documents longer than a single page, so keep that in mind. In our example, we have a test document that is six pages in length.
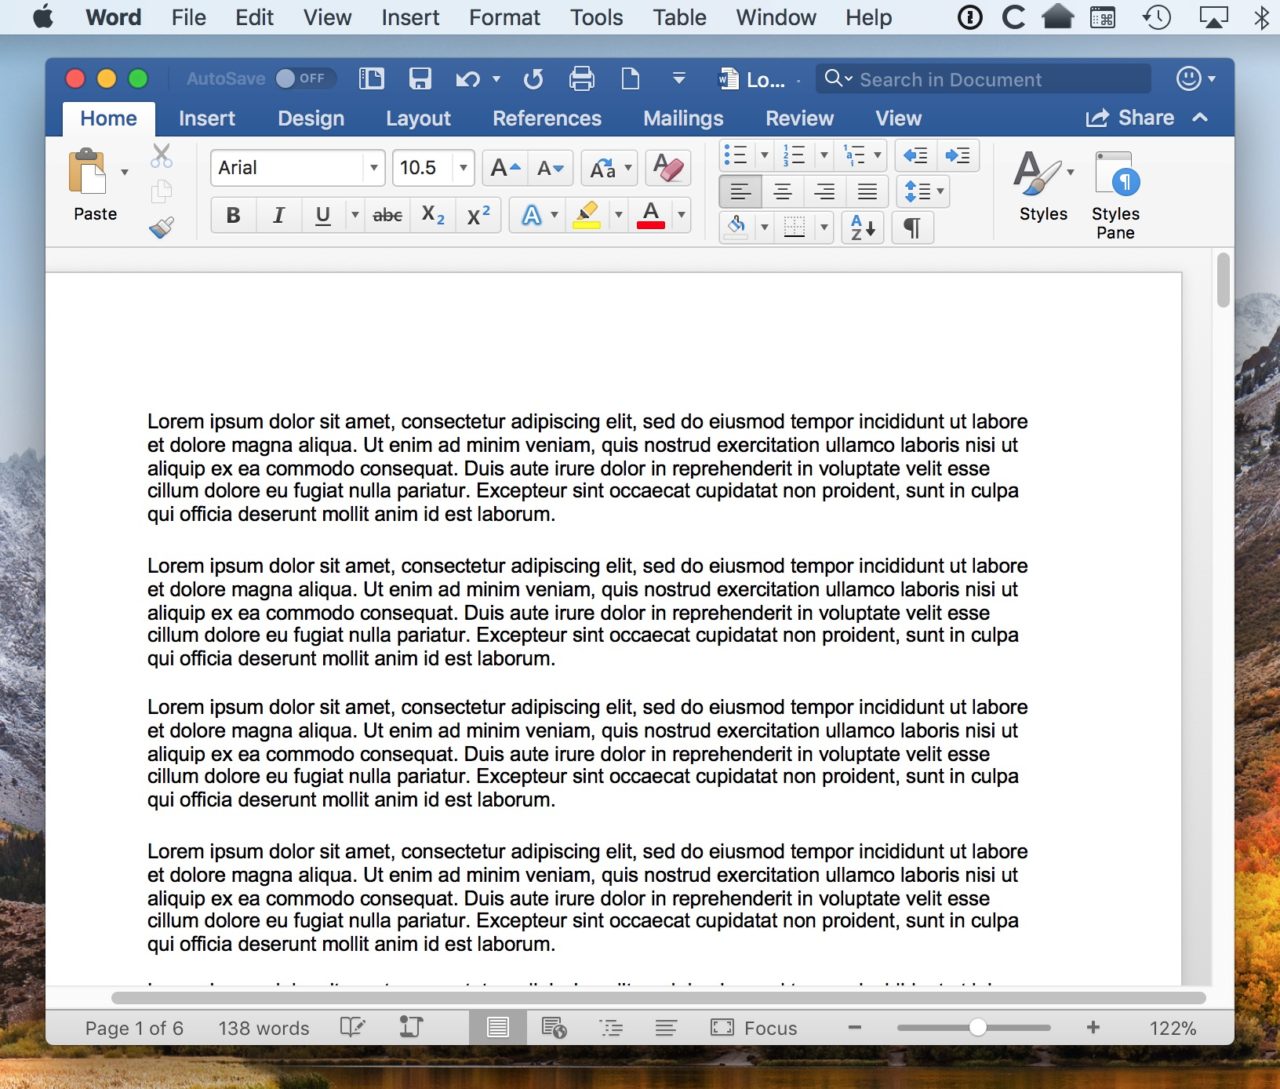
Yes, I totally wrote all of that Latin myself. Why do you ask?
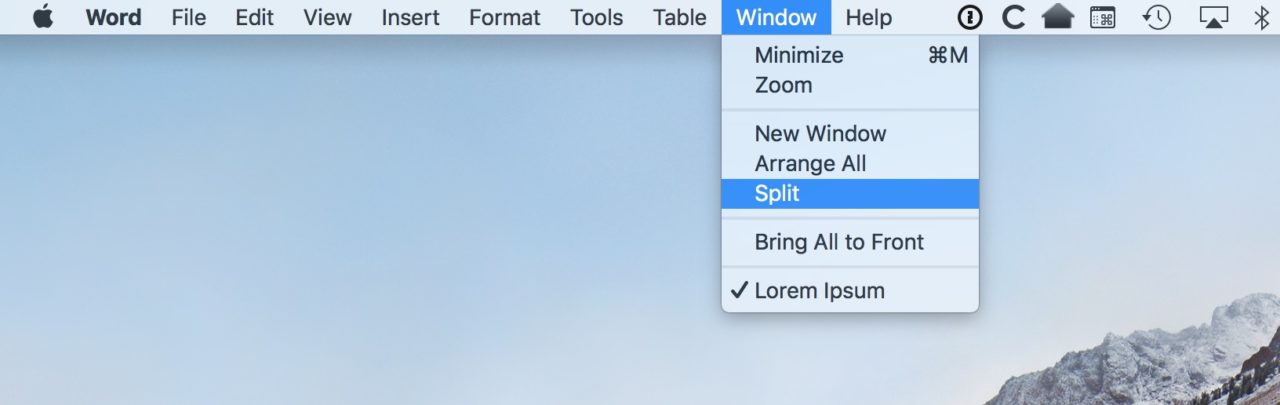
Once your document is open, select Window > Split from the menu bar at the top of the screen.
Alternatively, click the View tab in Word’s ribbon interface and then click the Split button.

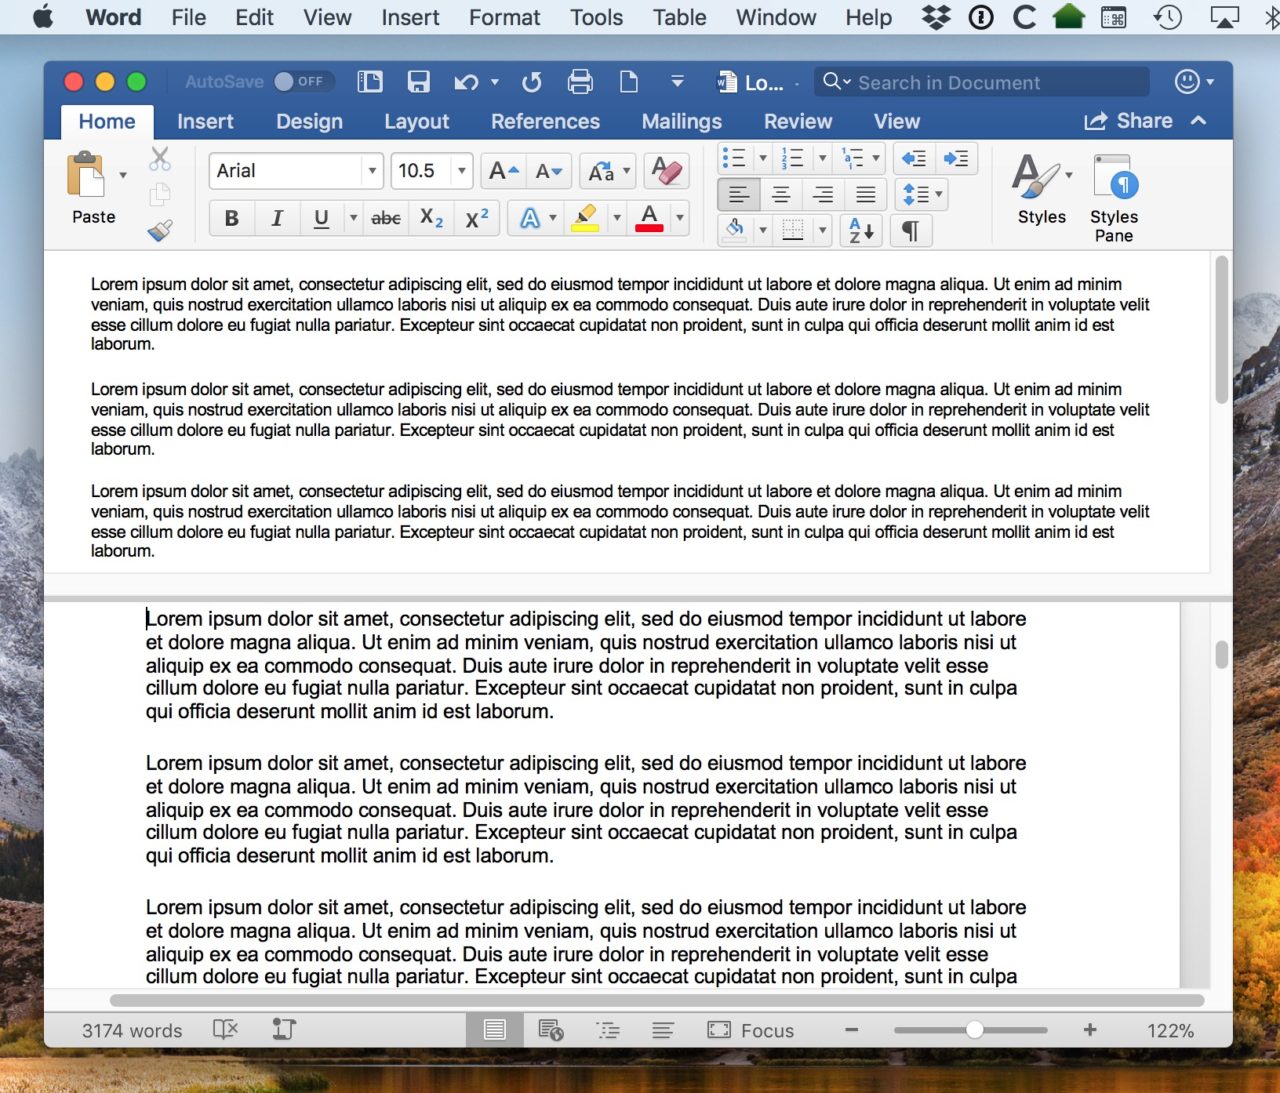
You’ll see your Word document window immediately split in two, with a dividing line running horizontally through the middle of the window. This is simply a second independent view of the same document. You haven’t opened a second copy of the file or anything special.
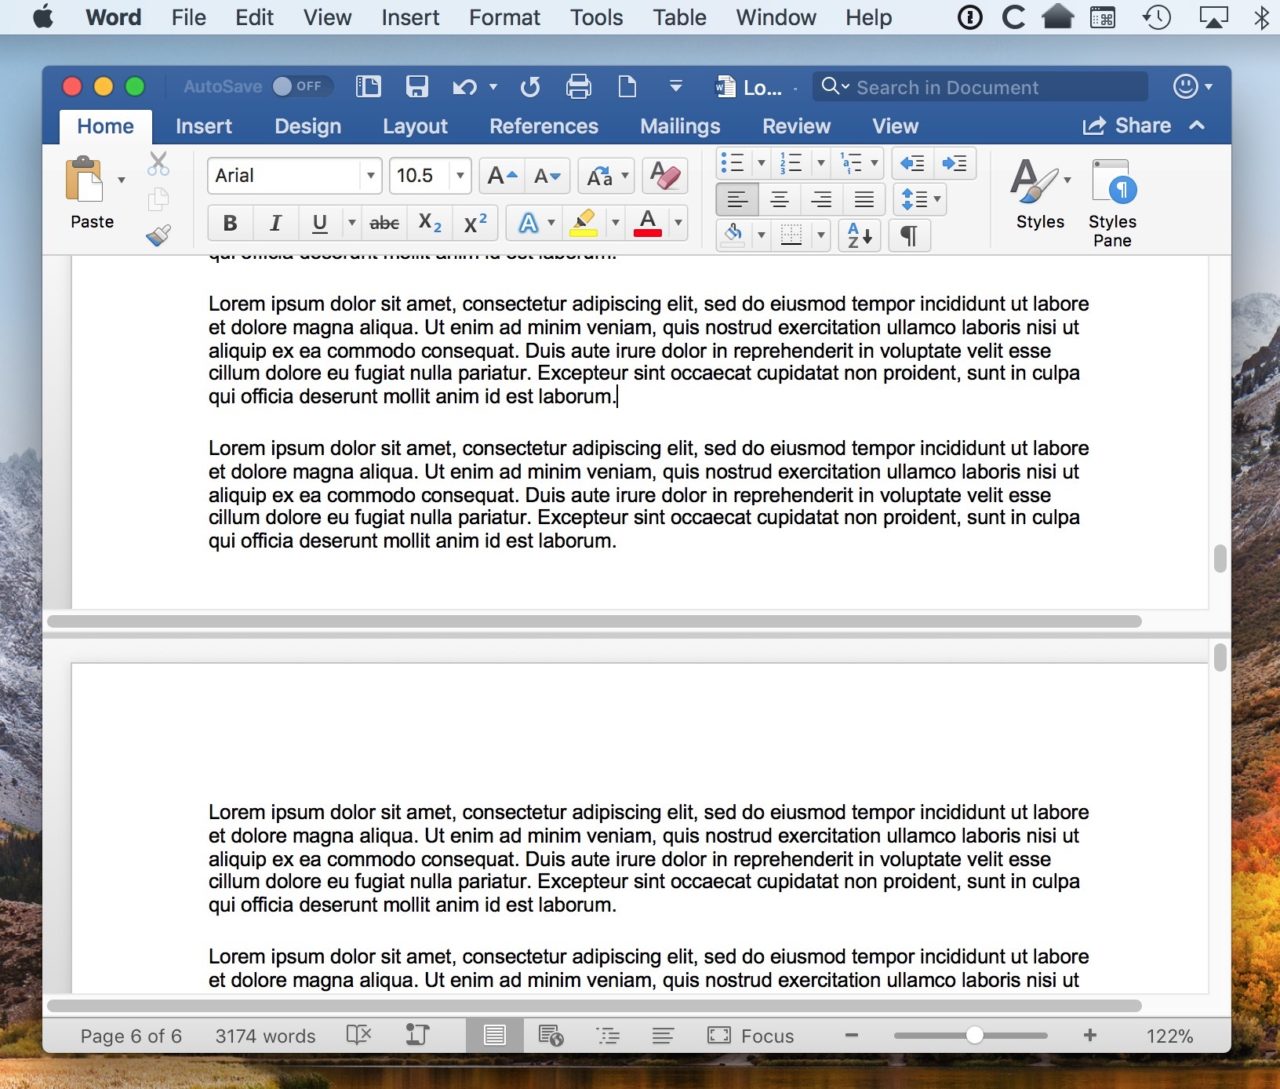
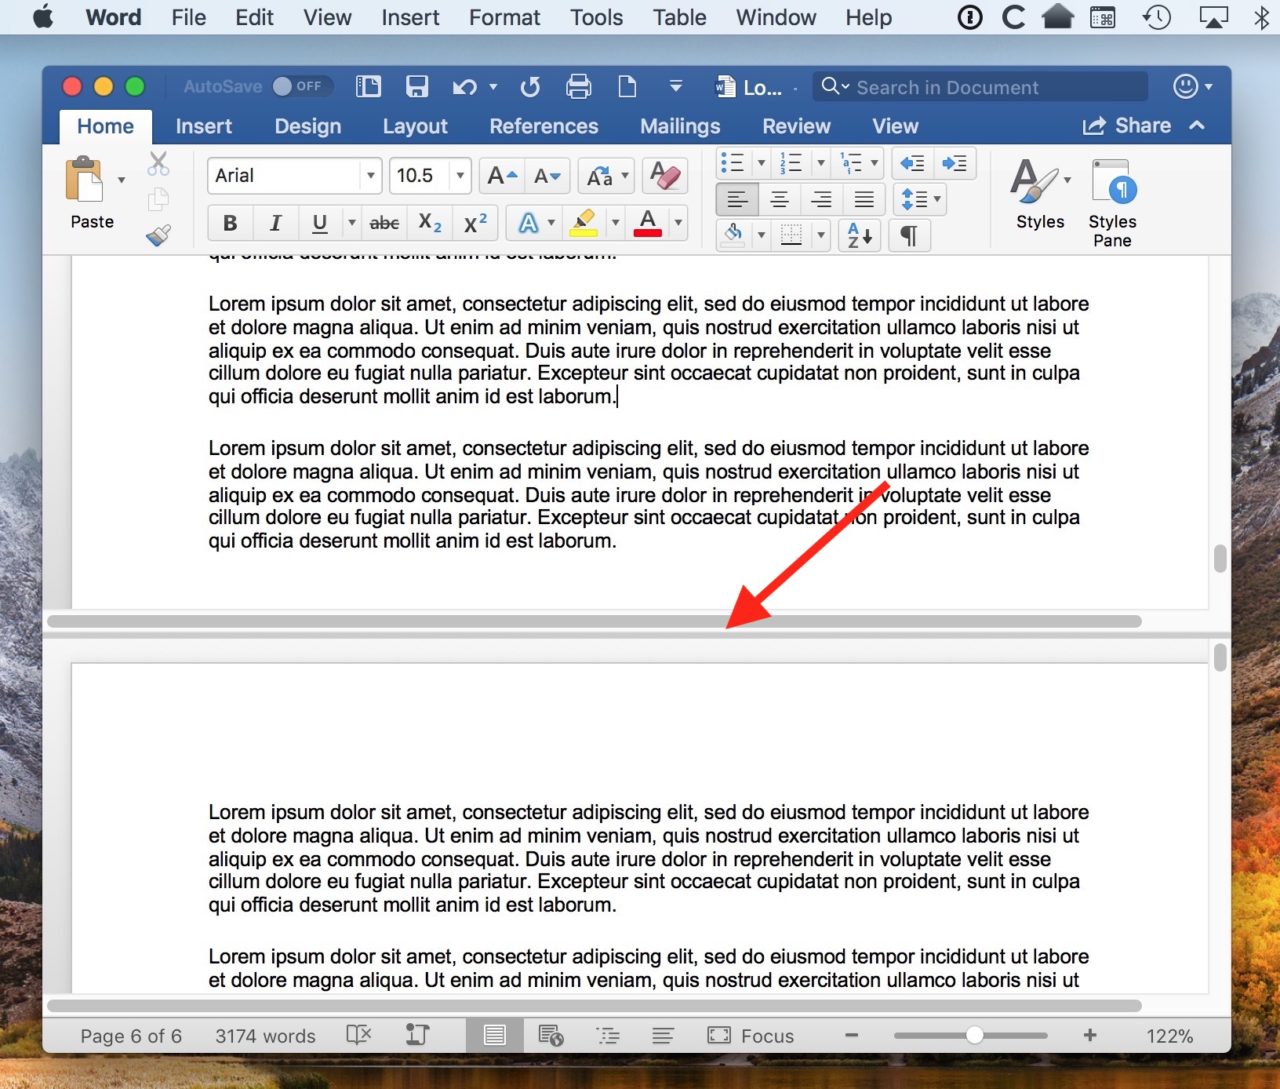
Once enabled, you can scroll to one section of your document in the top split view, and then scroll to a second location for reference in the bottom view, even if those two locations are hundreds of pages apart. Clicking in each view reveals the page number for that view in the status bar at the lower-left corner of the window.
By default, enabling Split view will divide the views into two equal halves. You can change this, however, by clicking and dragging the dividing line, making one section larger and the other smaller. This may come in handy if you need a small view for reference and a larger view for the section of the document you’re currently working on.
Finally, you can use Split view to display each pane with a different view layout. Just click one of your split views to select it, then click View in the menu bar.
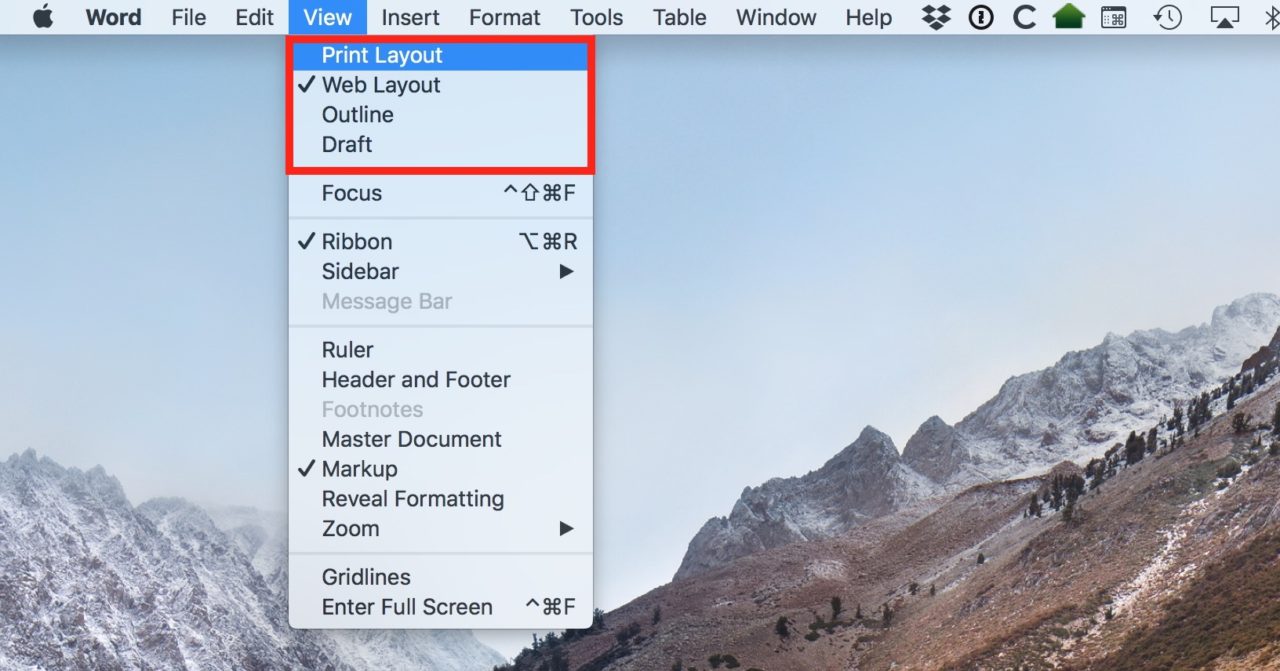
Select one of the four view layouts — Print, Web, Outline, Draft — and your selected view pane will change accordingly while your other view pane retains its original layout.
Turn Off Split View
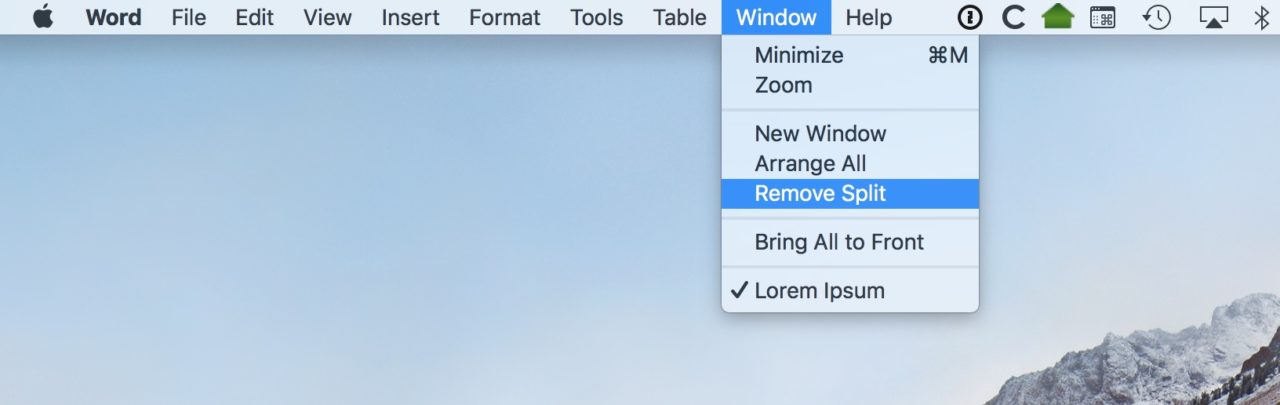
Once you’re done editing your document, you can turn the Split view off by heading to Window > Remove Split in the menu bar, or by clicking View > Remove Split from the Word ribbon.
And that’s it! I find this very useful for long documents especially, as I mentioned, because it just makes copying and pasting from section to section so much faster. Now I’ll have time to write my Great American Novel! First I have to come up with an idea, though. And become a Great American Writer, too. Uh…I don’t think Microsoft Word is going to help me with that part.