




Hyper-V Errors When Exporting Virtual Machines – 4 Fixes

If you get an error exporting virtual machines in Hyper-V, there can be several different causes, but the error usually doesn’t tell you what they are. Most often, these problems are related to file permissions, storage issues, checkpoints, or antivirus interference. Here’s what you may need to check if you get the “Hyper-V export failed for virtual machine” error:
- These errors usually occur if the virtual machine doesn’t have proper permissions to access its files or storage, so make sure to run Hyper-V Manager, Command Prompt, or PowerShell with administrator privileges when required.
- If antivirus software is interfering with Hyper-V, check its exclusions and configure appropriate exclusions for Hyper-V files and processes rather than disabling your security software entirely.
- Back up your VM files before attempting more complex fixes, and try exporting the virtual machine to a different local drive if you suspect a storage problem.
- Make sure to export the VM to a local folder rather than a cloud-synced or network location such as a OneDrive folder or SMB share.
After that, you can try the fixes below.
Fix 1 – Prevent Error Exporting Virtual Machines Hyper-V by Fixing Permissions
The virtual machine needs to have proper permissions to the files it’s trying to access. If it doesn’t, it might send a general access denied error (0x80070005).
Step 1. Open the Hyper-V Manager.
Step 2. Open PowerShell as an administrator.
Step 3. Run the following command:
“Get-VM -Name “[YourVMName]” | Select-Object Name, Id”
Note the GUID listed in the Id column.
Step 4. Open Command Prompt.
Step 5. Run the following command:
icacls “C:\Hyper-V\Virtual Machines\[GUID]” /grant “NT VIRTUAL MACHINE\[GUID]”:(F) /T
Replace the folder path with the location of the affected VM’s files and replace [GUID] with the VM’s ID.
Fix 2 – Check if Hyper-V Checkpoints Exist and Remove Them
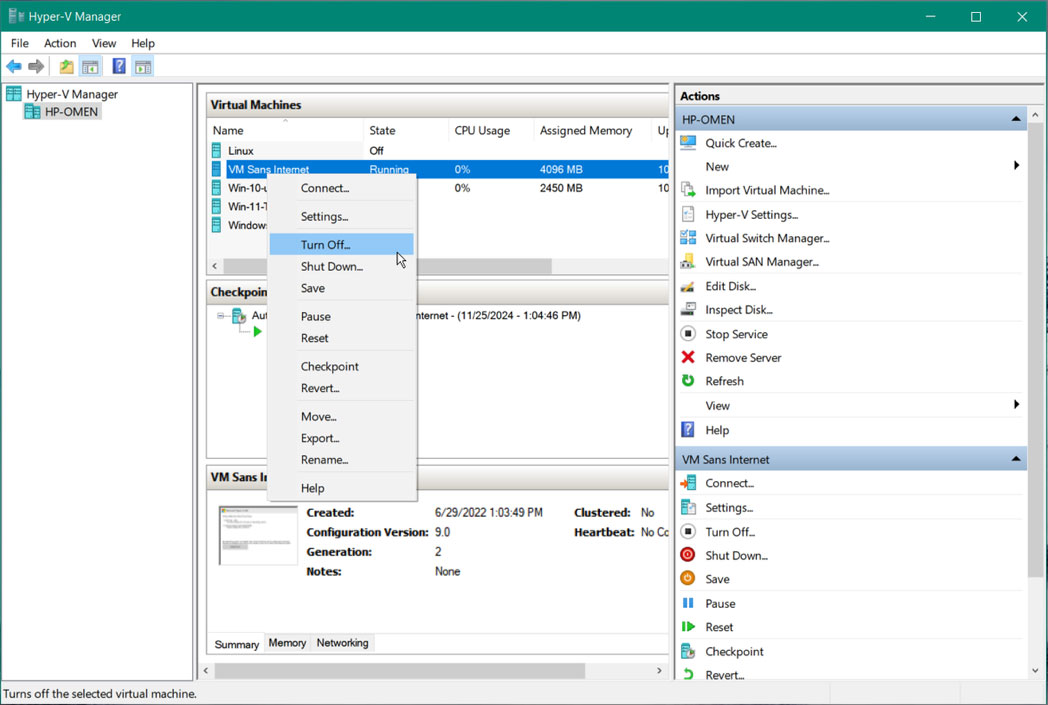
Hyper-V checkpoints use differencing virtual hard-disk files, typically with the .avhdx extension, to store changes associated with a checkpoint. However, manually deleting an AVHDX file can break the checkpoint chain and prevent the VM from starting or accessing its data correctly.
You can check for checkpoints under the “Checkpoints” section in each VM’s details.
However, you can also try to remove unnecessary checkpoints to merge their differencing disks back into the VM.
Whatever you do, you need to go through the Hyper-V Manager to delete checkpoints by selecting them there. Removing files through File Manager can irreparably damage the VM’s state.
Fix 3 – Run the CHKDSK Command
In some cases, you may see an error stating that the Hyper-V export failed for virtual machine because of corrupted files. Also, file-system or disk errors can interfere with Hyper-V operations. You can use the built-in CHKDSK utility to check a local drive for logical and physical errors and repair certain file-system problems.
Step 1. Open Command Prompt.
Step 2. Run the following command:
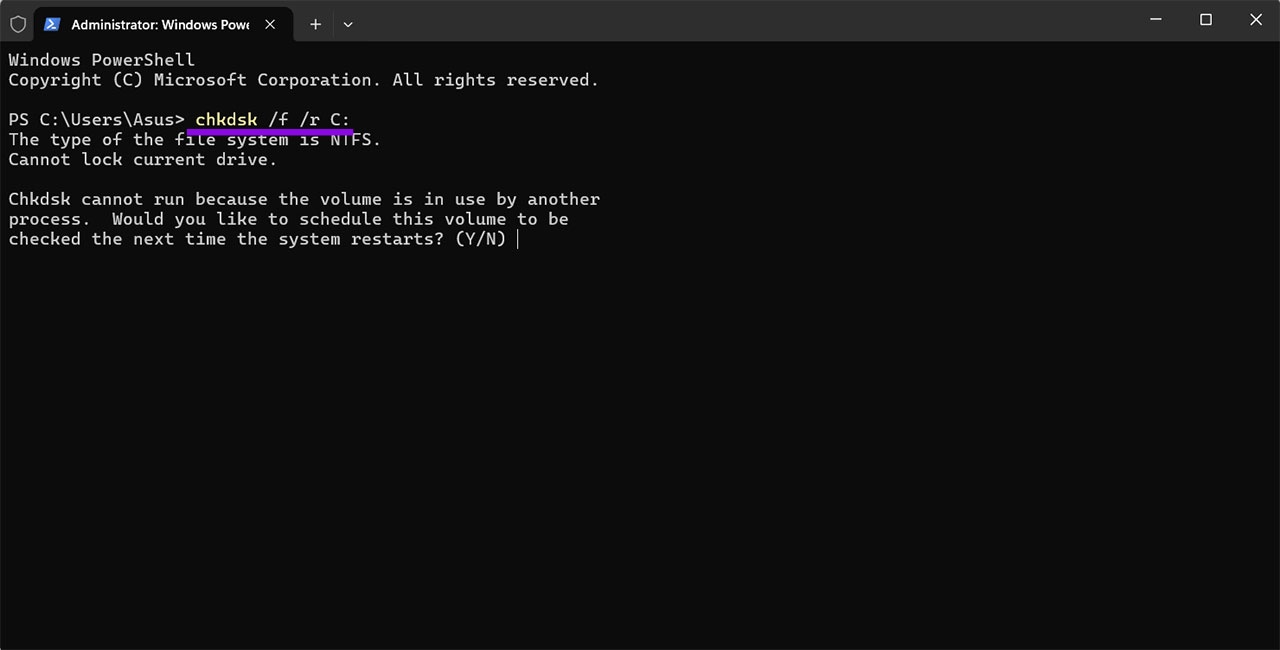
chkdsk /f /r C:
Replace the C: drive with the one containing the VM files or the storage you suspect has file-system or disk errors.
Note that the command might not work on the C: drive immediately, and you’ll need to schedule it instead.
Fix 4 – Export Using PowerShell
Instead of copying the data file directly or using the Manager, you can use an elevated (admin-permission) command in PowerShell to try to export the VM with the correct file access.
Use the following command to do so:
Export-VM -Name “[YourVMName]” -Path “C:\HyperVExport”
Change the name of the VM and the path as needed.
How to Get a Personalized Savings and Debt Plan From AI in 15 Minutes
Read Next