




How to Use an Old Laptop as a Game Server

If you’re a gamer, think twice about throwing away that old laptop. Even if it has as little as 3 GB of RAM, you can use old laptop as game server for games like Minecraft and Counter-Strike.
It’s not as complicated as it sounds, although you’ll typically have to install Linux to get the performance you’ll need from the old machine.
Setting Up the Laptop
The specific features of old laptops obviously vary from machine to machine, but there are a few steps you should take to turn laptop into game server and increase performance and safety.
Remove the Battery
You’ll typically want your game server to be running 24/7, but you might be worried about keeping it plugged in all the time and how that affects the battery. However, keeping a laptop plugged in doesn’t automatically mean its battery will swell. Battery aging, heat, and charging behavior all affect battery health. But if you’re still worried, you can remove the battery (if possible) and use mains power instead.
If you’d rather leave the battery in, and your laptop’s BIOS offers the setting, set the power limits to “Primarily AC” to make 24/7 mains use safer.
Disable Unused Hardware
Also in BIOS, turn off Wi-Fi and Bluetooth, and the dedicated GPU too if your laptop exposes the setting. It’ll help reduce power usage and heat.
Ensure Adequate Cooling
An old laptop used as a gaming server tends to get hot, since it lacks the chassis ventilation of a typical desktop box. Ensure adequate ventilation by elevating the laptop to increase airflow around it, or use an external cooling pad.
Ensure Sufficient RAM
Ideally, you want 8–16 GB of RAM in your server. Depending on the game, a server can require more RAM than the OS.
However, also depending on the game, you may be able to get away with a lot less. Some games require as little as 3 GB on the server to deliver a smooth gaming experience.
Connect via Ethernet
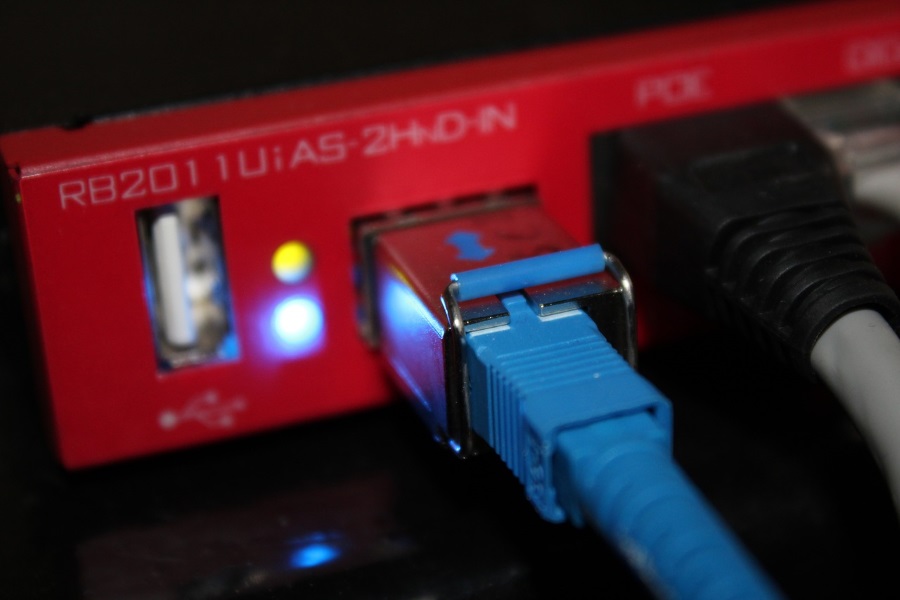
For gaming, it’s recommended to connect to the network via an Ethernet (LAN) cable, as opposed to Wi-Fi or mobile internet. Ethernet cables offer the most stable, low-latency network performance – precisely what you need for gaming.
Setting Up the Server
With the hardware set up, the next step is setting up the server. Here are the most important considerations.
Which OS?
The first question is which build of Linux to use. Ubuntu isn’t always ideal. It works on some machines but can cause issues with certain hardware components.
For most old laptops, what you need is a lightweight headless distribution to eliminate GUI overhead, leaving most of the processing power for the game.
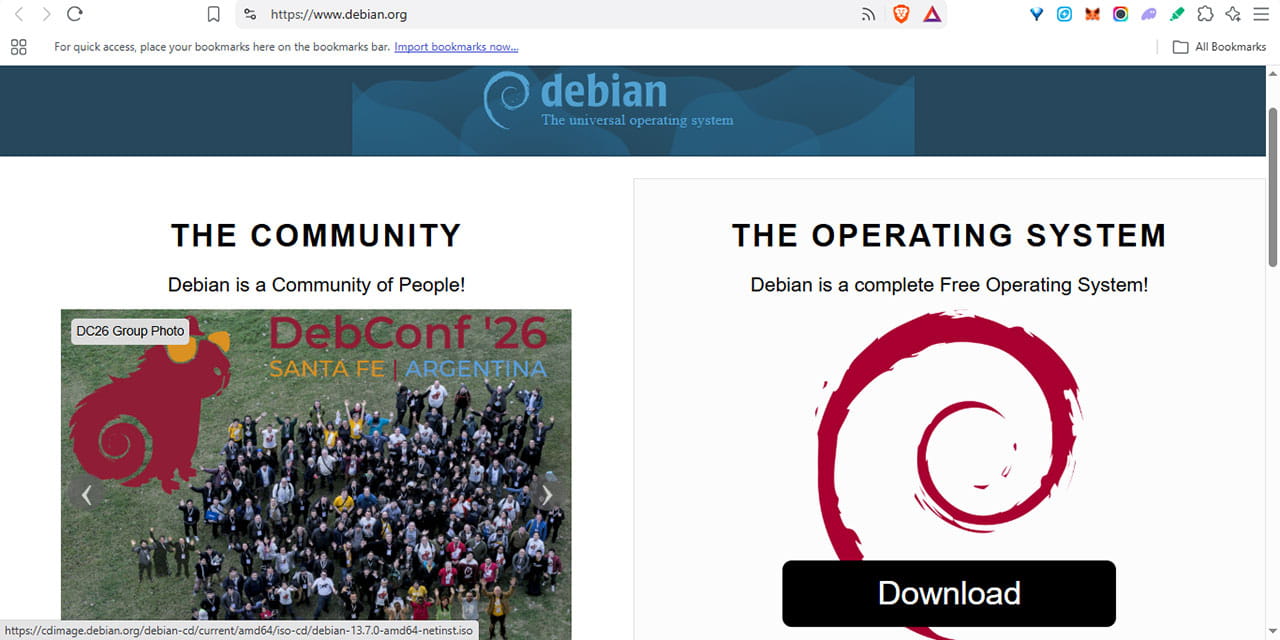
The Debian netinstall image is recommended for most laptops. It’s small and ideal for use on servers because it only downloads what it needs during installation.
Simply navigate to the official Debian website and click the Download button on the homepage.
Installing the OS and Server
You’ll then have to install the downloaded ISO (Debian or another distribution) onto a bootable USB drive using a service like Rufus.
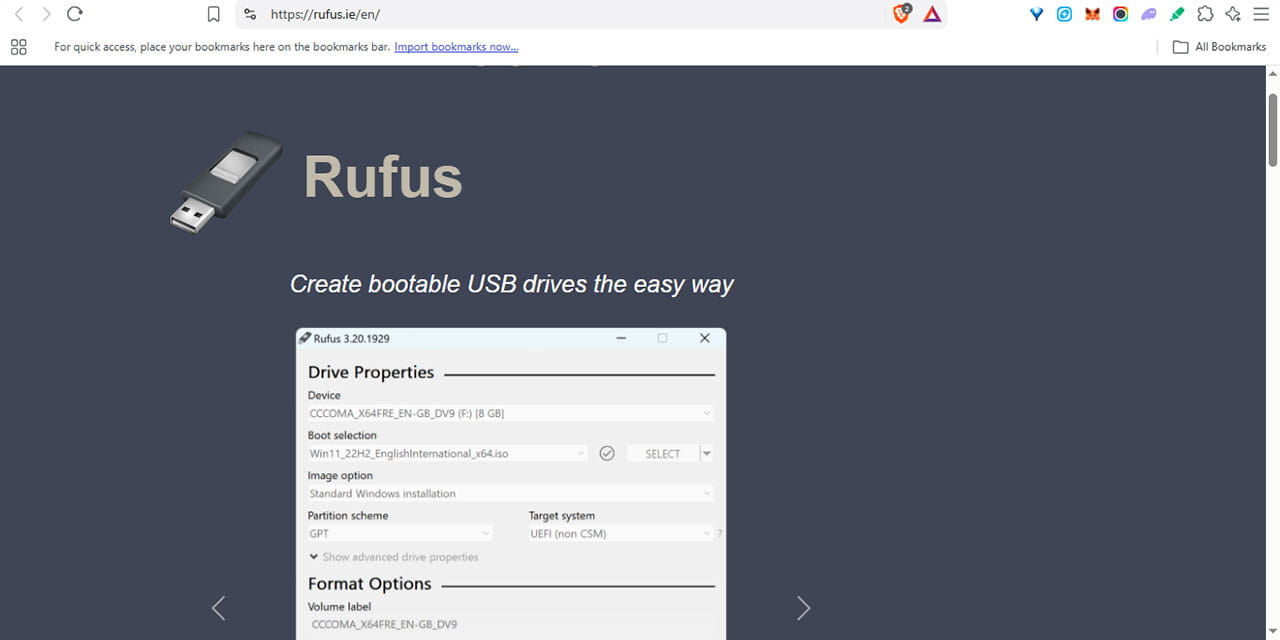
You’ll install Linux onto the server using that USB.
The Linux installation process is beyond the scope of this article, but make sure to:
- Configure it as an SSH server (so you can control it from another PC on your network)
- Include all standard system utilities
- Not select a Desktop Environment
Needless to say, also make sure to install all the packages and dependencies the games you want to play need. Once everything is installed, the server is ready for use.
Server Access
The server is not meant to be worked on directly. Once the operating system is installed, you can administer the server remotely rather than connecting a monitor and keyboard to it. Use SSH for a headless Linux installation or Remote Desktop for a Windows server, provided remote access is enabled.
Once it’s set up and accessible, ideally place it somewhere dry, cool, and dust-free.
Keep Awake During Lid Closure
Keeping the lid open may be inconvenient when using a laptop as a server. But closing the lid typically puts the OS to sleep, stopping the game in the process.
Fortunately, you can configure the OS to ignore the lid switch so the laptop stays awake when closed. In Linux, edit the /etc/systemd/logind.conf file and set HandleLidSwitch=ignore, then restart the service.
Pro Tip
If you’re struggling with port forwarding, use a tunneling service like Cloudflare Tunnel or Playit.gg to expose the server securely instead.