How to Burn a DVD in macOS
Perhaps you want to make a DVD of photos or files from your Mac. Or maybe you want to make a backup to have a hard copy of MacOS on hand, so you’ll either make a bootable USB drive or a DVD. We’re going to explain and show you how to burn a DVD with MacOS.
If your Mac doesn’t have a built-in optical drive, you’ll need to have a portable one—such as an Apple USB SuperDrive like we have.
Insert the DVD and Burn
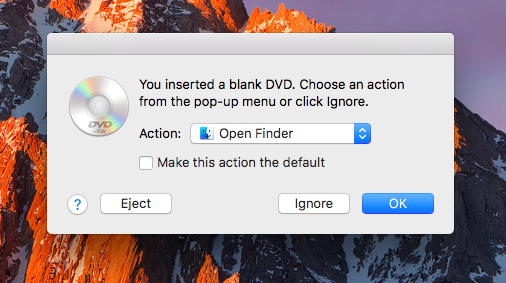
- Insert a blank DVD disc into your optical drive. Next, you’ll see a pop-up alerting you to the fact that you just inserted a blank DVD.

- In the “Action” field, select “Open Finder,” and make it your default action if you wish.
- Next, you’ll click on the “OK” button and the blank DVD will appear on your desktop.
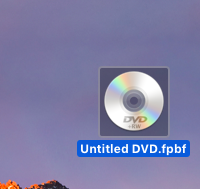
- Double-click on the “Untitled DVD” icon. You can drag and drop files, folders, apps, and such from the desktop into the recordable DVD area.

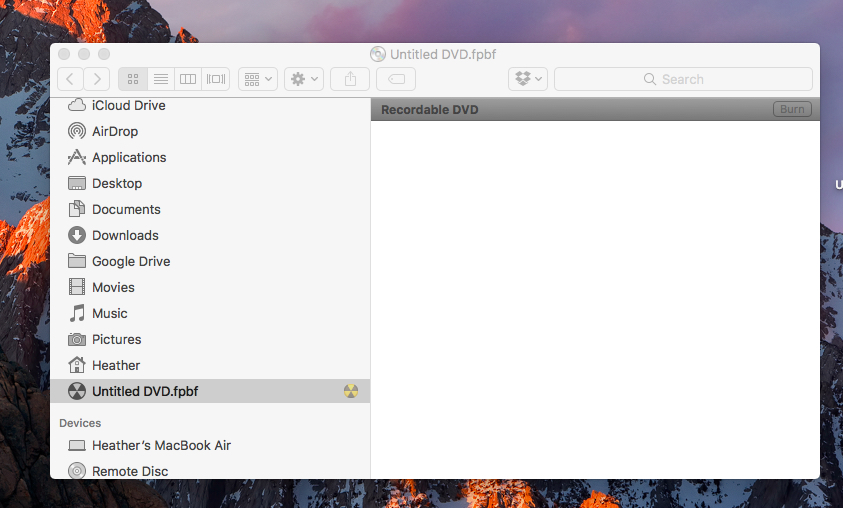
- Another option is to locate the app, files, folders, photos, and so forth, and then drag them directly to the DVD icon on the desktop. This also opens the above “Burn” window on your Mac’s screen.

In the burn window, prepare the named files, folders, apps, etc. how you’d like them to appear on the disk, because that’s how they appear on the DVD once it’s finished Once you’re ready, click on the “Burn” button in the upper right.
DMG Files
If you’re trying to burn a .dmg file, you can control-click on it. To do that, press “Control,” then click your mouse on the .dmg file. Next, scroll down until you can select “Burn disc image” from the list. The box that says “Burn disc in Apple Super Drive” pops open on the screen. Finally, you’ll click on “Burn” to create the image on the inserted DVD.
That’s it! Now your files, folders, etc. are burned to the DVD, exactly how you’ve arranged them.