


5 Tips to Free Disk Space on Your Mac
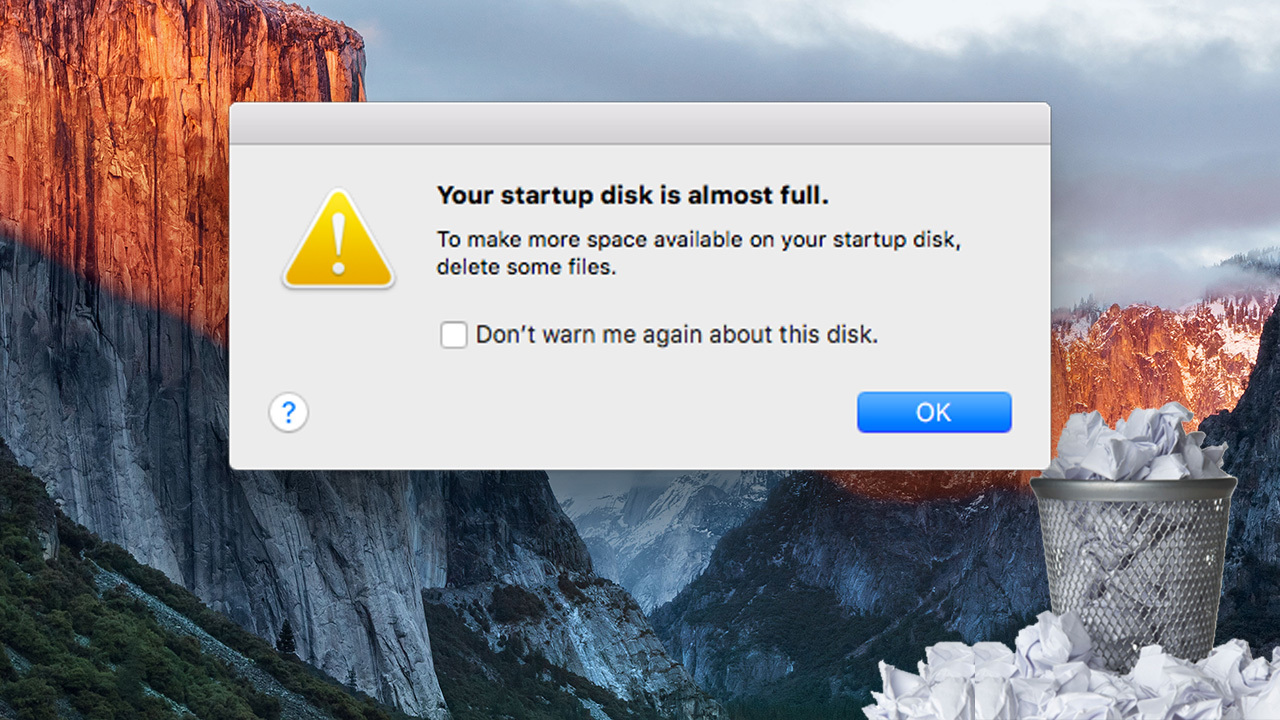
If you’ve seen the scary “your startup disk is almost full” message, then something has to be done. After all, if your Mac doesn’t have enough space to do its own housekeeping or even to save files anymore, you’ll see all sorts of weird behavior, including poor performance, the dreaded spinning beach balls, or even more serious trouble. While Apple plans to help automate user storage with the “Optimized Storage” feature in the upcoming macOS Sierra, if your Mac is telling you that it’s running out of space today, or you think you’re close to the limit, the first thing to do is check your current storage usage.
To check out how much storage you have and how much you’re using, choose the “About This Mac” option under the Apple Menu at the top-left of your screen and then click on the “Storage” tab:
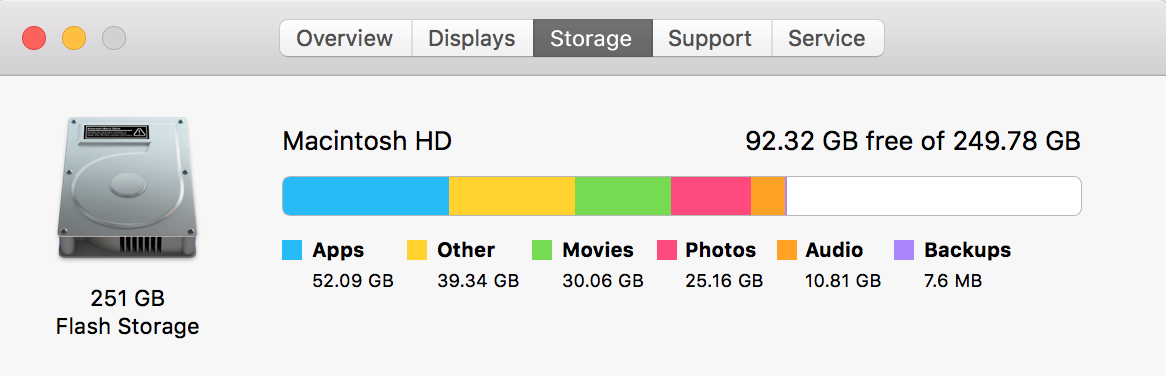
Whew. Looks like I’m OK for now, but if your free space is down to 10GB or less, get crackin’ on cleaning stuff up! Here are some suggestions on where to start.
1. Remove Old iPhone/iPad Backups
If you open iTunes and choose iTunes> Preferences from the menu bar at the top of the screen, you can then click on the “Devices” tab to see a list of iOS backups you’ve saved on your Mac.
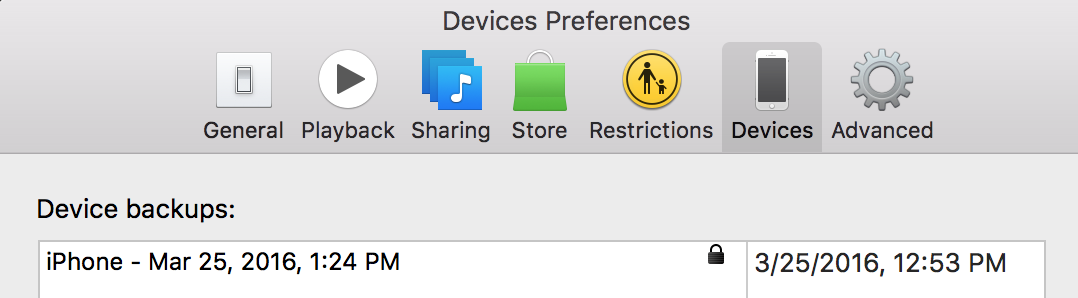
These backups are important but can take up a lot of space depending on the capacity of your iDevice and the amount of data stored on it at the time the backup was made. While I don’t necessarily recommend deleting your current iPhone or iPad backup, check this list to see if you have any old or redundant backups, for example, those from old iPhones you traded in or those made before an iOS upgrade (as long as the upgrade went well).
If any of the upgrades in this list are no longer needed, just click to select one of them and press the Delete Backup button. You may be surprised at just how much free space these iDevice backups can consume! If you’re really aching to free up some space, also consider deleting all of your local iDevice backups and backing up to iCloud instead. You’ll probably need a paid storage tier for your iCloud account (that 5GB of free space doesn’t go too far), but if you have free space in iCloud, you can completely back up your device without needing a byte of space on your Mac.
2. Clean Out Your Downloads
The Downloads folder is the default location for all of the files you download in Safari, Chrome, or Firefox, but thanks to the way that these browsers can automatically open or launch files once they’re downloaded, many users build up a huge pile of old and unneeded junk in this folder. To check out your own Downloads folder, launch Finder and find Downloads listed in the sidebar.
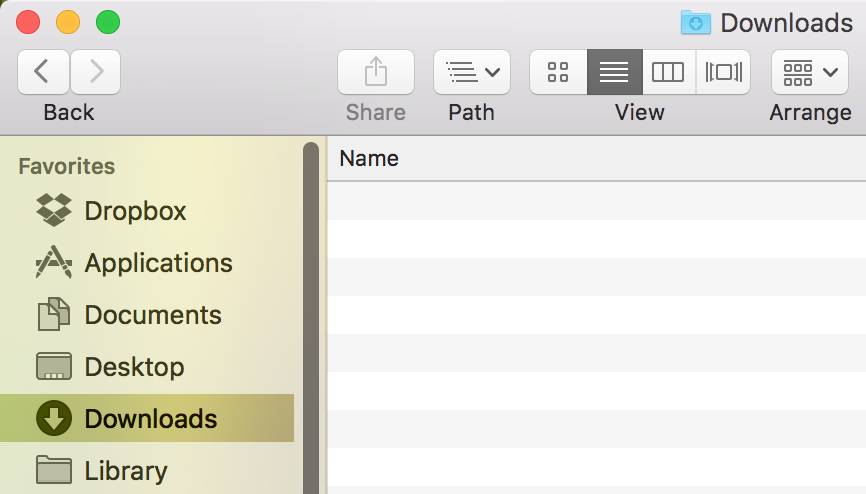
Once that folder opens, spend a bit of time looking through it and trashing what you don’t want. Almost all disk images, for example, can be deleted (as you can typically download those installers from where you originally got them on the web).
Another handy tip is to change to List View (keyboard shortcut Command-2 or the icon with parallel lines in the Finder toolbar) and sort your files by date (by clicking on the Date Modified column header), or size (by clicking on the Size header). This can help you identify which files are the oldest or largest, helping you quickly find good candidates for deletion.
3. Empty Your Trash
This one seems kind of obvious, but you’d be amazed at the number of Macs I see that’ve had files sitting in the trash for years. To do this, just open Finder, select Finder in the menu bar at the top of the screen, and click Empty Trash.
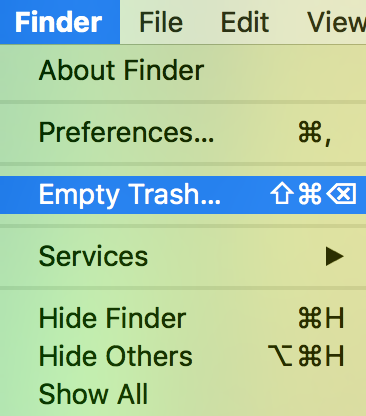
You can also empty the trash on your Mac by right-clicking on the Trash icon in your Dock and choosing Empty Trash, or by launching Finder and using the keyboard shortcut Shift-Command-Delete.
4. Delete Unnecessary Media From iTunes
Since its first appearance in 2001, iTunes has grown from a humble MP3 manager to massive application which handles music, movies, TV shows, podcasts, audiobooks, and iOS apps. As a result, the media stored in iTunes is often the single largest consumer of your Mac’s precious storage space.
If you need to free up space on your Mac, you don’t necessarily need to choose between free space and your media, as you can delete certain iTunes files locally while still retaining on-demand access to them via the cloud.
First, check out your current storage situation by launching iTunes and selecting a media type — movies, TV shows, music, etc. — from the drop-down menu near the top-left of the window.

Once you go to a section—say, “Movies”—you can determine which items are stored on your Mac by whether they have cloud icons next to them. You can also select View > Hide Cloud Purchases from the iTunes menu bar to see only your local iTunes content and not any of the purchased or backed up files you have in the cloud.

Since ol’ Emmet Otter there doesn’t have a cloud icon, I know that the file for that movie is saved locally; if I want to clear out some space on my Mac, I can delete that or move it onto an external drive. For items purchased from Apple, you can almost always redownload them anyway. If you’re paranoid about not being allowed to do so in the future, however, be sure you have a backup in place before you start removing media all willy-nilly.
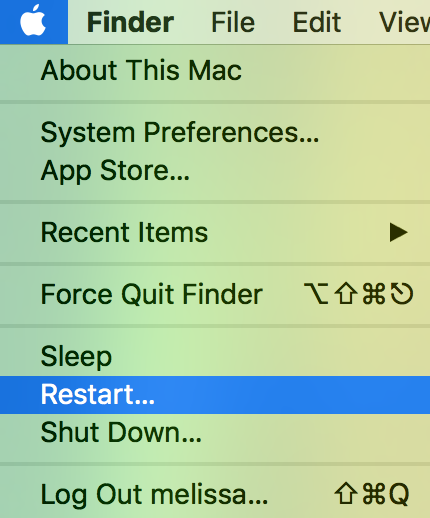
5. Just Reboot!
If it’s been a while since you restarted your Mac, sometimes doing so will reclaim a bit of space, as the macOS reboot process involves clearing certain cache and temporary files which may have accumulated in the days and weeks since your last reboot. Of course, you’ll do that under the Apple Menu at the top-left of your screen.
If none of the above suggestions gives you enough free space to get by on, then it might be time to consider some more serious options. One option is to consider upgrading your Mac’s drive to a larger one, although this is an increasingly difficult, if not impossible, solution for many users as Apple continues to release closed and non-upgradeable systems.
In the absence of an internal storage upgrade, however, external options are always available, and you could think about moving your entire iTunes or Photos Library off onto an external drive. I don’t usually recommend doing so, however, since this approach will make backups and management more cumbersome. If you absolutely have no other choice, though, you’ve gotta make room somehow.
And finally, if the “About This Mac” window doesn’t give you enough information, you can always consider using a third-party utility to see where all of your space is being taken up. There are tons to choose from, but my favorite is OmniDiskSweeper from The Omni Group. If a first pass with OmniDiskSweeper doesn’t catch everything, try running it with superuser privileges.
No matter which approach you take to freeing up space on your Mac, keep in mind that you should always make sure that your backups are solid before getting started, and don’t ever delete anything if you don’t know what it is! The solution to “I have to free startup disk space on my mac” is definitely not “let’s go delete stuff in the System folder,” all right?


One thought on “5 Tips to Free Disk Space on Your Mac”