


How to Enable the Drag Tray on Windows 11 PC

Dragging and dropping is an invaluable function in Windows for streamlining your work. That is, when it goes off without a hitch. A stray window or blocked desktop can easily frustrate moving or copying files and folders. Today we’re looking at the drag tray, Windows 11’s answer to streamlining things even further, and how to make use of it.
What Is the Drag Tray (Windows 11)?
If you haven’t heard of the drag tray before, there’s a good reason. As of this article, this tool has been in beta testing, is not officially released, and not readily available to use. For Windows Insider Program users, it’s been something available for a while, but for most of us, it’s something you have to go looking for.
But what is the drag tray or drop tray – as it has been called– since Build 26200.8328?
Simply put, it’s an interface at the top of your screen that provides several sharing shortcuts to make dragging and dropping easier and less dependent on having quick access to a file or folder. When you click and drag any file, the drag tray will appear to provide shortcuts.
How to Enable Drag Tray
Let’s take a look then at how to enable drag tray for your Windows 11. There are two approaches, listed below, depending on the tool’s status on your PC:
Via Settings
In some versions of Windows, the option to enable the drag tray (or drop tray) can be toggled in Settings. Here’s how to check if you have it:
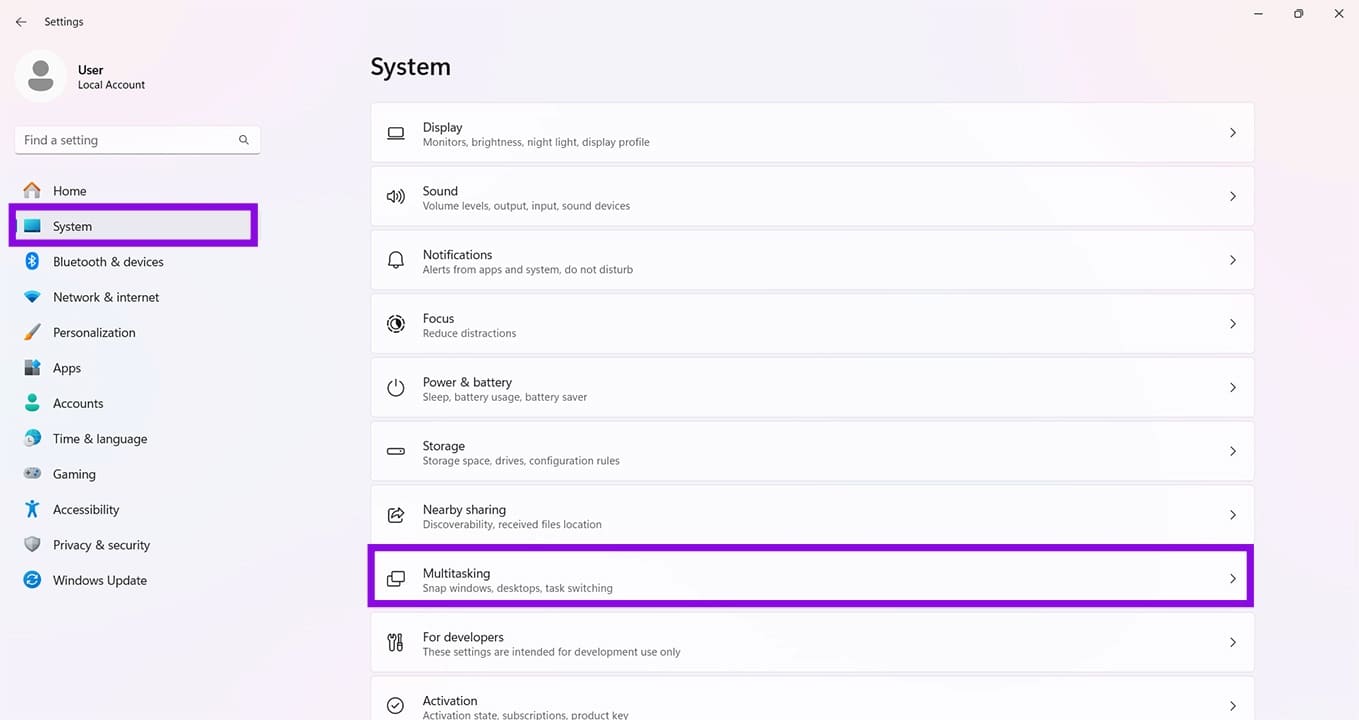
Step 1. Open Settings (Win + I) and click “System” in the sidebar.
Step 2. In the main window, scroll down to “Multitasking” and click it.
Step 3. In the next window, look for either a “Drag tray” or “Drop tray” option with a toggle next to it. Turn it on.
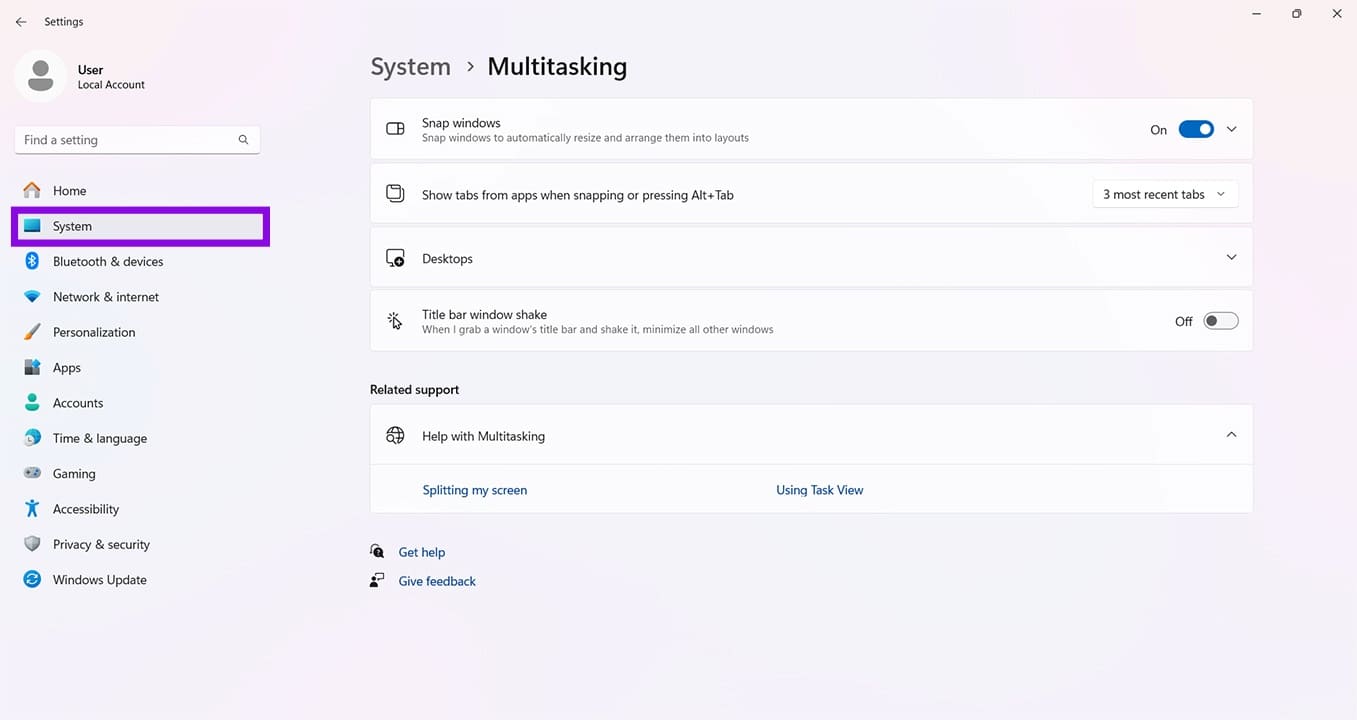
Step 4. If you can’t find this option, then you’ll have to try the other method.
Through Command Prompt
If you’re running Windows 11 with an update version of KB5050105 or later, you should be able to manually enable the drag tray. Here’s what to do:
Step 1. You’ll need ViVeTool from GitHub. Go to this link to download it. Be sure to download the right type for your PC processor.
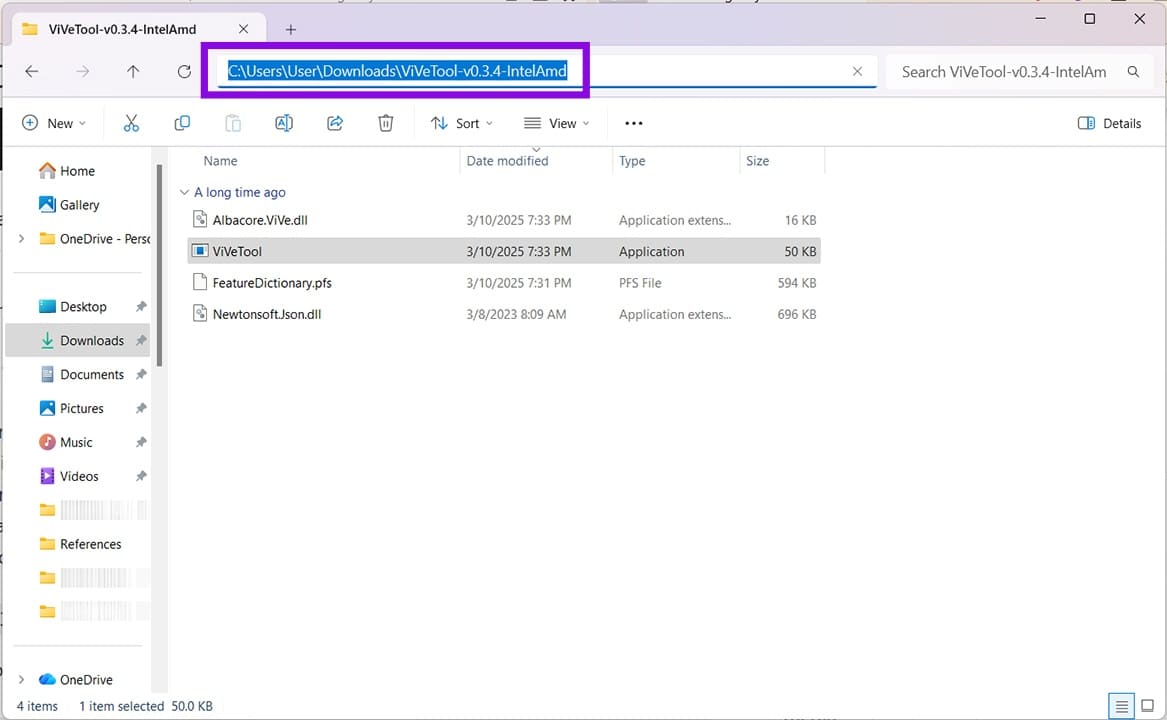
Step 2. Extract the file once downloaded.
Step 3. Enter the folder and click the address bar at the top and Ctrl + C to copy the file path.
Step 4. Open the Run dialog (Win + R) and type “cmd,” before pressing Ctrl + Shift + Enter to run as Admin.
Step 5. In Command Prompt, paste the path to the ViVeTool, and combine it with the ID for enabling the drag tray e.g. “C:\Windows\System32>cd C:\ViveTool” and press “Enter.”

Step 6. With ViVeTool loaded, enter: “vivetool /enable /id:45624564,53397005,48433719” and press “Enter.”
Step 7. Restart your PC.
Step 8. To use the tray, drag a file or folder to the top of the screen. The drag tray should appear.


