


How To Install IPTV on Kodi
Internet Protocol Television (IPTV for short) is a streaming protocol that allows users to watch streamed live TV content via their media center software. IPTV provides TV content through Internet Protocol (IP) instead of the more traditional broadcast or cable formats. Kodi, one of the best-known and most popular media centers for Windows, Mac and other platforms, has embraced IPTV streaming so that you can watch streamed TV using the Kodi media center without needing any extra hardware such as a TV tuner.
Kodi supports third-party add-ons which allow you to extend the media center software in various ways. There are a number of IPTV add-ons that you can use to access a variety of TV channels. Some of the better known IPTV add-ons include Navi-X, oCloud, UKTV, Kodi Live and Ultimate IPTV. These add-ons scrape content from web sources, and you’ll to install one of those add-ons, or other alternatives, to enable IPTV in Kodi.
This guide will show you how to add Ultimate IPTV to Kodi 17.6, which brings an extensive collection of channels to the media center software. Note that Tech Junkie does not endorse the streaming of exclusive or copyrighted media content.
First, you’ll need to configure add-ons for unknown sources in Kodi 17.6. Click the cog icon at the top of Kodi’s sidebar and select System settings to open further options. Then you can select Add-ons on the left sidebar, which includes an Unknown sources setting. Click Unknown sources and press the Yes button to confirm selection.

Add the Fusion Repository to Kodi
You’ll need the Fusion Repository to add Ultimate IPTV to Kodi. If you don’t already have that installed, click the cog icon at top of sidebar on the home screen and select File manager. Then select Add source to open the Add file source window in the shot directly below.
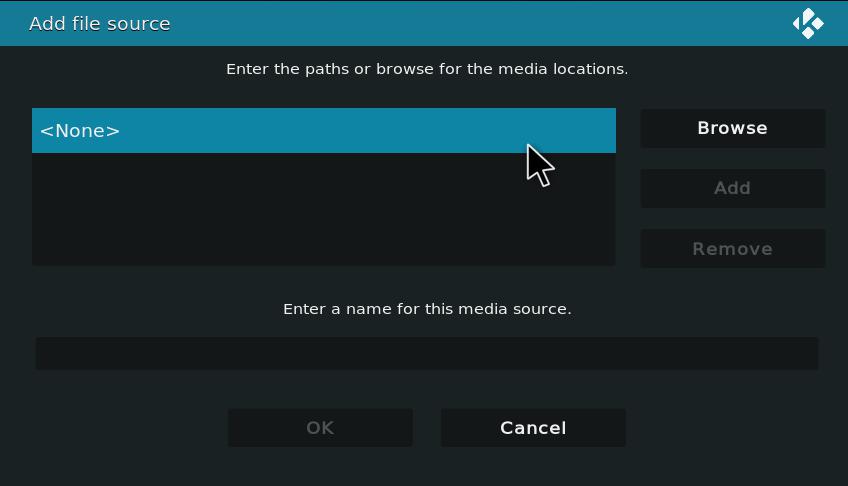
Click <None> and enter ‘http://fusion.tvaddons.co‘ in the text box, and press the OK button to confirm. Next, enter ‘Fusion’ as the title of the media source. Press OK to add the source and return to Kodi’s home screen. This Tech Junkie guide also tells you how to install Fusion in Kodi Jarvis.
Add Ultimate IPTV to Kodi
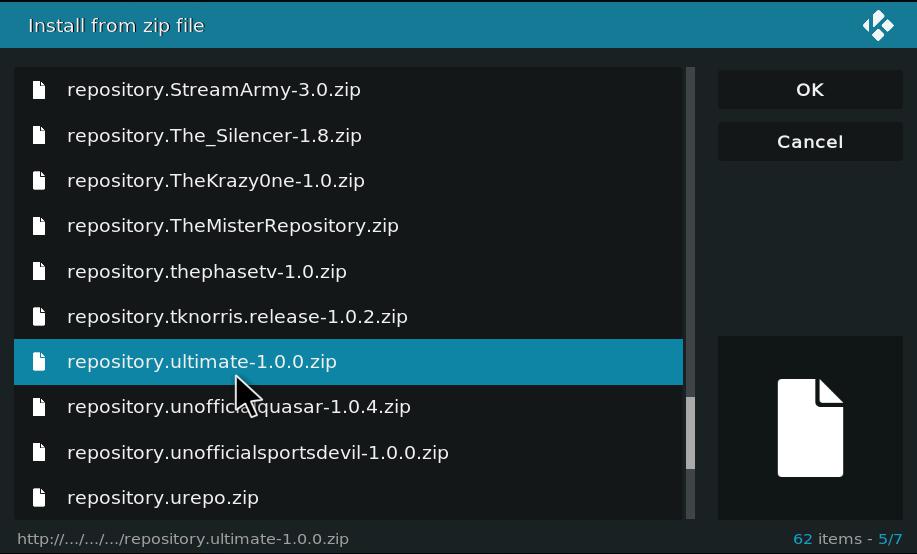
Select Add-ons on the sidebar from the main Kodi screen and click the box icon at the top left to open the add-on browser. Then you can click Install from zip file and select Fusion, which includes the Kodi-repos directory. Select Kodi-repos > English to open a list of Zips as below. Select repository.ultimate-1.0.0.zip from there and press the OK button. An Add-on enabled notification will appear at the top right of Kodi’s window
Return to the home screen, click Add-ons and the box icon at top of the Add-on sidebar as before. Select Install from repository and click Ultimate repo > Video add-ons to open the add-on list in the snapshot below, which includes Ultimate IPTV and f4mTester. Click Ultimate IPTV and then press its Install button to add it to Kodi. An Add-on installed notification should then appear at the top right of Kodi.
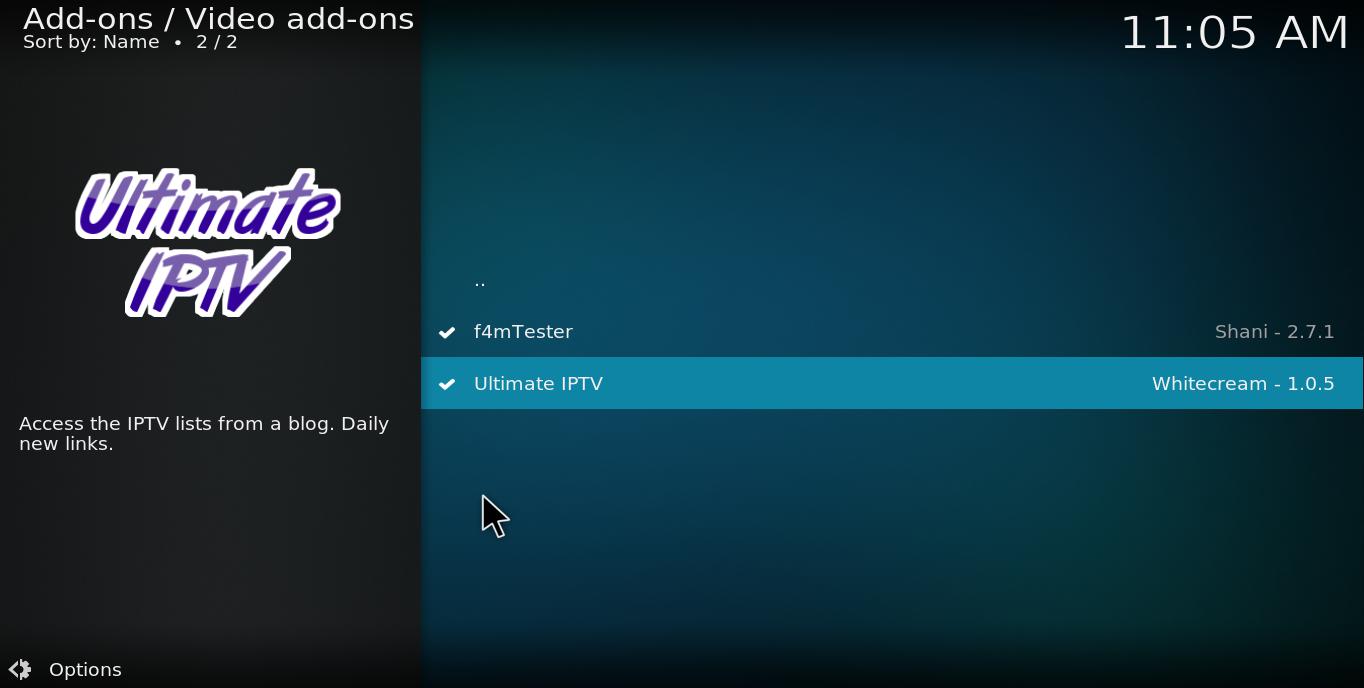
To get the best from Ultimate IPTV, you should also add Tester F4M to Kodi. That’s one of the video add-ons included with the Ultimate IPTV repository. So you can also select f4MTester from the video add-on list shown above and press its Install button
The Ultimate IPTV Add-on Settings
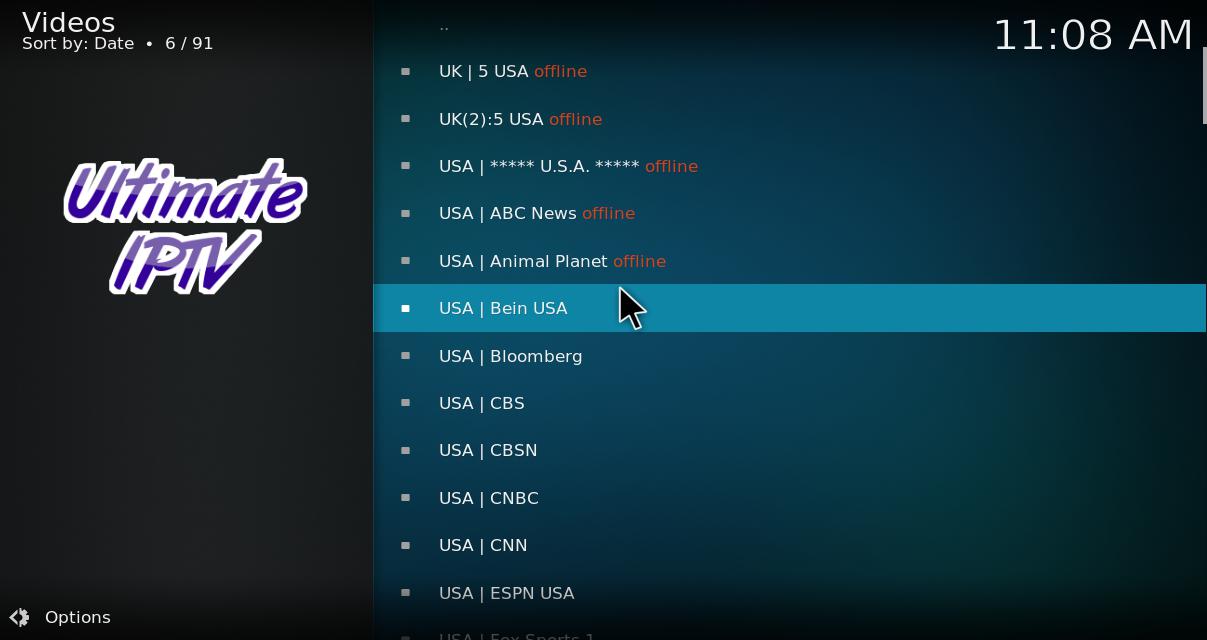
Now Ultimate IPTV will be on your Kodi home screen. Click Add-ons on the home sidebar and select Ultimate IPTV to open the add-on as in the snapshot below. That includes various channel categories for you to select from. The add-on has thousands of channels from the U.K., U.S. and other countries.
Before you open channels, check out some of the add-on’s configuration options. Move the cursor to the left of Kodi’s window to open a sidebar from which you can select Add-on Settings. That will open the settings below which include a Set default playback option you can configure playback with.
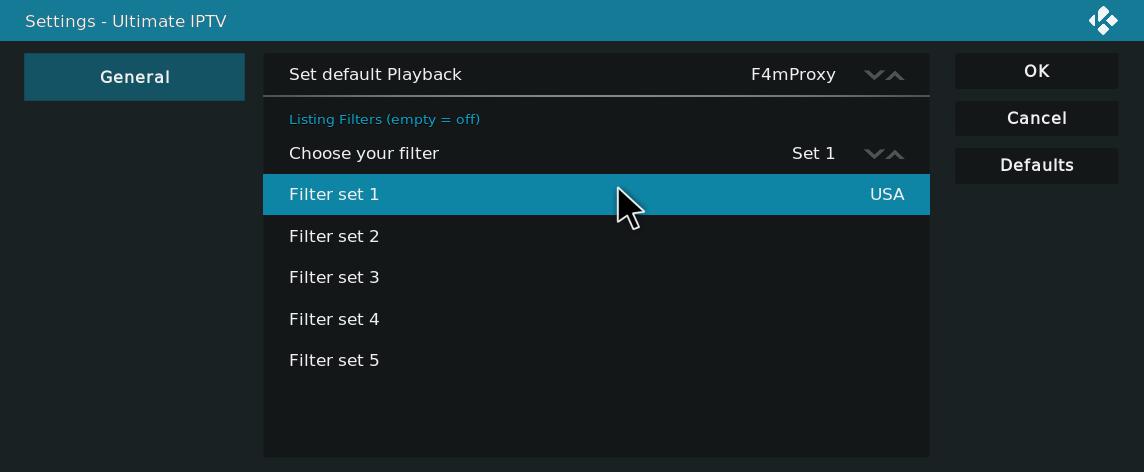
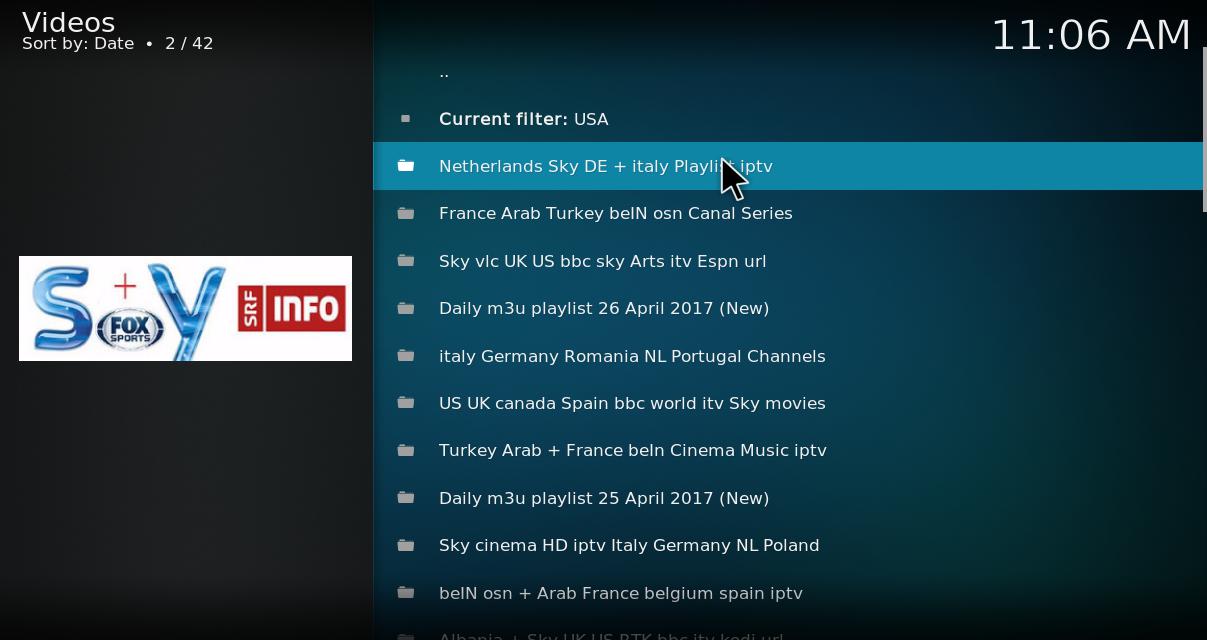
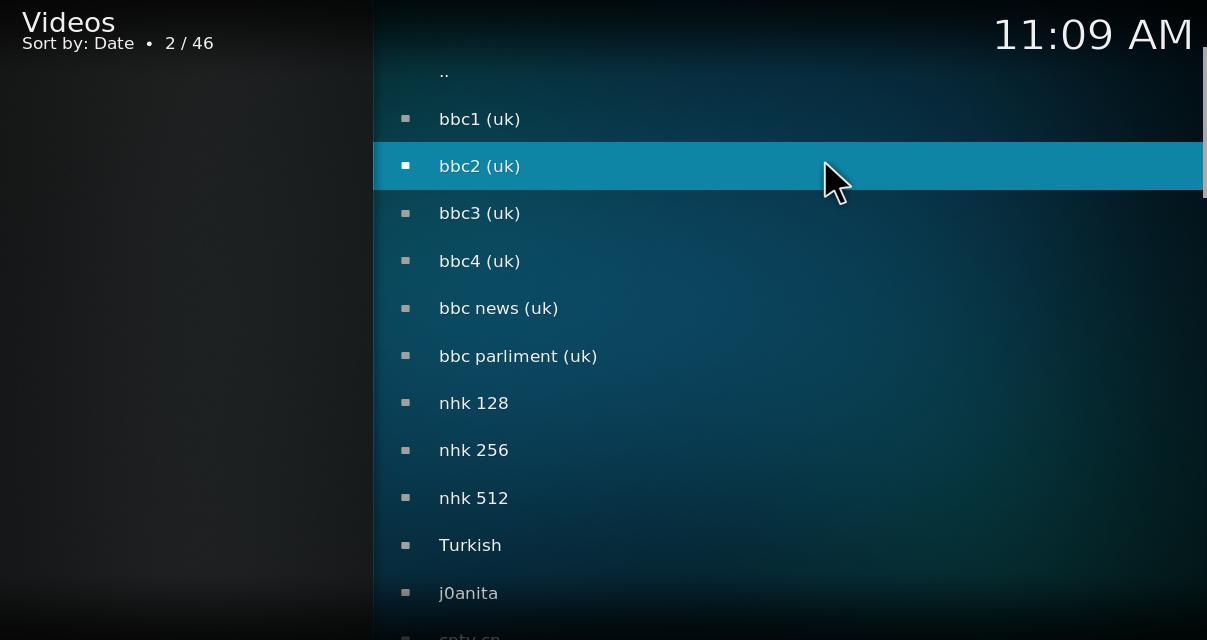
The Ultimate IPTV settings also include filters to filter channels with. For example, you can set up a filter to more specifically return U.K. or U.S. channel streams. To add a U.S. or U.K. filter, click Filter set 1 and enter ‘UK’ or ‘USA.’ Click Choose your filter and select Set 1 from there. Press OK to confirm the new settings. Then select a channel category to open its list of channels as shown in the snapshot below. As a USA filter has been selected, that list only includes American channels.

The Tester F4M add-on that came with the Ultimate IPTV repository also has channel streams, and it’s worth checking that out as well. Click Add-ons on Kodi’s home sidebar and select f4mTester to open the add-on below, which includes a few channels to play in the media center.
Ultimate IPTV has thousands of channels, but you can’t expect them all to work. That’s especially the case if you happen to have a slower connection. The streams also have pretty good picture quality, but can still buffer or go down. Nevertheless, it’s still a decent enough IPTV streaming add-on. This Tech Junkie article also provides further details for some of Kodi’s best streaming add-ons.


6 thoughts on “How To Install IPTV on Kodi”
This add-on has been discontinued. It will not work anymore.
Regards,
Shahid