How to Install Ring Doorbell on Siding
If you’re a smart home or home security enthusiast, you’re going to be familiar with Ring doorbells. These intelligent gadgets are one of the best and most budget-friendly solutions to monitoring your front or back door. More importantly, the doorbell sends you alerts as soon as it picks up movement around your property.
The feature themselves are cool, but how do you install Ring doorbell on a siding? Don’t worry. You don’t need any fancy power tools and handyman skills. However, there are some expert tricks you should know about. Keep reading to find out what they are.
Ring Doorbell Components
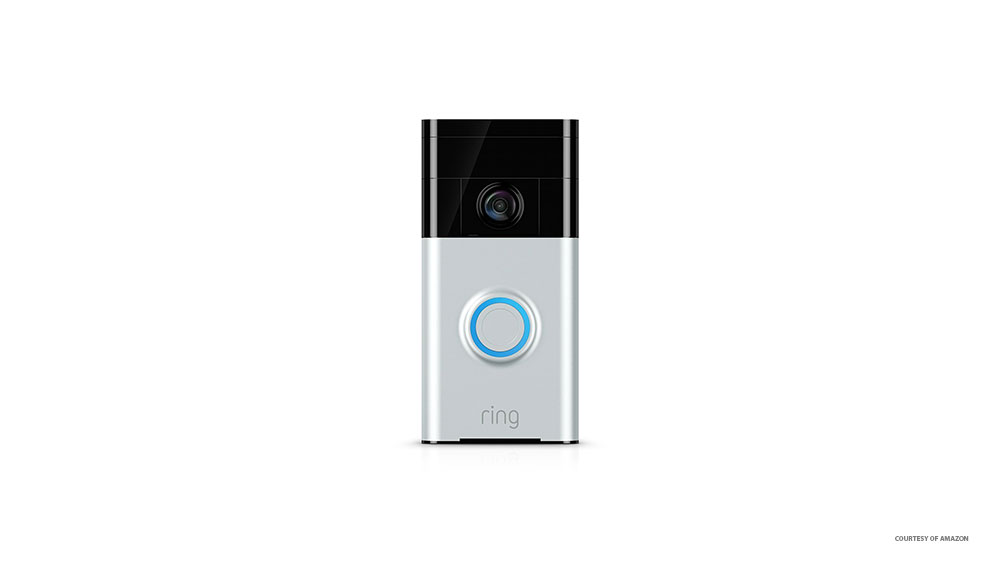
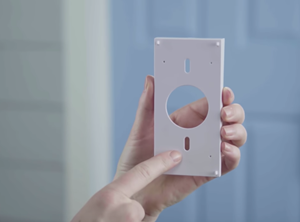
To get a better understanding of the installation requirements, you should get to know the Ring doorbell components. Right out of the box, you get a backplate (which screws directly to the siding surface), the doorbell itself, mounting screws, as well as a small mounting level.
The small level snaps onto the backplate to help you properly position the doorbell. Other than that, you need a drill or power screwdriver to secure the backplate to the siding. From here on out, there isn’t much more to the installation than careful positioning and mounting.
Ring Doorbell Installation – Step-by-Step Guide
Step 1
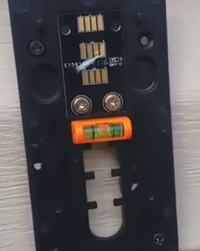
Before you start drilling into the siding, it’s best to mock up the backplate and make sure that everything is nice and level. You can use masking tape to loosely stick the backplate to the wall. Tape the front of the backplate making sure the screw holes are accessible and the backplate is level.
Step 2
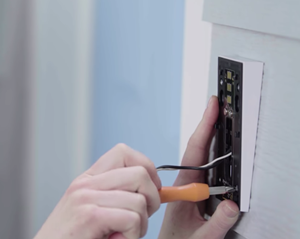
Pick up the screws from the mounting kit and drill them in place. There are four holes for the screws and you should make sure that each one is properly screwed in. When you finish mounting the backplate, try to wiggle it a little to determine if the fit is nice and secure.
Step 3
At this point, you can take off the small level and the masking tape and proceed to mount the doorbell unit itself. The Ring doorbell just slides onto the backplate. The important thing is to press the orange button before you slide on the unit to put Ring in the set-up/searching mode.

After you press the orange button, the ring around the doorbell button gets illuminated and starts circling. Now, you can mount the unit onto the backplate. Don’t forget to press the doorbell lightly on top to snap it into place, plus there are two screws at the bottom of the doorbell that secure it to the backplate.
Ring Doorbell Wedge Kit
The Ring doorbell wedge kit allows you to mount the unit at a 5°, 10°, or 15° angle. This kit is sold separately and designed to limit the number of events the doorbell’s motion sensor pricks up.

This can come in handy if you need to install the doorbell on your front door and the door is near the street. Angling the doorbell downwards limits the motion sensor’s range so it only records events that are near or at your front door.
When you figure out which angle works best for you, screw the wedge or wedges into your siding. There are two openings – where the screws go, of course – and you also need to keep everything level. The wedge kit includes different screws so there shouldn’t be any problems to secure them to different surfaces.
The kit features really small screws for installing the backplate onto the wedge. After you mount the backplate, slide the Ring doorbell on and fasten the security screws at the bottom.
Expert Tips: If you need to install the doorbell on stucco or masonry, drill holes and use plastic anchors to screw in the backplate or the wedge. The anchors and the screws come with the mounting kit.
Ring Doorbell Set-up
Installation out of the way, you’ll need to set up your Ring doorbell. The following guide assumes you’ve already downloaded the Ring app and logged into your account.
Step 1
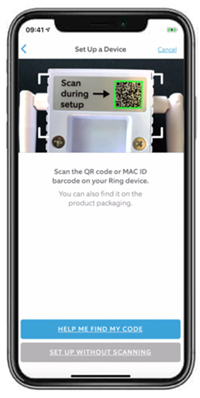
Launch the Ring app, select “Set Up a Device”, and choose Doorbells. Now, you need to scan MAC ID or QR code of your doorbell. The codes are on the packaging so there’s no need to scan anything prior to securing the doorbell to the mount.
Step 2
Next, you need to allow the Ring app to use your smartphone’s location and choose a name for your doorbell.
Note: The doorbell doesn’t work the right way, unless it can pick up on your smartphone’s location.
Step 3
Connect the doorbell to your Wi-Fi network by tapping on the “Join” button on the Ring app. This applies to iOS devices since the Ring connects on auto with Android smartphones. You’ll also need to select your network and provide the Wi-Fi password. Hit “Continue” when you supply the information and you’re good to go.
Be Your Own Handyman
When all is said and done, installing the Ring doorbell on a siding is super easy. And if your siding is at an angle, you can still position the doorbell properly with some help of proprietary wedges.
Do you have any experience with installing home security gadgets? Did you know Ring doorbell connects to your Echo show? Don’t hesitate to share your thoughts with the rest of the TechJunkie community in the comments section below.