How to Screenshot Entire Website Page With Google Chrome, Firefox and Opera

Previously we have discussed how to capture desktop screenshots with Windows 10’s Snipping Tool and PrtSc hotkey. You could also use those to capture a snapshot of a browser window, but you can’t capture a snapshot of the full website page open in the browser with them. So it’s better to capture Web page screenshots with Google Chrome, Opera and Firefox extensions.
Capturing Website Page Shots in Google Chrome
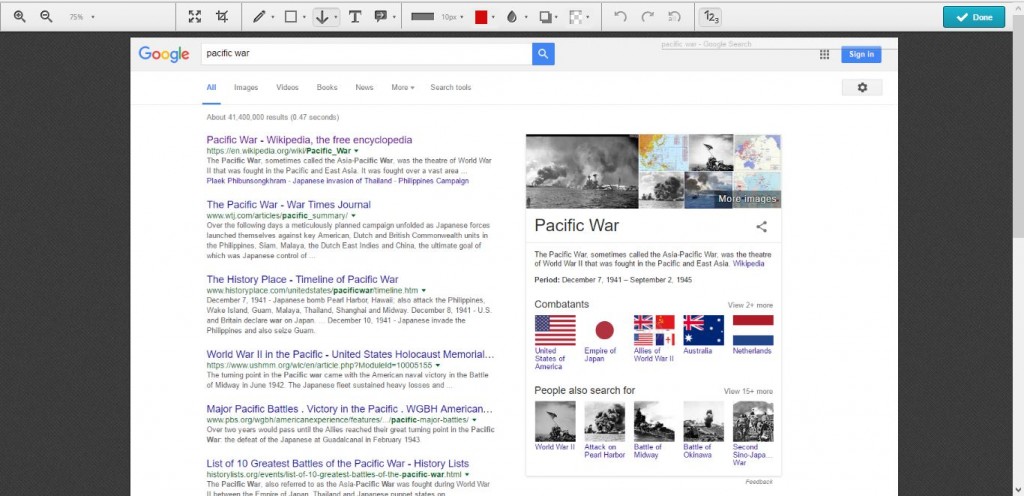
One of the best extensions to capture Web page snapshots in Chrome with is Awesome Screenshot. Click here to open the extension’s page and add it to the browser. This is also an add-on you can add to Firefox from here. Once you’ve installed the extension, open a page and press the Awesome Screenshot button on the toolbar as below.

Select Capture entire page from the menu to capture a full-page snapshot. That will then open the tab shown in the image directly below, which includes the full-page shot you just captured. Note that it captures the entire page in the snapshot including those areas that weren’t visible in the browser when you took the shot, which isn’t something the Snipping Tool can do.
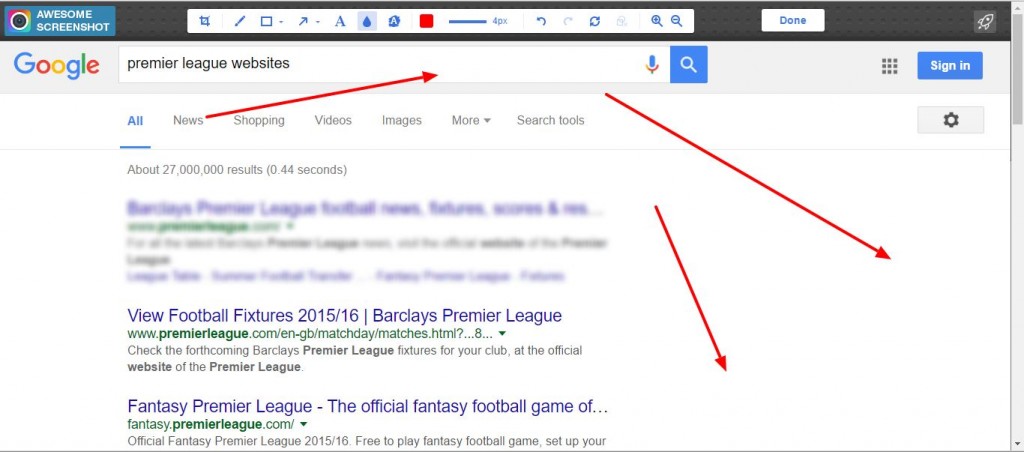
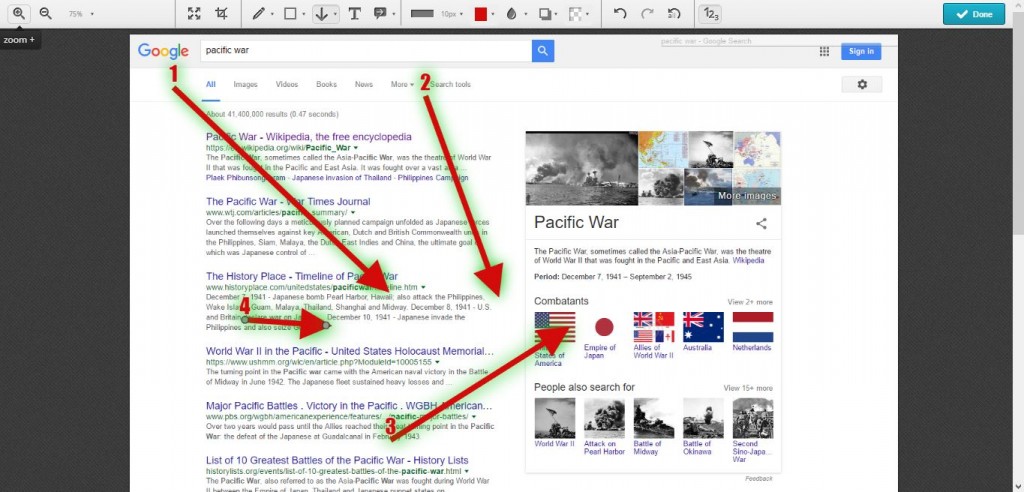
From this tab you can select a variety of extra annotation options for the image. For instance, you can draw straight arrows onto the image by selecting the Arrow button on the toolbar. Hold the left mouse button and drag the arrow to expand it. Press the Delete selected button to erase selected arrows and other objects.

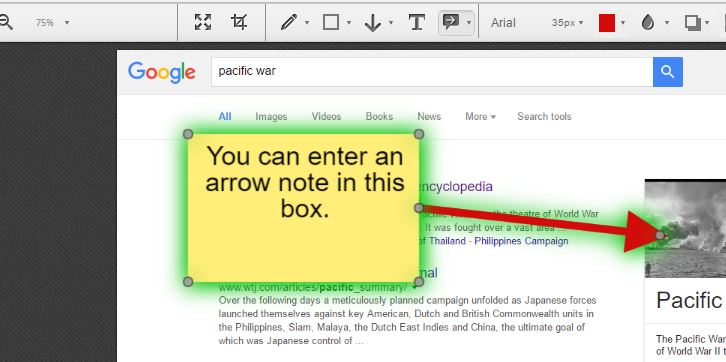
Press the Text button to add text to the image. That will add a text box to the snapshot. Entering text expands the box. Click the small circle at the top and hold the left mouse button to rotate the box. You can choose new fonts and text colors from the toolbar when the text box is selected.
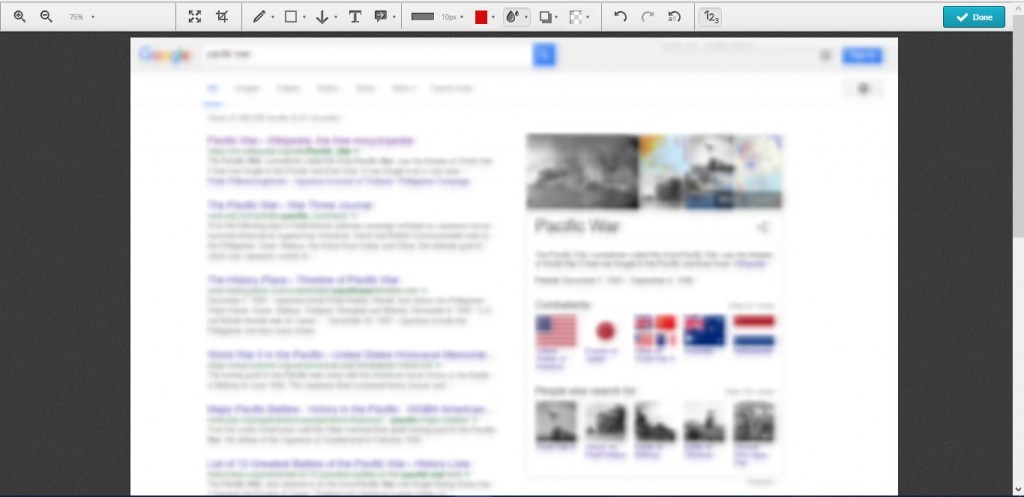
Blur is another option on the Awesome Screenshot toolbar you won’t find in the Snipping Tool. With that you can a blur effect to the image. Click the Blur option and then drag a box over an area of the image to add the blur to it as shown below.
Press the Done button to save your Web page screenshot. That will then open a few save options for the image as shown below. You can select some local save options or save it to accounts such as Google+.

To capture a smaller portion of website page, select Captured selected area from the Awesome Screenshot button menu. Then you can drag a rectangle over the area of the page to include in the shot much the same as the Snipping Tool. Click Capture to confirm the selection.
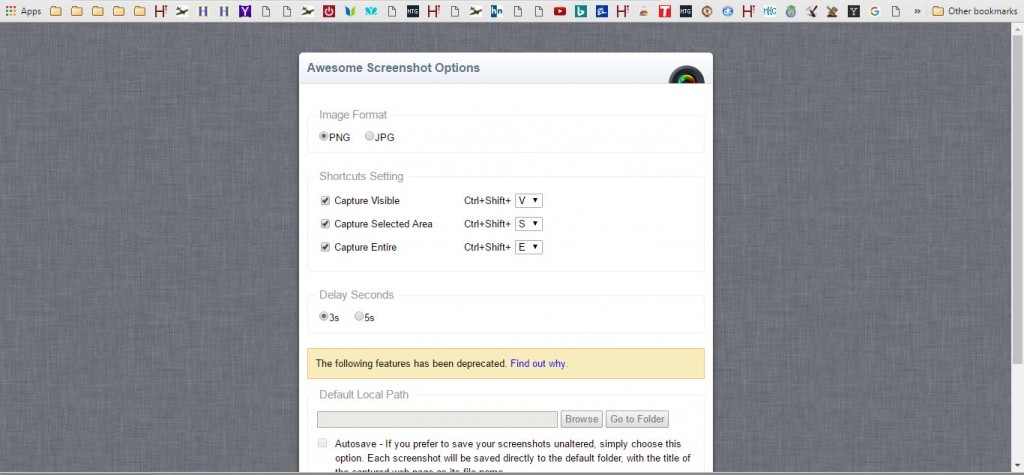
Right-click the extension’s button and select Options to open further settings. That will open the tab below from which you can configure the Awesome Screenshot hotkeys. In addition, you can also select an alternative file format for the images.
Capturing Screenshots with Nimbus
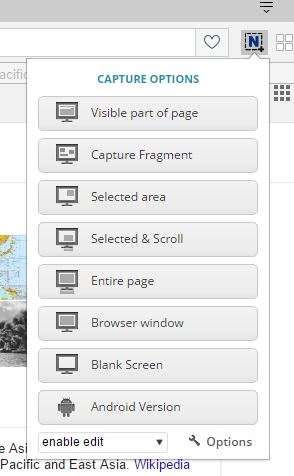
Nimbus Screen Capture is an alternative extension you can capture page snapshots with. You can use it in Google Chrome, Firefox and Opera. It works much the same as Awesome Screenshot with a Nimbus Screenshot and Screencast button on the toolbar you can press to select its options.
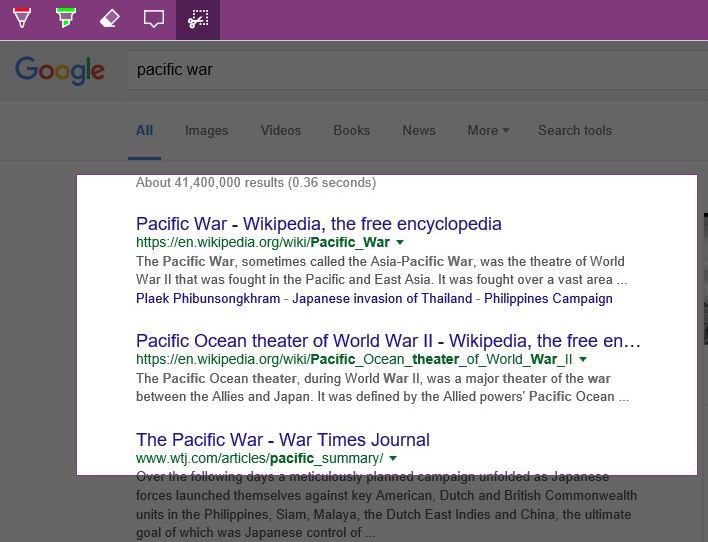
So press the button shown in the shot directly above and select Entire page to take a shot of the full-page open in browser. It will then open the Edit – Nimbus Screenshot tab below. This tab is also pretty similar to Awesome Screenshot with a toolbar at the top that includes annotation options.
The options here are also similar, and you can add arrows to the image by selecting draw arrow. If you click the small arrow beside that button, you can choose a wider variety of arrows. You can also select a shadow option to add a shadow, or glow, effect to the selected arrow. Press the show numbers button on the far right of the toolbar to add numbers to the arrows.
Select the draw note option to combine arrows with text boxes. That adds an arrow and text box to the snapshot as below. Click the circles around the text box and arrow to adjust their angle and dimensions.
Nimbus also has the blur option included in Awesome Screenshot. However, it has one extra setting you can select that adds blur to the full snapshot instead of just a smaller selected area.
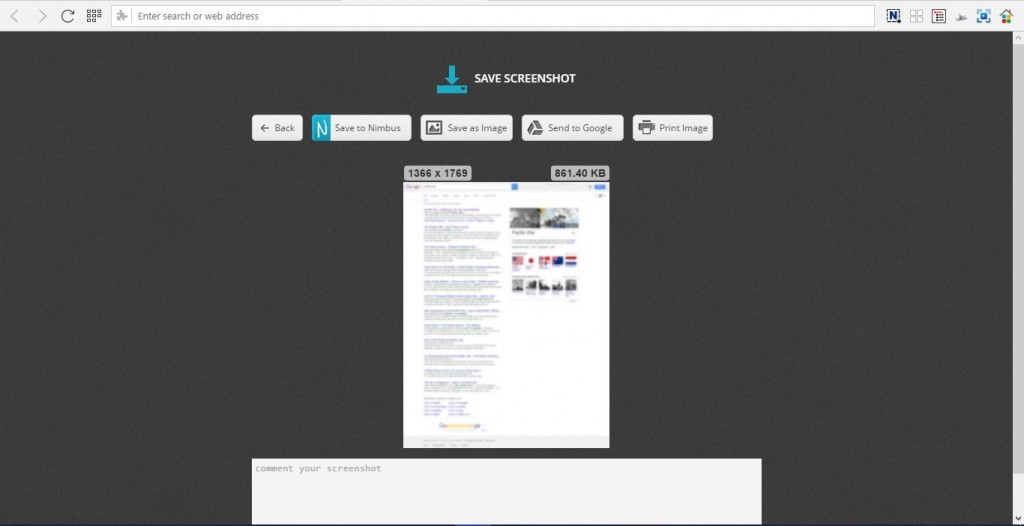
Press the Done button to save the snapshot. Then press Save as image to save the snapshot to desktop or laptop. Alternatively, you can also save these to your Nimbus account by selecting the Save to Nimbus option.
Click the Nimbus Screenshot and Screencast button and Selected area to capture a smaller area of a website page. Then you can drag and expand a rectangle to select an area of the page to capture in the snapshot. Click the Edit button under the rectangle to open the snapshot in the Edit – Nimbus Screenshot tab. Press the Save button to save the rectangle’s crop position. You’ll also need to select the Save crop position check box on the Options – Nimbus Screenshot tab to enable that option.
Capturing Full Web Page Shots in Edge
You don’t need any extension to capture full Web page snapshots in Edge. You can instead capture a website page snapshot with its Make a Web Note option. Open a page in Edge to capture in image, and then press the Make a Web Note button on the toolbar. That will take a snapshot of the page and open the note toolbar as below.
The options on the Edge toolbar are a little more limited than those in Awesome Screenshot and Nimbus. You can press the Clip button to cut out a smaller portion of the page. That opens a rectangle that you can drag over an area of the page to copy to Clipboard. Paste the copied area of the page into Paint, or other image editor, by opening the software and pressing Ctrl + V.
Another way you can capture a full website page snapshot in Edge, and any other browser, is with the web-capture.net tool. That’s a website page that processes the URLs you enter into full Web page screenshots. Click here to open the web-capture.net tool shown below.
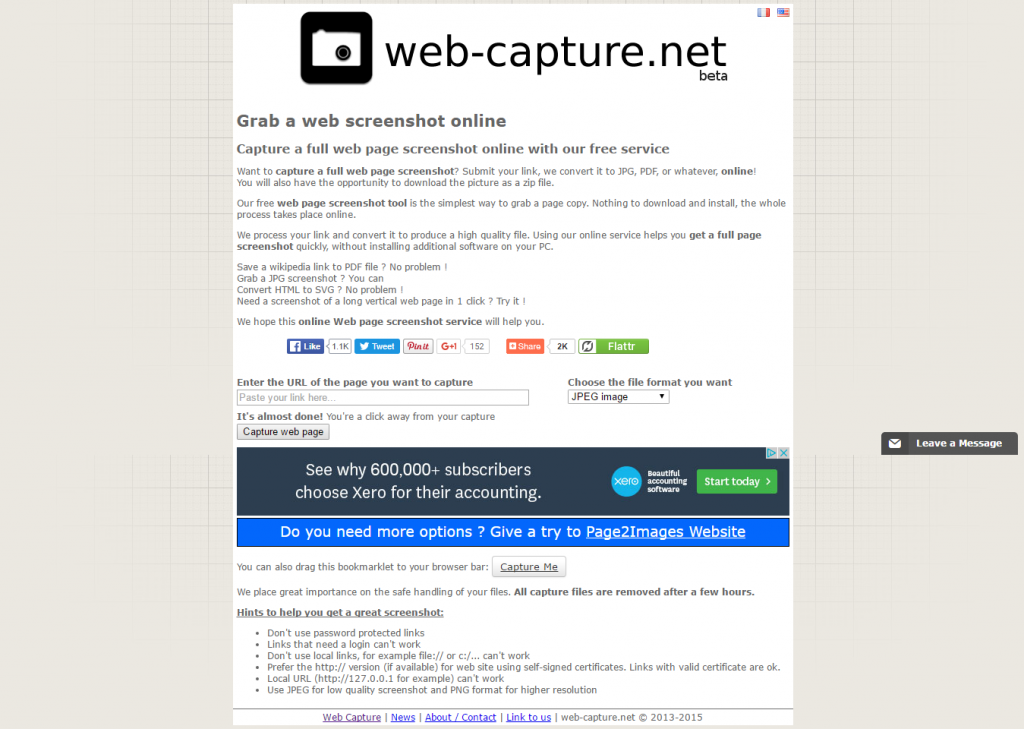
Then input a URL into the Enter the URL of the page you want to capture text box, and select a file format for the image from the drop-down menu. Press the Capture web page button to get your captured image. Then click view for a full preview of the captured shot. Click Download (preferred) to save the snapshot to the Downloads folder.
So you can capture full-page website snapshots with Awesome Screenshot, Nimbus Screen Capture, Edge’s Make a Web Note option and web-capture.net. The browser extensions have the most extensive options for capturing full Web page screenshots, and you take desktop software snapshots with Awesome Screenshot. As such, Awesome Screenshot is a great alternative to Windows 10’s Snipping Tool.