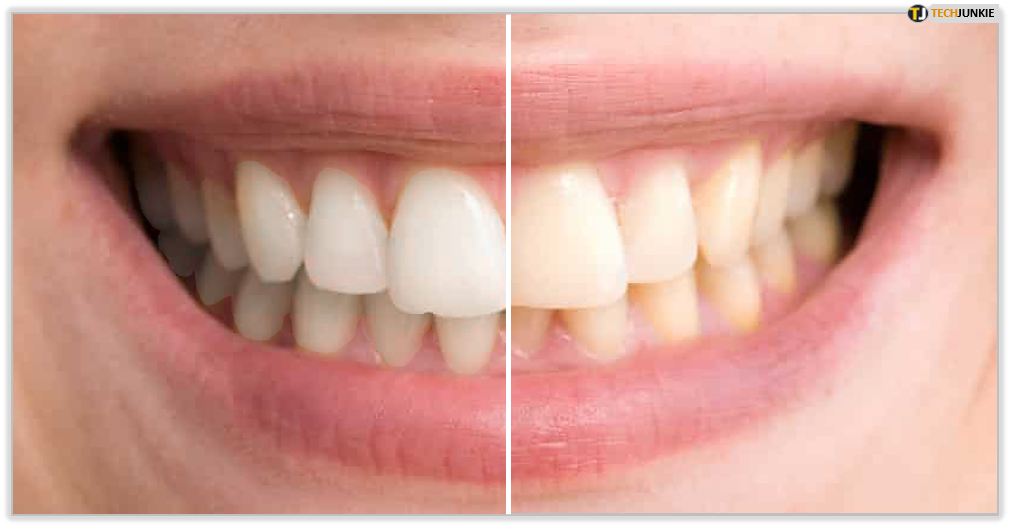
How To Whiten Teeth in Photoshop
Whitening teeth in Photoshop is one of the first things amateur editors should learn. It’s a lengthy process but it’s not all that complicated.
By using the Hue and Saturation method you’ll be able to both whiten and brighten teeth simultaneously. This allows you to perform two corrections at the same time and lessen your workload.
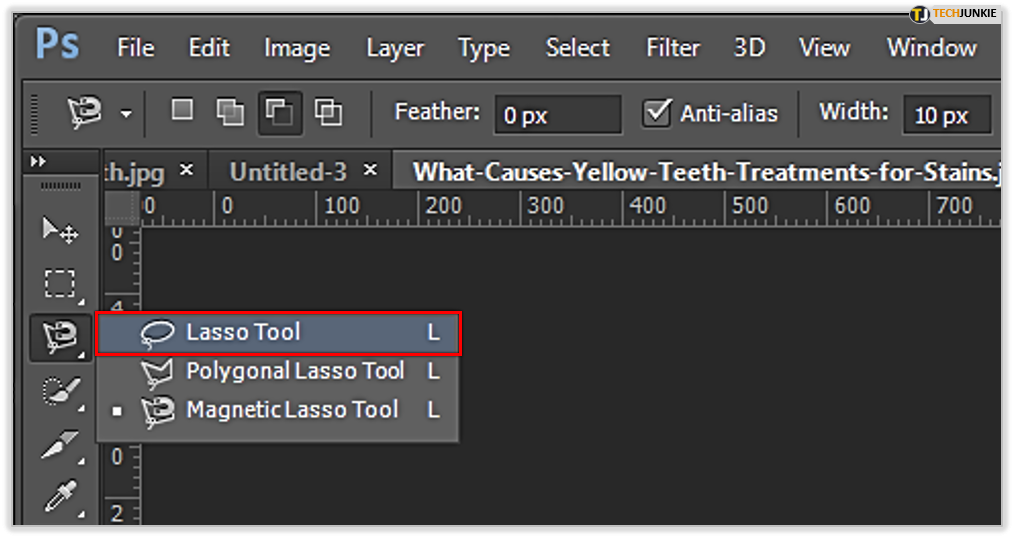
Lasso Tool
The first step involves selecting the lasso tool from your toolbar.
Selection
Using the lasso tool, you then select the teeth you want to work on. It’s important that you don’t select everyone’s teeth at the same time if you have more people in a photo.
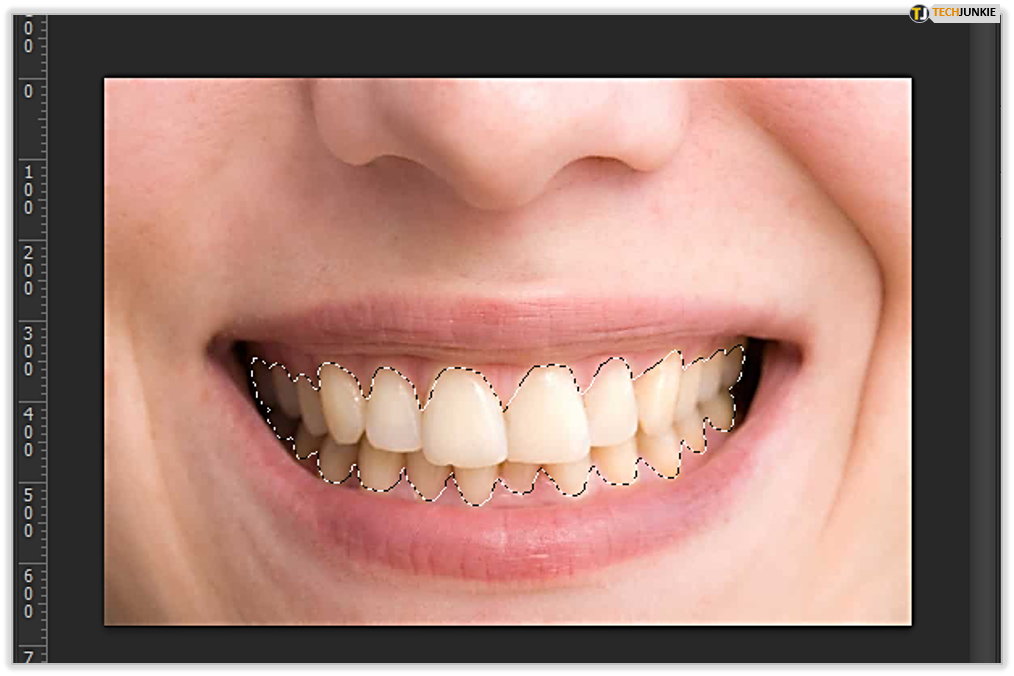
Teeth are different from one person to another and you will need different levels of Hue and Saturation to adjust them. Therefore, stick to working one problem at a time.
Draw your selection as close to the edges of the teeth as you can. Don’t worry if it’s not highly accurate at first. It can be adjusted later.
Hue/Saturation Layer
The third step in the process requires you to add an adjustment layer or a new fill to the photo. You can do this from the Layers panel. The icon should be located at the bottom.
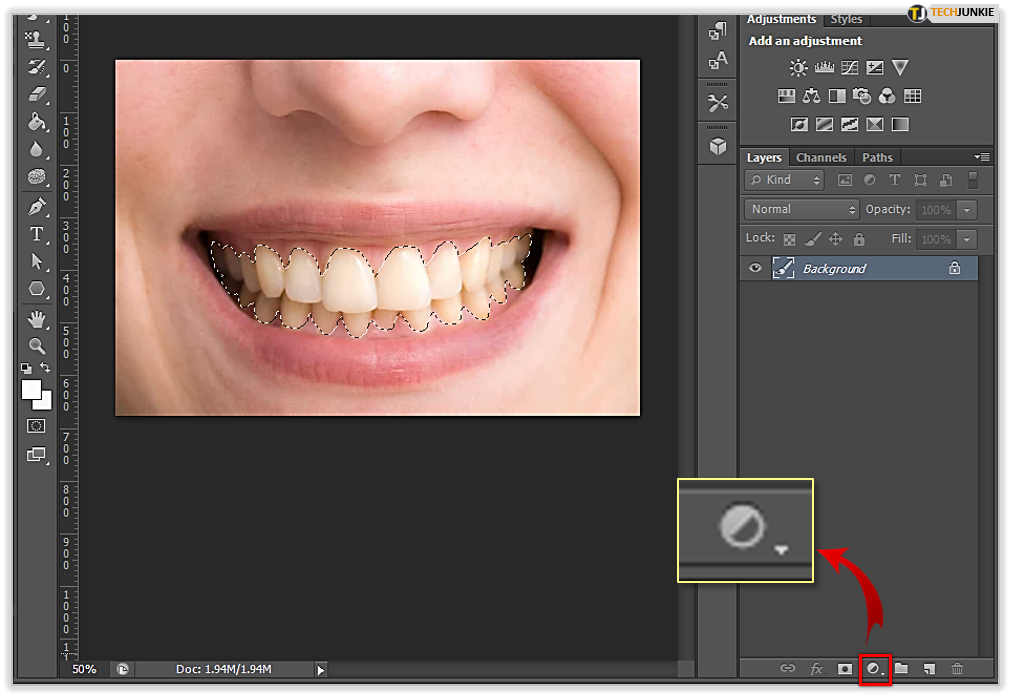
When you’re prompted with the list, select the Hue/Saturation option. The new layer should now appear above your background layer.

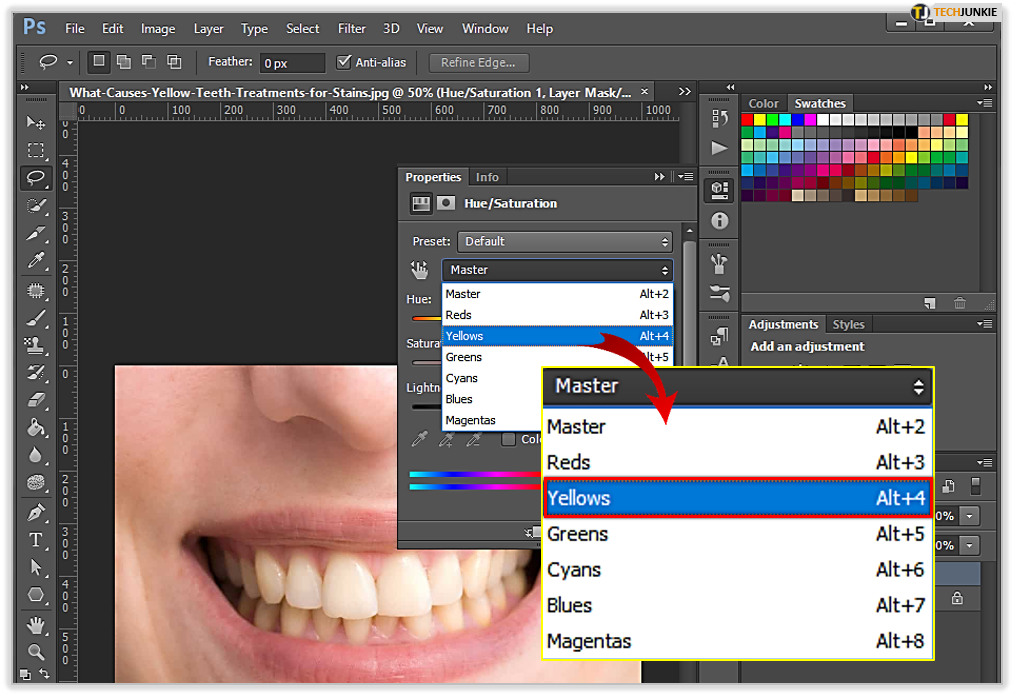
Edit Option
Now it’s time to access the controls for the Hue/Saturation adjustment layer. You do this by accessing the Properties panel in your version of Photoshop. You’ll notice that the Edit option is set to Master.
What this means is that by default, the Hue/Saturation changes you make will affect all the colors in the image. Since you’re only working on altering the yellow color, change the Edit field from Master to Yellows.
Lower Saturation
The next step is to lower the saturation. Locate the Saturation slider and pull it to the left side. The more you drag the whiter the teeth will appear. Don’t go overboard though.

There’s no such thing as perfectly white teeth. If you want to make the teeth believable don’t drag the slider all the way towards the edge.
Also worth noting is that there’s no set value that you should follow. The saturation will differ from photo to photo or from person to person as previously mentioned.
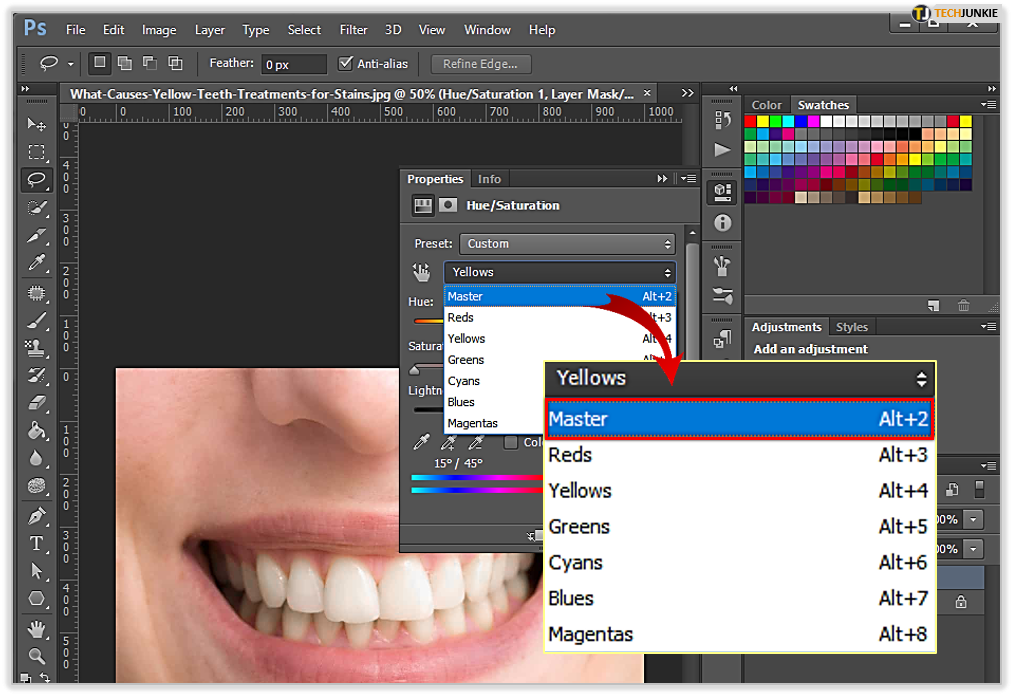
Edit Mode Master
Once you’re satisfied with the whitening, go back to the properties panel and change the edit mode back to Master.
Lightness
Click on the Lightness slider and start dragging the pointer to the right side of the bar. Similar to how saturation works, the more you drag the brighter the teeth will look.
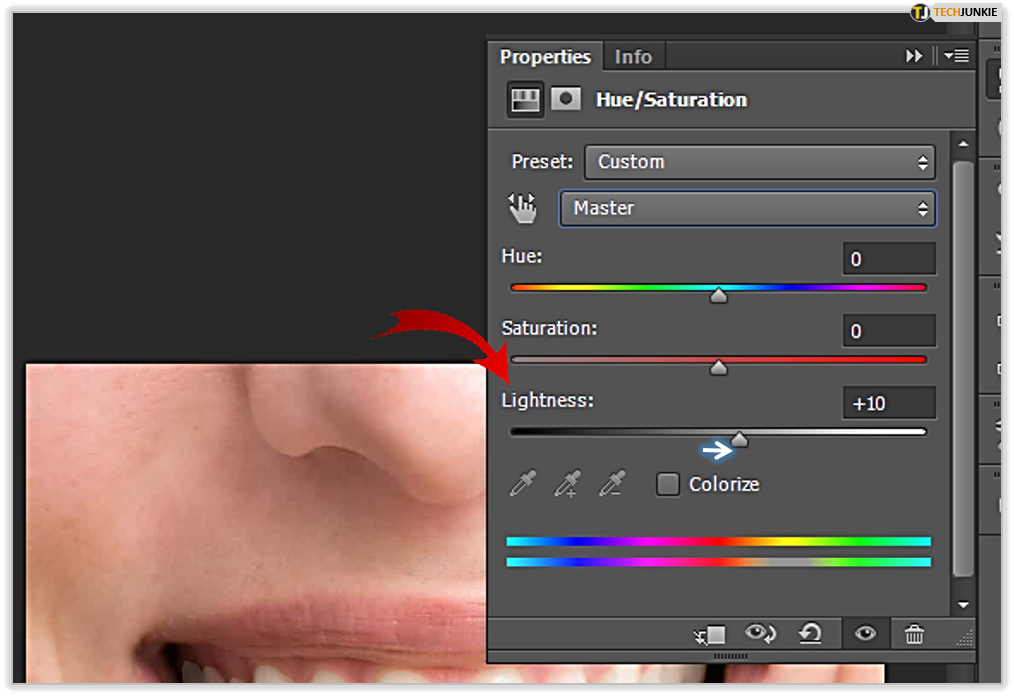
Again, it’s all about trial and error. Don’t focus on finding a standard value that applies for all situations.
Cleanup
The final step is optional. It depends on how accurate your selection of the teeth was. If there are areas that need correcting, select the brush tool.
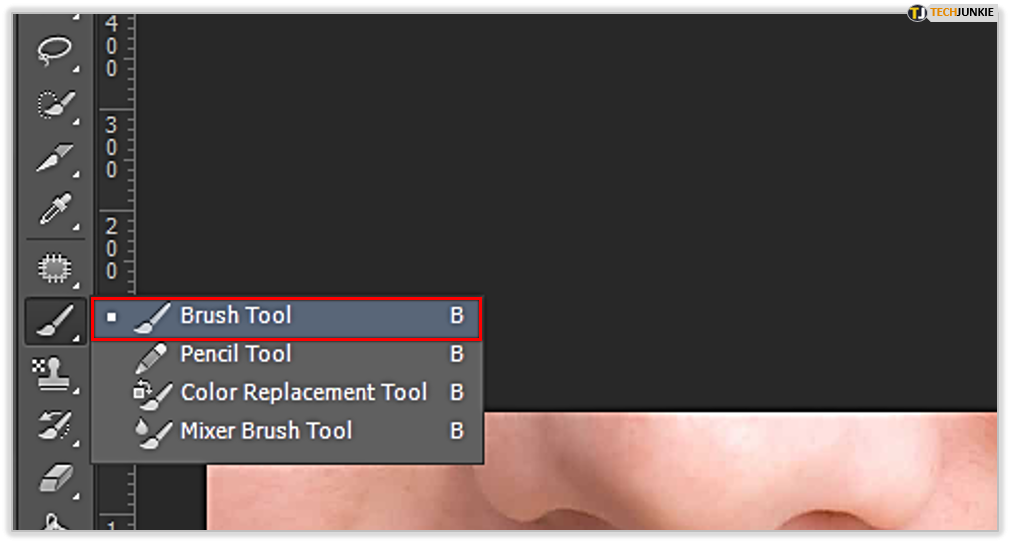
Use the brush to paint around the problem areas. Use a small soft-edge brush in order to be as accurate as possible.
Now, if you have another person to work on simply select the lasso tool again and create a new selection. Create a new adjustment layer for Hue/Saturation and repeat the process.
It’s actually a good idea to practice on photos with more than one person so that you can notice the difference in adjustments for different scenarios.